1. Introduction
This manual provides essential information for the safe and efficient operation, maintenance, and care of your Bosch MultiPower Series 6 Meat Grinder MFWS607W. Please read these instructions thoroughly before first use and keep them for future reference.
Safety Information
- Always ensure the appliance is unplugged before assembly, disassembly, or cleaning.
- Keep hands and utensils away from moving parts during operation.
- Do not operate the appliance with a damaged cord or plug.
- This appliance is for household use only.
- Never push food with your hands; always use the provided tamper.
2. Product Overview and Included Components
The Bosch MultiPower Series 6 Meat Grinder MFWS607W is designed for efficient processing of meat, fish, and vegetables. It features a powerful motor and various attachments for versatile use.
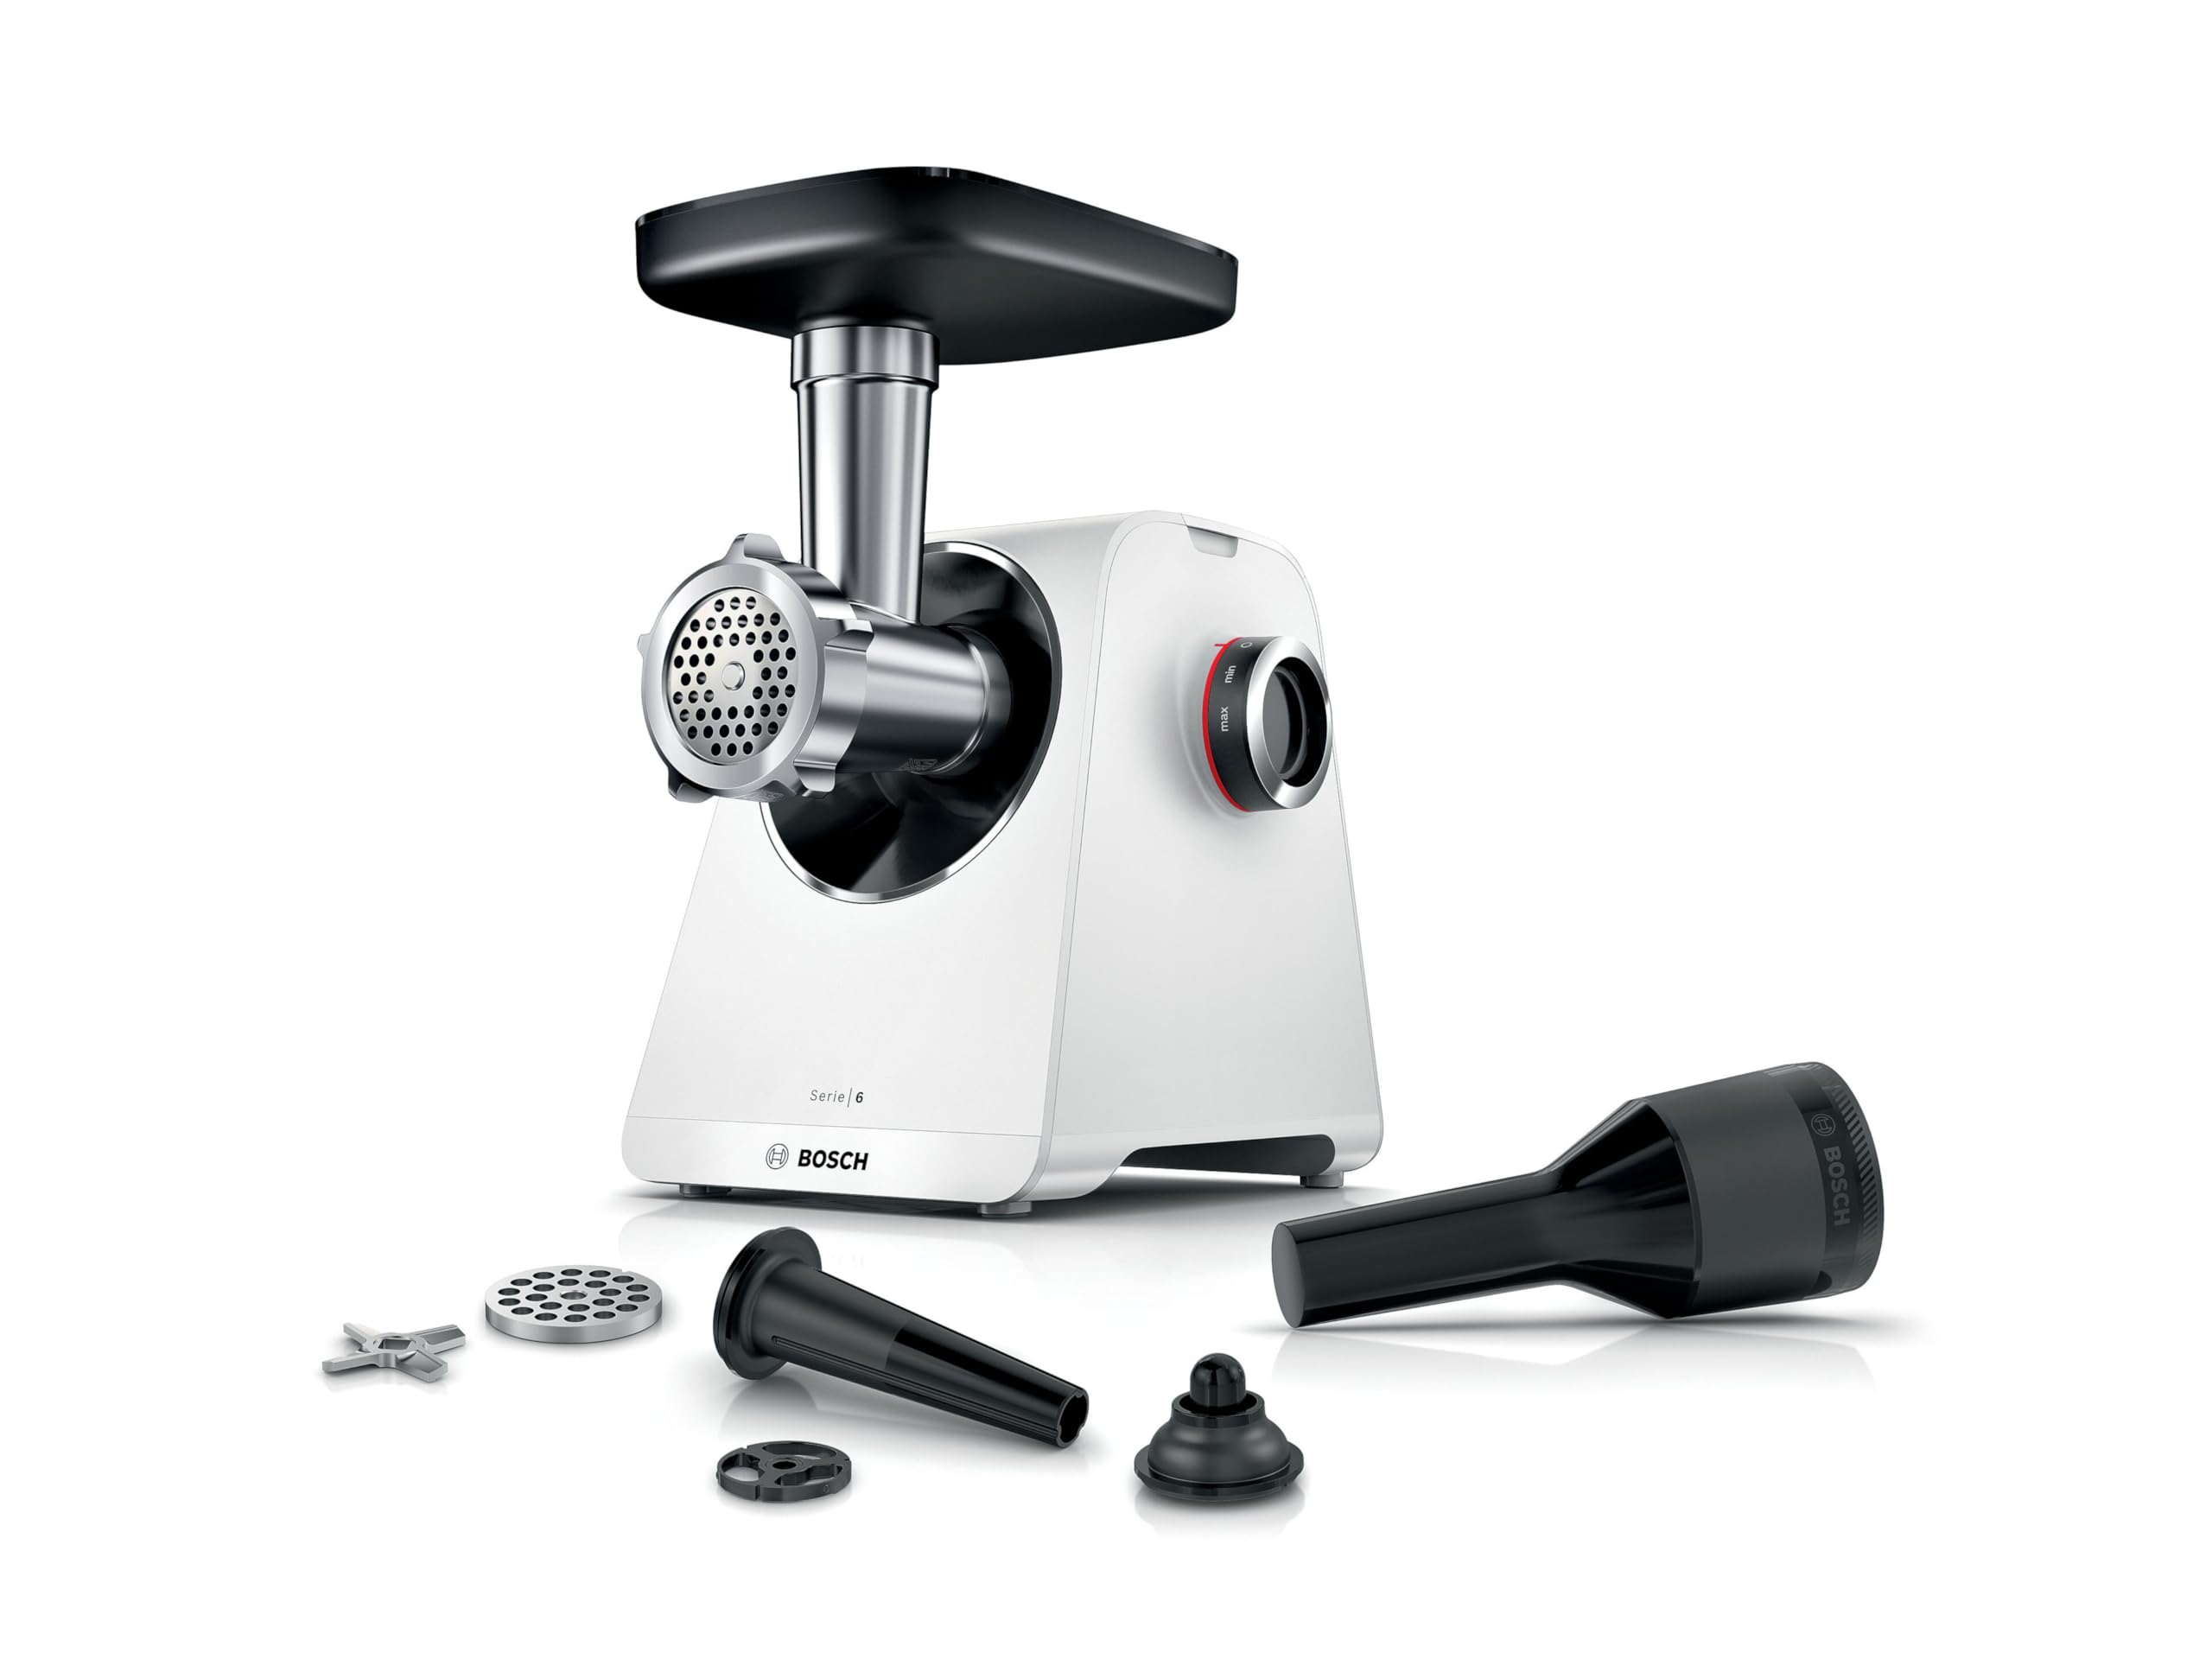
Figure 1: Bosch MultiPower Series 6 Meat Grinder MFWS607W with its main components and included accessories, including the main unit, feeding tray, tamper, cutting knife, two perforated discs (4.5mm and 8mm), and attachments for Kebbe and sausages.
Included Components:
- Main Motor Unit
- Filling Tray
- Tamper
- Double-edged Knife
- 2 Perforated Discs (4.5 mm and 8 mm) made of stainless steel
- Sausage Attachment
- Kebbe Attachment
3. Setup and Assembly
- Unpacking: Carefully remove all components from the packaging. Retain packaging for storage or future transport.
- Cleaning: Before first use, wash all detachable parts (filling tray, tamper, knife, discs, attachments) in warm soapy water, rinse thoroughly, and dry completely. The main motor unit should only be wiped with a damp cloth.
- Assembling the Grinding Head:
- Insert the feed screw into the grinding head.
- Place the double-edged knife onto the feed screw, ensuring the cutting edges face outwards.
- Select the desired perforated disc (4.5 mm for fine grinding, 8 mm for coarse grinding) and place it over the knife.
- Secure the assembly with the locking ring, turning it clockwise until tight.
- Attaching to Motor Unit: Insert the assembled grinding head into the motor unit's opening. Turn it counter-clockwise until it locks securely into place.
- Placing the Filling Tray: Position the filling tray on top of the grinding head.
- Power Connection: Ensure the appliance is on the "0" (off) setting, then plug the power cord into a suitable electrical outlet.
4. Operating Instructions
The appliance features two speed settings and a reverse function for optimal processing.
General Operation:
- Prepare food by cutting it into pieces that fit easily into the filling tray opening. Remove bones, gristle, and tough skin.
- Place a suitable container under the grinding head to collect the processed food.
- Turn the control knob to the desired speed setting (Speed 1 or Speed 2).
- Feed the food into the filling tray. Use the tamper to gently push the food down into the grinding head. Never use your fingers or other utensils.
- After processing, turn the control knob to "0" (off) and unplug the appliance.
Reverse Function:
If food becomes blocked during operation, turn the appliance off ("0" setting) and then briefly turn the control knob to the "R" (reverse) position. This will help clear the blockage. Once cleared, return to "0" before resuming normal operation.
Using Attachments:
- Sausage Attachment: Assemble the grinding head without the knife and perforated disc, then attach the sausage horn. Prepare your sausage mixture and casings. Feed the mixture through the grinder, guiding the casing onto the horn to fill.
- Kebbe Attachment: Assemble the grinding head with the Kebbe attachment. Feed your Kebbe dough through the grinder to form hollow tubes, which can then be filled and shaped.
5. Maintenance and Cleaning
Regular cleaning ensures the longevity and hygienic operation of your meat grinder.
- Disassembly: Always unplug the appliance before disassembling. Remove the filling tray, then unlock and detach the grinding head from the motor unit. Disassemble the grinding head by removing the locking ring, perforated disc, knife, and feed screw.
- Cleaning Detachable Parts: Wash all detachable parts (filling tray, tamper, knife, discs, feed screw, attachments) immediately after use in warm soapy water. Rinse thoroughly under running water. The stainless steel perforated discs are dishwasher safe. Ensure all parts are completely dry before storage to prevent rust.
- Cleaning Motor Unit: Wipe the motor unit with a damp cloth. Do not immerse the motor unit in water or any other liquid. Do not use abrasive cleaners or scouring pads.
- Storage: Store the clean and dry appliance and its accessories in a safe, dry place, away from direct sunlight and moisture. The smart storage solutions allow for compact storage of accessories.
6. Troubleshooting
| Problem | Possible Cause | Solution |
|---|---|---|
| Appliance does not start. | Not plugged in; power switch off; safety mechanism engaged. | Check power connection; ensure switch is on; check for proper assembly. |
| Food is not grinding or is grinding slowly. | Food pieces too large; blockage in grinding head; dull knife. | Cut food into smaller pieces; use reverse function to clear blockage; check knife for sharpness and correct placement. |
| Loud noise or vibration during operation. | Improper assembly; foreign object; excessive load. | Disassemble and reassemble correctly; check for foreign objects; reduce amount of food being processed. |
| Rust spots on metal parts. | Parts not dried completely after washing; stored in humid environment. | Ensure all parts are thoroughly dried after cleaning; store in a dry place. |
If the problem persists after attempting these solutions, please contact customer support.
7. Specifications
- Brand: BOSCH
- Model Number: MFWS607W
- Motor Block Power: 2100 Watts (peak)
- Rated Power / Wattage: 500 Watts
- Capacity: Up to 3.5 kg of meat per minute
- Product Dimensions: 24 x 20 x 24.7 cm
- Item Weight: 4.1 Kilograms
- Material: Plastic, Metal (Stainless Steel discs)
- Perforated Discs: 4.5 mm and 8 mm (Stainless Steel)
- Features: Two speed settings, Reverse function, Kebbe attachment, Sausage attachment, Dishwasher safe parts (discs).
8. Warranty and Support
Bosch products are manufactured with high-quality materials and undergo rigorous quality control. This appliance is designed to be repaired, with replacement parts available for up to 10 years after the sale ends.
Protection Plans:
- Optional 1 Year Accidental Damage Protection Plan
- Optional 2 Years Accidental Damage Protection Plan
- Optional 1 Year Extended Warranty Plan
For detailed warranty information, service requests, or to purchase protection plans, please refer to your purchase documentation or visit the official Bosch website. You can also contact your local Bosch customer service center for assistance.
For further information, you may visit the BOSCH Store.