1. Introduction
This manual provides comprehensive instructions for the setup, operation, maintenance, and troubleshooting of your Gaimoo GM200 Mini Projector. Please read this manual thoroughly before using the product to ensure optimal performance and longevity.

Image 1.1: The Gaimoo GM200 Mini Projector in various usage scenarios.
2. Product Overview
The Gaimoo GM200 Mini Projector is a versatile device designed for various entertainment and presentation needs. It features a built-in Android TV OS, dual-band WiFi 6, and two-way Bluetooth 5.2 for seamless connectivity. The projector supports 4K and 1080P video playback, offering clear and vibrant images. Its compact design includes a 180° rotatable stand, auto keystone correction, and digital zoom for flexible placement and easy image adjustment.

Image 2.1: Gaimoo GM200 Mini Projector with included accessories.

Image 2.2: Overview of key features including 4K support, WiFi 6, Bluetooth 5.2, 180° rotatable stand, auto keystone, and built-in applications.
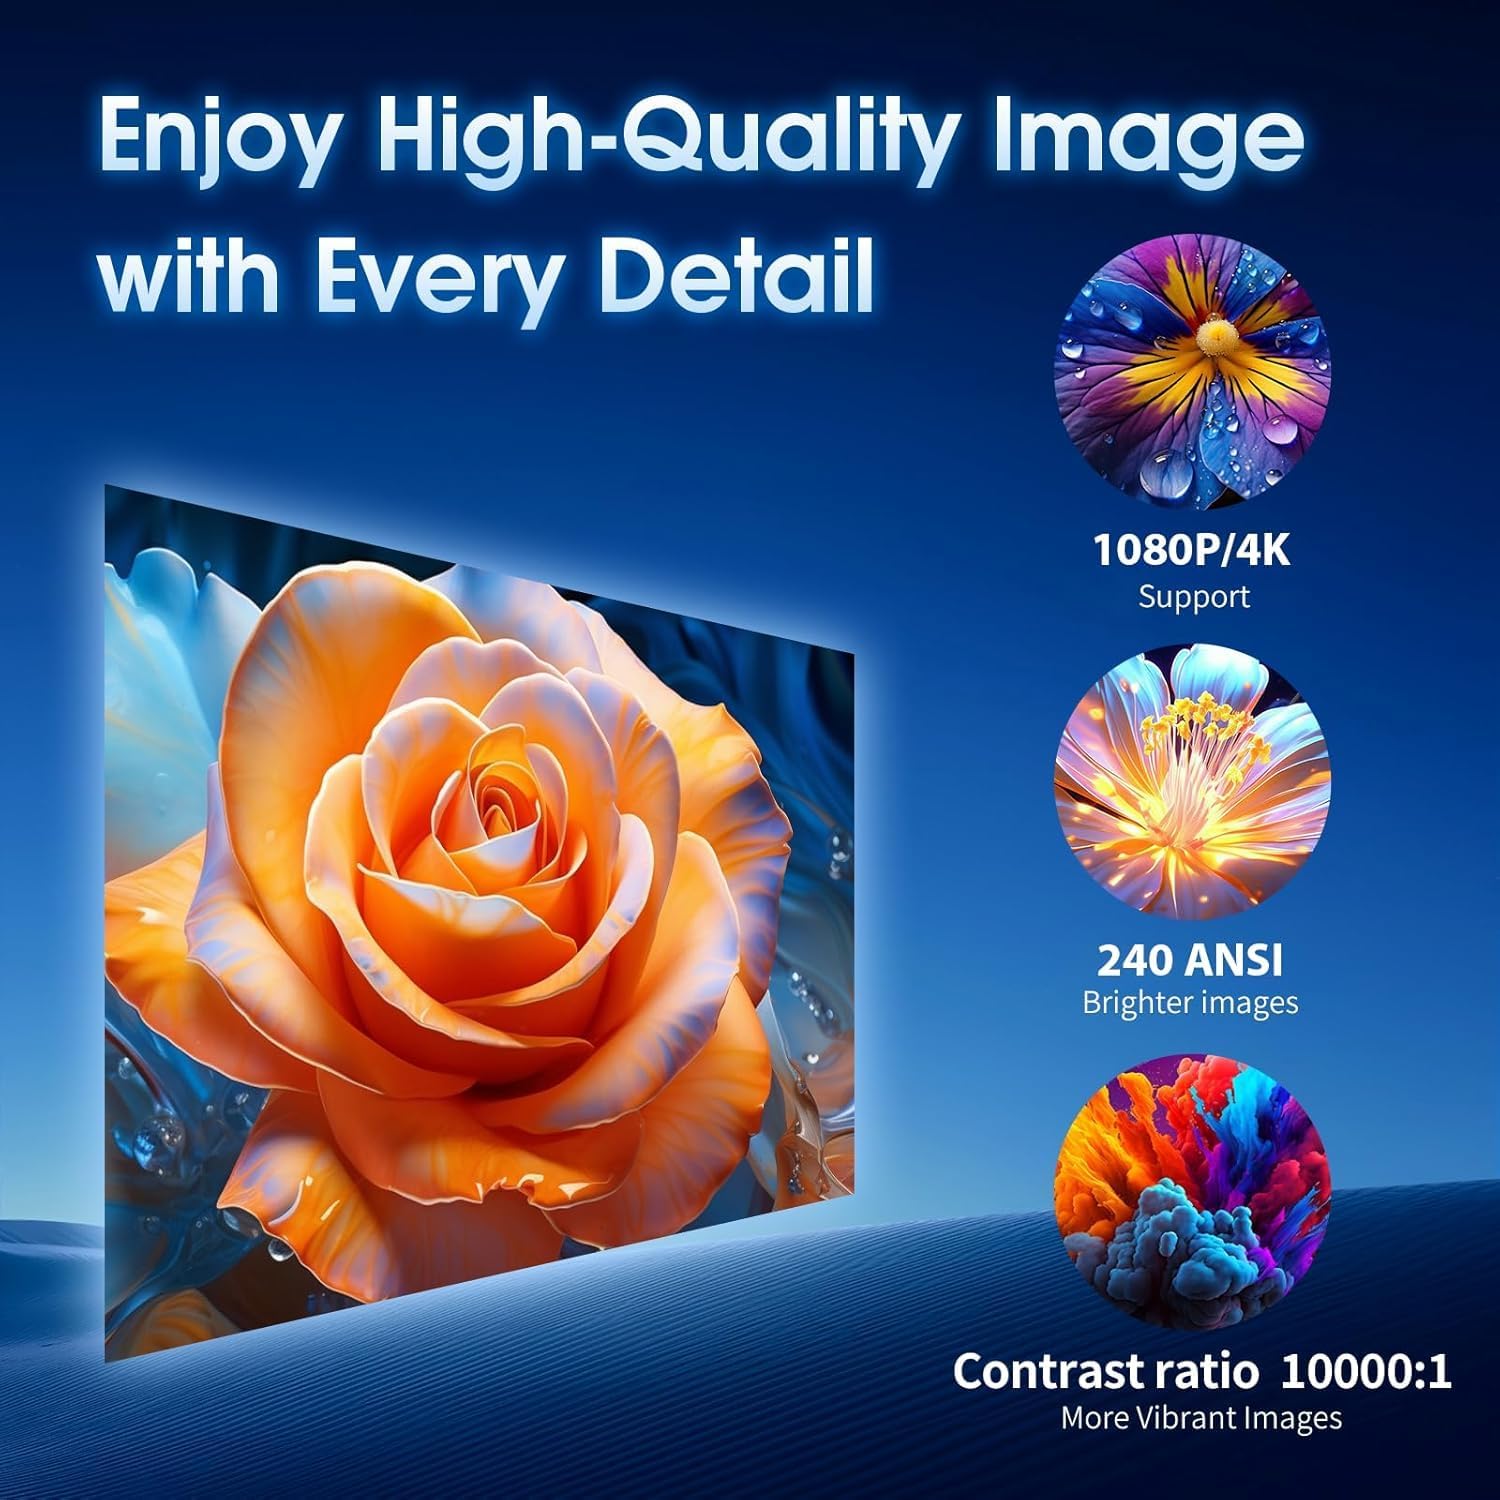
Image 2.3: High-quality image projection demonstrating 4K support and vivid colors.
3. What's in the Box
Upon opening the package, verify that all the following items are present:
- 1 x Gaimoo GM200 Projector
- 1 x Power Adapter with Cable
- 1 x Remote Control
- 1 x User Manual (this document)
- 1 x Wireless Mouse
4. Setup
4.1 Physical Placement
The GM200 projector offers flexible placement options due to its 180° rotatable design. You can project onto walls, ceilings, or screens. Ensure the projection surface is flat and clear for the best image quality.
- Desktop Placement: Place the projector on a stable, flat surface.
- Tripod Mounting: A 1/4-inch screw hole is located at the bottom for tripod compatibility.
- Ceiling/Wall Mounting: The projector can be mounted on a ceiling or wall using compatible mounting hardware (sold separately).

Image 4.1: Various placement options for the Gaimoo GM200 Projector.
4.2 Power Connection
- Connect the power adapter cable to the projector's power input port.
- Plug the power adapter into a standard electrical outlet.
- Press the power button on the projector or remote control to turn it on.
4.3 Focus Adjustment
Rotate the focus wheel on the projector to achieve the clearest possible image. The projector also features auto keystone correction to automatically adjust the image shape.
4.4 Remote Control and Mouse Setup
- Remote Control: Insert two AAA batteries (not included) into the remote control.
- Wireless Mouse: The wireless mouse requires two AAA batteries (not included). The USB receiver for the mouse is typically stored within the mouse itself. Insert the USB receiver into one of the projector's USB ports.
5. Operating Instructions
5.1 Navigation
Navigate the projector's interface using either the included remote control or the wireless mouse. The Android TV OS provides a user-friendly experience.
5.2 Network Connection (Wi-Fi)
- From the home screen, navigate to Settings.
- Select Networking Setting and then Wi-Fi Setting.
- Choose your desired Wi-Fi network from the list and enter the password.
- Once connected, the Wi-Fi icon will indicate a successful connection.
5.3 Built-in Applications
The projector comes with a built-in Android TV OS, allowing direct access to popular streaming applications such as YouTube, Netflix, and others. These can be accessed from the home screen or through the App Store.
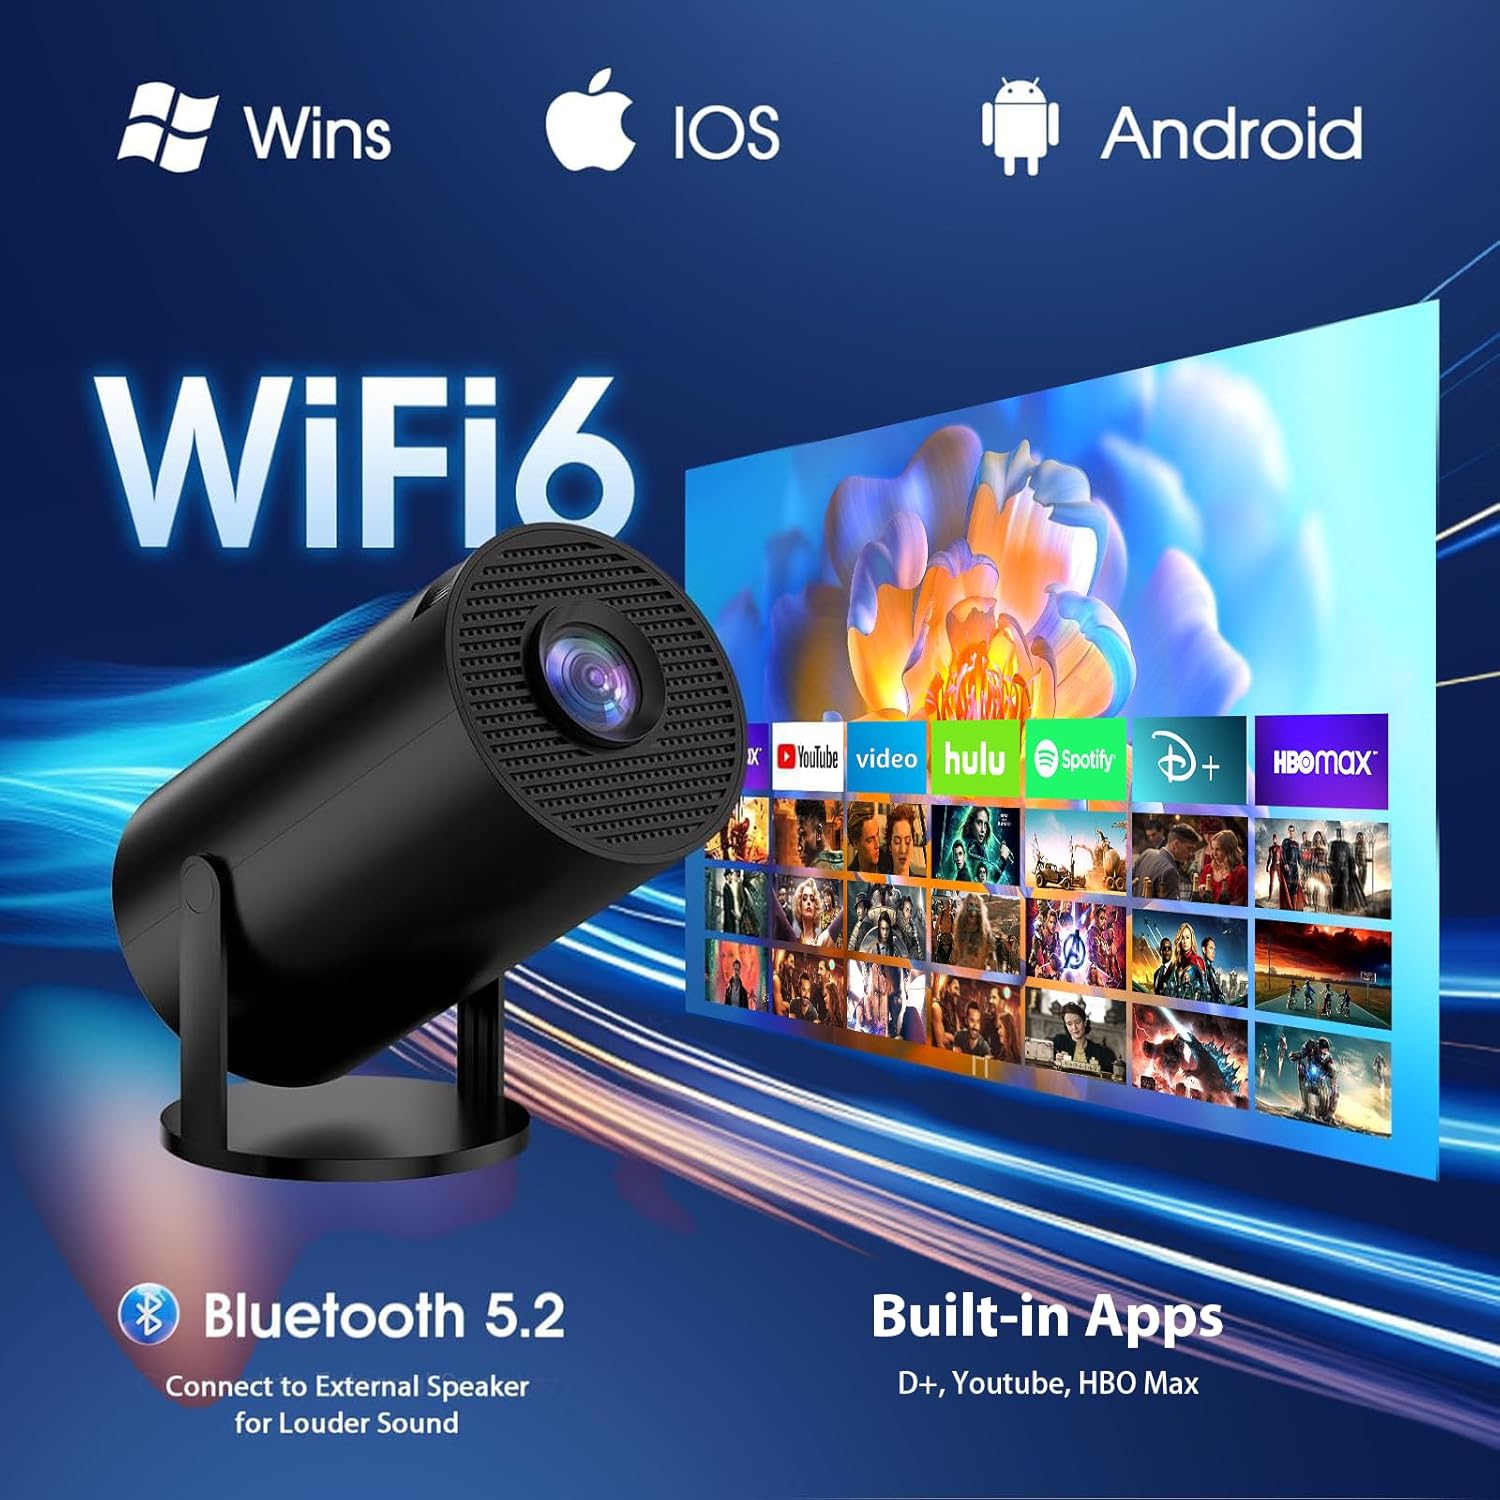
Image 5.1: Projector interface showing various built-in streaming applications.
5.4 External Device Connectivity
The GM200 projector supports various external devices:
- HDMI Port: Connect devices like TV sticks, laptops, or gaming consoles using an HDMI cable. Select the HDMI input source from the projector's menu.
- USB Port: Insert USB drives for media playback.
- 3.5mm Headphone Jack: Connect external speakers or headphones for enhanced audio.

Image 5.2: Detailed view of the projector's multiple input/output ports.
5.5 Screen Mirroring
The projector supports screen mirroring from compatible smartphones (Android and iOS) and laptops (Windows). Refer to your device's screen mirroring instructions for specific steps.
6. Projection Settings
6.1 Auto Keystone Correction
The projector automatically adjusts the image to correct for trapezoidal distortion, ensuring a rectangular picture even when the projector is not perfectly aligned with the screen.
6.2 180° Rotation
The projector's stand allows for a 180° rotation, enabling projection onto various surfaces, including ceilings. Simply rotate the projector to your desired angle.

Image 6.1: The 180° rotatable design for flexible projection angles.
6.3 Digital Zoom
Adjust the screen size from 35% to 100% using the digital zoom function in the settings menu, without physically moving the projector.
6.4 Projection Size and Distance
The optimal projection distance ranges from 3 to 18 feet, producing a screen size between 35 and 120 inches. The screen aspect ratio is 1.3:1.
7. Maintenance
7.1 Cleaning the Lens
Gently wipe the projector lens with a soft, lint-free cloth specifically designed for optical surfaces. Avoid using abrasive materials or harsh chemicals.
7.2 General Cleaning
Use a soft, dry cloth to clean the exterior of the projector. Do not use liquid cleaners or sprays directly on the device.
7.3 Storage
When not in use, store the projector in a cool, dry place, away from direct sunlight and extreme temperatures. Use the original packaging or a protective case to prevent dust accumulation and damage.
8. Troubleshooting
- No Power: Ensure the power adapter is securely connected to both the projector and a working electrical outlet.
- Blurry Image: Adjust the focus wheel until the image is clear. Check if the projector is within the recommended projection distance.
- No Image: Verify the input source is correctly selected (e.g., HDMI, USB). Ensure the connected external device is powered on and functioning.
- No Sound: Check the projector's volume settings and ensure it is not muted. If using external speakers, verify their connection and power. For Bluetooth audio, ensure proper pairing.
- Wi-Fi Connection Issues: Ensure the Wi-Fi network is active and the password is correct. Try restarting the projector and your Wi-Fi router.
- Remote Control Not Responding: Check the batteries in the remote control and replace them if necessary. Ensure there are no obstructions between the remote and the projector.
9. Specifications
| Feature | Detail |
|---|---|
| Brand | Gaimoo |
| Model Number | GM200 |
| Item Weight | 14.1 ounces |
| Product Dimensions | 3.98 x 3.98 x 7.44 inches |
| Color | Black |
| Display Resolution | 1280 x 720 (Native), 4K & 1080P Support |
| Connectivity Technology | Mouse, HDMI, WiFi 6, USB, Memory Stick, 3.5mm Jack, Bluetooth 5.2 |
| Special Features | Built-in Apps, Built-in Speaker, Lightweight, Digital Keystone Correction, Bluetooth 5.2, 180° Rotation |
| Recommended Uses | Home, Outdoor, Cinema, Business, Education, Party, Club, Sports, Gaming |
10. Warranty and Support
For detailed warranty information and customer support, please refer to the specific warranty card included in your product packaging or visit the official Gaimoo website. Keep your purchase receipt as proof of purchase for any warranty claims.