
1. Introduction
Thank you for choosing the HYDTGZ 48V 25A Lead-Acid Battery Charger. This charger is designed for efficient and safe charging of 48V lead-acid batteries used in various applications such as electric forklifts, pallet trucks, lift trucks, golf carts, and sweepers. It features advanced 3-stage smart charging technology, multiple protection functions, and an intuitive LCD display for monitoring the charging process.
Please read this manual thoroughly before operating the charger to ensure proper use, optimal performance, and to prevent damage or injury.
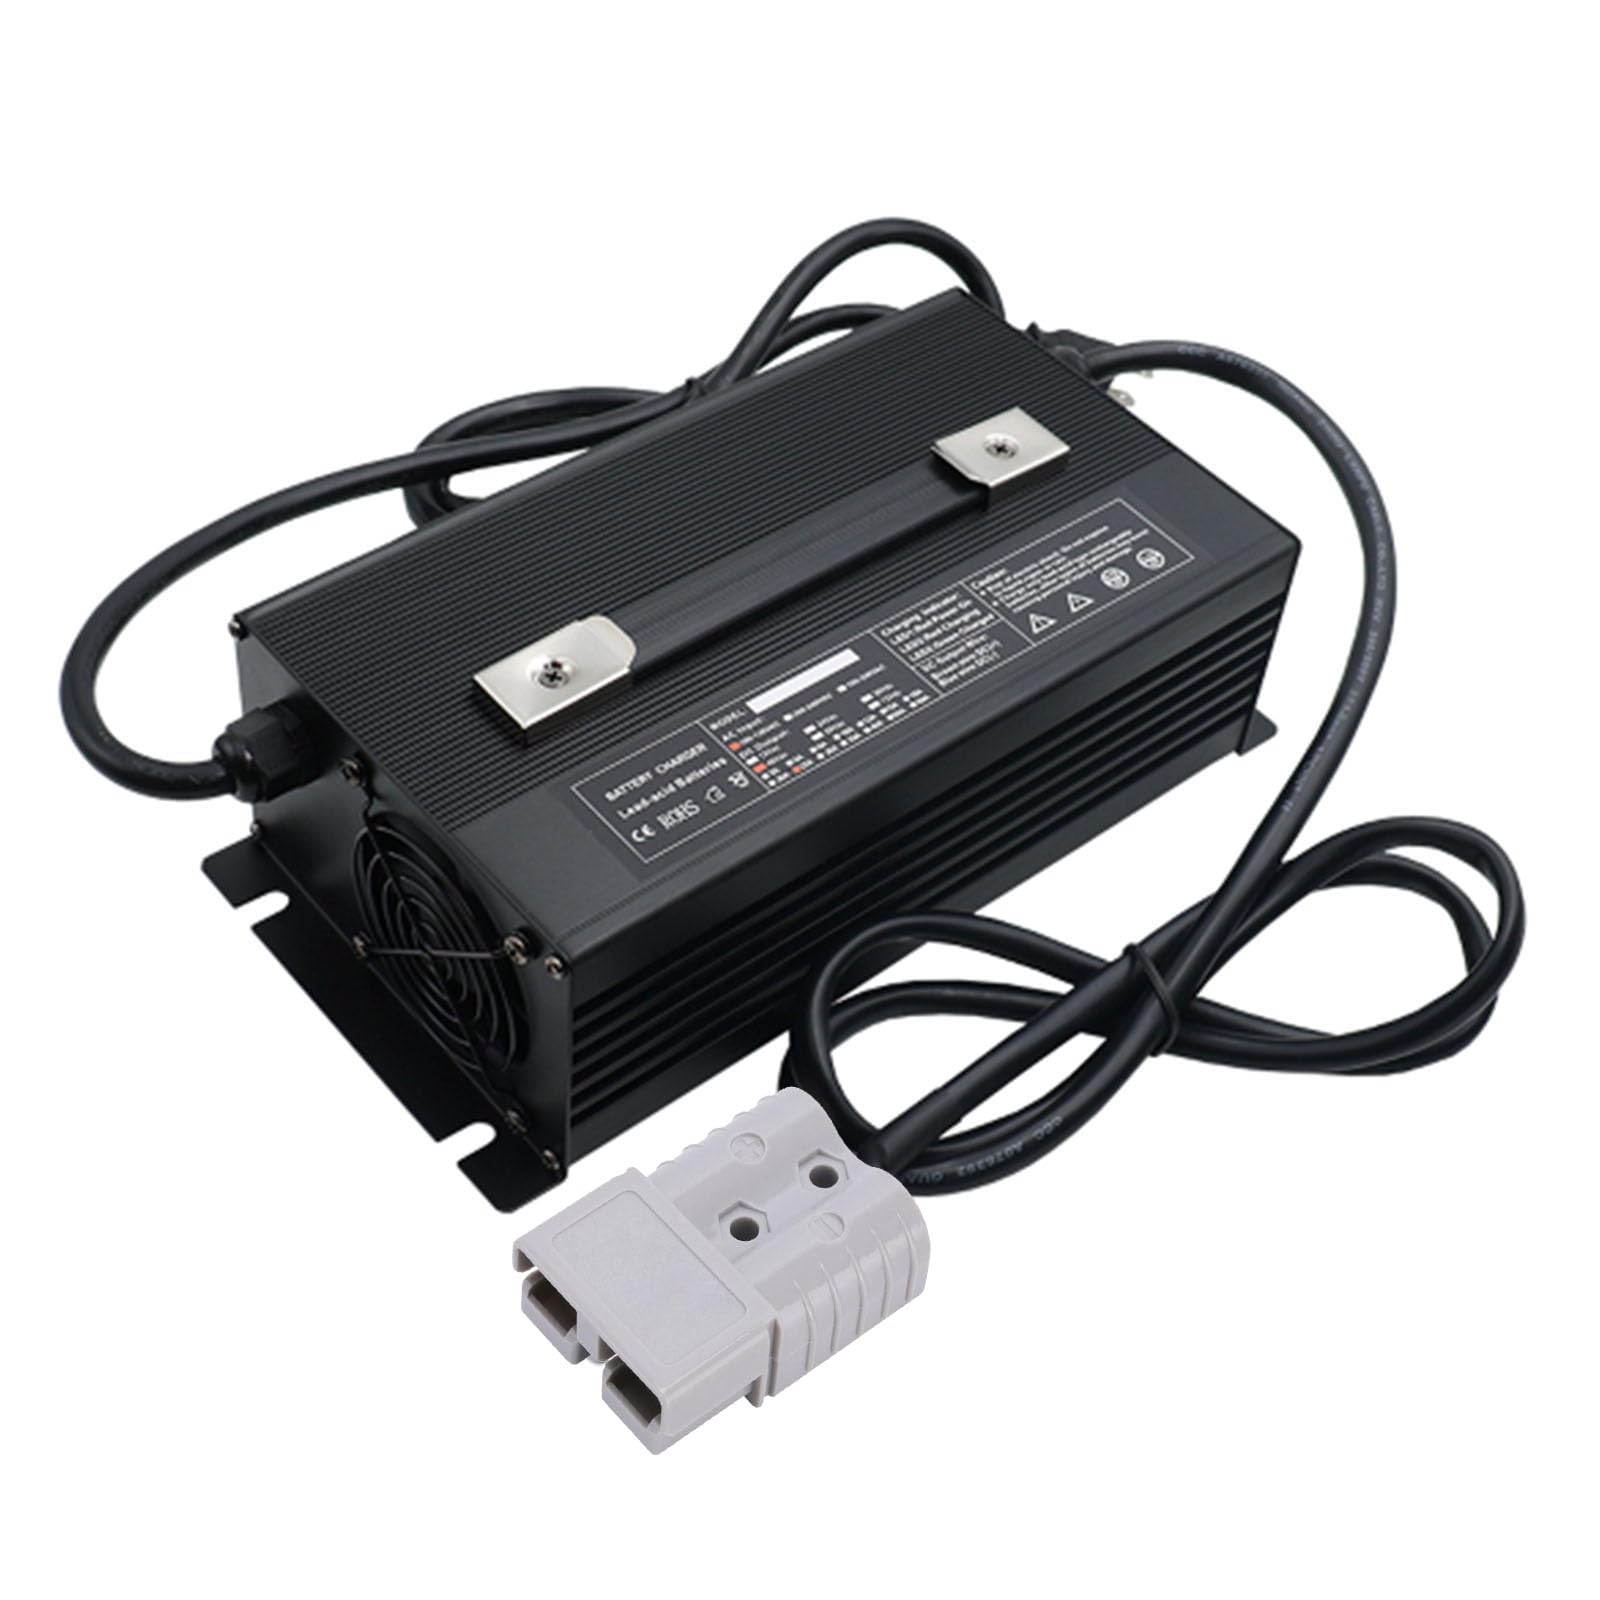
Figure 1: HYDTGZ 48V 25A Lead-Acid Battery Charger with different output plug options and application examples.
2. Safety Instructions
Always observe the following safety precautions to reduce the risk of electric shock, fire, or injury.
- Read all instructions: Before using the charger, read all instructions and cautionary markings on the charger, the battery, and the product using the battery.
- Ventilation: Ensure adequate ventilation during charging. Do not operate the charger in a confined area or restrict ventilation in any way.
- Battery Type: This charger is designed exclusively for 48V lead-acid batteries. Do not attempt to charge other battery types (e.g., Lithium-ion, Ni-Cd, Ni-MH) as this may cause explosion, personal injury, or damage.
- Avoid Flammable Materials: Do not operate the charger near flammable materials, gases, or vapors.
- Electrical Connections: Ensure all connections are secure and correct. Incorrect polarity can cause damage to the charger and battery.
- Protection Features: The charger includes overvoltage, overcurrent, overheat, reverse polarity, short circuit, and undervoltage protection. However, always exercise caution and follow proper procedures.
- Moisture: Do not expose the charger to rain, snow, or excessive moisture.
- Damage: Do not operate the charger if it has received a sharp blow, been dropped, or otherwise damaged. Contact support for inspection.
- Children: Keep the charger out of reach of children.

Figure 2: The charger features multiple intelligent protection functions for safe operation.
3. Package Contents
Verify that all items are present in the package:
- 1x HYDTGZ 48V 25A Lead-Acid Battery Charger
- 1x User Manual
4. Product Overview
The HYDTGZ 48V 25A charger features a durable aluminum alloy shell, an integrated cooling fan, and an LCD display for real-time monitoring. The output plug type will vary based on the specific model purchased (e.g., 50A, 120A, 175A, 350A Anderson plug).

Figure 3: Various views of the HYDTGZ 48V 25A Lead-Acid Battery Charger, highlighting its design and components.
5. Setup Instructions
Follow these steps to set up your battery charger:
- Unpack: Carefully remove the charger from its packaging. Inspect for any visible damage.
- Placement: Place the charger on a stable, flat surface in a well-ventilated area. Ensure there is sufficient space around the charger for airflow, especially around the cooling fan.
- Connect to Battery: Connect the charger's output plug to the 48V lead-acid battery. Ensure the connection is firm and the polarity is correct (positive to positive, negative to negative). The charger is equipped with reverse polarity protection, but correct connection is always recommended.
- Connect to Power: Plug the charger's AC input power cord into a standard 100-240Vac electrical outlet.

Figure 4: Mechanical drawing with dimensions of the charger for placement consideration.
6. Operating Instructions
Once properly set up, the charger will begin the charging process automatically.
- Initiating Charge: After connecting the battery and power, the charger will automatically detect the battery and begin charging.
- Charging Indicator: The charger features a two-color LED indicator. A red light indicates that the battery is currently charging. A green light indicates that the battery is fully charged or the charger is in standby mode.
- LCD Display: The high-definition LCD display will show real-time charging information, including voltage, current, and charging time.
- 3-Stage Smart Charging: The charger employs a 3-stage charging process for optimal battery health and efficiency:
- Constant Current (CC) Mode: The charger delivers a constant high current to rapidly charge the battery until it reaches a certain voltage level.
- Constant Voltage (CV) Mode: Once the battery voltage reaches a preset level, the charger maintains a constant voltage while the current gradually decreases.
- Trickle/Float Charge Mode: When the battery is nearly full, the charger automatically switches to a trickle or float charge mode to maintain the battery at full capacity without overcharging.
- Automatic Shutdown: The charger will automatically stop output when the battery is fully charged to prevent overcharging and prolong battery life.
- Disconnecting: Once charging is complete (green light), first unplug the AC power cord from the wall outlet, then disconnect the output plug from the battery.
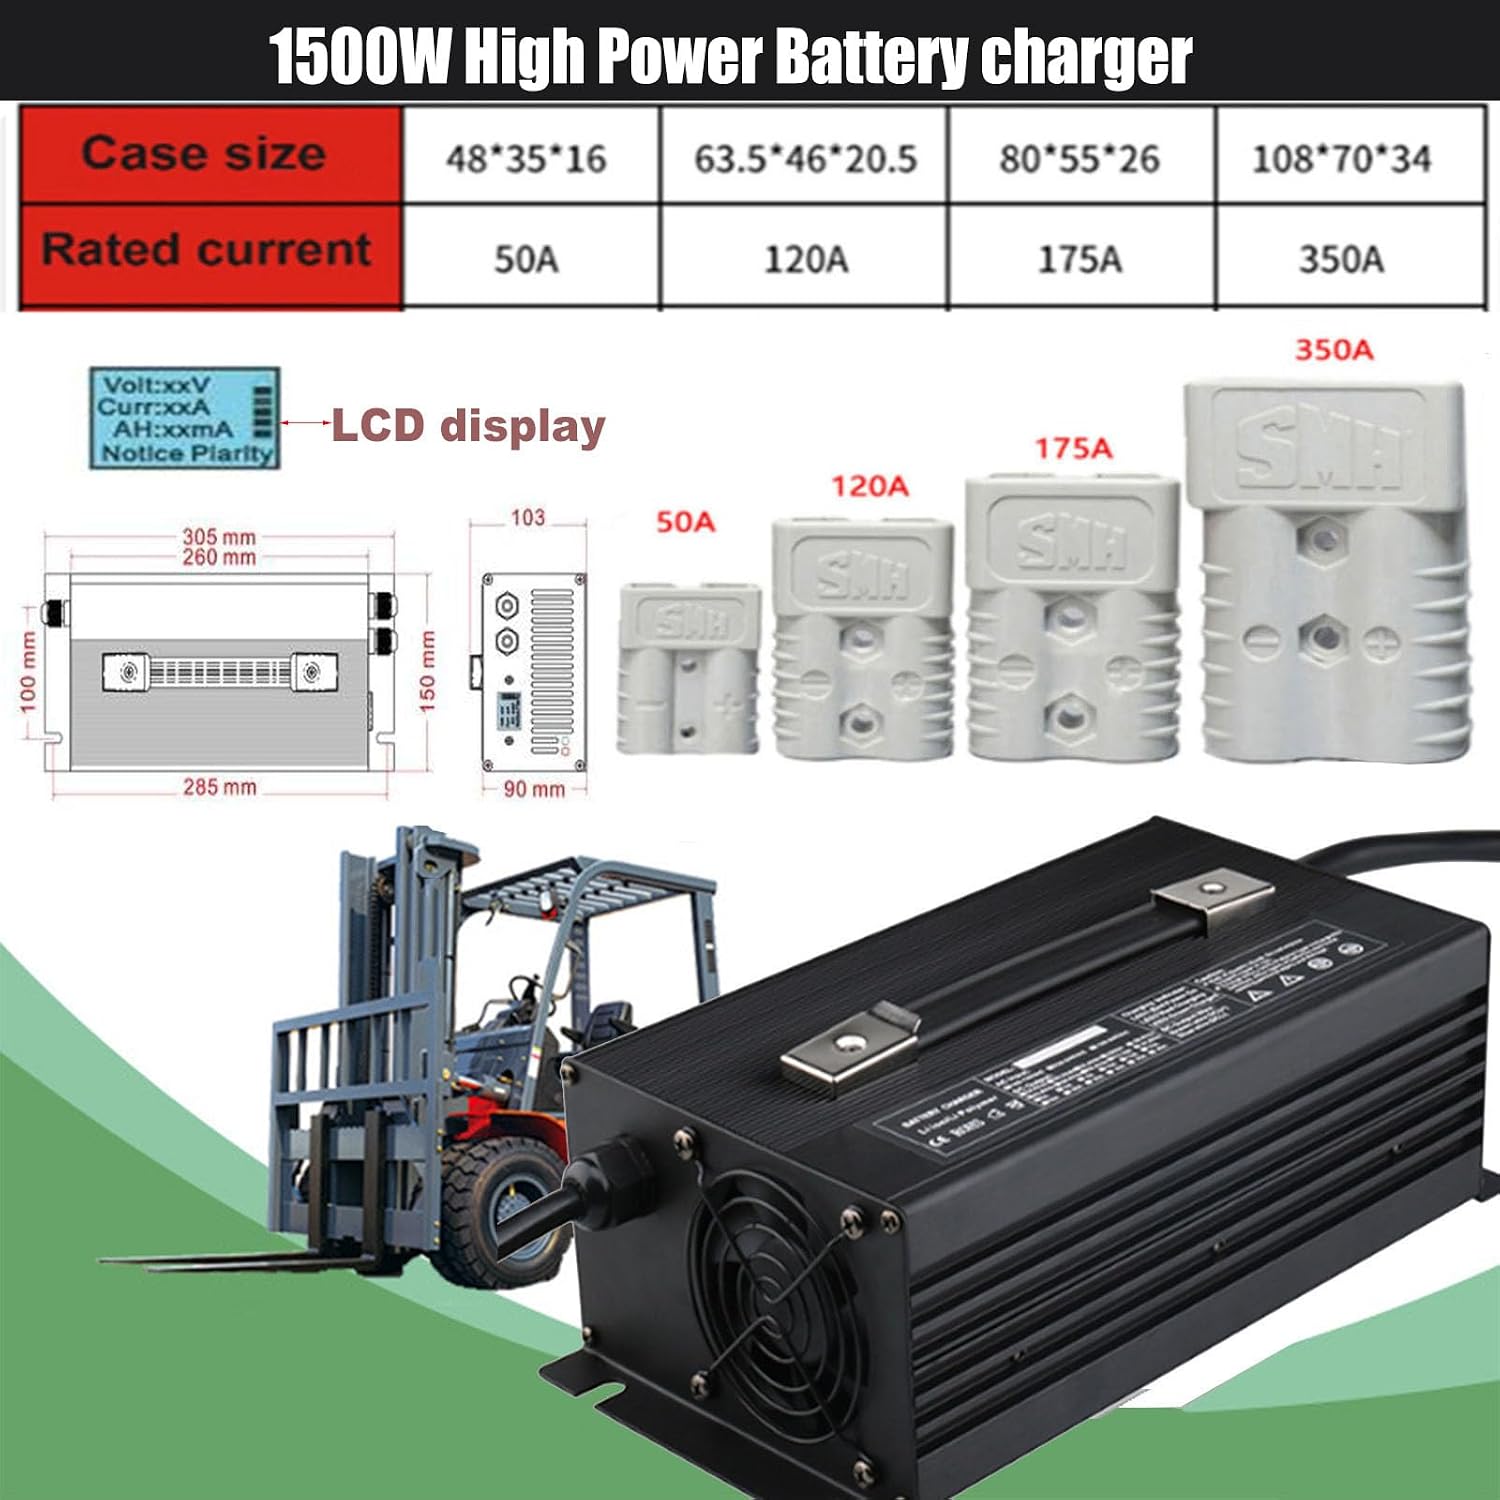
Figure 5: Examples of lead-acid battery charging curves, demonstrating the 3-stage charging process.
7. Maintenance
Proper maintenance ensures the longevity and reliable operation of your charger.
- Cleaning: Disconnect the charger from both AC power and the battery before cleaning. Use a soft, dry cloth to wipe the exterior. Do not use harsh chemicals or abrasive cleaners.
- Ventilation: Periodically check that the cooling fan and ventilation openings are free from dust and debris. Clean gently with compressed air if necessary.
- Storage: When not in use, store the charger in a cool, dry place, away from direct sunlight and extreme temperatures.
- Cable Inspection: Regularly inspect the power cord and output cables for any signs of damage, fraying, or exposed wires. Do not use the charger if cables are damaged.
8. Troubleshooting
If you encounter issues with your charger, refer to the following common problems and solutions:
| Problem | Possible Cause | Solution |
|---|---|---|
| Charger not turning on / No display | No AC power; Faulty power cord; Internal fault. | Check AC power connection and outlet. Inspect power cord for damage. If problem persists, contact support. |
| Red indicator light not turning on / Not charging | Battery not connected; Incorrect polarity; Battery deeply discharged; Charger fault. | Ensure battery is correctly connected. Verify polarity. For deeply discharged batteries, some chargers may require a minimum voltage to initiate. If problem persists, contact support. |
| Green indicator light stays on immediately | Battery already fully charged; Charger in standby mode. | This is normal if the battery is already full. If the battery is known to be discharged, check connections and battery health. |
| Charger gets excessively hot | Poor ventilation; Overload; Internal fault. | Ensure adequate ventilation around the charger. Check for obstructions to the cooling fan. If overheating persists, disconnect and contact support. |
| LCD display shows error message | Protection activated (e.g., overvoltage, short circuit, reverse polarity). | Refer to the specific error code if available. Disconnect the charger, rectify the underlying issue (e.g., correct polarity, remove short circuit), then reconnect. |
If the problem persists after attempting these solutions, please contact customer support.
9. Specifications
Detailed technical specifications for the HYDTGZ 48V 25A Lead-Acid Battery Charger:
| Parameter | Value |
|---|---|
| Product Name | Battery Charger |
| Brand | HYDTGZ |
| Model Name | Battery Chargers |
| Part Number | BLACK-50A-66300957 |
| Applicable Battery Type | Lead-Acid Battery |
| Power | 1500W |
| AC Input Voltage | 100-240Vac (Universal voltage) |
| Output Voltage | 48V |
| Output Current | 25A |
| Shell Material | All aluminum shell |
| Color | Black |
| Dimensions (LxWxH) | 260 x 150 x 90 mm (10.24 x 5.91 x 3.54 inches) |
| Charger Weight | 4.5 KG (9.92 lbs) |
| Power Cord Length | 1.5m |
| Output Plug Options | 50A, 120A, 175A, 350A Anderson (option) |
| Charging Indicator | Red (charging), Green (fully charged/standby) |
| Protection Features | Overvoltage, Overcurrent, Overheat, Reverse Polarity, Short Circuit, Undervoltage |
10. Warranty and Support
Warranty: The manufacturer provides a warranty for this product during the specified warranty period. Please refer to the product description or contact your retailer for specific warranty terms and conditions.
Customer Support: If you have any questions, require technical assistance, or experience issues not covered in this manual, please contact HYDTGZ customer support. Contact information can typically be found on the product packaging or the retailer's website.