
1. Introduction
This manual provides essential instructions for the assembly, operation, maintenance, and troubleshooting of your Rockland Foldable 2-Bike Hitch Mount Rack with Lock. Designed for secure transportation of up to two bicycles, this rack features a 200 lbs capacity, accommodating fat tires up to 5 inches wide and bikes with a wheelbase up to 50 inches. It is compatible with vehicles equipped with a 2-inch receiver, including cars, SUVs, vans, and RVs.
Please read all instructions carefully before installation and use to ensure safe operation and prevent damage to your bikes or vehicle.
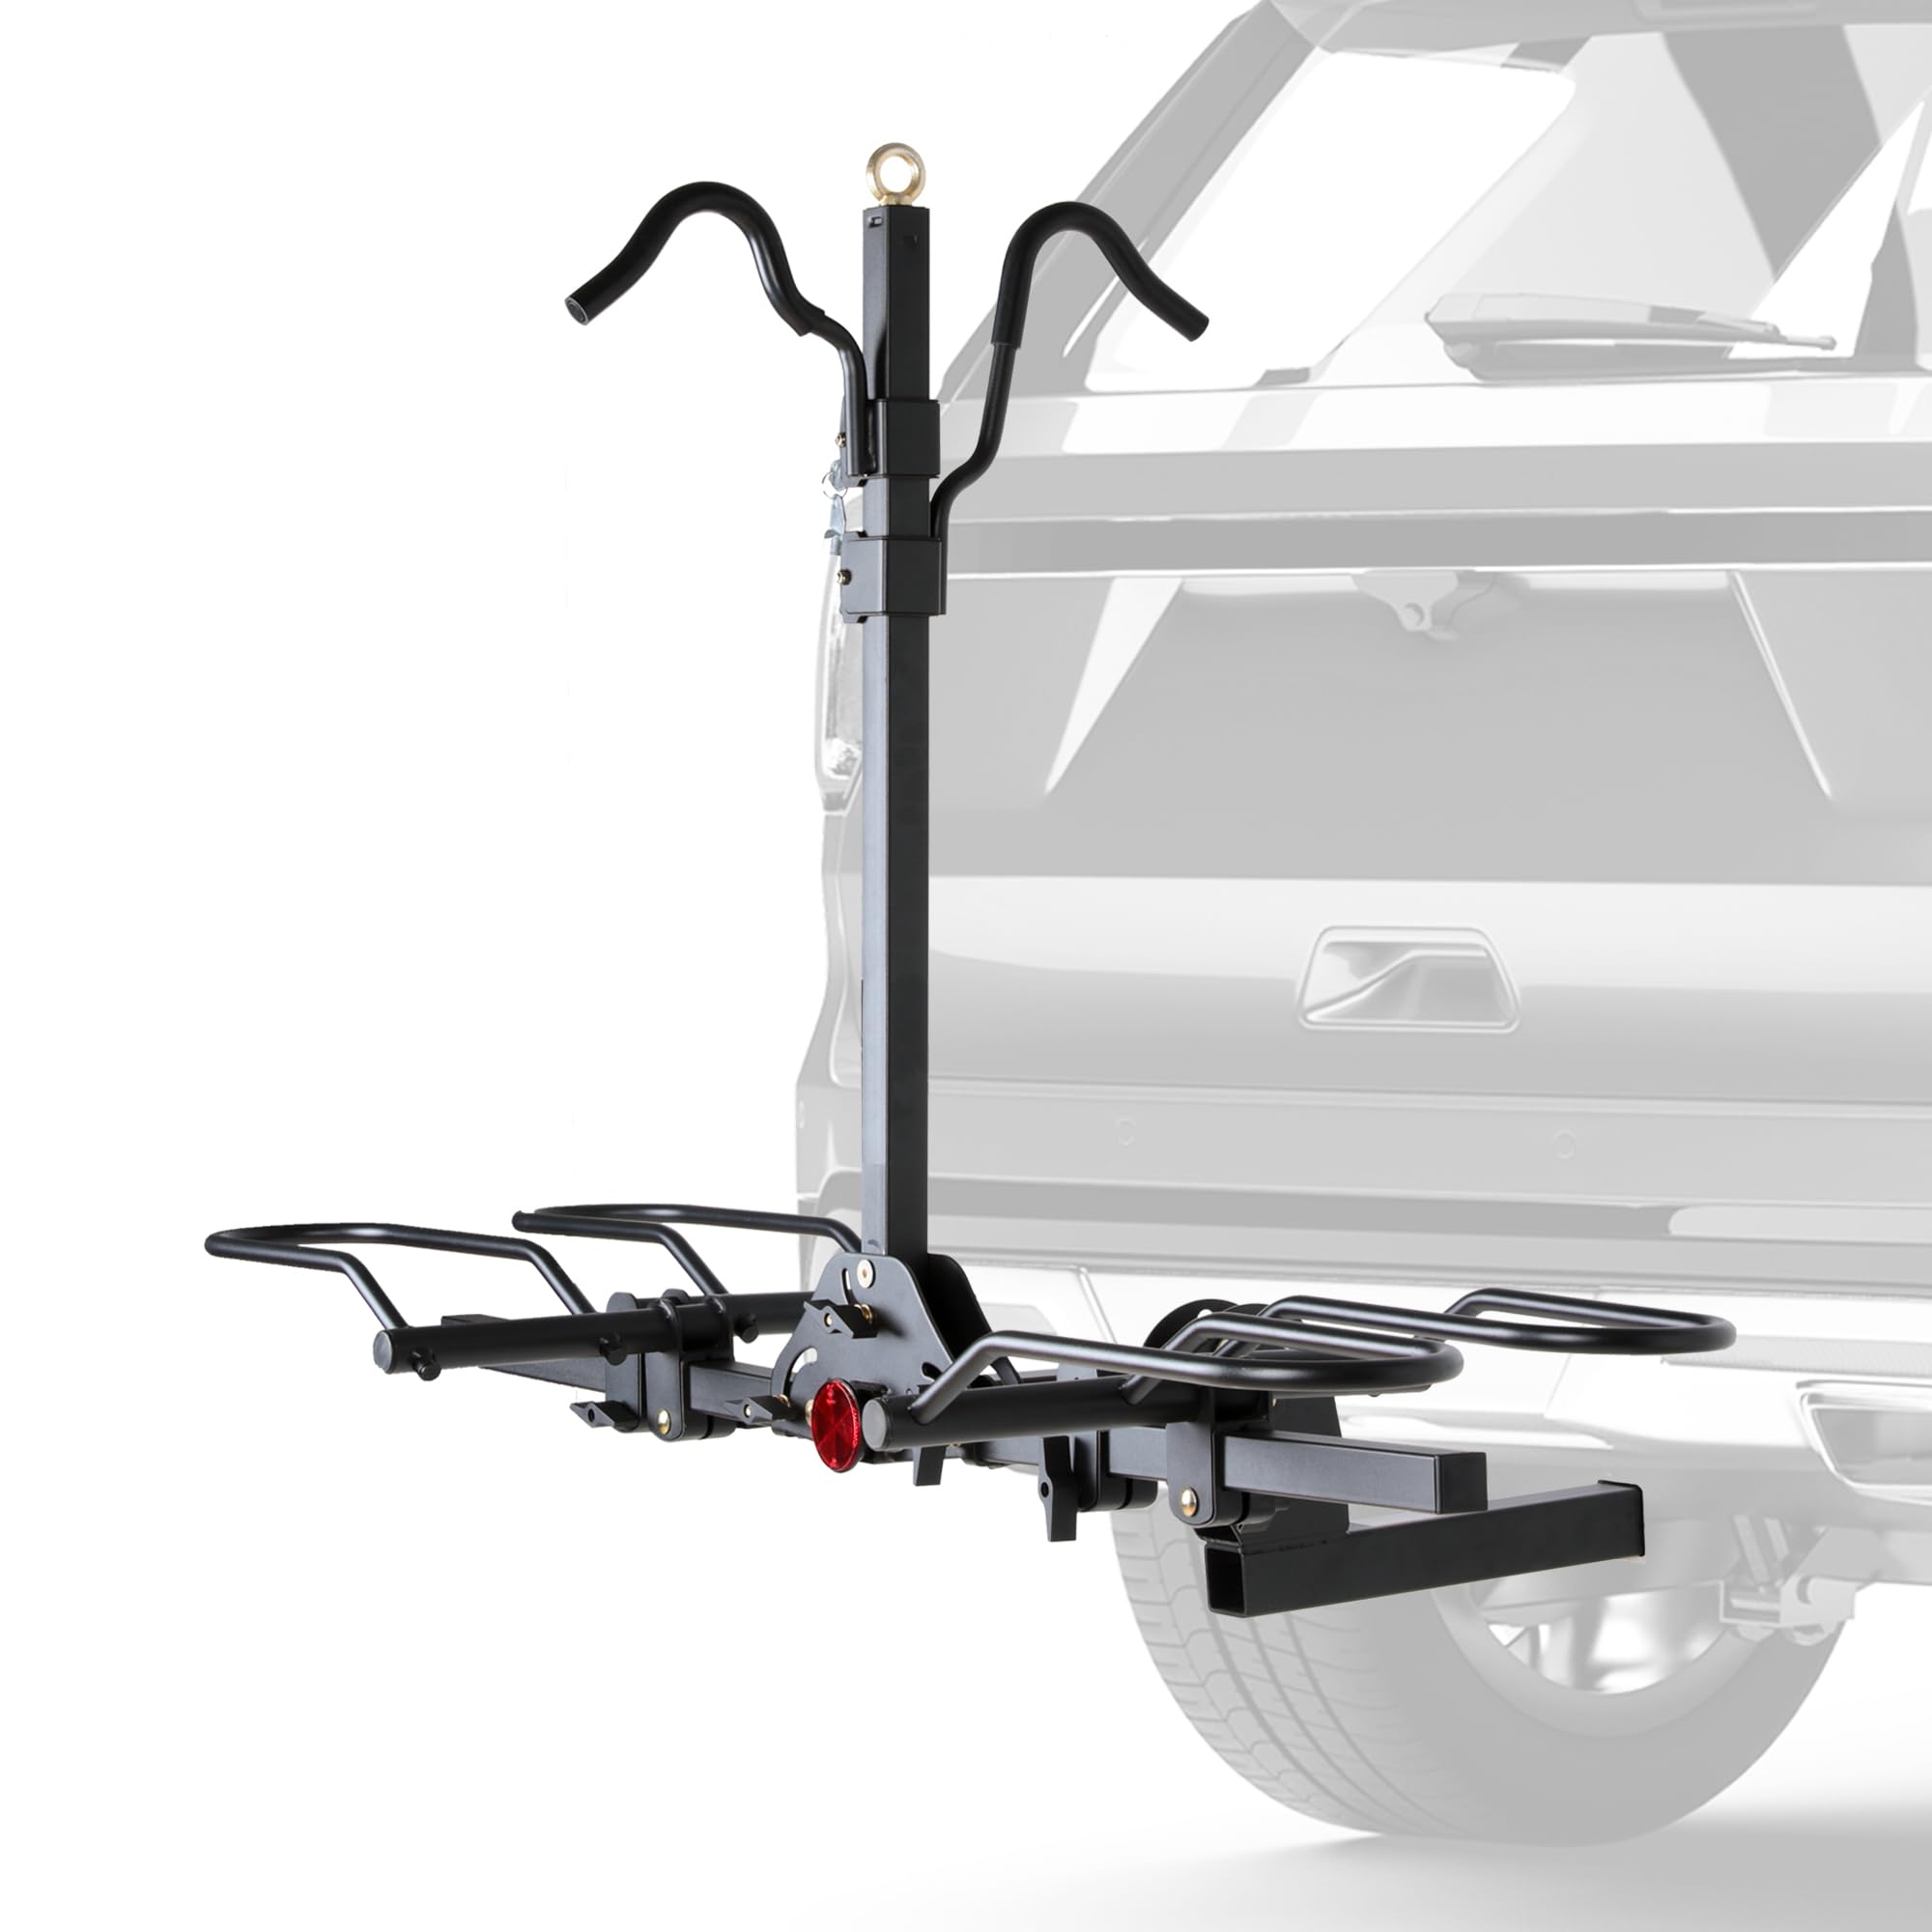
The Rockland Foldable 2-Bike Hitch Mount Rack securely holds two bicycles on the back of a vehicle.
2. What's in the Box
Carefully unpack all components and verify that all parts are present before beginning assembly. If any parts are missing or damaged, do not proceed with assembly and contact customer support.
- Main Hitch Mount Assembly
- Two Bike Trays
- Vertical Support Arm with Locking System
- Wheel Holders and Safety Straps
- Mounting Hardware (bolts, nuts, washers)
- Instruction Manual
3. Setup and Assembly
Follow these steps to assemble your Rockland bike rack. It is recommended to have a second person assist with assembly due to the weight and size of some components.
- Attach the Main Hitch Bar: Insert the main hitch bar into your vehicle's 2-inch receiver. Secure it with the provided hitch pin and clip. Ensure the hitch bar is fully seated and stable.
- Assemble the Base Frame: Attach the horizontal base frame components to the main hitch bar using the designated bolts and nuts. Tighten all fasteners securely.
- Install the Vertical Support Arm: Mount the vertical support arm to the base frame. This arm includes the locking mechanism for securing bikes. Ensure it is aligned correctly and all bolts are tightened.
- Attach Bike Trays: Secure the two bike trays to the horizontal base frame. These trays are designed to hold the bike wheels.
- Install Wheel Holders and Straps: Place the adjustable wheel holders onto the bike trays. Attach the safety straps and rubber covers to the appropriate points on the rack. These components prevent direct contact between the rack's metal surface and your bike, avoiding scratches.
This video demonstrates the assembly process for the Rockland Foldable 2-Bike Rack with Lock, showing how to connect the main components and secure them.

Refer to this diagram for key dimensions during assembly and installation.
4. Operating Instructions
4.1 Loading Bikes
- Ensure the rack is securely installed on your vehicle's 2-inch receiver.
- Place each bike onto a tray, ensuring the wheels sit firmly in the wheel holders. The rack accommodates bikes with up to 5-inch wide fat tires and a wheelbase up to 50 inches.
- Adjust the rubber-padded hooks on the vertical support arm to firmly secure the bike frame. These hooks prevent scratches and scuffs.
- Use the provided safety straps to further secure the wheels to the trays, minimizing movement during transit.
- Engage the integrated locking system on the vertical tube to prevent theft of your bikes while parked.

The rack supports two bikes with a combined weight of up to 200 lbs.

Safety straps and padded hooks ensure bikes are secure and protected from scratches.

Adjustable brackets accommodate various bike sizes and tire widths.
4.2 Folding and Tilting Functions
- Folding for Storage: When not in use, the rack can be folded upwards to a compact position. This saves space and allows the rack to remain on the vehicle without obstructing parking or garage access.
- Tilting for Trunk Access: The rack features a quick-release tilting mechanism, allowing you to tilt the rack downwards even with bikes loaded. This provides easy access to your vehicle's trunk or tailgate without needing to remove the bikes.

The rack folds up for compact storage when not transporting bikes.

The quick-release tilt function allows convenient trunk access.
5. Maintenance
Regular maintenance ensures the longevity and safe operation of your bike rack.
- Cleaning: Clean the rack regularly with mild soap and water to remove dirt, road grime, and salt. Rinse thoroughly and dry completely to prevent corrosion.
- Inspection: Periodically inspect all bolts, nuts, and fasteners for tightness. Re-tighten as necessary. Check for any signs of wear, damage, or corrosion on the frame, straps, and moving parts.
- Lubrication: Apply a light lubricant to moving parts, such as the folding and tilting mechanisms, to ensure smooth operation.
- Anti-Rust Finish: The rack features a high-quality anti-rust coating. While durable, avoid harsh chemicals or abrasive cleaners that could damage this protective layer.
6. Troubleshooting
If you encounter issues with your bike rack, refer to the following common solutions:
- Rack Wobbles in Hitch: Ensure the hitch pin is fully inserted and secured. Verify that the anti-wobble mechanism (if applicable) is properly engaged and tightened.
- Bikes Not Secure: Double-check that all wheel straps are tightly fastened and the padded hooks are firmly gripping the bike frames. Adjust the position of bikes to achieve optimal balance and security.
- Difficulty Folding/Tilting: Ensure no bikes are loaded (for folding) and that the quick-release mechanism is fully disengaged. Lubricate moving parts if stiffness persists.
- Missing or Damaged Parts: Do not attempt to use the rack with missing or damaged components. Contact Rockland customer support for replacement parts.
7. Specifications
| Feature | Specification |
|---|---|
| Model Number | 10104158R |
| Capacity | 2 Bikes, 200 lbs total (100 lbs per tray) |
| Mounting Type | Hitch Mount (2-inch receiver) |
| Material | Alloy Steel |
| Color | Black |
| Max Tire Width | 5 inches |
| Max Wheelbase | 50 inches |
| Item Dimensions (L x W x H) | 51.45 x 39.37 x 40.31 inches |
| Item Weight | 39.73 Pounds |
| Foldable | Yes |
| Vehicle Compatibility | Car, Recreational Vehicle (RV), SUV, Van |

The rack is designed for universal fit with 2-inch receivers on various vehicle types.
8. Warranty and Support
8.1 Manufacturer Warranty
The Rockland Foldable 2-Bike Hitch Mount Rack (Model 10104158R) is covered by a 1-Year Manufacturer Warranty from the date of purchase. This warranty covers defects in materials and workmanship under normal use. It does not cover damage resulting from misuse, accidents, modifications, or improper installation.
8.2 Customer Support
For technical assistance, warranty claims, or inquiries regarding replacement parts, please contact Rockland customer support. Refer to the contact information provided with your purchase or visit the official Rockland website for support details.