1. Introduction
Thank you for choosing the TECKNET Wireless Doorbell. This manual provides detailed instructions for the installation, operation, and maintenance of your new doorbell system. Please read this manual carefully before use and retain it for future reference.
2. Package Contents
- 1 x Self-Powered Doorbell Transmitter
- 1 x Plug-in Receiver with Pass-Through Socket
- Mounting Hardware (Screws, Wall Plugs, Double-Sided Adhesive Tape)
- User Manual
3. Product Overview
3.1 Key Features
- Self-Powered Transmitter: No batteries required for the doorbell button. It generates its own power when pressed.
- Plug-in Receiver with Pass-Through Socket: The receiver plugs directly into a wall outlet and includes an integrated socket, allowing you to use the outlet for other devices.
- Wide Wireless Range: Up to 300 meters (1000 ft) operating range in open areas.
- 60 Melodies & 5 Volume Levels: Choose from a variety of chimes and adjust the volume from 0dB to 120dB.
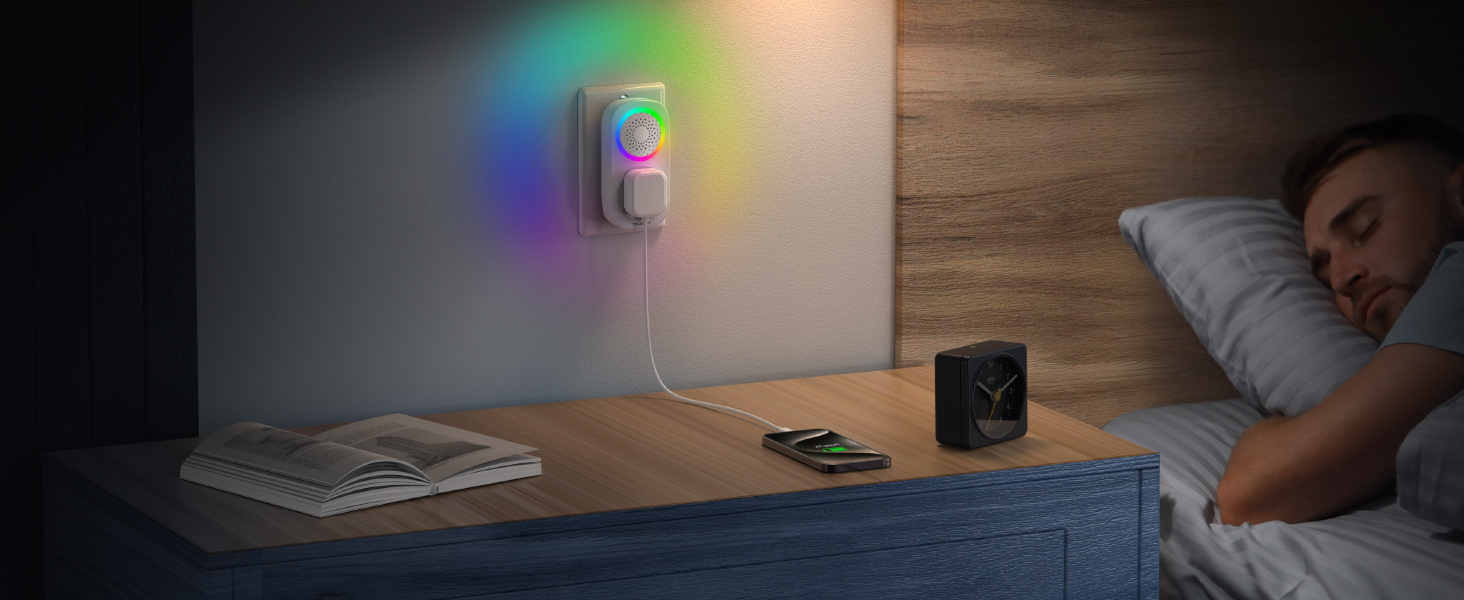
- RGB Light Indicator: Visual alert for incoming calls, especially useful in noisy environments or for hearing-impaired users.
- IP65 Waterproof & Dustproof: The transmitter is designed to withstand various weather conditions, functioning between -20°C and 60°C.
- Memory Function: Retains your last selected melody and volume level even after a power outage.
3.2 Components

This image displays both the self-powered doorbell transmitter and the plug-in receiver, illustrating their design and relative sizes. The transmitter is shown on the left, and the receiver with its integrated socket is on the right.
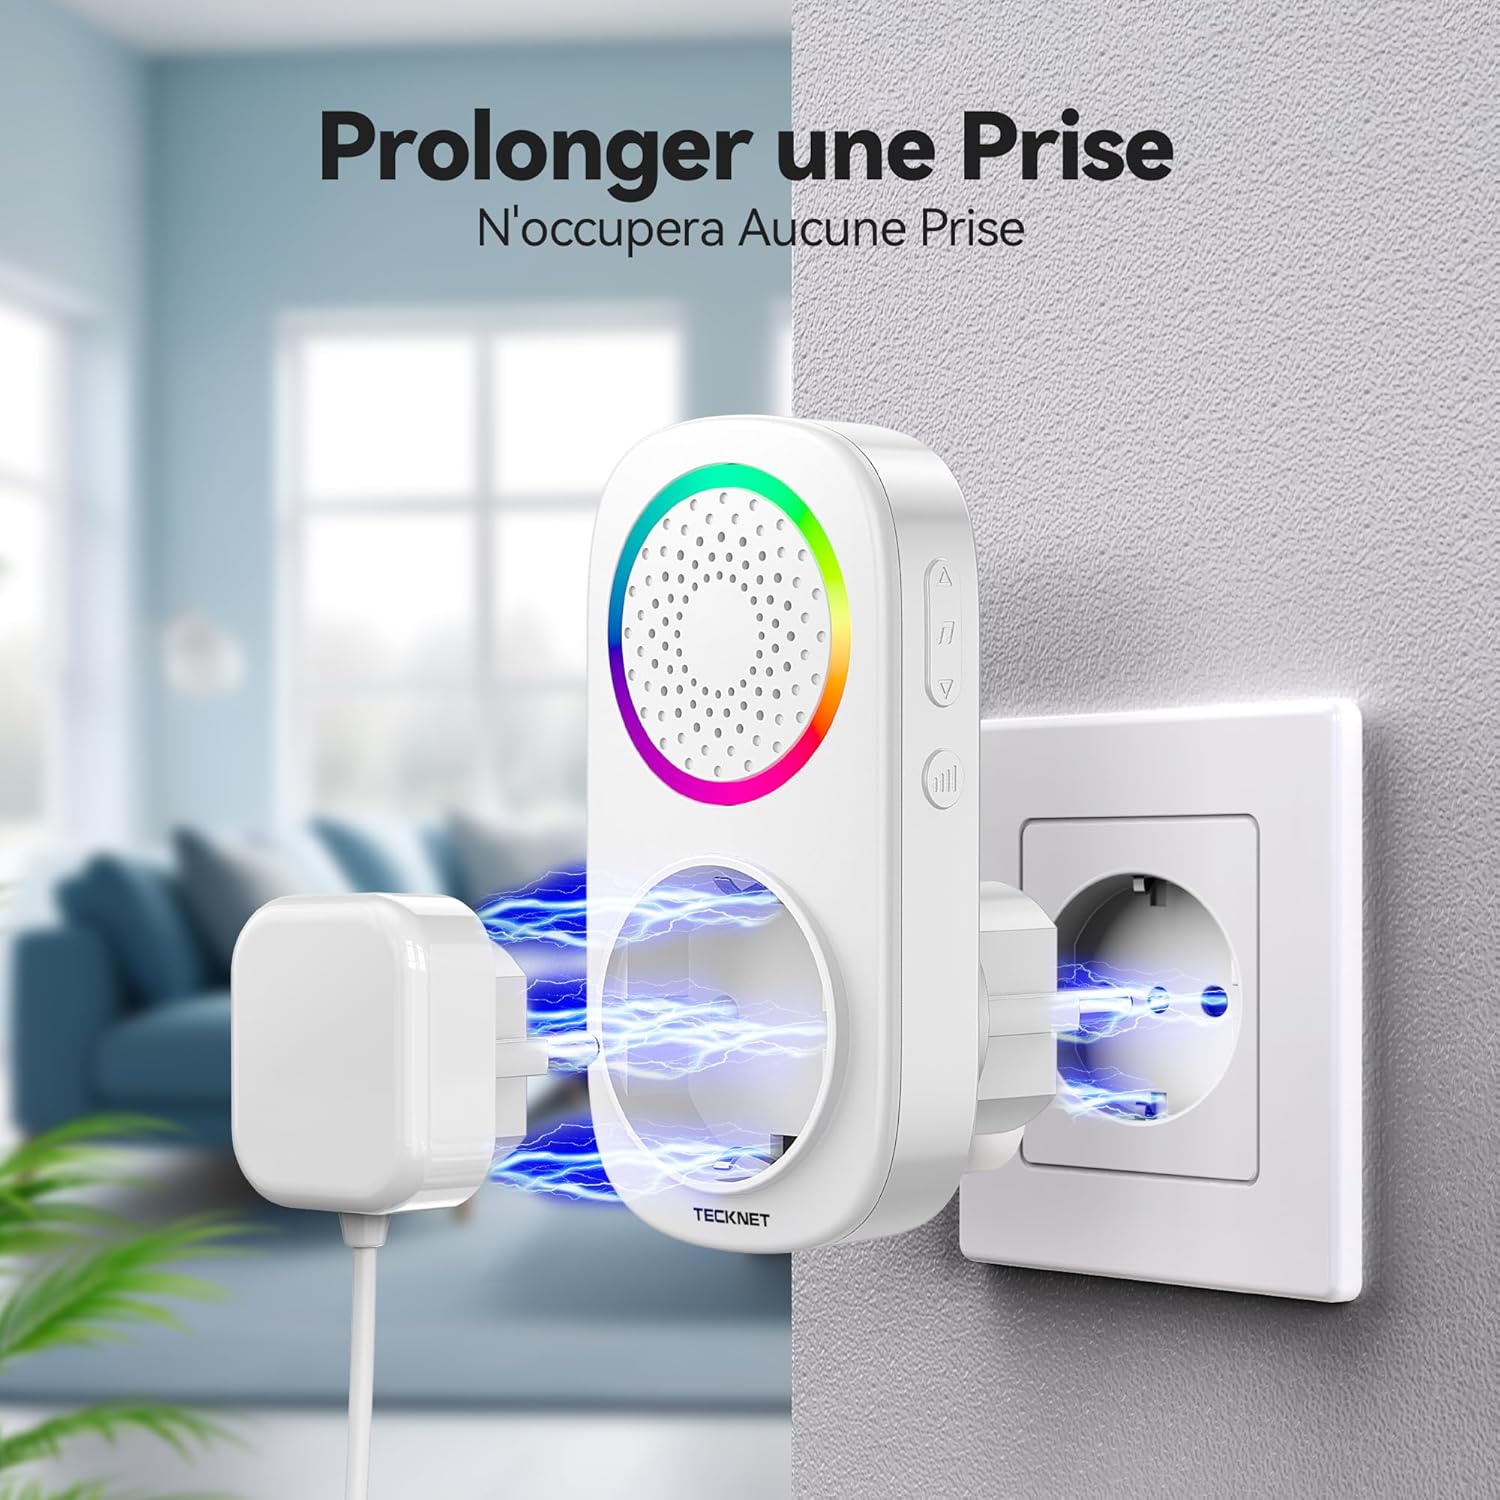
A detailed view of the plug-in receiver, clearly showing the additional power socket integrated into its design, allowing other electrical devices to be plugged in simultaneously.
4. Setup and Installation
4.1 Installing the Transmitter (Doorbell Button)
- Choose a Location: Select a flat, clean surface near your door. Ensure the surface is free from dust and moisture.
- Method 1: Adhesive Mounting
- Clean the mounting area thoroughly.
- Peel off one side of the double-sided adhesive tape and apply it firmly to the back of the transmitter.
- Peel off the other side of the tape and press the transmitter firmly onto the desired location for at least 30 seconds.
- Method 2: Screw Mounting
- Mark the positions for the screw holes on the wall.
- Drill two holes at the marked positions.
- Insert the wall plugs into the drilled holes.
- Align the transmitter with the holes and secure it with the provided screws.

This image demonstrates the simple process of attaching the self-powered transmitter to a wall using the provided double-sided adhesive. It highlights the ease of installation without the need for complex wiring.
4.2 Installing the Receiver
- Plug the receiver into any standard wall outlet within the desired range of the transmitter.
- Ensure the outlet is easily accessible and not obstructed.

This image shows the receiver unit connected to a power outlet, with another plug inserted into its integrated pass-through socket, illustrating that it does not block the use of the outlet.
5. Operating Instructions
5.1 Changing Melodies
The receiver has buttons on its side for melody selection. Press the Melody Up or Melody Down button to cycle through the 60 available chimes. The receiver will play a preview of each melody as you select it.
5.2 Adjusting Volume
Press the Volume button on the side of the receiver to cycle through 5 different volume levels (0dB to 120dB). Select the volume level that best suits your environment.
5.3 Changing Modes (Sound/Light)
The receiver offers different notification modes:
- Mode 1: RGB and Chime: The receiver will play the selected melody and illuminate its RGB light indicator.
- Mode 2: Chime Only: The receiver will only play the selected melody.
- Mode 3: RGB Only (Mute Mode): The receiver will only illuminate its RGB light indicator, without playing a sound. This is ideal for quiet environments or when you don't want to disturb others.
To switch between modes, press and hold the Melody Up button for approximately 3 seconds. The mode will change with each long press.

This diagram illustrates the location of the control buttons on the side of the receiver unit, indicating which buttons are used for melody selection (up/down) and volume control.
This image depicts the receiver operating in mute mode, where only the colorful RGB light flashes to indicate a visitor, without producing any sound, ideal for quiet environments.
6. Maintenance
- Clean the doorbell transmitter and receiver regularly with a soft, dry cloth. Do not use abrasive cleaners or solvents.
- Ensure the transmitter's button is free from debris to maintain optimal performance.
- The self-powered transmitter does not require battery replacement.
7. Troubleshooting
| Problem | Possible Cause | Solution |
|---|---|---|
| Doorbell does not ring. | Receiver is unplugged or power outage. | Ensure the receiver is securely plugged into a working power outlet. |
| Transmitter is too far from the receiver or obstructions. | Relocate the receiver closer to the transmitter or remove large metal objects/walls between them. | |
| Receiver is in mute mode (RGB only). | Press and hold the Melody Up button to cycle through modes until sound is enabled. | |
| Volume is too low or too high. | Volume setting needs adjustment. | Press the Volume button on the receiver to adjust to the desired level. |
| Melody is not desired. | Incorrect melody selected. | Use the Melody Up/Down buttons to select a different chime. |
8. Specifications
- Model: TK-WD809
- Brand: TECKNET
- Dimensions (Product): 8.4 x 7.3 x 11.9 cm
- Weight (Product): 210 grams
- Wireless Range: Up to 300 meters (1000 ft) in open areas
- Melodies: 60 selectable chimes
- Volume Levels: 5 levels (0dB to 120dB)
- Waterproof Rating: IP65 (Transmitter)
- Operating Temperature: -20°C to 60°C (-4°F to 140°F)
- Power Source (Transmitter): Self-powered (no battery required)
- Power Source (Receiver): AC Plug-in

This image visually confirms the IP65 waterproof and dustproof rating of the transmitter, showing it exposed to water and functioning reliably in diverse environmental conditions, from cold to hot climates.
9. Official Product Video
Video 9.1.1: Official product demonstration video for the TECKNET Wireless Doorbell.
This video provides a visual guide to the key features and benefits of the TECKNET Wireless Doorbell, including its self-powered design, IP65 waterproofing, long-range capability, and various sound and light modes. It demonstrates installation and usage scenarios.
10. Warranty and Support
TECKNET offers 36 months of professional customer support for registered users. If you encounter any issues during the use of your doorbell, please contact the TECKNET customer service team for assistance. Please refer to the product packaging or TECKNET's official website for contact details.