1. Introduction
Thank you for purchasing the BLOKEES Transformers Classic Class 16 Starscream action figure. This model kit allows you to assemble a highly detailed and articulated representation of Starscream from Transformers ONE. Featuring movie-authentic details, LED light-up eyes and chest, and a dynamic wing system, this figure is designed for display and posing. This manual provides essential information for assembly, operation, and maintenance to ensure a satisfying experience.
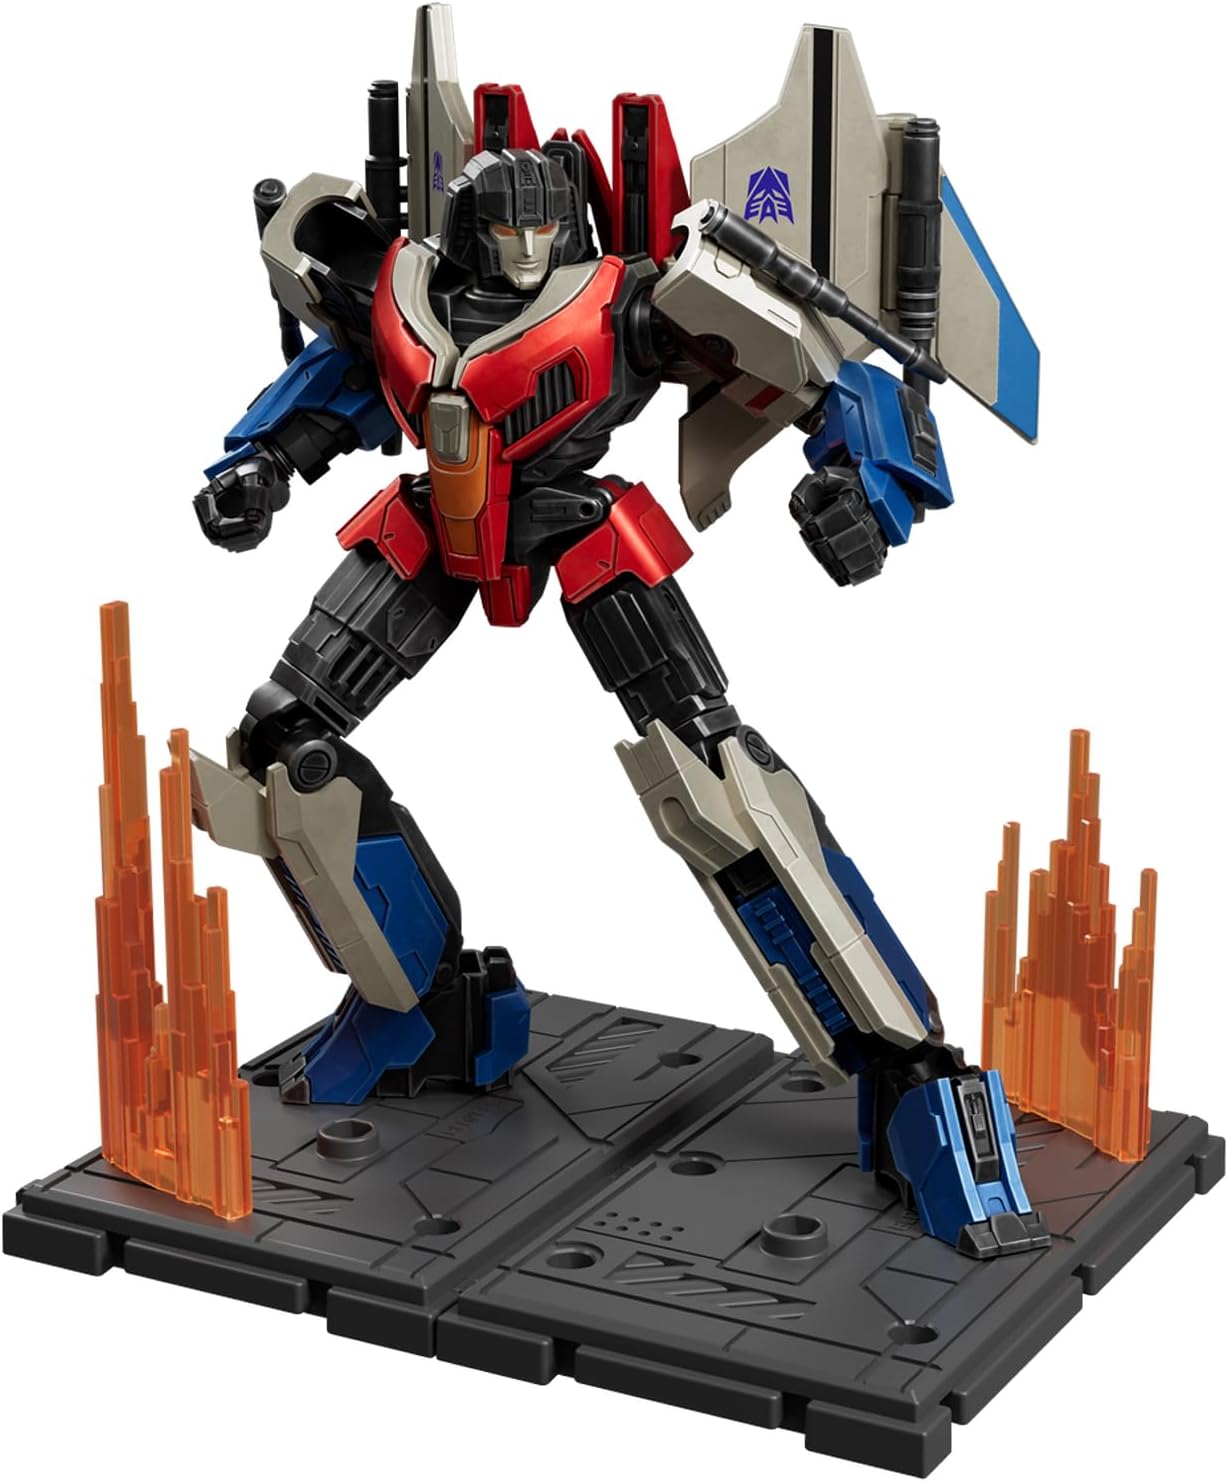
Image 1.1: Fully assembled BLOKEES Starscream figure.
2. Safety Information
Please read and understand all safety instructions before assembly and use. Keep this manual for future reference.
- Age Recommendation: This product is recommended for ages 12 years and up. It contains small parts that may pose a choking hazard for children under 3 years old.
- Small Parts: Handle small components with care during assembly. Keep them away from young children and pets.
- Battery Safety: The figure includes a nonstandard battery for the LED features. Ensure correct battery polarity when replacing. Do not mix old and new batteries. Dispose of used batteries responsibly according to local regulations. Do not attempt to recharge non-rechargeable batteries.
- Handling: Avoid excessive force when assembling or posing the figure to prevent damage to joints or plastic components.
3. Package Contents
Verify that all components are present before beginning assembly. The package includes 87 precisely engineered pieces for snap-fit assembly.
- Starscream figure components (on runners)
- Interchangeable hands
- Movie-specific weapons
- Display stand
- Exclusive Megatron vehicle form (62x20mm)
- Instruction manual
- 1 Nonstandard Battery (pre-installed or included for LED features)

Image 3.1: Overview of included components and accessories.

Image 3.2: Interchangeable accessories and bonus Megatron vehicle form.
4. Assembly Instructions
This model kit features easy snap-fit assembly. No tools, paint, or glue are required. Follow the steps carefully to ensure proper construction.
4.1 General Assembly Tips
- Identify all parts for each step before connecting them.
- Gently twist or cut parts from the runners. Avoid pulling forcefully.
- Ensure parts align correctly before applying pressure for snapping.
- If a part does not fit easily, recheck the orientation and corresponding part. Do not force connections.
4.2 Step-by-Step Assembly
- Head Assembly: Carefully assemble the head components. Ensure the LED module for the eyes is correctly inserted if not pre-installed.
- Torso Assembly: Connect the chest and back pieces. Integrate the LED module for the chest if applicable.
- Arm Assembly: Assemble the shoulder, bicep, forearm, and hand components for both arms. Attach interchangeable hands as desired.
- Leg Assembly: Construct the thigh, knee, and lower leg sections for both legs.
- Wing System: Assemble the multi-jointed wing components. Pay attention to the adjustable panels for dynamic posing.
- Final Assembly: Connect the assembled head, arms, and legs to the torso. Attach the wing system to the back.
- Weapons and Display Base: Attach weapons to the figure's hands or designated slots. Assemble the display base and place the figure on it.

Image 4.1: Rear view of Starscream, illustrating wing attachment points.
5. Operating Instructions
5.1 LED Light-Up Features
The Starscream figure includes built-in LED modules for its eyes and chest, providing dramatic lighting effects.
- Activation: Gently tap the designated area (usually the head or chest) to activate the LED lights.
- Deactivation: The lights may have an automatic timer. To manually deactivate or reactivate, tap the designated area again.
- Battery Replacement: If the lights dim or stop working, the battery may need replacement. Refer to the specific instructions on the packaging or included leaflet for battery compartment location and replacement procedure. Ensure to use the correct nonstandard battery type.

Image 5.1: Starscream highlighting LED features.
5.2 Articulation and Posing
The figure features 20+ precision joints, including twin-jointed wings and adjustable panels, allowing for a wide range of dynamic combat stances.
- Joint Movement: Gently manipulate joints to achieve desired poses. Avoid forcing joints beyond their natural range of motion.
- Wing Adjustment: The wing system is designed for dynamic posing. Adjust the panels and joints to replicate various flight or combat configurations.
- Stability: Utilize the included display stand for enhanced stability, especially when posing the figure in dynamic or airborne stances.
6. Maintenance
- Cleaning: Use a soft, dry cloth to gently wipe dust from the figure. Avoid using harsh chemicals or abrasive materials, which can damage the finish.
- Storage: Store the figure in a cool, dry place away from direct sunlight and extreme temperatures to prevent material degradation or discoloration.
- Battery Care: If the figure will not be used for an extended period, it is advisable to remove the battery to prevent leakage and potential damage to the LED module.
7. Troubleshooting
- LED Lights Not Working:
- Ensure the battery is correctly installed with the proper polarity.
- Replace the battery with a new one of the correct type.
- Confirm the LED module is securely connected within the figure.
- Parts Not Fitting:
- Recheck the instruction manual to ensure the correct parts are being used for the step.
- Verify the orientation of the parts. Many parts are designed to fit only one way.
- Gently clear any excess plastic flashing from the connection points if present.
- Loose Joints: If a joint becomes loose over time, a small amount of clear nail polish or a specialized joint-tightening fluid can be applied to the joint peg and allowed to dry before reassembly.
8. Specifications
| Product Dimensions | 6 x 3 x 10 inches (15.24 x 7.62 x 25.4 cm) |
| Item Weight | 7.8 ounces (221 grams) |
| Item Model Number | 71177 |
| Manufacturer Recommended Age | 12 years and up |
| Batteries | 1 Nonstandard Battery (included) |
| Material | Plastic |

Image 8.1: Product dimensions of the figure and packaging.
9. Warranty and Support
For warranty information, technical support, or inquiries regarding replacement parts, please refer to the contact information provided on the product packaging or visit the official BLOKEES website. Keep your proof of purchase for warranty claims.
