Introduction
This instruction manual provides essential information for the installation and maintenance of the Samoser Dryer Repair Kit. This kit includes replacement parts such as the top bearing, drum felt, drive belt, and slides, designed to restore optimal performance to compatible Kenmore dryer models. Please read all instructions carefully before proceeding with any installation.
Compatibility
This repair kit is compatible with various Kenmore dryer models. Please verify your dryer's model number against the list below to ensure proper fitment. If you are unsure about compatibility, please contact customer support.
Compatible Models include:
- 110.62802101, 110.62802102
- 110.62812100, 110.62812101
- 110.62822100, 110.62822101, 110.62822102
- 110.62824100, 110.62824101, 110.62824102
- 110.64602300, 110.64602301
- 110.64612200, 110.64622300, 110.64622301
- 110.64632300, 110.64632301
- 110.64712200, 110.64712201
- 110.64722400
- And many other models. Refer to your dryer's specific model number.
Package Contents
The Samoser Dryer Repair Kit includes the following components:
- Top Bearing
- Drum Felt Seal
- Drive Belt
- Bearing Slides
- Glide Slides
Setup and Installation
Important Safety Information: Before beginning any repair work, ensure the dryer is unplugged from the power outlet and the gas supply (if applicable) is turned off. Wear appropriate safety gear, including gloves and eye protection.
Replacing dryer components can be complex and may require specific tools and technical knowledge. It is highly recommended to consult your specific dryer model's service manual or seek assistance from a qualified appliance repair technician. The following provides general guidance for component identification.
1. Replacing Glide Slides / Bearing Slides

Figure 1: Glide slides and bearing slides, essential for smooth drum rotation.
These slides support the dryer drum and allow it to rotate smoothly. Worn slides can cause squeaking noises or the drum to drag. To replace, the dryer cabinet typically needs to be disassembled to access the front bulkhead where these slides are located. Carefully remove the old slides and snap the new ones into place, ensuring they are securely seated.
2. Replacing Drum Felt Seal
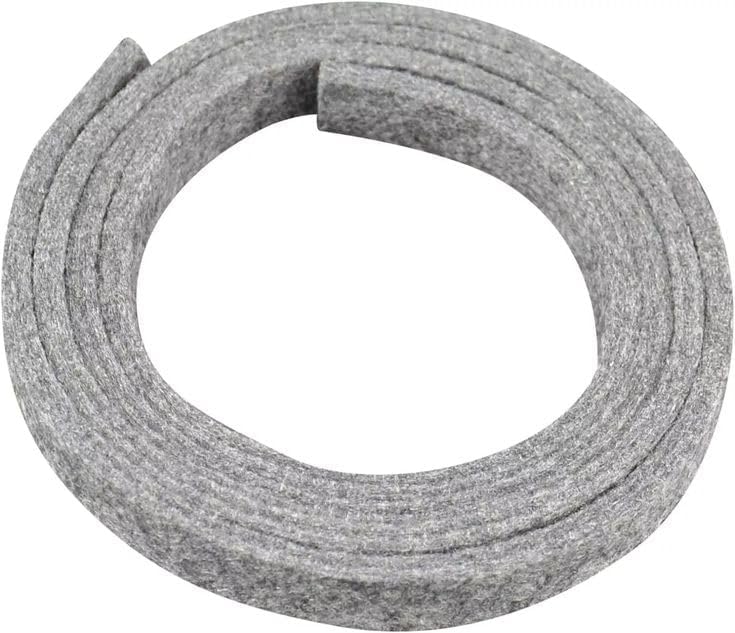
Figure 2: Drum felt seal, which prevents heat loss and clothes from getting caught.
The drum felt seal is located around the front and/or rear opening of the dryer drum. It prevents heat from escaping and clothes from getting caught between the drum and the cabinet. Replacement usually involves removing the drum and carefully peeling off the old felt. Clean the surface thoroughly before applying the new felt seal, often with adhesive, ensuring a tight fit.
3. Replacing Drive Belt
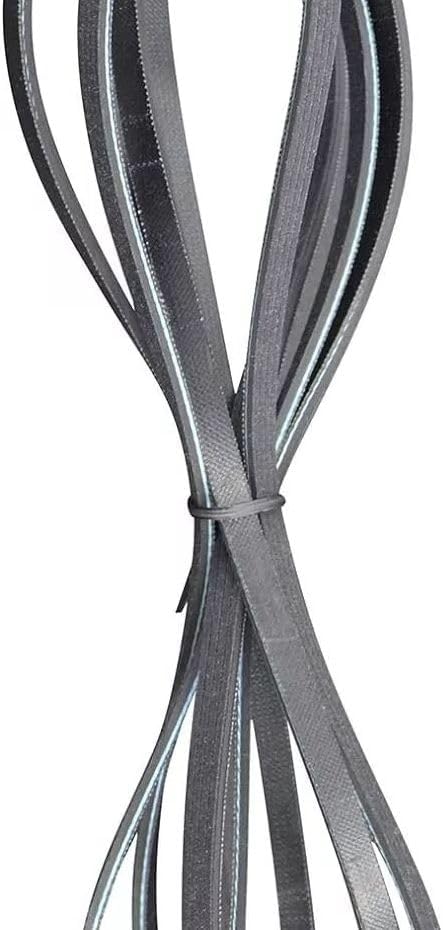
Figure 3: Drive belt, responsible for rotating the dryer drum.
The drive belt wraps around the dryer drum and the motor pulley, causing the drum to spin. If the dryer drum is not spinning, the belt may be broken or stretched. Accessing the belt typically requires removing the top and front panels of the dryer. Carefully route the new belt around the drum and tension pulley, then around the motor pulley, ensuring it is properly aligned.
4. Replacing Top Bearing
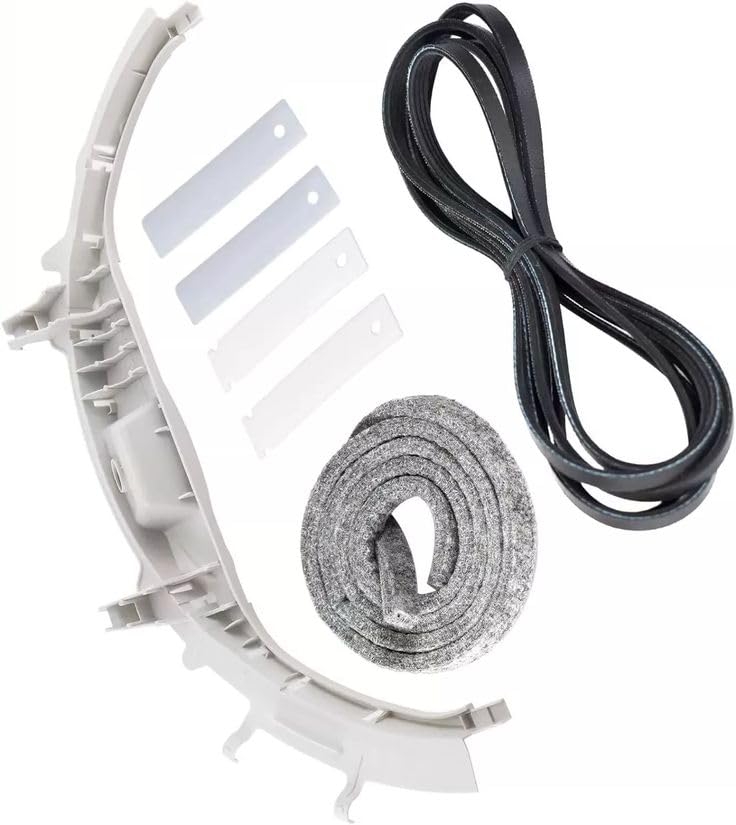
Figure 4: Top bearing, supporting the dryer drum at the rear.
The top bearing (or rear drum support) helps the drum rotate smoothly. Wear in this component can lead to excessive noise or drum misalignment. Replacement often involves disassembling the dryer to access the rear of the drum. Ensure the new bearing is properly seated and lubricated according to your dryer's service manual specifications.
Operating
After successful installation of the repair kit components, reassemble your dryer carefully, ensuring all connections are secure and panels are properly fastened. Plug the dryer back into the power outlet and turn on the gas supply (if applicable). Run a test cycle with a small load to confirm proper operation, checking for unusual noises or vibrations. Refer to your dryer's original operating manual for specific usage instructions.
Maintenance
Regular maintenance can extend the life of your dryer and its components:
- Clean Lint Filter: Clean the lint filter before or after every load to maintain airflow and efficiency.
- Inspect Venting: Periodically check and clean the dryer vent system to prevent lint buildup, which can be a fire hazard and reduce efficiency.
- Listen for Unusual Noises: Pay attention to any new squeaks, grinding, or thumping sounds, which could indicate wear in the drum support, bearings, or belt.
- Check Drum Movement: Ensure the drum rotates freely and smoothly.
Troubleshooting
| Problem | Possible Cause | Solution |
|---|---|---|
| Dryer drum not spinning | Broken or dislodged drive belt. | Inspect and replace the drive belt if necessary. Ensure it is properly routed. |
| Squeaking or grinding noise | Worn drum slides, idler pulley, or top bearing. | Inspect and replace worn slides or bearings. Lubricate components if appropriate (refer to dryer manual). |
| Clothes getting caught or heat loss | Damaged or worn drum felt seal. | Replace the drum felt seal, ensuring a tight fit. |
| Dryer runs but no heat | (Not directly related to this kit) Heating element, thermal fuse, or thermostat issue. | Consult a qualified technician for diagnosis and repair of heating components. |
Specifications
- Manufacturer: Samoser
- Part Numbers: 110.62802101, 110.62802102
- Item Model Numbers: 110.62812100, 110.62812101
- ASIN: B0DW8VTJCW
- Date First Available: February 6, 2025
Warranty and Support
For questions regarding product compatibility, installation, or any other concerns, please contact Samoser customer support. We aim to resolve your inquiries within 24 hours.
This product is an aftermarket replacement part. Please refer to your original dryer manufacturer's warranty for coverage on the appliance itself. This kit is intended to replace specific worn components.