Introduction
This manual provides detailed instructions for the safe and effective use of your Lichamp 2-Pack Solar Camping Lantern. Please read this manual thoroughly before operating the device and retain it for future reference. This lantern is designed for versatile lighting in various indoor and outdoor environments, featuring multiple power sources and light modes.

Image: The Lichamp Solar Camping Lantern, shown both collapsed for portability and expanded for illumination.
Product Features
- Compact and Portable Design: The LED solar lantern collapses to a compact size, similar to a smartphone, and features a large foldable handle for easy carrying and space-saving storage.
- Durable Construction: Crafted from military-grade ABS material, ensuring weather resistance and longevity.
- Three Light Modes: Offers 600 lumens bright white light, 200 lumens standard white light, and a warm orange light for various lighting needs.
- Multiple Power Options: Can be powered via USB, solar charging, or 3 AA batteries (not included).
- Integrated Power Bank: The rechargeable battery includes overcharge protection and can function as a power bank to charge compatible Android devices in emergencies.
- Glow-in-the-Dark Switch: Features a glow-in-the-dark switch for easy location in low-light conditions.

Image: The compact, collapsed form of the Lichamp Solar Camping Lantern, highlighting its small size.

Image: The lantern hanging by its foldable handle, demonstrating its secure hanging capability.
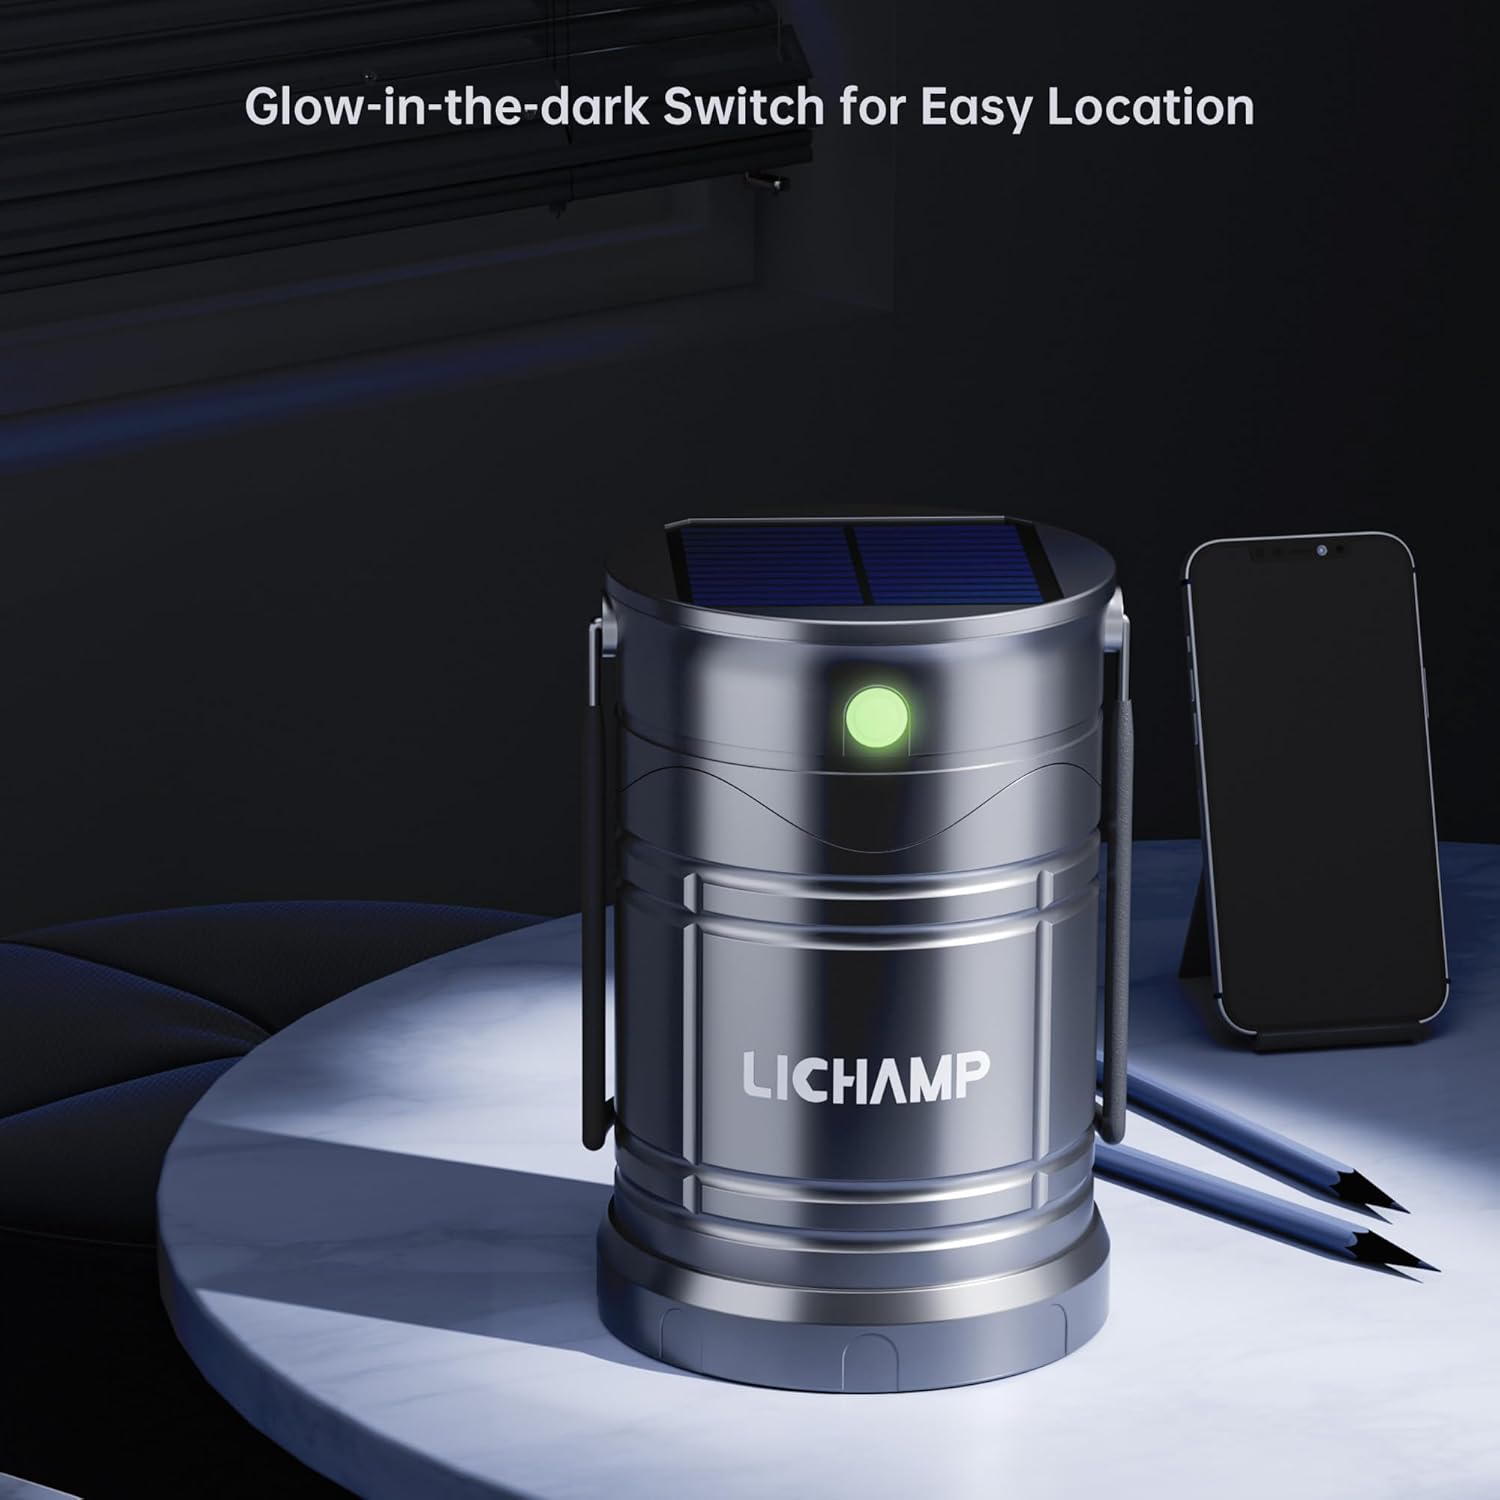
Image: A close-up view of the lantern's glow-in-the-dark switch, visible in a dark room.
Package Contents
Your Lichamp 2-Pack Solar Camping Lantern package includes:
- 2 x Lichamp Solar Camping Lanterns
- 2 x USB Charging Cables
Specifications
| Feature | Detail |
|---|---|
| Model Number | CLS-K002GH |
| Light Source Type | LED (Light Emitting Diode) |
| Power Source | Solar Powered, USB Rechargeable, 3 AA Battery Powered |
| Material | Acrylonitrile Butadiene Styrene (ABS) |
| Color | Dark Gray |
| Item Dimensions (L x W x H) | 3.74"L x 3.62"W x 5.1"H |
| Item Weight | 0.76 Kilograms |
| Water Resistance Level | Water Resistant |
| Battery Type (AA) | Alkaline (3 AA batteries required, not included) |
| Special Features | Adjustable Brightness and Color Temperature |
Setup
1. Unpacking
Carefully remove the lanterns and USB cables from the packaging. Inspect for any damage. If any components are missing or damaged, contact customer support.
2. Battery Installation (Optional AA Batteries)
Your lantern includes a built-in rechargeable battery. For extended use or as a backup, you can install 3 AA alkaline batteries (not included).
- Locate the battery compartment cover on the bottom of the lantern.
- Twist the cover counter-clockwise to open.
- Insert 3 AA batteries, ensuring correct polarity (+/-).
- Replace the cover and twist clockwise to secure.
3. Initial Charge
It is recommended to fully charge the lantern before first use. You can charge it via USB or solar power.

Image: Illustration of the three power modes: solar, USB, and AA battery. Note that AA batteries are not included.
Operating Instructions
1. Turning On/Off
To turn the lantern on, gently pull the top section upwards to expand the light. The light will illuminate automatically. To turn it off, push the top section downwards until the lantern is fully collapsed.
2. Changing Light Modes
The lantern features three distinct light modes. To cycle through these modes, press the power button located on the side of the lantern while it is expanded.
- First Press: Activates 600 lumens bright white light.
- Second Press: Switches to 200 lumens standard white light.
- Third Press: Activates warm orange light (energy-saving mode).
- Fourth Press: Turns the light off.

Image: The lantern showcasing its three light modes: bright white, standard white, and warm orange energy-saving mode.
Charging
Your Lichamp Solar Camping Lantern offers flexible charging options:
1. Solar Charging
Place the lantern in direct sunlight with the solar panel facing upwards. The solar panel is located on the top of the lantern when collapsed. A charging indicator light will illuminate to confirm charging is in progress. Solar charging is ideal for outdoor use and maintaining battery life.

Image: A visual representation of the solar panel on top of the lantern absorbing sunlight for charging.
2. USB Charging
Connect the provided USB cable to the lantern's USB charging port (located near the power button) and to a standard USB power source (e.g., wall adapter, computer, power bank). The charging indicator light will show charging status. USB charging provides a faster charge than solar power.
Power Bank Function
The built-in rechargeable battery in your lantern can also serve as an emergency power bank for compatible devices.
Charging External Devices
- Ensure the lantern has sufficient charge.
- Locate the USB output port on the side of the lantern.
- Connect your device's charging cable to the USB output port on the lantern.
- The lantern will begin charging your device.
Note: This feature is intended for emergency use and may not provide a full charge to all devices.
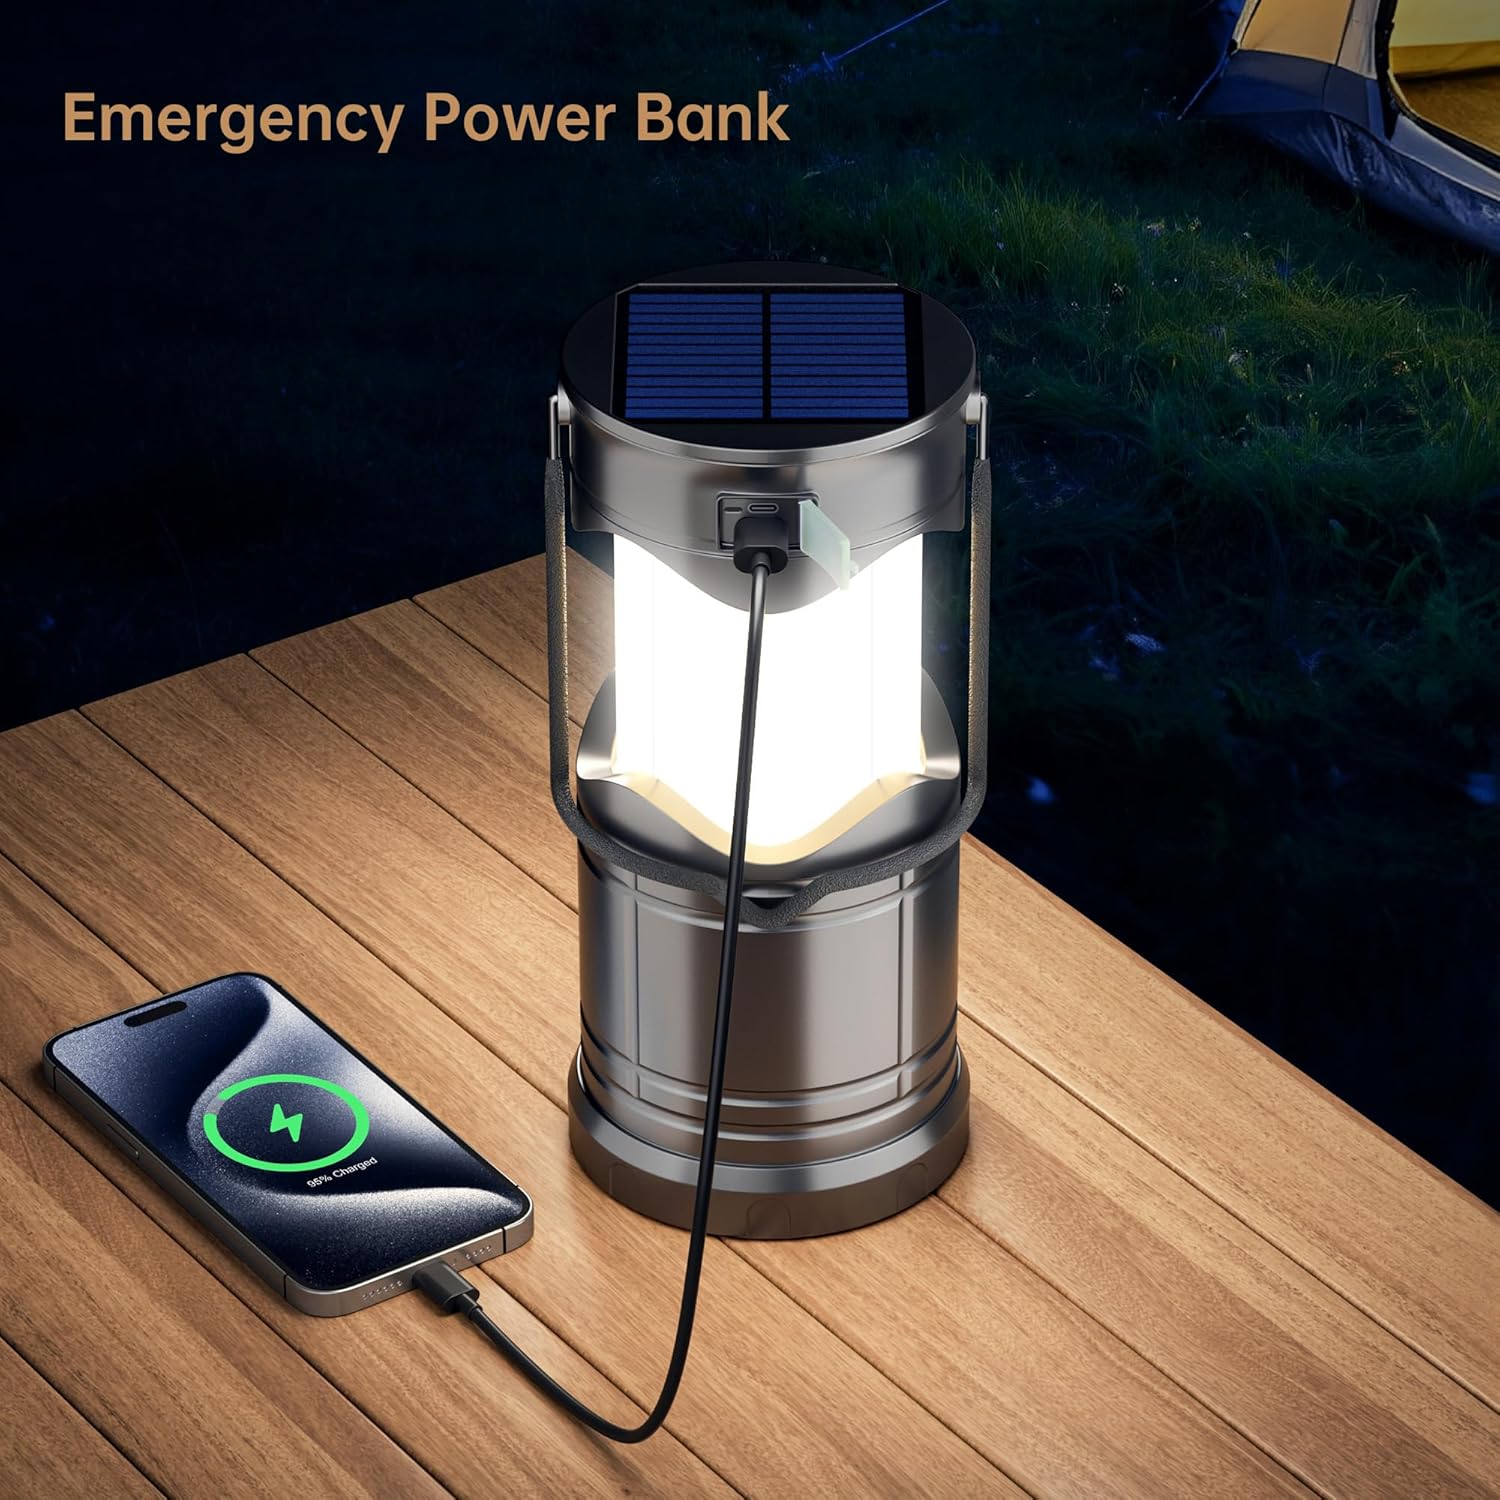
Image: The lantern acting as an emergency power bank, connected to and charging a smartphone.
Maintenance
- Cleaning: Wipe the lantern with a soft, damp cloth. Do not use abrasive cleaners or immerse the unit in water.
- Storage: When not in use for extended periods, store the lantern in a cool, dry place. Ensure the built-in battery is partially charged (around 50%) before storage and recharge it every 3-6 months to prolong battery life.
- Battery Care: If using AA batteries, remove them if the lantern will not be used for a long time to prevent leakage.
Troubleshooting
| Problem | Possible Cause | Solution |
|---|---|---|
| Lantern does not turn on. | Battery is depleted. | Charge the lantern via USB or solar power. Ensure AA batteries (if installed) are fresh and correctly inserted. |
| Light is dim. | Low battery charge. | Recharge the lantern. |
| Solar charging indicator not on. | Insufficient sunlight or panel obstruction. | Move the lantern to direct sunlight. Ensure the solar panel is clean and unobstructed. |
| Cannot charge external device. | Lantern battery is low or device is incompatible. | Ensure the lantern is fully charged. Verify your device is compatible with USB charging. |
Safety Information
- Do not look directly into the LED light when it is on, as it may cause temporary vision impairment.
- Keep out of reach of children.
- Do not disassemble, modify, or attempt to repair the lantern yourself. This may void the warranty and pose a safety risk.
- Avoid exposing the lantern to extreme temperatures, direct flame, or prolonged immersion in water. While water-resistant, it is not waterproof.
- Use only the provided USB cable or a certified equivalent for charging.
- Dispose of batteries according to local regulations.
Warranty and Support
Warranty
The Lichamp Solar Camping Lantern comes with a 1-year manufacturer's warranty from the date of purchase. This warranty covers defects in materials and workmanship under normal use. It does not cover damage caused by misuse, accidents, unauthorized modifications, or normal wear and tear.
Customer Support
For warranty claims, technical assistance, or any questions regarding your product, please contact Lichamp customer support through the retailer where you purchased the item or visit the official Lichamp store online. You can find more information and contact details at the Lichamp Brand Store.