1. Introduction
This manual provides detailed instructions for the proper setup, operation, and maintenance of your GGGUOJINN U87 Condenser Microphone. Please read this manual thoroughly before using the product to ensure optimal performance and longevity.
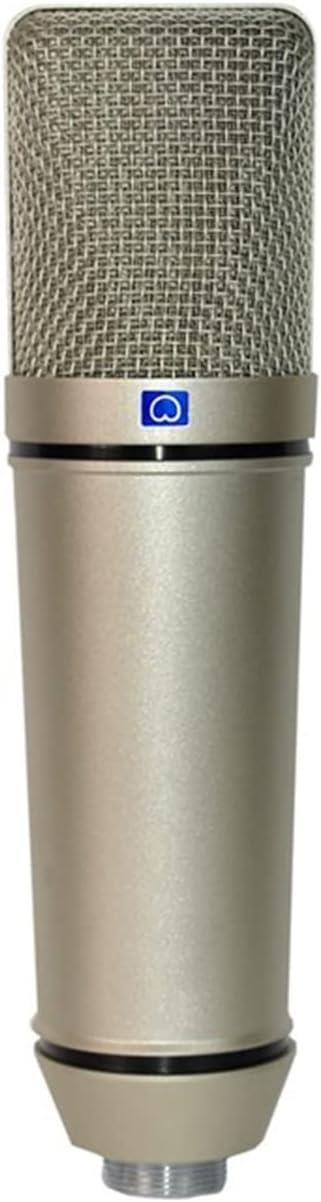
Image 1.1: The GGGUOJINN U87 Condenser Microphone, showcasing its metallic body and grille.
2. Package Contents
Verify that all items listed below are present in your product package:
- U87 Condenser Microphone
- Connecting Wires (XLR to 3.5mm cable)
- Shock Mount

Image 2.1: The microphone alongside its shock mount, connecting cable, and foam windscreen.
3. Product Features
The GGGUOJINN U87 Condenser Microphone is designed for high-quality audio capture, incorporating several key features:
- 26mm Mic Core: Equipped with a 26mm microphone core for high sensitivity and clear audio reproduction.
- Cardioid Directivity: Features a cardioid pickup pattern to effectively enhance the main sound source and minimize background noise.
- Durable Construction: The microphone body is manufactured from alloy material for strength and durability.
- Auto Tone: Incorporates auto tone functionality for outstanding timbre.
- Active Noise Reduction: Designed with active noise reduction for pure and clear sound without unwanted interference.
- Built-in Sound Card: Features a professional-grade, fine-tuned built-in sound card.
- Wide Compatibility: Compatible with various types of computer equipment and operating systems.
- Adjustable Angle: Allows for easy adjustment of the microphone's angle to optimize sound source aiming and sensitivity.
4. Setup Guide
4.1 Attaching the Shock Mount
- Carefully unbox the shock mount.
- Gently place the microphone into the center cradle of the shock mount. Ensure it is securely held by the elastic bands or clamping mechanism without excessive force.
- Attach the shock mount to a compatible microphone stand (not included) using its threaded connector.
4.2 Connecting to Your Computer
- Locate the XLR output port at the base of the microphone.
- Connect the XLR end of the provided connecting cable to the microphone's output port. Ensure a firm connection.
- Connect the 3.5mm jack end of the cable to the microphone input port (usually colored pink or marked with a microphone icon) on your computer or laptop.
- Your operating system should automatically detect the microphone. No specific driver installation is typically required for standard operation.

Image 4.1: Detail of the microphone's XLR output port.

Image 4.2: The 3.5mm interface diameter of the connecting cable.
5. Operation
5.1 Microphone Placement
- Position the microphone approximately 6-12 inches (15-30 cm) from the sound source for optimal clarity.
- Ensure the front of the microphone (the side with the grille) is facing the sound source.
- Utilize the adjustable angle feature to fine-tune the microphone's direction towards the sound source.
5.2 System Audio Settings
- Windows: Go to 'Sound Settings' > 'Sound Control Panel' > 'Recording' tab. Select the GGGUOJINN microphone as the default device. Adjust the microphone level in 'Properties' > 'Levels'.
- macOS: Go to 'System Preferences' > 'Sound' > 'Input' tab. Select the GGGUOJINN microphone and adjust the input volume.
5.3 Recording Software Settings
In your recording software (e.g., Audacity, OBS Studio, GarageBand), select the GGGUOJINN microphone as your input device. Monitor your audio levels to prevent clipping (distortion) and ensure a strong signal.
6. Maintenance
- Cleaning: Use a soft, dry cloth to wipe the microphone body. Avoid using liquid cleaners or solvents, as they may damage the finish or internal components.
- Storage: When not in use, store the microphone in a dry, dust-free environment, preferably in its original packaging or a protective case.
- Handling: Handle the microphone with care. Avoid dropping it or subjecting it to strong impacts, which can affect its performance.
7. Troubleshooting
7.1 No Sound Output
- Ensure the microphone cable is securely connected to both the microphone and your computer's input port.
- Verify that the microphone is selected as the default recording device in your computer's sound settings.
- Check the input volume levels in your computer's sound settings and recording software.
- Test with another cable or computer if possible to rule out faulty components.
7.2 Distorted or Unclear Sound
- Reduce the microphone input level in your computer's sound settings or recording software to prevent clipping.
- Ensure the microphone is not too close to the sound source, which can cause proximity effect or overload.
- Check for environmental noise and try to record in a quieter space.
7.3 Microphone Not Recognized by Computer
- Try connecting the microphone to a different USB port or a different computer.
- Restart your computer.
- Ensure your operating system is up to date.
8. Specifications
| Feature | Specification |
| Microphone Core | 26mm |
| Directivity | Cardioid |
| Body Material | Alloy |
| Microphone Length | 19.5 cm |
| Cable Length | 250 cm |
| ASIN | B0DW3N3XMX |
| Manufacturer | GGGUOJINN |

Image 8.1: Microphone and cable with indicated dimensions.
9. Warranty and Support
For warranty information or technical support, please refer to the documentation provided at the time of purchase or contact the seller directly. Keep your purchase receipt as proof of purchase.