1. Important Safety Instructions
Please read all instructions carefully before using the Pasapair Portable Air Conditioner. Retain this manual for future reference.
- Ensure the unit is placed on a flat, stable surface to prevent tipping.
- Do not block air inlets or outlets. Maintain at least 20 cm clearance from walls or other objects.
- Do not operate the unit with a damaged cord or plug.
- Always unplug the unit before cleaning or servicing.
- This appliance is not intended for use by persons (including children) with reduced physical, sensory or mental capabilities, or lack of experience and knowledge, unless they have been given supervision or instruction concerning use of the appliance by a person responsible for their safety.
- Use only accessories recommended by the manufacturer.
2. Product Overview
The Pasapair Portable Air Conditioner A019F-06KR is a versatile 4-in-1 unit designed for cooling, dehumidifying, fan operation, and sleep mode. It features WiFi and app control for convenient operation.
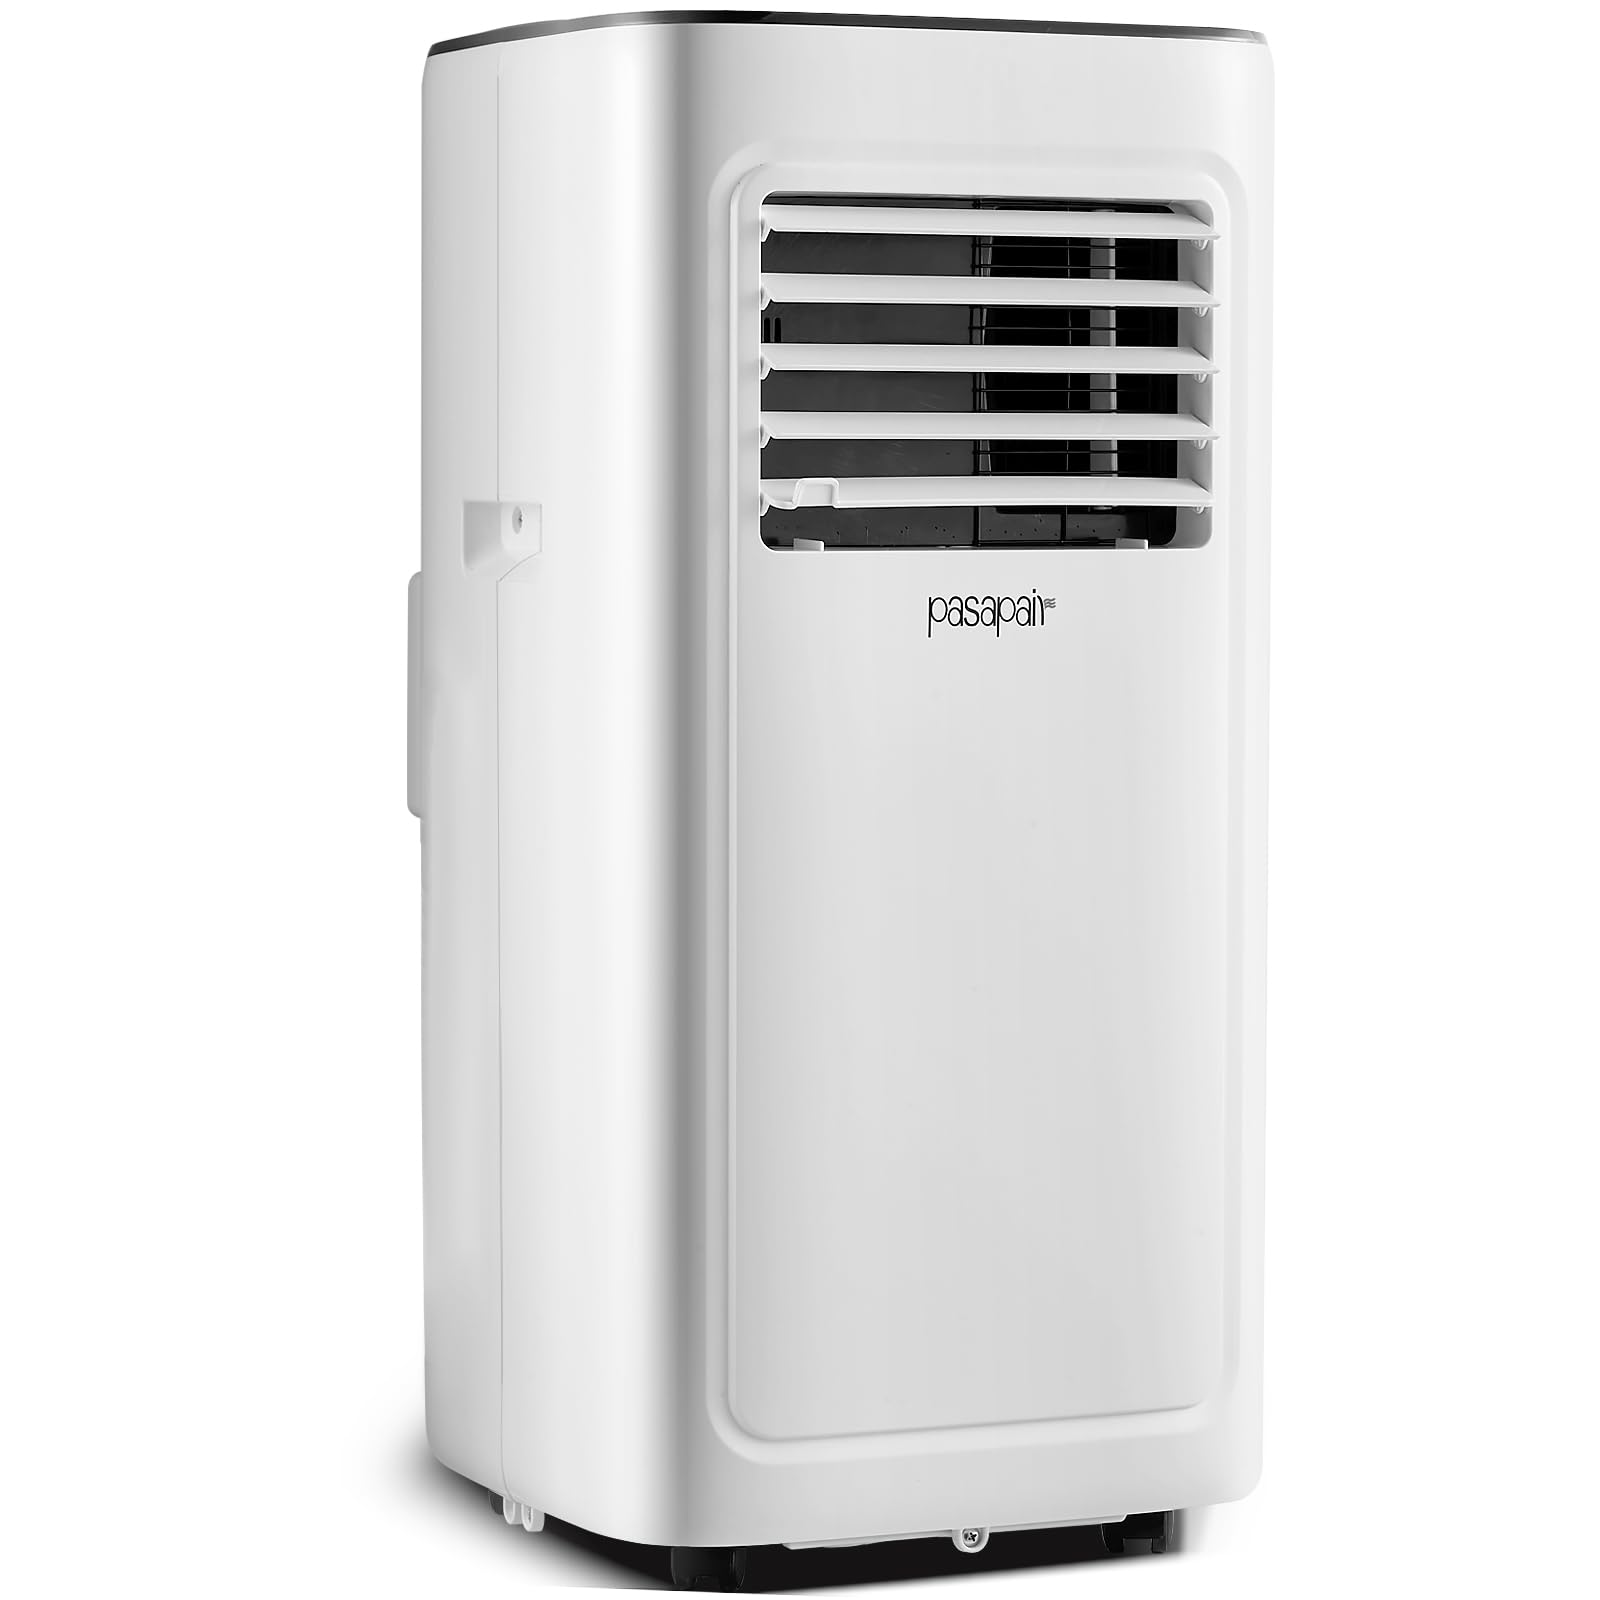
Image 1: Front view of the Pasapair Portable Air Conditioner showing its overall design and dimensions (Height: 97cm, Width: 35cm, Depth: 38.5cm).
2.1 Included Components
- Portable Air Conditioner Unit
- Window Kit (Hose Connector, Window Kit Adapter, Exhaust Hose) - Applicable lengths: 29-48 inches
- Water Pipe
- Remote Control
- User Manual (this document)
3. Setup and Installation
3.1 Unpacking
- Carefully remove the unit and all accessories from the packaging.
- Inspect for any shipping damage. Contact customer support if damage is found.
- Retain packaging for future storage or transport.
3.2 Unit Placement
- Place the air conditioner on a firm, level surface in the desired room (e.g., bedroom, living room).
- Ensure there is at least 20 cm (8 inches) of space around the unit for proper airflow.
- Position the unit near a window for exhaust hose installation and a grounded electrical outlet.
3.3 Window Kit Installation
- Attach the hose connector to one end of the exhaust hose.
- Attach the window kit adapter to the other end of the exhaust hose.
- Adjust the window kit to fit your window opening (applicable lengths: 29-48 inches).
- Secure the window kit in the window frame.
- Insert the window kit adapter into the opening of the window kit, ensuring a tight seal to prevent air leakage.
- Connect the hose connector to the exhaust outlet on the back of the air conditioner unit.
3.4 Power Connection
- Plug the power cord into a grounded 115 Volts (AC) electrical outlet.
- Do not use extension cords or power strips.
4. Operating Instructions
4.1 Control Panel Overview
The unit features a touch control panel on its top surface. Refer to the diagrams in the full printed manual for specific button layouts.
- Power Button: Turns the unit ON/OFF.
- Mode Button: Cycles through Cool, Dehumidify, Fan, and Sleep modes.
- Temperature Up/Down Buttons: Adjusts the desired temperature in Cool mode.
- Fan Speed Button: Selects fan speed (Low, Medium, High).
- Timer Button: Sets the auto-on or auto-off timer.
4.2 Remote Control Operation
The included remote control provides convenient access to all functions. Ensure batteries are correctly inserted.
- Point the remote control directly at the receiver window on the air conditioner.
- Buttons on the remote control correspond to the functions on the control panel.
4.3 WiFi and App Control
The Pasapair A019F-06KR can be controlled via a smartphone app. Follow these general steps:
- Download the official Pasapair app from your device's app store.
- Register an account or log in.
- Follow the in-app instructions to add your device. This typically involves putting the air conditioner into pairing mode (refer to the full manual for specific button combinations) and connecting it to your home WiFi network.
- Once connected, you can control modes, temperature, fan speed, and set schedules from your smartphone.
4.4 Operating Modes
- Cool Mode: Provides cooling. Set desired temperature using the Up/Down buttons.
- Dehumidify Mode: Removes moisture from the air. The fan operates at a low speed.
- Fan Mode: Circulates air without cooling. Select desired fan speed.
- Sleep Mode: Optimizes cooling for sleep by gradually increasing the temperature and reducing fan speed for quieter operation.
5. Maintenance
Regular maintenance ensures optimal performance and extends the lifespan of your air conditioner.
5.1 Air Filter Cleaning
The unit is equipped with a washable filter. Clean the filter every two weeks or more frequently depending on usage and air quality.
- Unplug the air conditioner from the power outlet.
- Locate and remove the air filter (typically on the back or side of the unit).
- Wash the filter with warm, soapy water. Rinse thoroughly.
- Allow the filter to air dry completely before reinserting it into the unit. Do not expose to direct sunlight.
5.2 Water Drainage
During dehumidification or cooling in high humidity, water will accumulate inside the unit. The unit has a self-evaporative system, but manual drainage may be required if the water tank becomes full or for long-term storage.
- Unplug the air conditioner.
- Place a shallow pan or tray under the drainage port (usually at the bottom rear of the unit).
- Remove the drain plug/cap. Water will begin to flow out.
- For continuous drainage, attach the provided water pipe to the drainage port and direct it to a floor drain or suitable container.
- Once drained, replace the drain plug/cap securely.
5.3 Storage
Before storing the unit for an extended period:
- Drain all accumulated water.
- Clean the air filter.
- Run the unit in Fan mode for a few hours to dry the internal components.
- Unplug the power cord and coil it neatly.
- Store the unit in a cool, dry place, preferably in its original packaging.
6. Troubleshooting
Before contacting customer support, please refer to the following troubleshooting guide:
| Problem | Possible Cause | Solution |
|---|---|---|
| Unit does not turn on. | No power, power cord unplugged, circuit breaker tripped. | Check power connection, reset circuit breaker. |
| Unit is not cooling effectively. | Dirty air filter, blocked air intake/outlet, room too large, window kit not sealed, door/window open. | Clean air filter, ensure clear airflow, check room size, seal window kit, close doors/windows. |
| Water leakage. | Drain plug loose, unit tilted, water tank full (if applicable). | Ensure drain plug is secure, place unit on level surface, drain water. |
| Unusual noise. | Unit not level, foreign object in fan, internal issue. | Ensure unit is level, check for obstructions, contact support if noise persists. |
| Remote control not working. | Dead batteries, obstruction between remote and unit. | Replace batteries, remove obstructions. |
| App control not connecting. | WiFi signal weak, incorrect pairing, app issues. | Check WiFi signal, re-attempt pairing, restart app/phone. |
7. Specifications
| Feature | Detail |
|---|---|
| Model Number | A019F-06KR |
| Cooling Power | 10000 British Thermal Units |
| Voltage | 115 Volts (AC) |
| Wattage | 950 watts |
| Noise Level | 45 Decibels |
| Refrigerant | R-410A |
| Product Dimensions (D x W x H) | 38.5D x 35W x 97H Centimetres |
| Weight | 24.55 kg (54.12 Pounds) |
| Capacity | 2.2 Cubic Feet |
| Seasonal Energy Efficiency Ratio (SEER) | 5 |
| Controller Type | App Control, Remote Control, Touch Control |
| Filter Type | Washable Filter |
| Installation Type | Portable |
| Core Material | Aluminium Alloy |
| Power Source | Corded Electric |
| Room Type | Bedroom, Living Room |
8. Warranty Information
This Pasapair Portable Air Conditioner Model A019F-06KR comes with a 1-year limited warranty from the date of purchase. This warranty covers manufacturing defects in materials and workmanship under normal use.
The warranty does not cover damage resulting from:
- Improper installation or operation.
- Accidental damage, misuse, abuse, or neglect.
- Unauthorized repairs or modifications.
- Normal wear and tear.
For detailed warranty terms and conditions, please refer to the official Pasapair website or contact customer support.
9. Customer Support
If you have any questions, require technical assistance, or need to claim warranty service, please contact Pasapair customer support.
Manufacturer: Pasapair
Please visit the official Pasapair website for the most up-to-date contact information, including phone numbers, email addresses, and online support portals.