0131133553GR16
Generic Lengthened Toilet Drain Tube Connecting Pipe User Manual
Model: 0131133553GR16
1. Introduction
This manual provides comprehensive instructions for the installation, operation, and maintenance of your Generic Lengthened Toilet Drain Tube Connecting Pipe. Designed for wall-mounted toilet flush systems, this PVC connecting pipe ensures a secure and odor-free connection to your drainage system. Please read this manual thoroughly before installation and retain it for future reference.

Image 1.1: Two Lengthened Toilet Drain Tube Connecting Pipes, one white and one black, shown side-by-side. These pipes are essential components for connecting wall-mounted toilets to the drainage system.
2. Package Contents
Verify that all components are present and undamaged upon opening the package.
- 2 x Lengthened Toilet Drain Tube Connecting Pipe
3. Specifications
| Feature | Detail |
|---|---|
| Material | PVC |
| Color | Black |
| Pipe 1 Dimensions (approx.) | 18.50 x 13.60 x 13.60 cm (7.27 x 5.34 x 5.34 inches) |
| Pipe 2 Dimensions (approx.) | 18.40 x 5.60 x 4.50 cm (7.24 x 2.20 x 1.77 inches) |
| Item Weight | 11.8 ounces |
| Model Number | 0131133553GR16 |

Image 3.1: Detailed dimensions of both the black and white toilet drain tubes, showing measurements in both inches and centimeters for various parts of the pipes.
4. Setup and Installation
4.1 Before Installation
- Ensure the area around the toilet drain is clean and free of debris.
- Gather any necessary tools, though the design allows for easy, tool-free insertion.
- Confirm the dimensions of your toilet's drain outlet and the wall drain to ensure compatibility.
- If the pipe length needs adjustment, it can be freely cut to the required size.

Image 4.1: A white toilet drain tube illustrating its good sealing capability due to high resilience and tight bonding. The image also shows dotted lines and scissors, indicating that the tube can be cut to a shorter length if needed for specific installations.
4.2 Installation Steps
- Prepare the Drain: Ensure the wall drain opening is clean and ready to receive the connecting pipe.
- Insert the Pipe: Carefully insert the narrower end of the connecting pipe into the wall drain opening. The flexible design allows for easy insertion without specialized tools.
- Connect to Toilet: Align the wider end of the connecting pipe with the toilet's drain outlet. Push firmly to create a tight seal. The pipe's excellent sealing effect helps prevent leaks and odors.
- Verify Connection: Once installed, ensure both ends of the pipe are securely connected and there are no visible gaps. The strong toughness and ductility of the PVC material contribute to a reliable connection.
- Test for Leaks: After installation, flush the toilet to check for any leaks around the connections. Address any leaks immediately by re-seating the pipe or checking for obstructions.
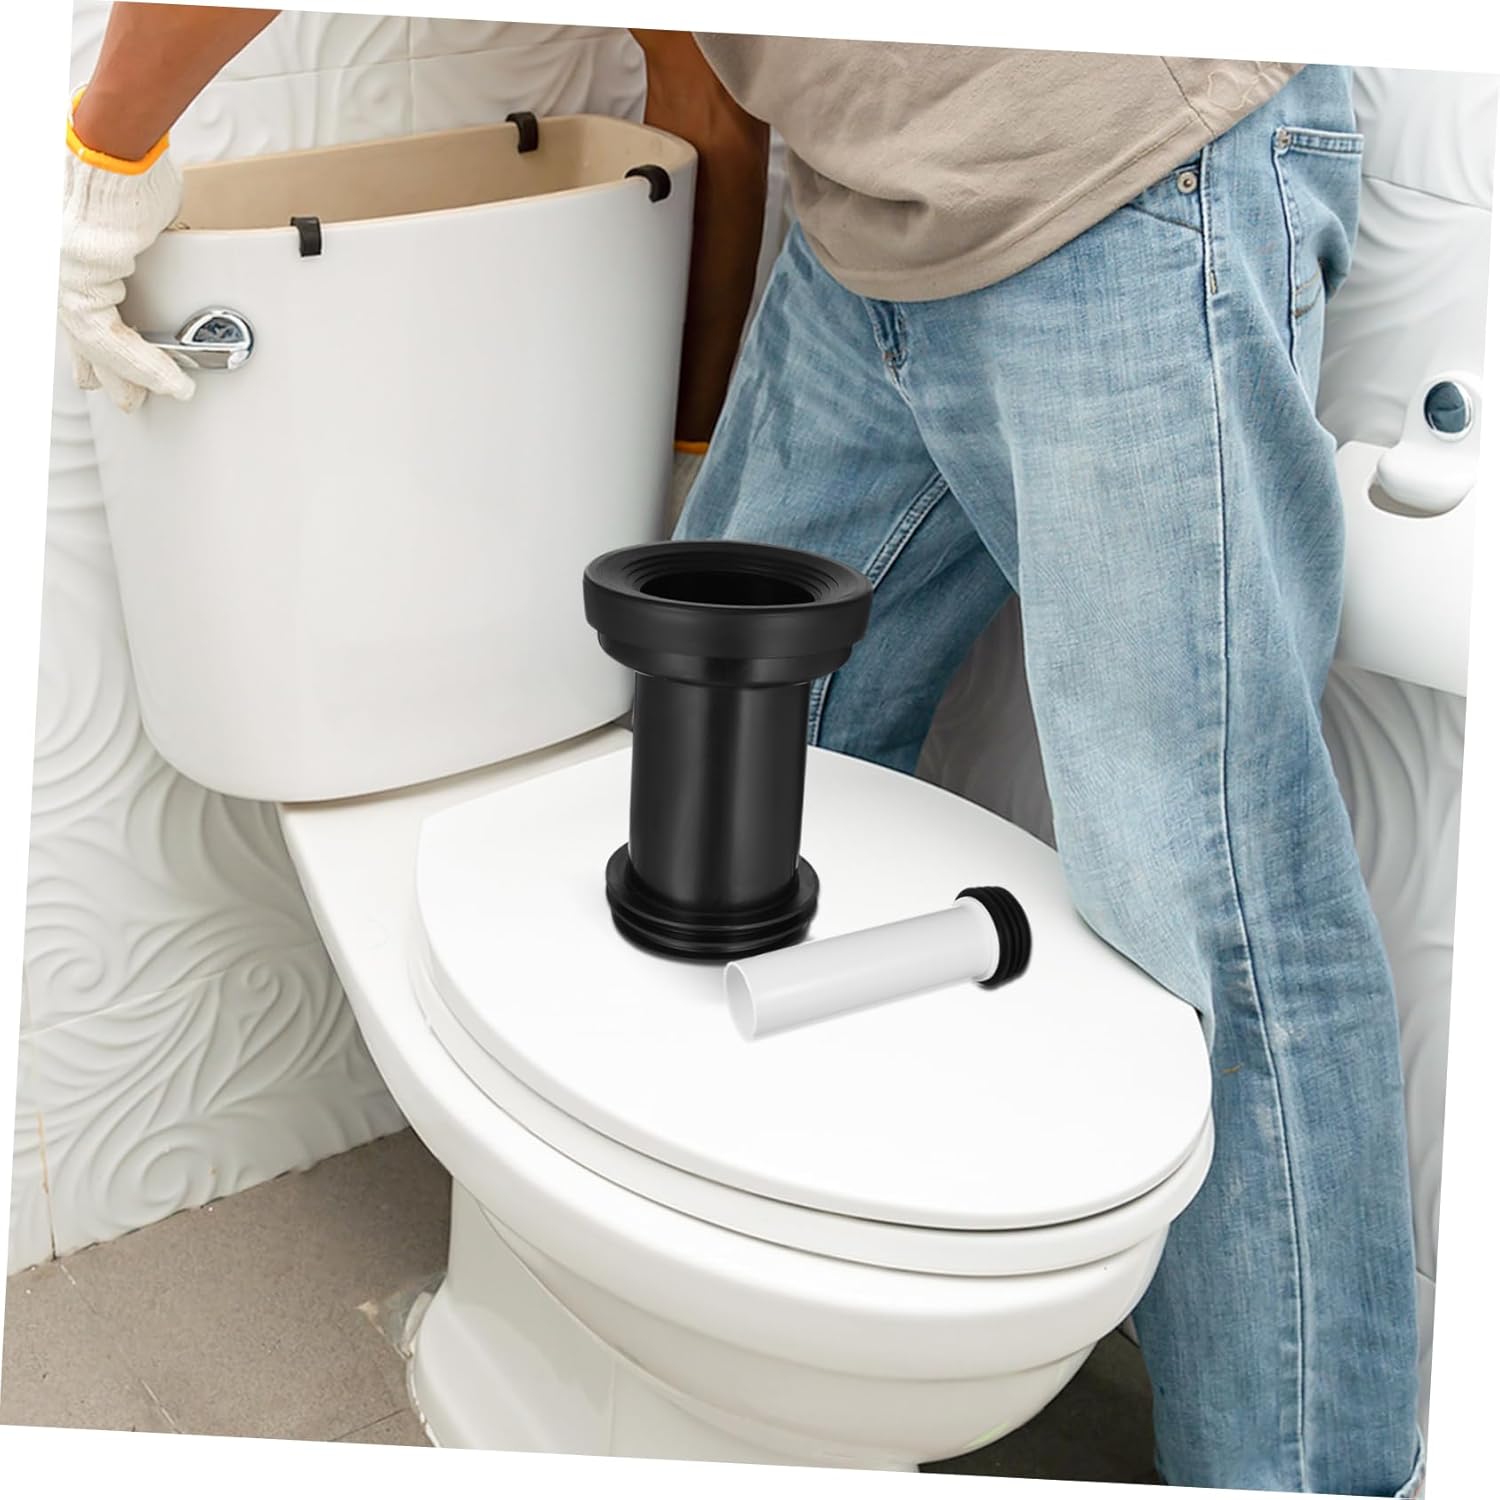
Image 4.2: A person wearing work gloves is shown in the process of installing the black toilet drain tube onto a toilet, with the white tube resting on the toilet tank. This illustrates the practical application of the product during toilet installation or replacement.
5. Operation
The Lengthened Toilet Drain Tube Connecting Pipe functions as a passive but critical component of your toilet's flush system. Once correctly installed, it channels wastewater from the toilet to the wall drain, preventing bad odors from escaping and ensuring an unobstructed flow. Its anti-blocking and anti-leakage properties contribute to a hygienic and efficient toilet system.
6. Maintenance
- Regular Inspection: Periodically inspect the connections for any signs of wear, cracks, or loosening that could lead to leaks or odor issues.
- Cleaning: If blockages occur, the pipe is designed to be easy to disassemble for cleaning. Use standard plumbing cleaning methods, avoiding harsh chemicals that could damage PVC.
- Odor Check: If you notice persistent odors, check the pipe's sealing points. The excellent sealing effect should prevent smells, so any odor indicates a potential issue with the connection or the drain system.
7. Troubleshooting
- Leakage: If water leaks from the connections, ensure the pipe is fully seated and the seals are intact. Re-tighten or re-position the pipe. Inspect the PVC for any damage.
- Bad Odors: Persistent odors usually indicate a compromised seal. Check both ends of the connecting pipe for proper seating and ensure no gaps exist. Verify that the toilet's wax ring or other sealing components are also functioning correctly.
- Slow Drainage/Blockage: While the pipe is designed to be anti-blocking, severe blockages in the overall drain system can affect flow. If slow drainage occurs, check for obstructions within the pipe or further down the drain line. The pipe's easy disassembly aids in clearing blockages.
8. Safety Information
- Always wear appropriate personal protective equipment, such as gloves, during installation and maintenance.
- Ensure the water supply to the toilet is turned off before beginning any installation or maintenance work.
- Keep small parts away from children to prevent choking hazards.
- Do not use excessive force during installation, as this may damage the pipe or surrounding plumbing.
9. Warranty and Support
Specific warranty information for this product is not provided in this manual. For details regarding warranty coverage, technical support, or replacement parts, please contact the seller or manufacturer directly through your purchase platform.