1. Setup
1.1 Unboxing and Package Contents
Carefully unpack all items from the box. Ensure all components are present before proceeding with installation.
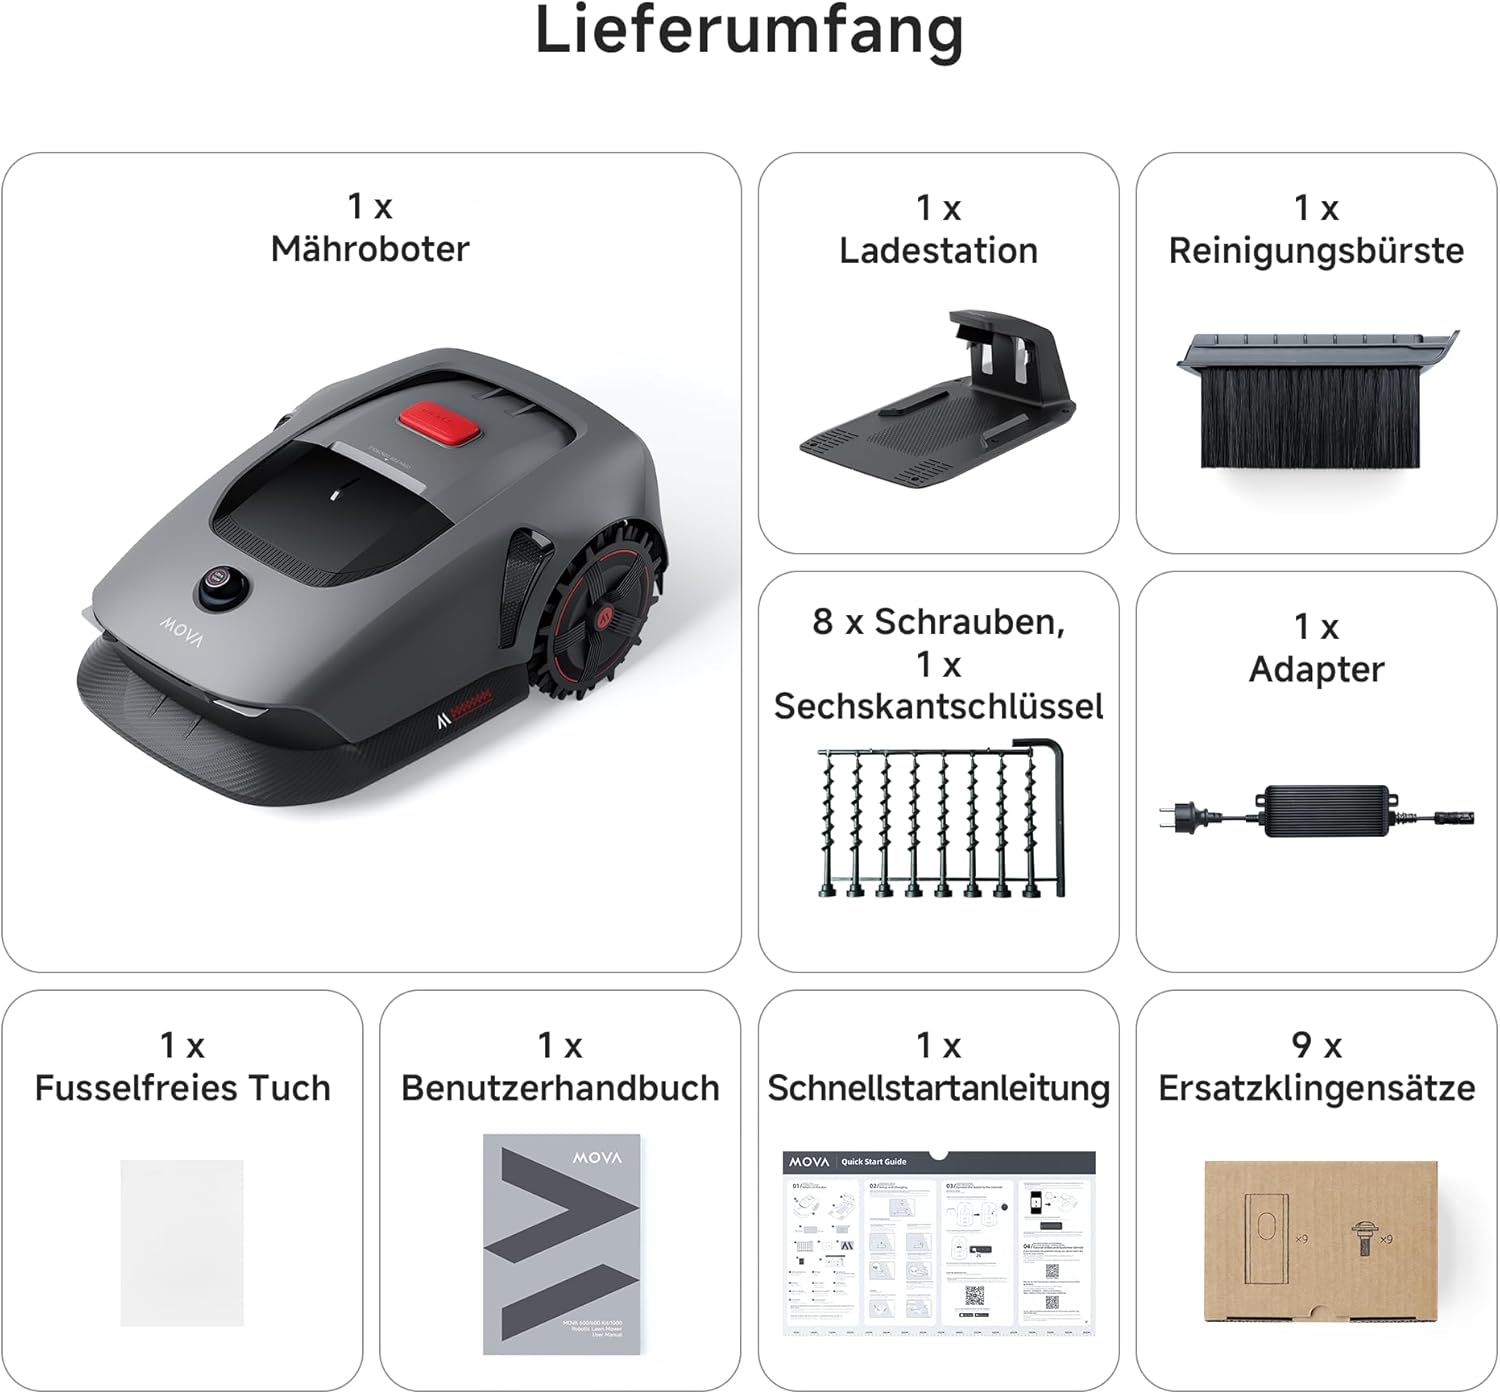
The package includes: 1x Robotic Mower, 1x Charging Station, 1x Cleaning Brush, 8x Screws, 1x Hex Key, 1x Adapter, 1x Lint-Free Cloth, 1x User Manual, 1x Quick Start Guide, 9x Replacement Blade Sets.
1.2 Product Overview
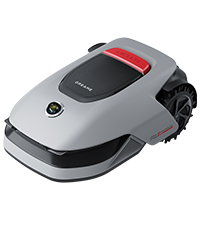
Familiarize yourself with the main components of the MOVA 1000 robotic lawn mower.

1.3 Charging Station Placement
Select a suitable location for the charging station. Ensure the area is flat, free from obstacles, and within Wi-Fi signal range.

The charging station should be placed on a level ground. Avoid slopes to prevent slipping or docking issues. Ensure a strong Wi-Fi signal is available. Maintain at least 1 meter of clear space around the sides and front of the charging station. Trim any grass longer than 6 cm around the station.
1.4 Charging
Connect the power adapter to the charging station and a power outlet. Dock the robot to begin charging.
The power adapter should be at least 30 cm above the ground. When the robot is charging, the LED indicator on the charging station will blink green. Ensure the charging contacts on the robot and station are properly aligned.
1.5 Powering On/Off
To power on, remove the LiDAR cover, open the top cover, insert the safety key to 'ON' position, and press the power button for 2 seconds. To power off, turn the safety key to 'OFF' and remove it.
1.6 App Installation & Connection
Download the MOVAhome app from your app store. Create an account and log in. Connect the robot to your smartphone via Wi-Fi and Bluetooth following the in-app instructions.

Ensure your smartphone and robot are connected to the same 2.4 GHz Wi-Fi network. Disable any active firewalls or VPNs before connecting. Keep your smartphone within 10 meters of the robot during Bluetooth pairing.
2. Operating
2.1 Mapping Your Lawn
The MOVA 1000 uses 3D LiDAR for precise mapping. You can create virtual boundaries and no-go zones using the app.

2.1.1 Creating Boundaries
Use the remote control function in the app to guide the robot along the perimeter of your lawn to create the initial map. Ensure the robot is fully charged and the LiDAR cover is removed before mapping.
2.1.2 Setting No-Go Zones
Define areas where the robot should not mow, such as swimming pools, flower beds, or sandboxes. These can be set as exclusion zones within the app.

2.1.3 Adding/Extending Zones
If your lawn has separate areas or you wish to expand an existing zone, use the app's mapping features to add new work zones. Overlapping zones will automatically merge.
2.1.4 Connecting Zones with Paths
For lawns with multiple separated areas, create paths in the app to connect them, allowing the robot to navigate between zones. The robot will follow these paths for navigation but will not mow them by default.
2.2 Mowing Modes
The MOVA 1000 offers various mowing modes to suit your needs:
- General Mowing: Mows the entire mapped area.
- Zone Mowing: Mows specific, selected zones.
- Spot Mowing: Mows a specific spot within a zone.
- Edge Mowing: Mows along the boundaries for a precise finish.
- Manual Control: Allows you to manually steer the robot.

2.3 Mowing Preferences
Customize your mowing experience through the MOVAhome app.
2.3.1 Cutting Height Adjustment
Adjust the cutting height from 20 mm to 60 mm using the knob on the robot's control panel.
2.3.2 Scheduling
Set up detailed mowing schedules for different times of the day or week via the app. You can define specific schedules for different zones.
2.3.3 Obstacle Avoidance
The MOVA 1000 uses UltraView technology and intelligent algorithms to detect and avoid common garden objects and pets, ensuring safe operation.
3. Maintenance
3.1 Cleaning
Regular cleaning ensures optimal performance and extends the lifespan of your robot. Clean the chassis, cutting head, and wheels with a hose. Gently clean the LiDAR with a lint-free cloth. Clean and dry the charging contacts on both the robot and the station. Remove any mud from the wheels with a brush to maintain good traction.
3.2 Blade Replacement
Replace the blades regularly for optimal mowing performance. It is recommended to replace blades every 6 to 8 weeks, or sooner if needed. Always use original MOVA blades.
3.3 Battery Care
For long-term storage, fully charge the robot before turning it off. Charge the battery every 6 months to prevent deep discharge. Deep discharge can damage the battery and is not covered by warranty. Avoid charging the battery in ambient temperatures above 45°C or below 6°C. If the robot is not in use, store it in a cool, dry place between 0°C and 25°C.
3.4 Winter Storage
Before winter storage, thoroughly clean the robot. Fully charge the robot and turn it off. Store the robot in a dry room at a temperature above 0°C. Disconnect the charging station from the power supply and store it in a cool, dry place away from direct sunlight.
4. Troubleshooting
4.1 LED Indicator Meanings (Charging Station)
| LED Color | Meaning |
|---|---|
| Blinking/Solid Red | 1. Charging station has a problem (e.g., power supply issue). 2. Robot is docked but charging is abnormal (e.g., short circuit at charging contacts). |
| Solid Blue | Charging station is powered. Robot is not in the station. |
| Blinking Green | Robot is charging in the station. |
| Solid Green | Robot is in the station and fully charged. |
4.2 LED Indicator Meanings (Control Panel)
| Indicator | Color | Meaning |
|---|---|---|
| Robot Status | Blinking Green | Robot is charging in the station. |
| Solid Green | Battery is fully charged. | |
| Solid Red | An error has occurred. | |
| Blinking Blue | Robot is powering on. | |
| Solid Blue | Robot is in standby mode. | |
| App Connection | Solid Blue | Robot is connected to the app. |
| Child Lock | Solid Blue | Control panel is locked via the app. |
5. Specifications
| Feature | MOVA 1000 |
|---|---|
| Product Dimensions | 77 x 30.9 x 48.1 cm |
| Weight | 21 Kilograms |
| Material | Plastic |
| Power Source | Battery Powered |
| Mowing Capacity | Up to 1,000 m² |
| Navigation | 3D LiDAR UltraView Technology |
| Max. Slope | 45% (24°) |
| Cutting Height | 20 - 60 mm |
| Charging Time | Approx. 40 minutes |
| Waterproof Rating | IPX6 |
6. Safety Information
6.1 General Precautions Before Mowing
- Cut grass to a maximum height of 10 cm.
- Remove all obstacles from the lawn.
- Ensure no children or pets are on the lawn.
- Fill all holes to ensure the lawn is even.
6.2 Child Lock
To prevent children from operating the robot, activate the Child Lock function in the app settings. When activated, the control panel will be locked, and no operations can be performed for 5 minutes.
6.3 Anti-Theft Alarm
If the "Lift Alarm" function is activated, the robot will sound an alarm immediately if it is lifted. If the "Alarm when leaving map" function is activated, the robot will sound an alarm if it moves outside the mapped area.
6.4 Rain Sensor
If the Rain Sensor function is activated, the robot will automatically return to the charging station when it detects rain. It will resume the interrupted mowing task once the rain stops. The preset protection duration is 3 hours, but you can extend it via the app.
6.5 Frost Protection
To protect against frost damage, activate "Frost Protection" in the settings. If the temperature drops to 6°C or below, the robot will automatically interrupt its task and return to the charging station. It will resume its task when the temperature rises to 11°C or above.
7. Warranty & Support
The MOVA 1000 comes with a 3-year warranty. For any questions or support, please contact our customer service. Regular OTA updates and maintenance are provided. Check your notifications regularly and activate the automatic update function to ensure you have the latest features.