1. Product Overview
This manual provides essential instructions for the proper setup, operation, and maintenance of your Sparex Universal Coupler Assembly. Designed for a universal fit across various applications, this coupler is manufactured with high-grade materials to ensure durability and reliable performance.
Key Features:
- Made to OEM specifications for direct fitment and easy installation.
- Constructed with high-grade materials by an industry leader for enhanced longevity.
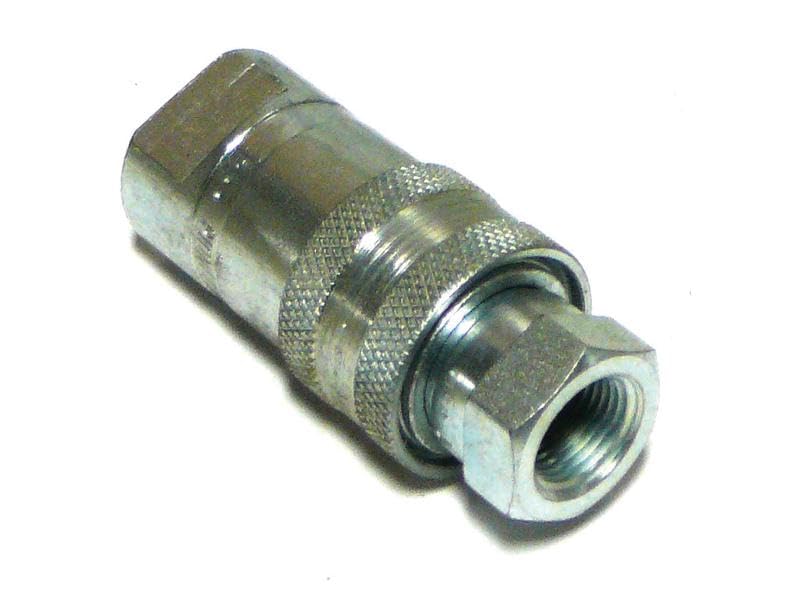
Figure 1: Sparex Universal Coupler Assembly. This image displays the Sparex Universal Coupler Assembly, a metallic component designed for connecting various applications. It features a hexagonal nut on one end for secure attachment and a knurled grip section for easy handling.
2. Safety Information
Always prioritize safety when handling and installing the coupler assembly. Read and understand all instructions before use. Failure to follow safety guidelines may result in injury or damage to equipment.
- Ensure all systems are depressurized and secured before installation or removal.
- Wear appropriate personal protective equipment (PPE), such as gloves and eye protection.
- Do not exceed the maximum operating pressure or temperature specified for your system.
- Verify compatibility with existing components before connection.
3. Setup and Installation
Proper installation is crucial for the optimal performance and longevity of the coupler assembly.
- Inspect Components: Before installation, carefully inspect the coupler assembly for any signs of damage, such as cracks, deformities, or missing seals. Ensure all threads are clean and free of debris.
- Prepare Connection Points: Clean the mating surfaces of the components to which the coupler will be attached. Remove any old sealant, dirt, or rust.
- Apply Thread Sealant (if required): Depending on your application and system requirements, apply an appropriate thread sealant or tape to the male threads of the coupler or the mating component. Consult your system's specifications for sealant recommendations.
- Thread Coupler: Carefully thread the coupler onto the mating component. Ensure it starts smoothly without cross-threading.
- Tighten Securely: Using an appropriate wrench, tighten the coupler to the recommended torque specifications for your application. Avoid over-tightening, which can damage threads or seals, and under-tightening, which can lead to leaks.
- Verify Connection: Once tightened, visually inspect the connection to ensure it is flush and secure.
4. Operating Instructions
The Sparex Universal Coupler Assembly is designed for straightforward connection and disconnection.
- Connecting:
- Ensure both parts of the coupler (if applicable, e.g., male and female ends) are clean and free of obstructions.
- Align the two components of the coupler.
- Push the components together firmly until they click or lock into place. For threaded connections, hand-tighten first, then use a wrench to secure.
- Verify the connection is secure by gently pulling on the connected components.
- Disconnecting:
- Ensure the system is depressurized before attempting to disconnect, if applicable.
- Depending on the coupler type, pull back the collar, twist, or unscrew the connection.
- Separate the components carefully.
5. Maintenance and Care
Regular maintenance will extend the life of your coupler assembly and ensure reliable operation.
- Regular Inspection: Periodically inspect the coupler for wear, corrosion, leaks, or damage. Pay close attention to seals and threads.
- Cleaning: Keep the coupler clean and free of dirt, dust, and debris. Use a clean cloth to wipe down the exterior. For internal cleaning, consult specific system guidelines.
- Lubrication: If the coupler has moving parts or requires O-rings, apply appropriate lubricant as recommended by your system's specifications to maintain smooth operation and seal integrity.
- Storage: When not in use, store the coupler in a clean, dry environment, protected from extreme temperatures and corrosive substances.
- Replacement: Replace the coupler assembly if any significant wear, damage, or leakage is observed, or if it no longer performs reliably.
6. Troubleshooting
Refer to the following table for common issues and their potential solutions.
| Problem | Possible Cause | Solution |
|---|---|---|
| Leakage at connection point |
|
|
| Difficulty connecting/disconnecting |
|
|
| Reduced flow/performance |
|
|
7. Specifications
| Attribute | Detail |
|---|---|
| Brand | Sparex |
| Model | Universal Coupler Assembly |
| ASIN | B0DVCX5283 |
| Item Weight | 9.6 ounces |
| Manufacturer | Sparex |
| Included Components | High Quality Part (Coupler Assembly) |
8. Warranty Information
Specific warranty details for the Sparex Universal Coupler Assembly are not provided in this manual. For information regarding warranty coverage, terms, and conditions, please contact the manufacturer, Sparex, or your authorized seller directly. Keep your proof of purchase for any warranty claims.
9. Customer Support
If you encounter any issues or have questions not addressed in this manual, please contact your point of purchase or the manufacturer, Sparex, for assistance. When contacting support, please have your product model (Universal Coupler Assembly) and ASIN (B0DVCX5283) readily available.
Manufacturer: Sparex