1. Introduction
Thank you for choosing the Aria 36 Qt Air Fryer Oven. This appliance is designed to provide versatile cooking options, combining the functions of an air fryer, convection oven, rotisserie, and more. This manual provides essential information for safe operation, setup, maintenance, and troubleshooting to ensure optimal performance and longevity of your appliance. Please read all instructions carefully before first use and retain this manual for future reference.
2. Important Safety Instructions
- Always place the appliance on a stable, heat-resistant surface, away from walls and other appliances to ensure proper ventilation.
- Do not immerse the power cord, plug, or the appliance housing in water or other liquids.
- Ensure the voltage indicated on the appliance matches your local power supply before connecting.
- Close supervision is necessary when any appliance is used by or near children.
- Unplug from the outlet when not in use and before cleaning. Allow to cool before putting on or taking off parts.
- Do not operate any appliance with a damaged cord or plug, or after the appliance malfunctions or has been damaged in any manner.
- Do not use accessories not recommended by the manufacturer, as this may cause injuries.
- Do not place the appliance near hot gas or electric burners, or in a heated oven.
- Extreme caution must be used when moving an appliance containing hot oil or other hot liquids.
- Do not use the appliance for anything other than its intended use.
- Always use oven mitts when handling hot materials inside the oven.
3. Product Overview
The Aria 36 Qt Air Fryer Oven (Model AW1-200) is a multi-functional kitchen appliance designed for efficient and healthy cooking. It features a large capacity, intuitive controls, and various cooking modes.
3.1 Components
- Main Unit with Oven Cavity
- LED Touchscreen Display
- Control Panel with Electric Jog Wheel
- Internal Lighting
- 6 Heating Elements (Top and Bottom)
3.2 Included Accessories
- Air Fryer Basket: Designed for even cooking of items like fries or chicken wings.
- Rotisserie Spit: For roasting whole chickens or other large cuts of meat.
- Grill Racks (2): For multi-level cooking, baking, or roasting.
- Ceramic Trays (2): Dishwasher-safe trays to catch juices and seasonings.

Figure 1: Front view of the Aria 36 Qt Air Fryer Oven with a whole chicken on the rotisserie.

Figure 2: The intuitive LED touchscreen display with various cooking presets.
4. Setup
4.1 Unpacking
- Carefully remove the air fryer oven and all accessories from the packaging.
- Remove any protective film, stickers, or packaging materials from the appliance.
- Inspect the appliance for any signs of damage. Do not use if damaged.
4.2 Placement
- Place the air fryer oven on a flat, stable, and heat-resistant countertop.
- Ensure there is at least 6 inches (15 cm) of clear space on all sides of the appliance for adequate air circulation.
- Do not place the appliance directly under cabinets or near flammable materials.
4.3 Initial Cleaning
- Wipe the exterior of the appliance with a damp cloth.
- Wash all removable accessories (air fryer basket, rotisserie spit, grill racks, ceramic trays) with warm, soapy water. Rinse thoroughly and dry completely.
- Wipe the interior of the oven cavity with a damp cloth.
4.4 First Use (Burn-in)
Before cooking food, it is recommended to run the oven empty to eliminate any manufacturing odors:
- Plug the appliance into a grounded electrical outlet.
- Set the oven to 'Air Fry' at 400°F (200°C) for 15 minutes.
- Ensure the area is well-ventilated during this process. A slight odor or smoke may be present, which is normal.
- After 15 minutes, turn off the appliance and allow it to cool completely.
5. Operating Instructions
5.1 Powering On/Off
- To power on, press the Power Button on the control panel. The display will illuminate.
- To power off, press and hold the Power Button until the display turns off.
5.2 Using the Touchscreen Display and Jog Wheel
The LED touchscreen allows you to select cooking functions, adjust temperature, and set time. The electric jog wheel provides quick selection of presets and fine-tuning of settings.
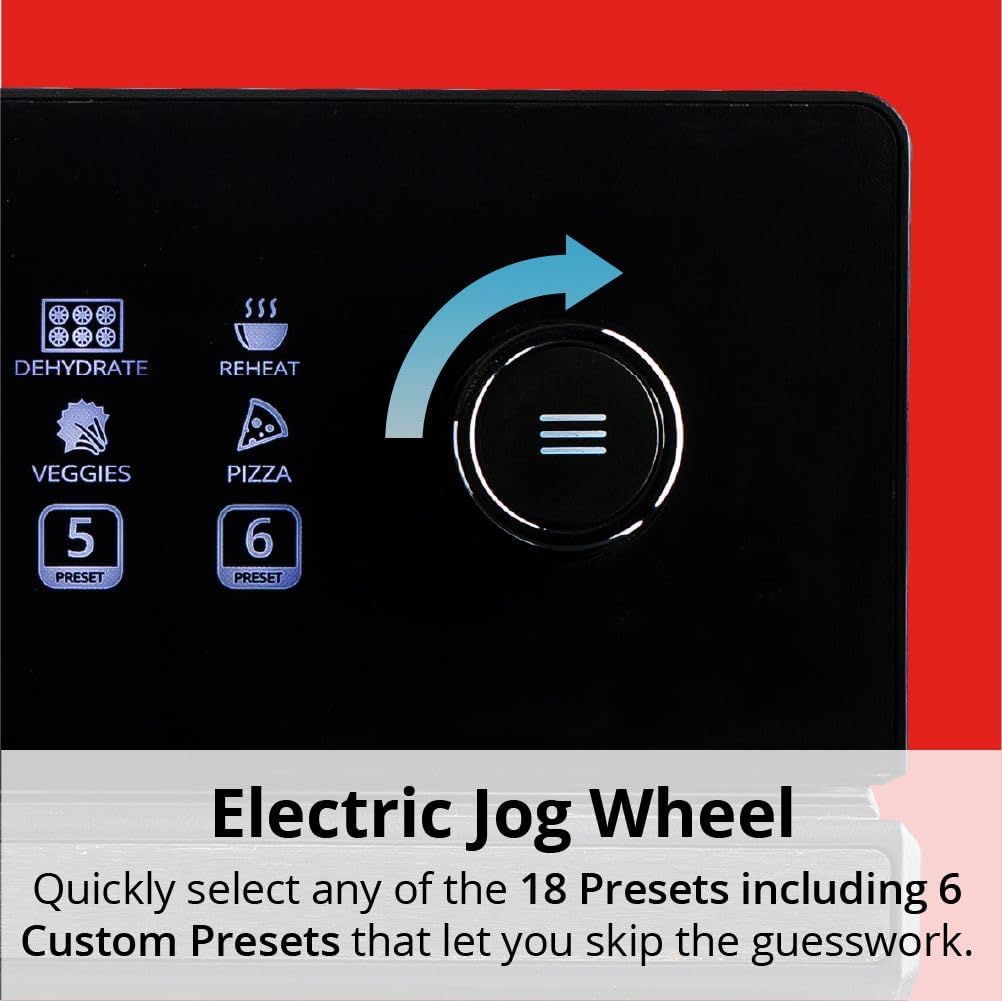
Figure 3: The electric jog wheel for quick preset selection and adjustments.
5.3 Cooking Presets
The oven features 10 programmable one-touch cooking presets and 6 customizable presets for common dishes. To use a preset:
- Place food inside the oven with appropriate accessories.
- Select the desired preset icon on the touchscreen. The default temperature and time will display.
- You can adjust the temperature and time using the +/- buttons or the jog wheel if needed.
- Press the Start/Pause Button to begin cooking.
5.4 Manual Operation
For custom cooking, you can manually set the temperature and time:
- Press the Function Button to cycle through cooking modes (e.g., Air Fry, Bake, Broil).
- Use the Temperature +/- Buttons or jog wheel to set the desired temperature.
- Use the Time +/- Buttons or jog wheel to set the desired cooking duration.
- Press the Start/Pause Button to begin cooking.
5.5 Specific Cooking Functions
- Air Fry: Utilizes rapid hot air circulation for crispy results with minimal oil. Use the air fryer basket for best results.
- Rotisserie: Ideal for roasting whole chickens or roasts. Insert the rotisserie spit through the food, secure it, and place it into the oven's rotisserie slots. Select the rotisserie function on the control panel.
- Bake/Roast: For traditional oven cooking. Use the grill racks or ceramic trays.
- Dehydrate: Low-temperature cooking for drying fruits, vegetables, or meats.
- Broil: High heat from the top elements for browning and crisping.

Figure 4: Rotating attachments ensure even cooking for rotisserie items and foods in the air fryer basket.

Figure 5: Utilize the two grill racks for multi-level cooking, such as pizza and chicken wings simultaneously.

Figure 6: The oversized air fryer basket accommodates a whole chicken for even cooking.
6. Cleaning and Maintenance
Regular cleaning ensures optimal performance and extends the life of your appliance.
6.1 Before Cleaning
- Always unplug the air fryer oven from the power outlet.
- Allow the appliance to cool down completely before cleaning any part.
6.2 Exterior Cleaning
Wipe the exterior surface with a soft, damp cloth. Do not use abrasive cleaners or scouring pads, as they may damage the finish.
6.3 Interior Cleaning
Wipe the interior walls and heating elements with a damp cloth. For stubborn food residue, use a mild detergent and a non-abrasive sponge. Ensure the interior is dry before next use.
6.4 Accessory Cleaning
- The air fryer basket, rotisserie spit, and grill racks can be washed with warm, soapy water and a non-abrasive brush.
- The ceramic trays are dishwasher safe for convenient cleaning.
- Ensure all accessories are thoroughly dried before storing or re-using.

Figure 7: The two ceramic trays are designed to catch excess juices and are dishwasher safe.
7. Troubleshooting
If you encounter issues with your Aria Air Fryer Oven, refer to the following common problems and solutions:
| Problem | Possible Cause | Solution |
|---|---|---|
| Appliance does not turn on. | Not plugged in; power outlet malfunction; power button not pressed. | Ensure the power cord is securely plugged into a working outlet. Press the power button firmly. |
| Food is not cooking evenly. | Overcrowding the oven; incorrect temperature/time; food not rotated. | Avoid overcrowding; cook in smaller batches if necessary. Ensure correct temperature and time settings. Utilize rotating attachments or manually turn food halfway through cooking. |
| Food is not browning or crisping. | Temperature too low; cooking time too short; too much moisture in food; incorrect function selected. | Increase temperature or cooking time. Pat food dry before cooking. Ensure 'Air Fry' or 'Broil' function is selected for browning. |
| Smoke coming from the appliance. | Excess oil/grease buildup; fatty foods; initial burn-in. | Clean the oven interior and accessories thoroughly. Use ceramic trays to catch drips. If it's the first use, this is normal (see Section 4.4). If excessive, unplug and contact support. |
| Temperature control not working. | Incorrect preset selected; malfunction. | Ensure you are using manual mode or a customizable preset to adjust temperature. If the issue persists after trying different settings, contact customer support. |
8. Specifications
| Feature | Specification |
|---|---|
| Model Name | AW1-200 |
| Capacity | 36 Quarts |
| Product Dimensions (D x W x H) | 20" x 17" x 19" |
| Item Weight | 32.6 pounds |
| Output Wattage | 800 Watts |
| Material | Plastic (housing), Stainless Steel (accents) |
| Special Feature | Programmable, Touchscreen Display, Rotisserie |
| UPC | 850069939052 |
9. Warranty and Support
This Aria Air Fryer Oven is covered by a manufacturer's warranty. Please refer to the warranty card included with your purchase for specific terms and conditions, including coverage duration and limitations. For technical support, troubleshooting assistance beyond this manual, or warranty claims, please contact Aria Air Fryers customer service through their official website or the contact information provided in your product packaging.