LOKO LKS57448
LOKO Tilt Out Trash Can Cabinet Instruction Manual
Model: LKS57448 | Brand: LOKO
1. Introduction
This manual provides detailed instructions for the assembly, operation, maintenance, and troubleshooting of your LOKO Tilt Out Trash Can Cabinet, Model LKS57448. Please read this manual thoroughly before assembly and use to ensure proper function and safety.

Image 1.1: LOKO Tilt Out Trash Can Cabinet (White & Walnut)
2. Safety Information
Adherence to the following safety guidelines is crucial for preventing injury and damage to the product.
- Always ensure the cabinet is properly mounted and balanced to prevent tipping.
- Do not overload the cabinet or its shelves beyond their weight capacities. The maximum weight capacity is 72.5 pounds.
- Be cautious when moving the cabinet to avoid injury from the wheels or hinges.
- Keep items secure on the shelves to prevent them from falling out.
- Utilize the provided anti-tipping device to secure the cabinet to a wall, especially in households with children or pets.

Image 2.1: Anti-Tipping Device Installation
This image illustrates the proper installation of the anti-tipping device, which secures the cabinet to the wall to prevent accidental tipping. The diagram shows a cat near the cabinet, emphasizing the importance of this safety feature for households with pets.
3. Package Contents
Verify that all components are present before beginning assembly. If any parts are missing or damaged, contact customer support.
- 1 x LOKO Tilt Out Trash Can Cabinet (unassembled components)
- Assembly Hardware Kit
- Instruction Manual
4. Assembly Instructions
Assembly is required for this product. Please follow the step-by-step instructions provided in the separate assembly manual included in your package. Ensure you have adequate space and the necessary tools (e.g., screwdriver) before starting.
Key Assembly Points:
- Identify all parts and hardware before starting.
- Do not overtighten screws to avoid damaging the engineered wood.
- Install the anti-tipping device as instructed to secure the cabinet to a wall.
- Ensure the universal wheel mechanism for the tilt-out door is correctly installed to prevent sagging.
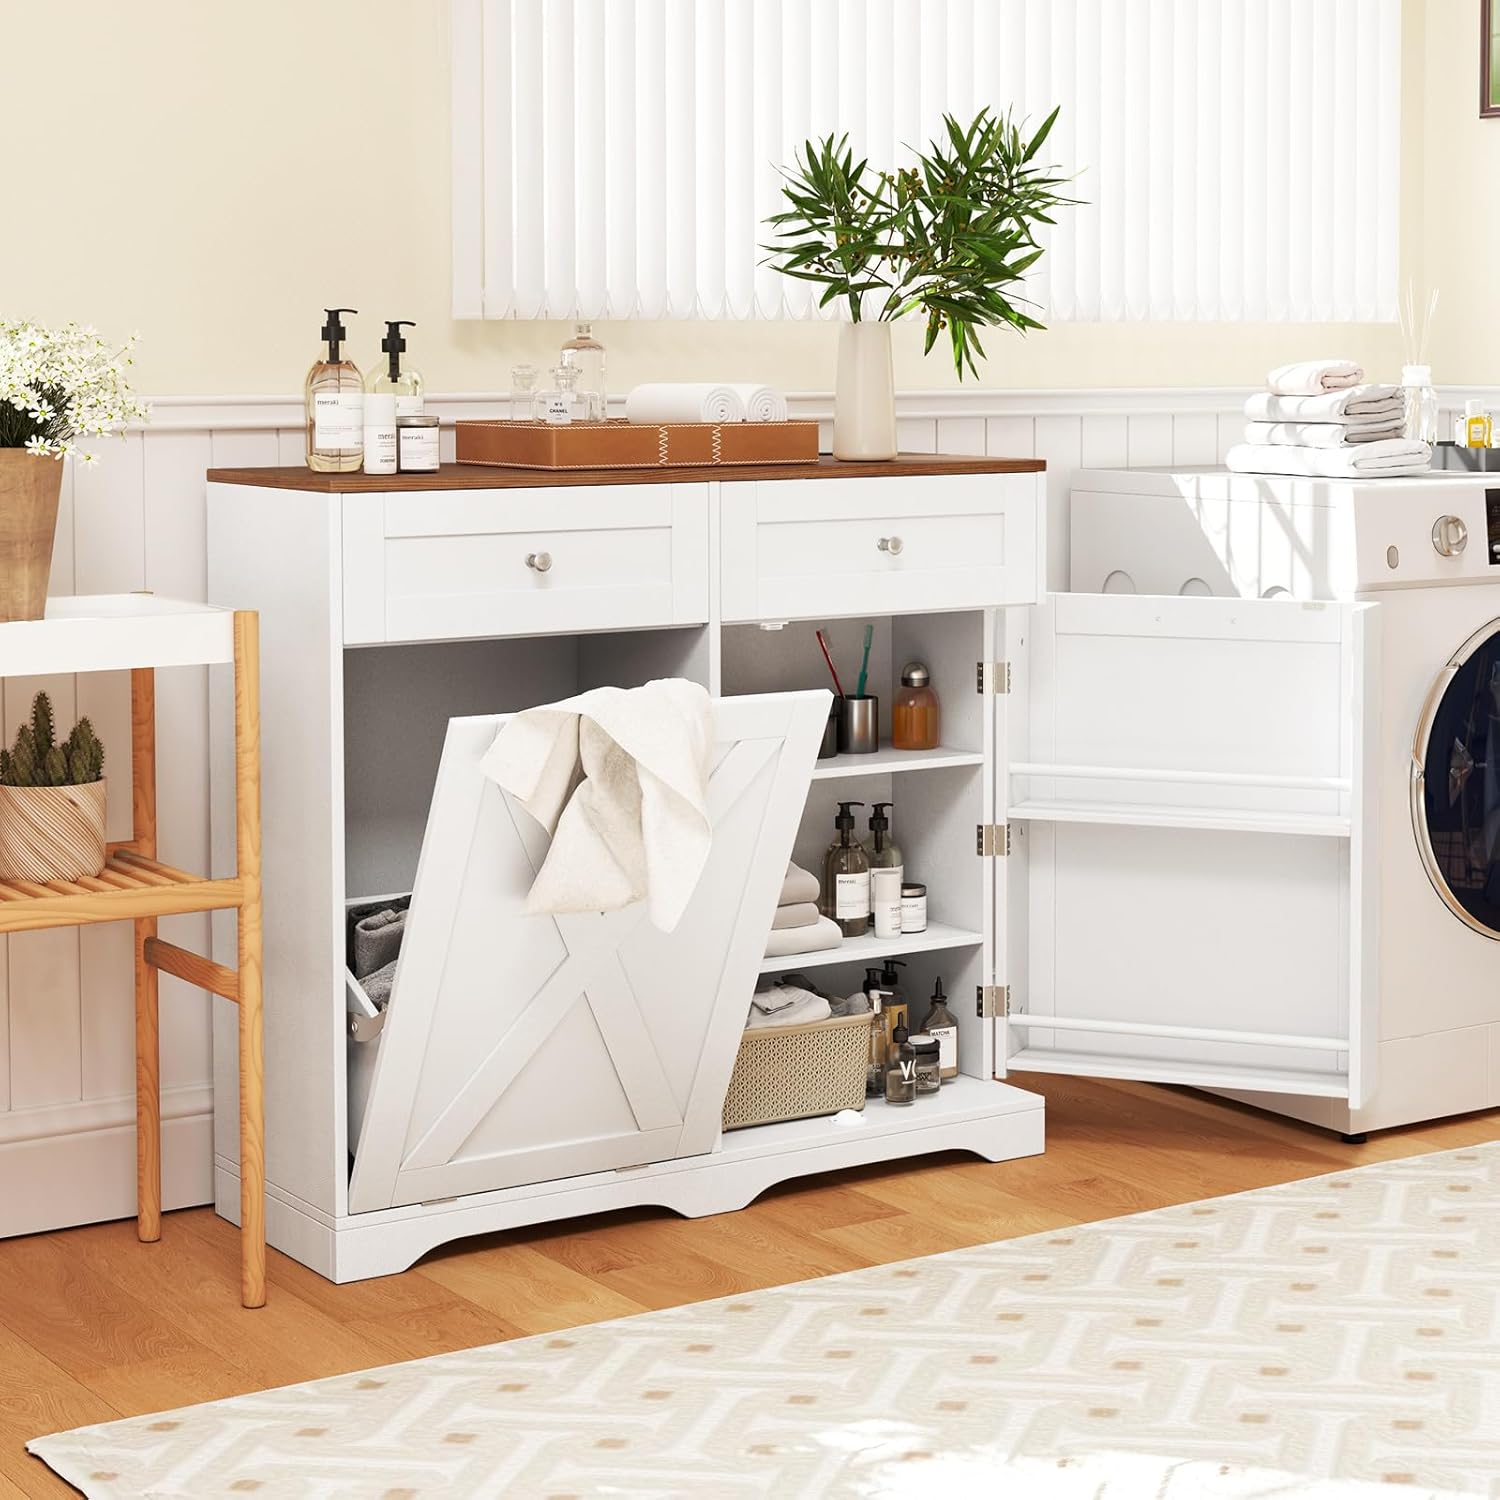
Image 4.1: Cabinet Interior and Power Cord Overview
This image provides an overview of the cabinet's interior, including the tilt-out compartment, adjustable shelves, and the integrated power cord for the charging station. It helps visualize the components during assembly.
5. Operating Instructions
5.1. Tilt-Out Trash Can Compartment
The cabinet features a tilt-out compartment designed to conceal a trash bin (not included). The door opens at a 25-degree angle for easy access and bag replacement. This design helps contain odors and prevents pets from accessing the contents.
- To open: Gently pull the handle on the tilt-out door.
- To close: Push the door back until it is flush with the cabinet.
- The compartment is suitable for a 9.25-gallon trash bin (maximum dimensions: 14" L x 9" W x 20" H).

Image 5.1: Tilt-Out Trash Can Functionality
This image demonstrates the tilt-out mechanism and its purpose, showing how it prevents pets from accessing trash and helps contain waste. It also indicates the compatible trash bin size.
5.2. Countertop Charge Station
The integrated countertop charge station provides convenient power access for your devices.
- Power Outlets: Dual 125V/12A outlets for standard appliances.
- USB Ports: Dual 5V/2.1A USB ports for charging mobile devices.
- The power cord is 4.9 ft long, offering flexibility in placement.
- Ensure the power cord is properly connected to a wall outlet.

Image 5.2: Countertop Charge Station in Use
This image displays the countertop charge station with various devices, such as a laptop, tablet, and phone, connected to the power outlets and USB ports, illustrating its practical application.
5.3. Storage Compartments
The cabinet offers various storage options:
- Wide Countertop: Provides additional workspace or display area.
- Two Large Drawers: Ideal for storing utensils, small kitchen tools, or other accessories.
- Enclosed Cabinet with Adjustable Shelves: Features 3-level adjustable shelves to accommodate items of different heights.
- Two Side Shelves with Guardrails: Located on the inside of the right door, these shelves (each with 2-inch high guardrails) are suitable for storing seasonings, bottles, or other frequently used small items.

Image 5.3: Ample & Classified Storage Space
This image highlights the various storage features, including the adjustable shelves, large drawers, and side shelves with guardrails, demonstrating how different items can be organized within the cabinet.
6. Maintenance
Regular maintenance will help preserve the appearance and functionality of your cabinet.
- Cleaning: Wipe surfaces with a soft, damp cloth. Avoid abrasive cleaners or harsh chemicals that may damage the finish.
- Spills: Clean spills immediately to prevent staining or damage to the engineered wood.
- Hardware: Periodically check all screws and fasteners to ensure they are tight. Retighten if necessary.
- Hinges: The premium metal hinges are designed for smooth operation. If any stiffness occurs, a small amount of silicone lubricant can be applied.
7. Troubleshooting
Refer to the following common issues and solutions:
| Issue | Possible Cause | Solution |
|---|---|---|
| Cabinet feels unstable or wobbly. | Anti-tipping device not installed or improperly secured. Uneven floor. | Ensure the anti-tipping device is correctly installed and secured to a wall stud. Adjust floor levelers if present, or place shims under the base. |
| Tilt-out door sags or gets stuck. | Universal wheel mechanism improperly installed or damaged. | Check the installation of the universal wheel mechanism. Ensure all screws are tight. If damaged, contact customer support for replacement parts. |
| Drawers do not slide smoothly. | Drawer slides are misaligned or obstructed. | Remove the drawer and inspect the slides for any obstructions. Ensure the slides are properly aligned and securely fastened. |
| Devices not charging via countertop station. | Power cord not plugged in, or power strip is faulty. | Verify the power cord is securely plugged into a functional wall outlet. Test the outlets/USB ports with another device. |
8. Specifications
| Feature | Detail |
|---|---|
| Brand | LOKO |
| Model Number | LKS57448 |
| Color | White & Walnut |
| Overall Dimensions (L x W x H) | 39.5” x 14” x 36” |
| Item Weight | 72.5 Pounds |
| Weight Limit | 72.5 Pounds |
| Material | Engineered Wood |
| Mounting Type | Floor Mount |
| Number of Shelves | 3 (adjustable) |
| Door Style | Sliding Barn Door (Slab) for tilt-out |
| Charge Station | Dual 125V/12A Outlets, Dual 5V/2.1A USB Ports |
| Power Cord Length | 4.9 ft |
| Assembly Required | Yes |
Image 8.1: Product Dimensions
This image provides a detailed diagram of the cabinet's overall dimensions and internal measurements for drawers, shelves, and the tilt-out compartment, along with the power cord length.
9. Warranty Information
This LOKO product is covered by a manufacturer's warranty. Please refer to the warranty card included with your purchase or contact LOKO customer support for specific details regarding coverage and duration.
10. Customer Support
For assistance with assembly, missing parts, or any other inquiries, please contact LOKO customer support through the retailer's platform or the official LOKO website. Have your model number (LKS57448) and purchase information ready when contacting support.
Related Documents - LKS57448
 |
LOKO Tilt Out Trash Cabinet Assembly Instructions Comprehensive assembly instructions for the LOKO Tilt Out Trash Cabinet, a versatile kitchen storage solution featuring drawers and an adjustable shelf. This guide provides step-by-step instructions and a detailed parts list for easy setup. |
 |
Assembly and Instruction Manual for Farmhouse Double Tilt Out Trash Cabinet This manual provides detailed instructions for assembling the Tileon Farmhouse Double Tilt Out Trash Cabinet. It includes a parts list, step-by-step assembly guides, and important safety and care information. |
 |
Side Pull Single Bucket Trash Cabinet User Manual and Assembly Guide Comprehensive user manual and assembly guide for the Side Pull Single Bucket Trash Cabinet. Includes a detailed parts list, hardware specifications, and step-by-step instructions with textual descriptions of diagrams for easy assembly. |
 |
Winston Porter 50.7" Modern Kitchen Island Assembly Instructions Detailed assembly instructions for the Winston Porter 50.7" Modern Kitchen Island, featuring drop leaf, drawers, and tilt trash can cabinet. Includes parts list, hardware list, and step-by-step guidance. |
 |
Loko User Manual: Configuration and Operation Guide Comprehensive user manual for the Loko GPS tracking system, detailing the configuration of Loko Air and Loko Ground units, technical specifications, and important safety warnings. |
 |
Tilt-Out Trash Cabinet Assembly and Care Manual Comprehensive assembly, installation, and care instructions for the tilt-out trash cabinet. Includes weight limits, safety guidelines, and maintenance tips. |
Ask a question about this manual
Ask about setup, troubleshooting, compatibility, parts, safety, or missing instructions. Manuals+ will review the question and use this page’s manual context to help answer it.