1. Introduction
The Zamp Solar Legacy Series 150 Watt Portable Regulated Solar Kit is designed to provide reliable power for medium RVs or various off-grid projects. This kit features dual 75-watt monocrystalline solar panels, an integrated 5-stage, 10-amp charge controller, and a quick-deploy leg system. The integrated charge controller protects your 12-volt battery from overcharging and includes a digital display for real-time power monitoring. This manual provides essential information for the safe and efficient setup, operation, and maintenance of your solar kit.
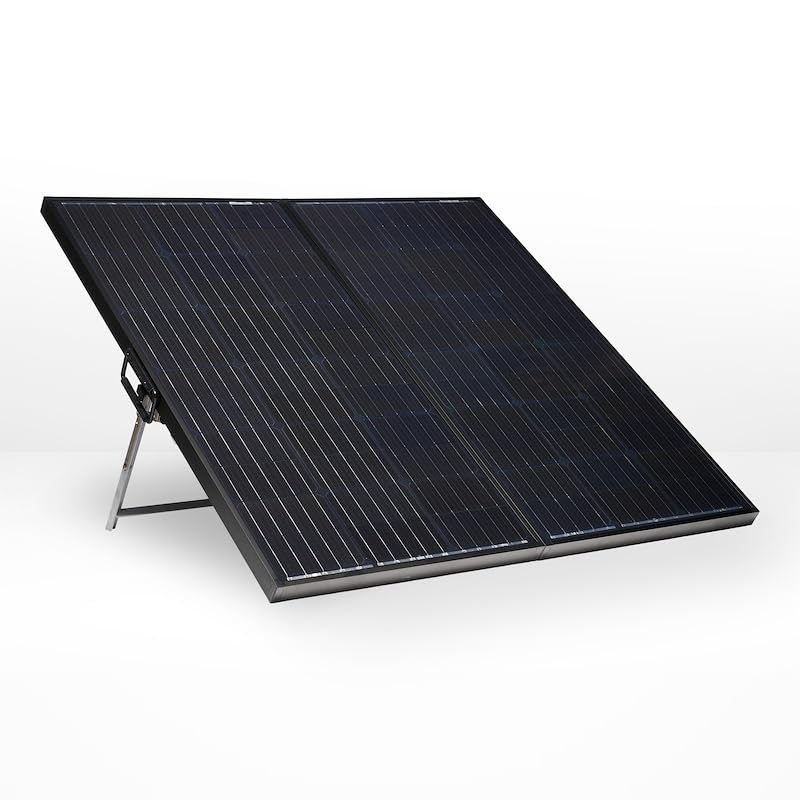
Image: Zamp Solar Legacy Series 150 Watt Portable Regulated Solar Kit. This image shows the portable solar panel kit in its deployed state, featuring two panels, a sturdy frame, and the integrated charge controller.
2. Safety Information
- Always wear appropriate personal protective equipment, including eye protection, when handling solar panels and electrical connections.
- Ensure all connections are secure and properly insulated to prevent electrical shock or short circuits.
- Do not attempt to disassemble or modify the solar panels or charge controller. Refer all servicing to qualified personnel.
- Keep the solar panels away from flammable materials and sources of ignition.
- Avoid touching the solar panel surfaces when they are hot or wet.
- Position the panels securely to prevent them from falling or being blown over by wind.
- Ensure proper ventilation around the charge controller to prevent overheating.
3. Package Contents
Verify that all the following components are included in your package:
- Dual Zamp Solar Legacy Series 75-Watt Solar Panels (total 150 Watts)
- Ballistic-Nylon Protective Case
- Quick Deploy Leg System With Non-Skid Feet
- Hinge Mounted 10 Amp Charge Controller
- 15' Portable ATP to ATP Extension Cable
- 6” ATP Fused Alligator Clamps (for direct battery connection)
- 6” ATP-Zamp Solar SAE Adaptor
4. Setup
- Unpack and Inspect: Carefully remove the solar kit from its ballistic-nylon protective case. Inspect all components for any signs of damage during shipping.
- Deploy Legs: Unfold the quick-deploy leg system. Ensure the non-skid feet are firmly placed on a stable, level surface.
- Position Panels: Angle the solar panels towards the sun to maximize exposure. Adjust the tilt for optimal sunlight capture throughout the day.
- Connect to Battery:
- For direct battery connection, use the 6” ATP Fused Alligator Clamps. Connect the red clamp to the positive (+) battery terminal and the black clamp to the negative (-) battery terminal. Then, connect the ATP end of the clamps to the solar panel's ATP port.
- For extended reach, connect the 15' portable ATP to ATP Extension Cable between the solar panel's ATP port and your battery connection point (e.g., an existing ATP inlet on an RV).
- The 6” ATP-Zamp Solar SAE Adaptor can be used to connect to systems with an SAE input.
- Charge Controller: The 10-amp charge controller is hinge-mounted and integrated into the panel. Ensure it is visible and accessible for monitoring. The weather-resistant ATP connections allow the controller to be bypassed using an ATP Y Adaptor (ITC1036) if an unregulated system is required for specific applications.
5. Operating
Once connected, the solar kit will automatically begin charging your 12-volt battery. The integrated 5-stage charge controller manages the charging process to optimize battery health and prevent overcharging.
- Digital Display: The large digital display on the charge controller provides real-time information about your power usage, battery voltage, and charging current. Monitor this display to ensure proper operation and to track your power generation.
- Charge Stages: The 5-stage controller automatically adjusts its output based on the battery's state of charge, moving through bulk, absorption, float, equalization, and desulfation stages to maintain optimal battery performance.
- Optimal Performance: For best results, ensure the panels are clean and positioned to receive maximum direct sunlight throughout the day. Adjust the panel angle as the sun's position changes.
6. Maintenance
- Cleaning: Regularly clean the surface of the solar panels with a soft, damp cloth to remove dust, dirt, and debris. Avoid abrasive cleaners or harsh chemicals that could damage the panel surface. Ensure panels are cool before cleaning.
- Connection Inspection: Periodically check all electrical connections (ATP, alligator clamps) for tightness and corrosion. Ensure cables are not frayed or damaged.
- Storage: When not in use, fold the solar kit and store it in its ballistic-nylon protective case in a dry, cool place, away from direct sunlight and extreme temperatures.
- Leg System: Inspect the quick-deploy leg system for any damage or wear. Ensure all hinges and locking mechanisms function correctly.
7. Troubleshooting
- No Power Output:
- Check all connections to ensure they are secure and properly connected to the battery.
- Verify that the panels are receiving direct sunlight and are not shaded.
- Inspect the charge controller display for error codes or indicators.
- Ensure the battery is not fully charged, as the controller may enter float mode, showing minimal current.
- Low Power Output:
- Clean the solar panel surfaces to remove any dirt or debris.
- Adjust the panel angle to optimize sun exposure.
- Check for partial shading from trees, buildings, or other obstructions.
- Verify battery health; a failing battery may not accept a full charge.
- Charge Controller Display Not Working:
- Ensure the solar panels are connected and receiving sunlight, and the battery is connected.
- Check for loose wiring or damaged connections to the controller.
If troubleshooting steps do not resolve the issue, please contact Zamp Solar customer support.
8. Specifications
| Feature | Specification |
|---|---|
| Model Number | USP1014 / Kit1023 |
| Maximum Power | 150 Watts |
| AC Adapter Current (Charge Controller) | 10 Amps |
| Maximum Voltage | 40 Volts |
| Output Voltage | 8 Volts (nominal for 12V system charging) |
| Material | Monocrystalline Silicon |
| Product Dimensions (Folded) | 21.5"L x 3.1"W x 32.4"H |
| Item Weight | 33 Pounds |
| Color | Black |
| UPC | 850026117264 |
9. Warranty Information
The Zamp Solar Legacy Series 150 Watt Portable Regulated Solar Kit comes with a 25-year warranty on the solar panels, covering defects in materials and workmanship. For specific terms and conditions, please refer to the warranty documentation included with your product or visit the official Zamp Solar website.
10. Support
For technical assistance, warranty claims, or general inquiries, please contact Zamp Solar customer support. You can find contact information on the official Zamp Solar website or through the retailer where you purchased the product.
Please have your model number (USP1014 or Kit1023) and purchase date available when contacting support.