1. Introduction
Thank you for choosing the CO-Z 14x10ft Electric Retractable Awning. This manual provides essential information for the safe and efficient assembly, operation, and maintenance of your awning. Please read all instructions carefully before installation and use.
This electric retractable awning is designed to provide spacious shade for your patio, deck, or balcony. It features UV protection and waterproof fabric, a smart wind-sun sensor for automatic operation, dual control options (remote and manual crank), and integrated LED lighting.
2. Important Safety Information
- Always follow the installation instructions provided with the product.
- Do not use the awning in high winds if the wind-sun sensor is not functioning properly.
- Consult a professional before installing on insulation, wood, or vinyl walls.
- Ensure all connections are secure and bolts are tightened to prevent accidental detachment.
- Keep children and pets away from the awning during operation.
- Regularly inspect the awning for any signs of wear, damage, or loose components.
3. Setup and Assembly
Proper assembly is crucial for the safe and effective operation of your awning. It is recommended that two adults perform the assembly and installation.
3.1 Required Tools (Not Included)
- Power Drill with 0.55" masonry drill bit
- Wrench
- Screwdriver
- Measuring Tape
- Level
- Ladder
3.2 Awning Components
Refer to the 'Part List' section in the installation video for a detailed overview of all components included in your package.
3.3 Assembly Steps
For a comprehensive visual guide, please refer to the 'CO-Z Installation Tutorial' video below. The following steps outline the general assembly process:
Video Description: CO-Z Installation Tutorial. This video provides a step-by-step guide for assembling and installing the CO-Z retractable awning, demonstrating each part and process visually.
- Connecting Roller Tubes: Join the roller tubes (A-1, A-2, A-3) using connectors (A-A-1) and secure them with screws.
- Connecting Front Bars: Connect the front bars (C-1, C-2, C-3) using connectors (U) and secure them with screws (A-A-1).
- Connecting Torsion Bars: Assemble the torsion bars (B-1, B-2, B-3) with the left (L-1) and right (L-2) arms. Ensure correct armrest direction to avoid damage. Secure with bolts (A-A-1).
- Fabric Assembly: Thread the fabric liners (N) through the fabric (M) and valance (O). The back side of the fabric has a hem and should face downwards.
- Roller Support Assembly: Attach the roller support (D) to the roller tube (M) and secure with screws (P).
- Motor Assembly: Insert the motor into the left fabric roller. Ensure the power cord, hand crank, and limit switches fit into the provided gap.
- LED Light Installation: Stick the adhesive LED tape into the open groove on the cassette. Connect the LED wires and motor to the LED tape.
- Final Awning Assembly: Insert the assembled fabric roller into the cassettes and secure with bolts. Insert the assembled torsion bar into the assembled cassette roller support bar. Make sure the ends are flush and tighten bolts.
3.4 Wall Mounting
The recommended installation height is 10.2-11.5 ft, with a 14.2" clearance from the door. For best results, install on concrete or solid brick walls. For insulation, wood, or vinyl walls, consult a professional.
- Mark the mounting hole positions using the wall bracket (Wall bracket) as a template.
- Drill holes approximately 4" deep using a 0.55" masonry drill bit.
- Insert expansion bolts (Expansion bolt) for concrete/brick or spare for wood (Spare for Wood) for wooden walls.
- Secure wall brackets to the wall with screws. Ensure brackets are tight and do not move.
- Place the assembled awning onto the wall brackets and secure with hex screws (Hex screw).
4. Operating Instructions
4.1 Remote Control Operation
The included remote allows you to control the awning from up to 32.8 ft away. Use the UP/DOWN buttons to extend or retract the awning. The remote also controls the integrated LED lights.

Image Description: A white remote control with buttons for extending, retracting, stopping, and controlling LED lights on the CO-Z awning.
4.2 Manual Crank Operation
In case of a power outage, the manual crank handle (T) provides a simple way to adjust the awning by hand. Insert the crank into the designated gearbox and turn to extend or retract.

Image Description: A white manual crank handle used to operate the CO-Z awning in case of power failure.
4.3 Smart Wind-Sun Sensor
The smart wind-sun sensor detects changing weather conditions. It triggers the awning to retract in high winds and extend in the sun for optimal shade and protection. You can set preferred wind and sunlight levels for automatic control.
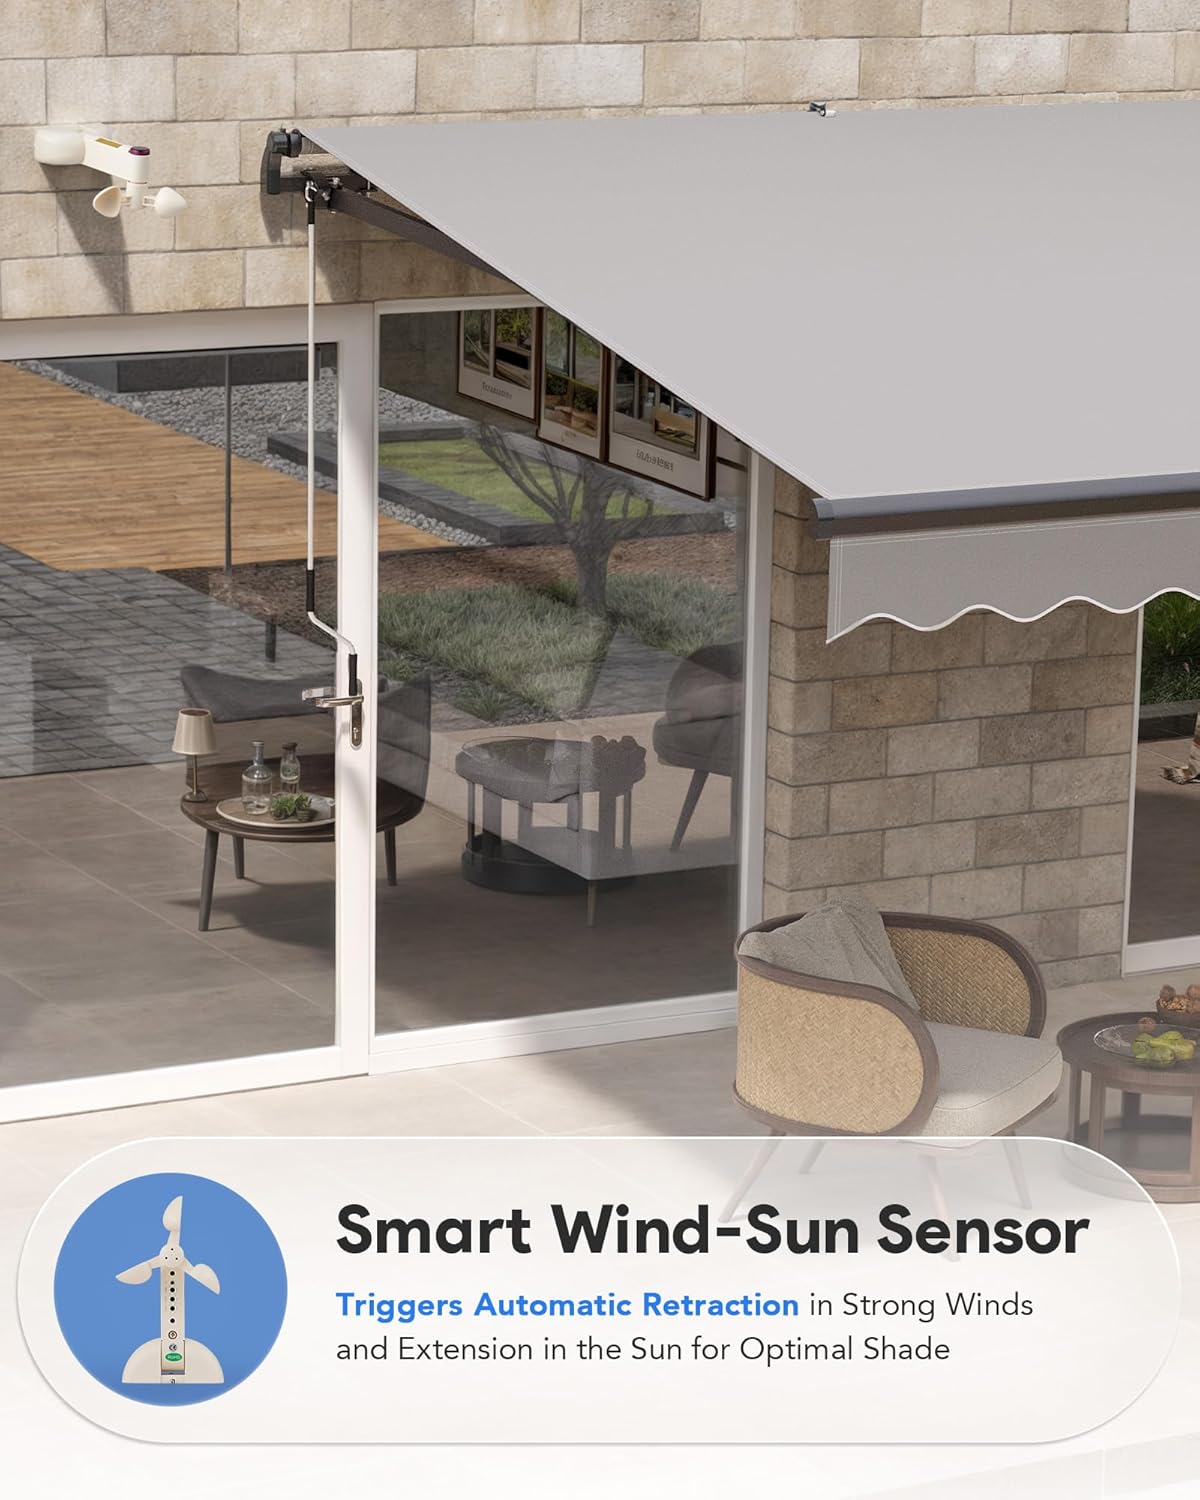
Image Description: A white wind-sun sensor device mounted on a wall, designed to automatically control the awning based on weather conditions.
4.4 Integrated LED Lighting
The LED lights built into the retractable awning illuminate your outdoor space with a warm, atmospheric glow. Control the lights using the remote control.

Image Description: The CO-Z awning extended at night, showcasing its integrated LED lights illuminating the patio area.
5. Maintenance
- Cleaning: Clean the fabric with mild soap and water. Avoid harsh chemicals. Clean the frame with a damp cloth.
- Inspection: Regularly check all bolts, screws, and connections to ensure they are tight and secure. Inspect the fabric for any tears or damage.
- Winter Storage: In areas with heavy snow or ice, it is recommended to retract the awning completely and, if possible, cover it for protection during winter months.
6. Troubleshooting
- Awning not operating: Check power connection. Ensure the remote control batteries are functional. Verify the wind-sun sensor is not preventing operation due to high winds.
- Remote control not responding: Re-pair the remote control with the motor. Refer to the remote control's specific pairing instructions.
- Uneven extension/retraction: This may occur during initial manual extension. Adjust the front torsion bar bolt with assistance to level the awning.
- LED lights not working: Check all wiring connections for the LED tape. Ensure the power supply to the LED lights is active.
7. Specifications
| Feature | Detail |
|---|---|
| Brand | CO-Z |
| Model Number | AWN-0001 |
| Size | 14*10ft |
| Color | Gray |
| Product Dimensions | 118"D x 165"W x 8.5"H |
| Operation Mode | Automatic |
| Min. Clearance | 14.2 Inches |
| Projection Distance | 118 Inches |
| Assembly Required | Yes |
8. Warranty and Support
For warranty information or technical support, please contact the seller or manufacturer directly. Keep your purchase receipt as proof of purchase.