RiseUP Assioma PRO MX-1
Favero Assioma PRO MX-1 Single-Sensing Pedal Power Meter User Manual
Model: Assioma PRO MX-1 | Brand: RiseUP
1. Introduction
The Favero Assioma PRO MX-1 is a state-of-the-art single-sensing pedal-based power meter designed for mountain biking (MTB) and gravel cycling. It provides accurate power data by measuring force on the left pedal, offering seamless connectivity via Bluetooth and ANT+ to your bike computer, GPS unit, or smartphone. This manual provides comprehensive instructions for the installation, operation, and maintenance of your Assioma PRO MX-1 power meter to ensure optimal performance and longevity.
2. What's in the Box
Upon opening the package, verify that all components listed below are present and in good condition:
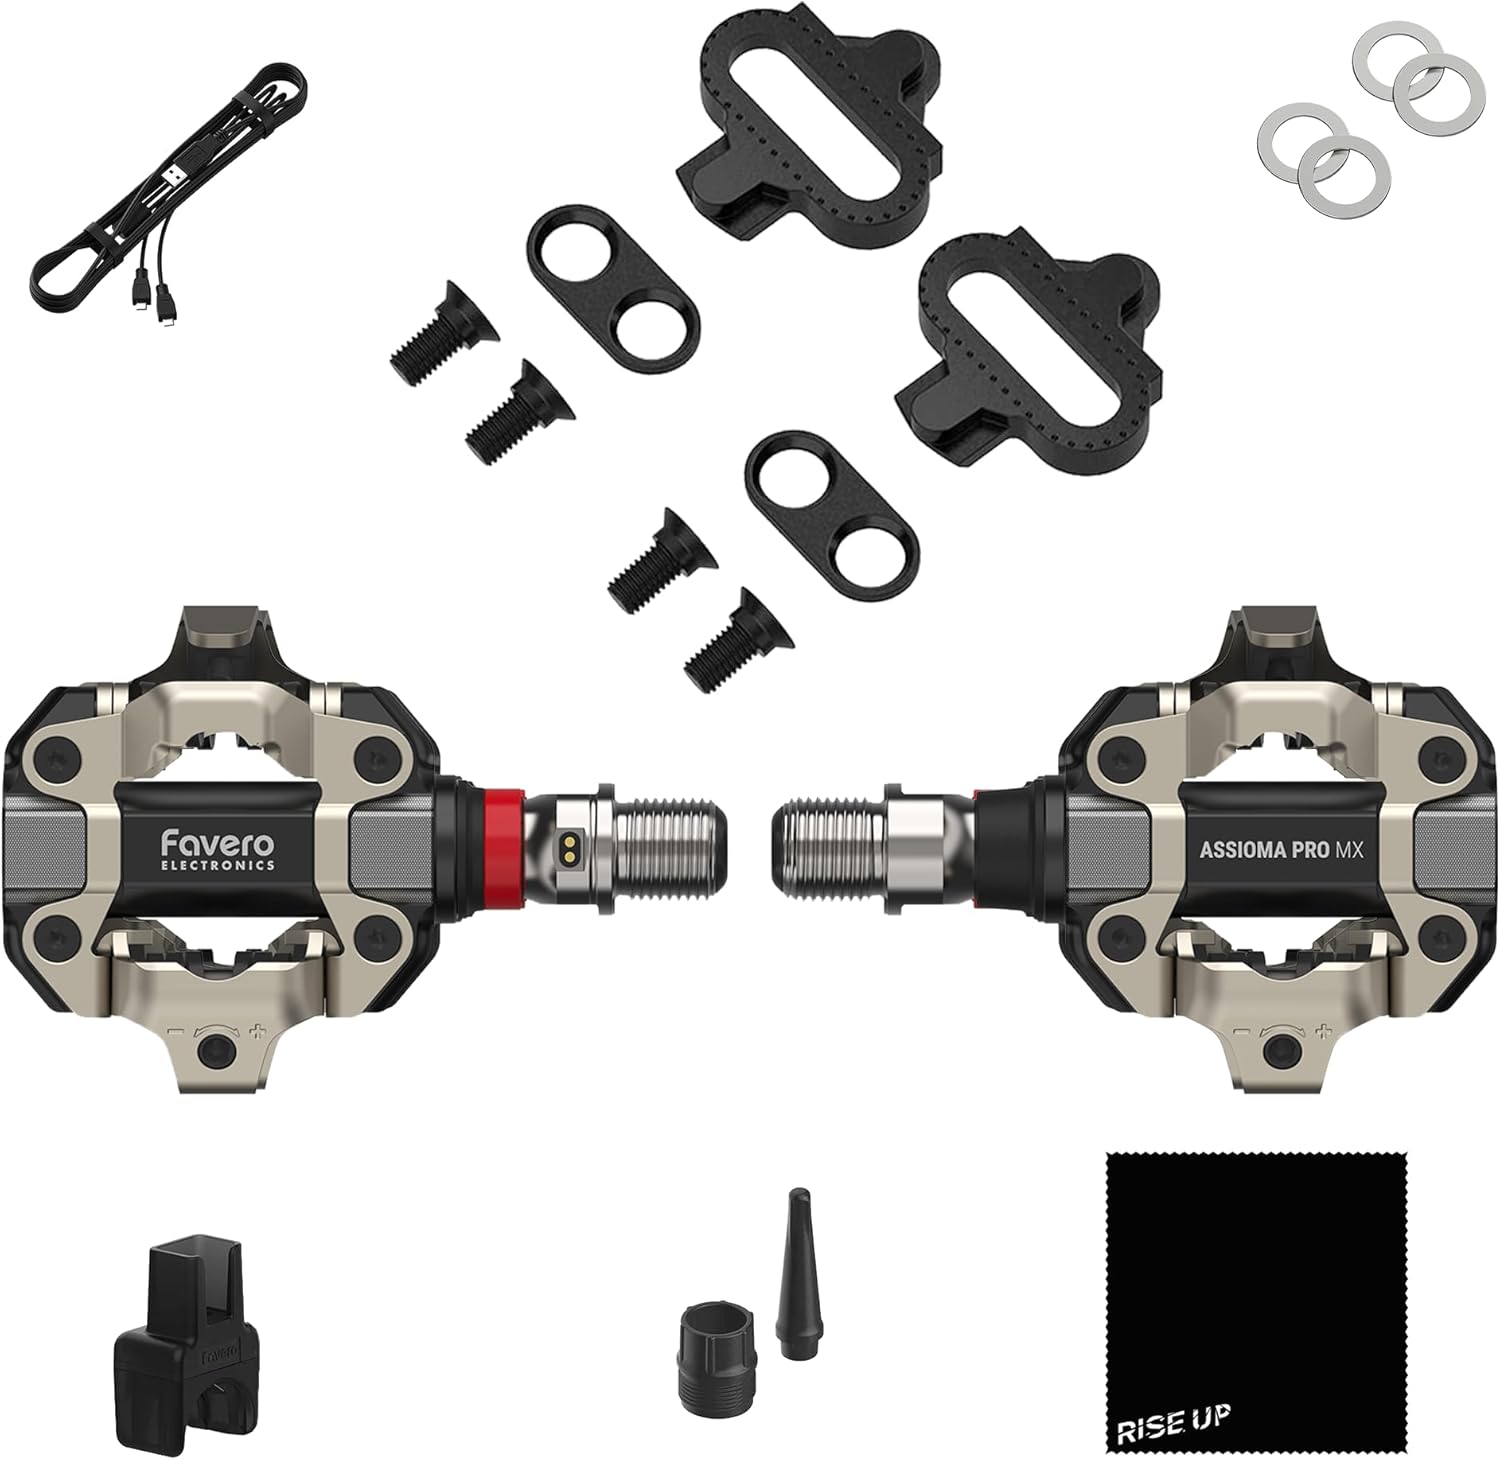
Image: All components included in the Favero Assioma PRO MX-1 package.
- 1x Favero Assioma PRO MX-1 Power-meter Cycling Pedals (MPN 773-10-01)
- 1x Pair of Assioma PRO MX | MTB-compatible SPD® cleats (4 Degree)
- 1x Magnetic Charging Connector
- 1x USB Type-C 2-way Charging Cable
- 4x Washers
- 1x Greasing Tools Kit
- 1x RiseUP Cleaning Cloth
3. Setup and Installation
The Assioma PRO MX-1 pedals are designed for easy installation and can be swapped between bikes without special tools. Follow these steps for proper setup:
3.1 Pedal Installation
- Ensure your crank arms are clean and free of debris.
- Identify the left and right pedals. The Assioma PRO MX-1 is a single-sensing unit, meaning the power sensor is on the left pedal only.
- Apply a small amount of grease to the pedal threads.
- Thread the pedals into the crank arms. The left pedal threads counter-clockwise, and the right pedal threads clockwise.
- Tighten the pedals securely using an appropriate pedal wrench. Refer to your bike's crank arm manufacturer specifications for torque values.
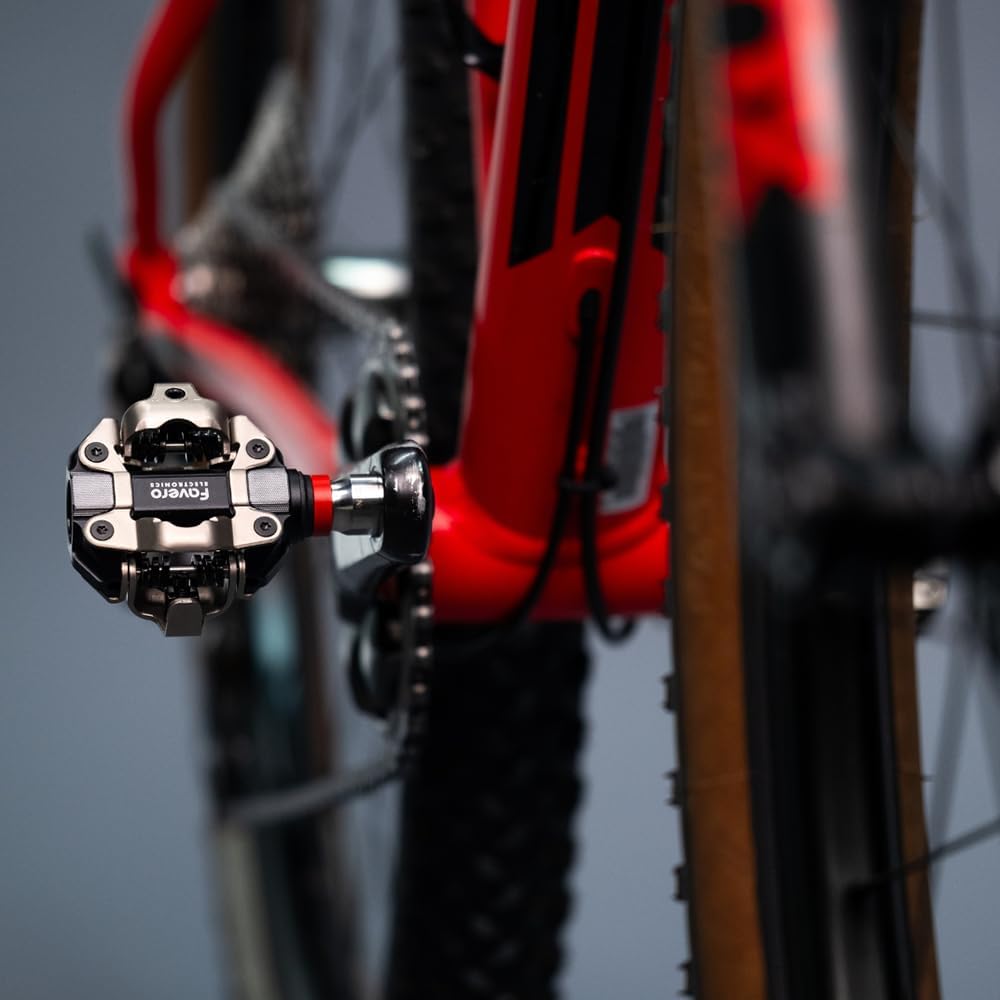
Image: Close-up view of the Assioma PRO MX-1 pedal correctly installed on a bicycle.
3.2 Cleat Installation
The included cleats are SPD-compatible. You can also use original Shimano SM-SH51 cleats.
- Attach the cleats to your cycling shoes using the provided screws and washers.
- Adjust the cleat position for comfort and efficient pedaling. Typically, the cleat should be centered under the ball of your foot.
- Tighten the cleat screws firmly.
4. Operating the Power Meter
The Assioma PRO MX-1 connects wirelessly to display devices to provide real-time power data.
4.1 Pairing with Devices
The power meter supports both Bluetooth and ANT+ connectivity.
- Wake up the pedals by rotating the cranks a few times.
- On your bike computer, GPS unit, or smartphone, navigate to the sensor pairing menu.
- Select "Add Sensor" or "Pair Device" and choose the Assioma PRO MX-1 from the list of available sensors.
- Confirm the pairing. The device should now display power data.

Image: A smartphone displaying various cycling metrics, including power, cadence, and balance, as provided by the Assioma PRO MX-1.
4.2 Understanding Power Data
The Assioma PRO MX-1 provides highly accurate power data with a ±1% accuracy. Key metrics include:
- Power (Watts): The instantaneous power output.
- Cadence (RPM): Your pedaling revolutions per minute.
- L/R Balance: While the MX-1 is single-sensing, it can estimate balance based on advanced algorithms.
- Platform Center Offset (PCO): Indicates how centrally force is applied on the pedal.
- Power Phase (PP): Shows the angle at which power is generated during the pedal stroke.
- Pedal Smoothness (PS): Measures the consistency of power application throughout the pedal stroke.
- Torque Effectiveness (TE): Quantifies how much of the applied torque contributes to forward motion.
- Rider Position: Detects if you are seated or standing.

Image: A cyclist demonstrating the use of the power meter, with an overlay illustrating power distribution between legs.
5. Maintenance
Proper maintenance ensures the longevity and accuracy of your Assioma PRO MX-1 power meter.
5.1 Charging the Battery
The pedals feature integrated rechargeable batteries, providing over 60 hours of operational use on a single charge.
- Connect the magnetic charging connector to the charging port on the pedal spindle.
- Connect the USB Type-C cable to the magnetic connector and a USB power source.
- The LED indicator on the pedal will show charging status (refer to the Favero app for detailed battery levels).
5.2 Cleaning and Care
- Regularly clean the pedals with a damp cloth and the provided RiseUP cleaning cloth.
- Avoid using high-pressure washers directly on the pedals, especially near the spindle and charging port.
- Inspect the pedal body and spindle for any signs of damage or wear.
- The modular design allows for easy replacement of the pedal body if needed, using the same power sensor.
6. Troubleshooting
If you encounter issues with your Assioma PRO MX-1, refer to the following common solutions:
| Problem | Possible Cause | Solution |
|---|---|---|
| No power data displayed. | Pedals are not awake or not paired. Low battery. | Rotate cranks to wake pedals. Re-pair with your device. Charge the pedals. |
| Inaccurate power readings. | Pedals need calibration. Environmental temperature changes. | Perform a zero-offset calibration via your bike computer or the Favero app. The pedals feature Automatic Temperature Compensation (ATC) for consistent readings. |
| Difficulty pairing. | Interference. Device compatibility. | Ensure no other ANT+ or Bluetooth devices are interfering. Check your device's compatibility with power meters. Try restarting both the pedals and the display device. |
| Pedal body damage. | Impact or wear. | The modular design allows for replacement of the pedal body while retaining the power sensor. Contact support for replacement parts. |
7. Specifications
| Feature | Detail |
|---|---|
| Model | Assioma PRO MX-1 |
| Power Sensing | Single-sided (left pedal) |
| Accuracy | ±1% |
| Connectivity | Bluetooth, ANT+ |
| Battery Life | 60+ operational hours |
| Battery Type | Integrated rechargeable |
| Pedal Body Material | Aluminum 6061-T6 |
| Clipless System | SPD compatible (surface hardness up to 800 HV) |
| Temperature Compensation | Automatic Temperature Compensation (ATC) |
| Weight | Approximately 2 pounds (total package weight) |
| Dimensions | Package: 12 x 6 x 2 inches |
| Manufacturer | RiseUP |
8. Warranty and Support
For warranty information and technical support, please refer to the official RiseUP website or contact their customer service directly. Keep your proof of purchase for warranty claims.
- Customer Service: Refer to the contact information provided with your product packaging or the RiseUP official website.
- Online Resources: Check for FAQs, firmware updates, and additional guides on the manufacturer's support pages.
Ask a question about this manual
Ask about setup, troubleshooting, compatibility, parts, safety, or missing instructions. Manuals+ will review the question and use this page’s manual context to help answer it.