Introduction
This manual provides instructions for the Acdctek A/V 3 RCA Audio/Video Cable. This cable is designed to connect your JVC Everio Camcorder to a television or other display device, allowing you to view recorded video and audio. It features a 3.5mm jack on one end for the camcorder and three RCA connectors (yellow for video, white for left audio, red for right audio) on the other end for the display device.
Compatible JVC Everio Camcorder Models include: GZ-MG50, GZ-MG57, GZ-MG67, GZ-MG70, GZ-MG77, GZ-MG130, GZ-MG130U, GZ-MG132, GZ-MG150, GZ-MG20, GZ-MG21, GZ-MG24, GZ-MG26, GZ-MG27, GZ-MG30, GZ-MG35, GZ-MG36, GZ-MG37, GZ-MG40, GZ-MG47, GZ-MG155, GZ-MG157, GZ-MG175, GZ-MG275, GZ-MG330, GZ-MG333, GZ-MG334, GZ-MG334HEK, GZ-MG335, GZ-MG344, GZ-MG361, GZ-MG364, GZ-MG365, GZ-MG430, GZ-MG465, GZ-MG505, GZ-MG575, GZ-MG630, GZ-MG645, GZ-MG680, GZ-MG730, GZ-MG730U, GZ-MG760, GZ-GR-D760, GZ-MS120, GZ-MS230BU, GZ-MS230RU, GZ-X900X, GZ-HD300, GZ-HD320 BU EA RAA, GR-D375, D375U, D375US, D720EK, GR-D372, D372U.
Setup Instructions
Follow these steps to connect your camcorder to a display device:
- Identify Ports: Locate the A/V output port on your JVC Everio Camcorder. This is typically a single 3.5mm jack. On your television or display device, locate the A/V input ports, which are usually color-coded (yellow for video, white for left audio, red for right audio).
- Connect to Camcorder: Insert the 3.5mm jack end of the Acdctek A/V cable into the A/V output port on your JVC Everio Camcorder.
- Connect to Display: Connect the three RCA plugs to the corresponding color-coded A/V input ports on your television or display device.
- Yellow plug: Connect to the yellow video input port.
- White plug: Connect to the white left audio input port.
- Red plug: Connect to the red right audio input port.
- Power On: Ensure both your camcorder and the display device are powered on.

Image: The Acdctek A/V 3 RCA Audio/Video Cable, showing the 3.5mm jack on one end and the yellow, white, and red RCA plugs on the other end. This illustrates the connectors used for setup.
Operating Instructions
After connecting the cable, follow these steps to view your camcorder's content:
- Select Input on TV: Using your television's remote control, press the 'Input', 'Source', or 'A/V' button to cycle through the available input sources. Select the input that corresponds to where you connected the RCA cables (e.g., 'AV1', 'Video 1', 'Component', etc.).
- Play Content on Camcorder: Put your JVC Everio Camcorder into playback mode. The video and audio from the camcorder should now be displayed on your television.

Image: A close-up view of the 3.5mm jack and the yellow, white, and red RCA plugs. This highlights the distinct connectors for proper identification during operation.
Maintenance
Proper care will extend the life of your A/V cable:
- Cleaning: Use a soft, dry cloth to wipe the cable and connectors. Avoid using liquid cleaners or abrasive materials.
- Storage: When not in use, coil the cable loosely. Avoid tight coiling or sharp bends, which can damage the internal wires. Store in a cool, dry place away from direct sunlight and extreme temperatures.
- Handling: Always grasp the connector housing when plugging or unplugging the cable, rather than pulling on the cable itself.
Troubleshooting
If you encounter issues, refer to the following common problems and solutions:
- No Video or Audio:
- Ensure all connectors are fully inserted into their respective ports.
- Verify that the RCA plugs are connected to the correct color-coded input ports on the TV (yellow to yellow, white to white, red to red).
- Check that the correct input source is selected on your television (e.g., AV1, Video 1).
- Confirm your camcorder is in playback mode and playing content.
- Poor Video Quality or Distorted Audio:
- Ensure all connections are secure and free from dust or debris.
- Try a different A/V input port on your television, if available.
- Inspect the cable for any visible damage or kinks.
- Only Video or Only Audio:
- Check the specific RCA plug (yellow for video, white/red for audio) that is not working and ensure it is securely connected to its corresponding port.
- Verify that the camcorder's audio/video output settings are correctly configured, if applicable.
Specifications
| Brand | Acdctek |
| Cable Type | A/V 3 RCA Audio/Video Cable AV Cord |
| Connector Type | RCA, 3.5mm Jack |
| Number of Items | 1 |
| Safety Protection | OVP (Over Voltage output Protection), OCP (Over Current output Protection), SCP (Short Circuit output Protection) |
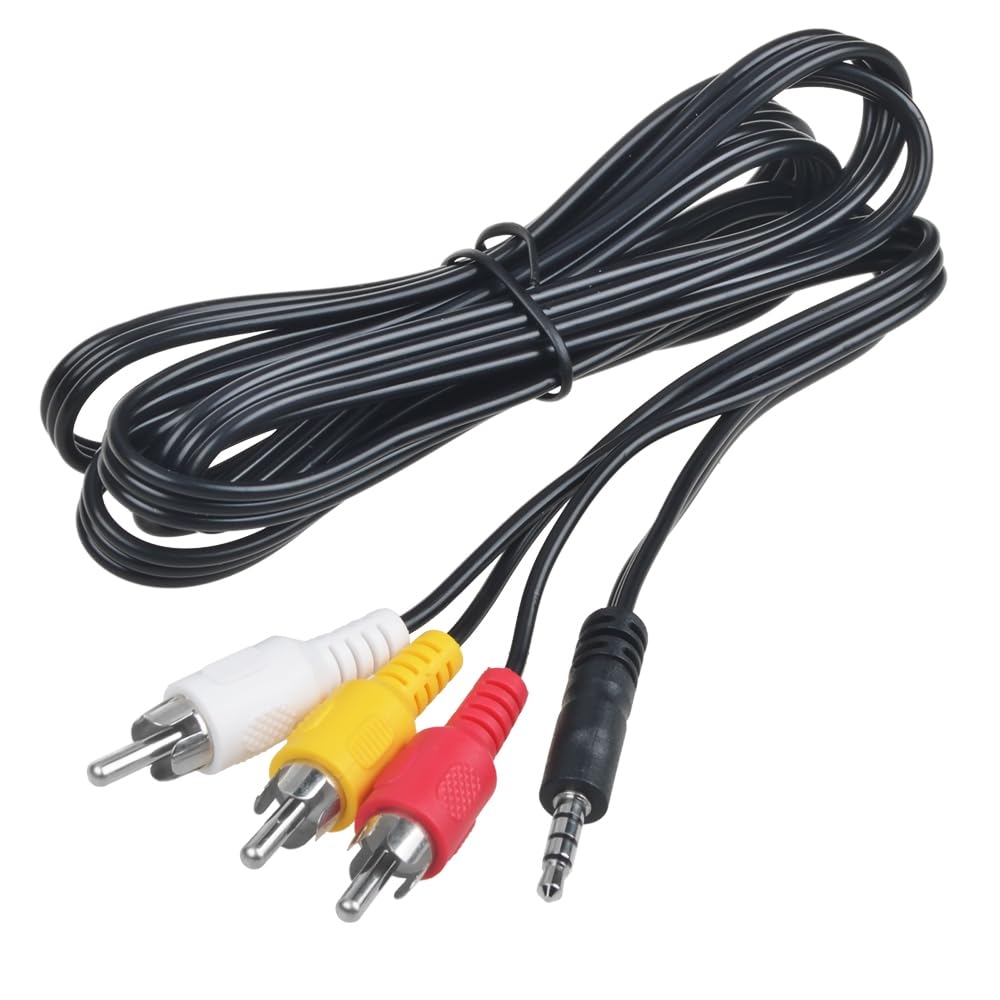
Image: The Acdctek A/V 3 RCA Audio/Video Cable, neatly coiled, showcasing its overall design and length. This provides a general view of the product.
Warranty and Support
For specific warranty information or technical support regarding your Acdctek A/V 3 RCA Audio/Video Cable, please refer to the product packaging or contact the manufacturer directly. Contact details for Acdctek can typically be found on their official website or through the retailer where the product was purchased.