
1. Introduction
This manual provides essential instructions for the safe and effective use of your Vsdampj 18V 1500mAh Li-ion replacement battery. Please read this manual thoroughly before using the battery to ensure proper operation, maximize battery life, and prevent potential hazards. Keep this manual for future reference.
2. Safety Instructions
Your safety is paramount. Observe the following precautions when handling and using the battery:
- Do not attempt to disassemble, open, or service the battery pack. Unauthorized modification can lead to injury or damage.
- Do not crush, puncture, short external contacts, or dispose of the battery in fire or water. This can cause explosion, fire, or chemical burns.
- Do not store the battery above 60°C (140°F). High temperatures can degrade battery performance and pose a safety risk.
- Use only compatible and high-quality chargers. Using low-quality or incompatible third-party chargers can shorten the battery's life and create safety hazards.
- Keep the battery away from children.
- If the battery shows signs of damage, leakage, or overheating, discontinue use immediately.
3. Product Compatibility
This Vsdampj replacement battery is designed to be compatible with the following part numbers and Gardena tools:
Compatible Battery Part Numbers:
- 09839-20
- 09840-20
- BLi-18
Compatible Gardena Tools:
- Gardena TCS Li-18/20
- Gardena TCS Li-18/20 (8866-20)
- Gardena Telescopic Accu Hedge Trimmer
- Gardena THS Li-18/42
- Gardena THS Li-18/42 (8881-20)
Before purchase and installation, carefully check the model number of your device and the part number of your original battery to confirm compatibility.
4. Product Specifications
| Model Number | CS-GRA180PW |
| Battery Type | Li-ion |
| Voltage | 18.0V |
| Capacity | 1500mAh |
| Rate | 27Wh |
| Dimensions | 97.90 x 94.10 x 73.15 mm |
| Weight | 575.0 g |
5. Setup and First Use
5.1 Initial Charging
For optimal performance, a new battery should undergo 2 to 3 complete charge and discharge cycles. This process helps to calibrate the battery and achieve its full capacity.
- Fully charge the battery using a compatible charger.
- Use the battery until it is fully discharged.
- Repeat steps 1 and 2 for a total of 2 to 3 cycles.
5.2 Installation
When installing the battery into your Gardena tool, ensure the connector is properly and securely connected to your device. A loose connection can lead to intermittent power or damage.

Figure 1: Main view of the Vsdampj replacement battery. This image shows the overall design and connection points.
6. Operating Instructions
6.1 Charging the Battery
Connect the battery to a compatible Gardena charger. Follow the charger's instructions for proper charging procedures. Ensure the battery is fully seated in the charger. Do not overcharge or leave the battery on the charger indefinitely after it is full, unless the charger specifically supports trickle charging.
6.2 Using the Battery
Once installed and charged, the battery powers your compatible Gardena tool. Monitor the tool's power indicator (if available) to determine remaining charge. When the battery is depleted, remove it from the tool and recharge it.

Figure 2: Angled view of the battery, highlighting the product labels and specifications printed on the casing.
7. Maintenance and Storage
7.1 General Maintenance
- Keep the battery terminals clean and free from dirt or debris.
- Periodically inspect the battery for any physical damage.
- Avoid exposing the battery to extreme temperatures or moisture.
7.2 Storage
When not in use for extended periods, store the battery in a cool, dry place, ideally at room temperature. Avoid storing it in direct sunlight or in environments where temperatures can exceed 60°C (140°F). For long-term storage, it is recommended to store Li-ion batteries with a partial charge (around 50-70%) rather than fully charged or fully depleted.

Figure 3: Top view of the battery, showing the ribbed design for secure handling and ventilation.
8. Troubleshooting
If you encounter issues with your battery, consider the following common solutions:
- Battery not charging: Ensure the charger is properly connected to a power source and the battery is correctly seated in the charger. Verify the charger is compatible and functional.
- Tool not powering on: Check that the battery is fully charged and securely installed in the tool. Ensure the tool itself is functioning correctly with another battery (if available).
- Reduced run time: This can be normal over the battery's lifespan. Ensure you are performing initial charge/discharge cycles for new batteries. Avoid extreme temperatures during use and storage.

Figure 4: Bottom view of the battery, showing the base and additional structural details.
9. Warranty and Support
9.1 Return Policy
This product is eligible for a refund or a free replacement without reason for 30 days from the date of purchase. Please refer to your purchase documentation for specific terms and conditions.
9.2 Customer Support
If you have any questions or encounter any issues when using our product, please do not hesitate to contact us. We are committed to providing prompt assistance and will reply to your message as soon as possible.
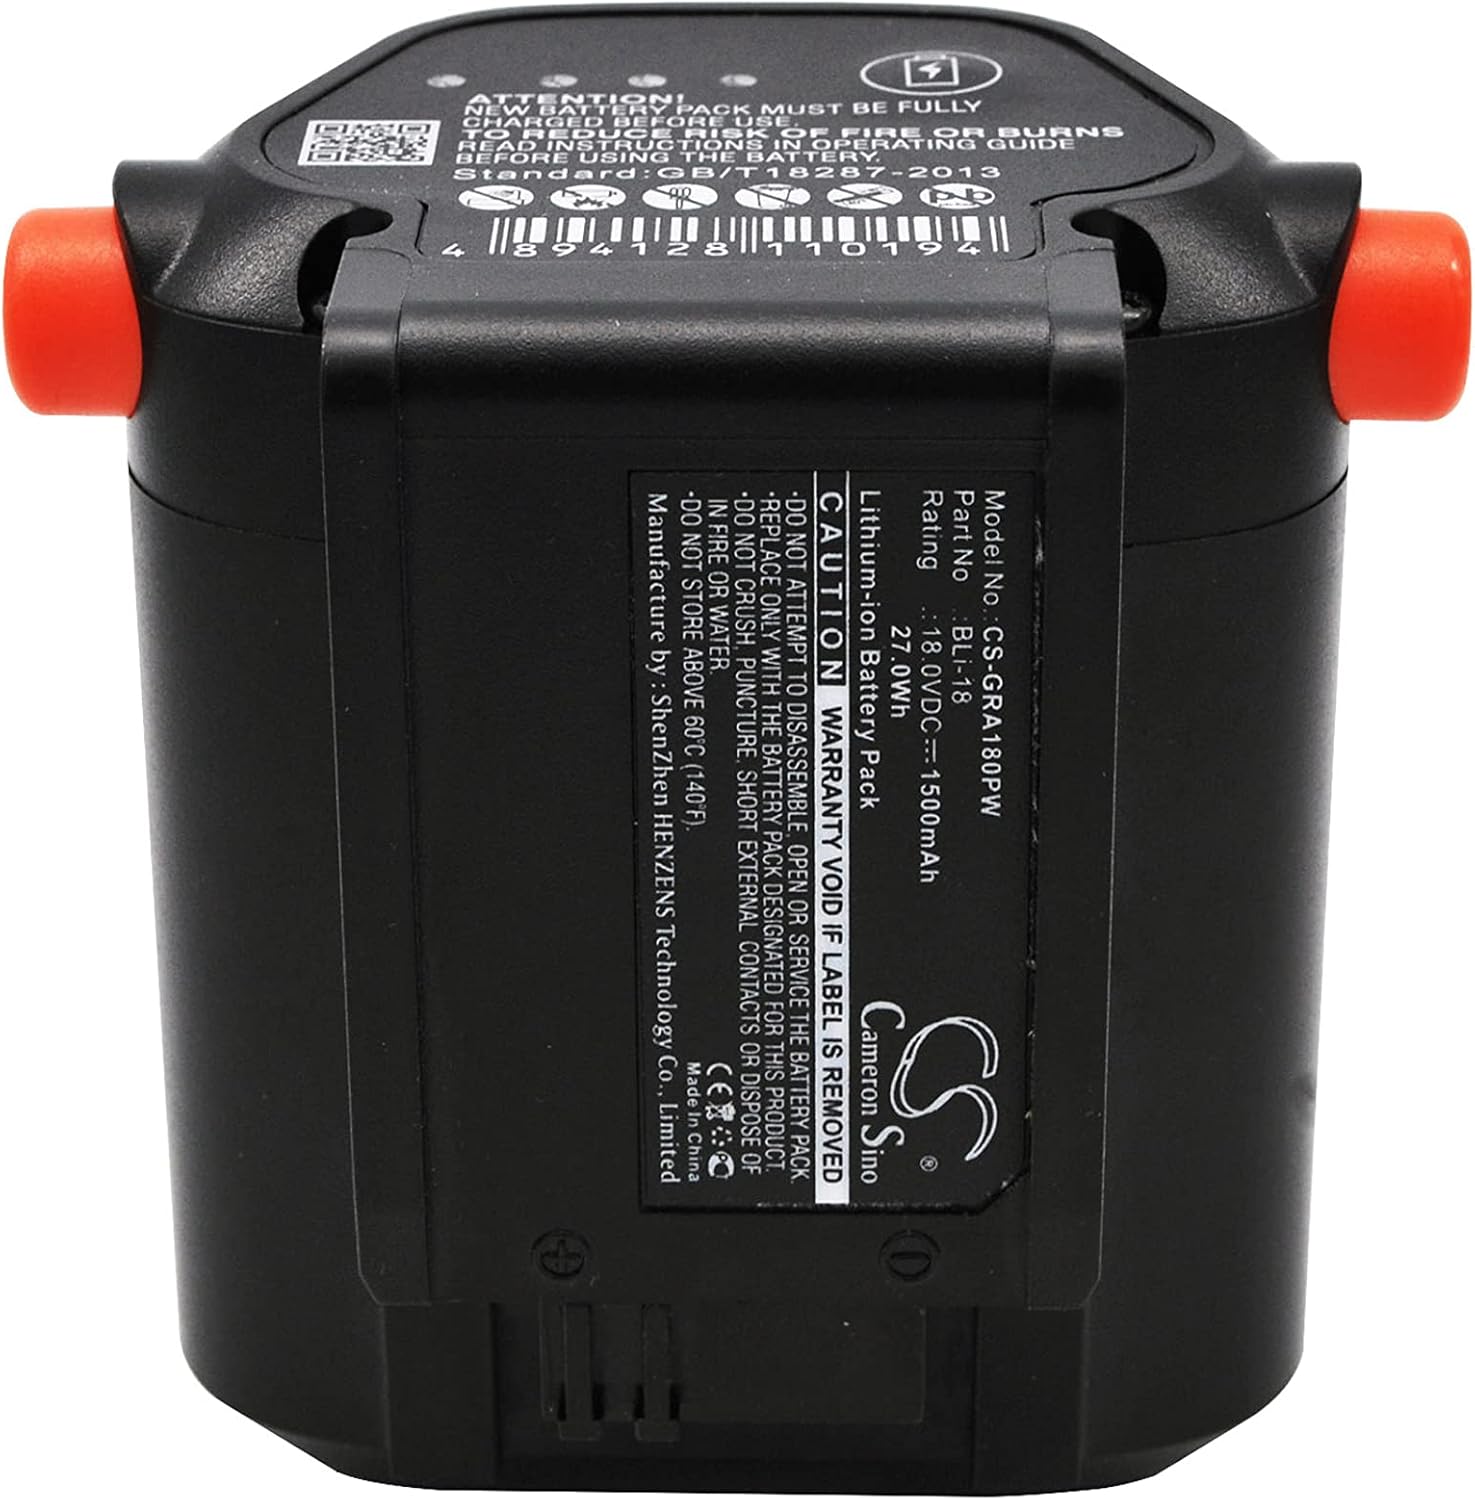
Figure 5: Top-down view of the battery, clearly displaying the model number, voltage, capacity, and safety warnings.