1. Introduction
Thank you for purchasing the VASAGLE Custos Collection LBC401K01 Bookcase. This manual provides detailed instructions for the safe assembly, operation, and maintenance of your new furniture. Please read all instructions carefully before beginning assembly and retain this manual for future reference.
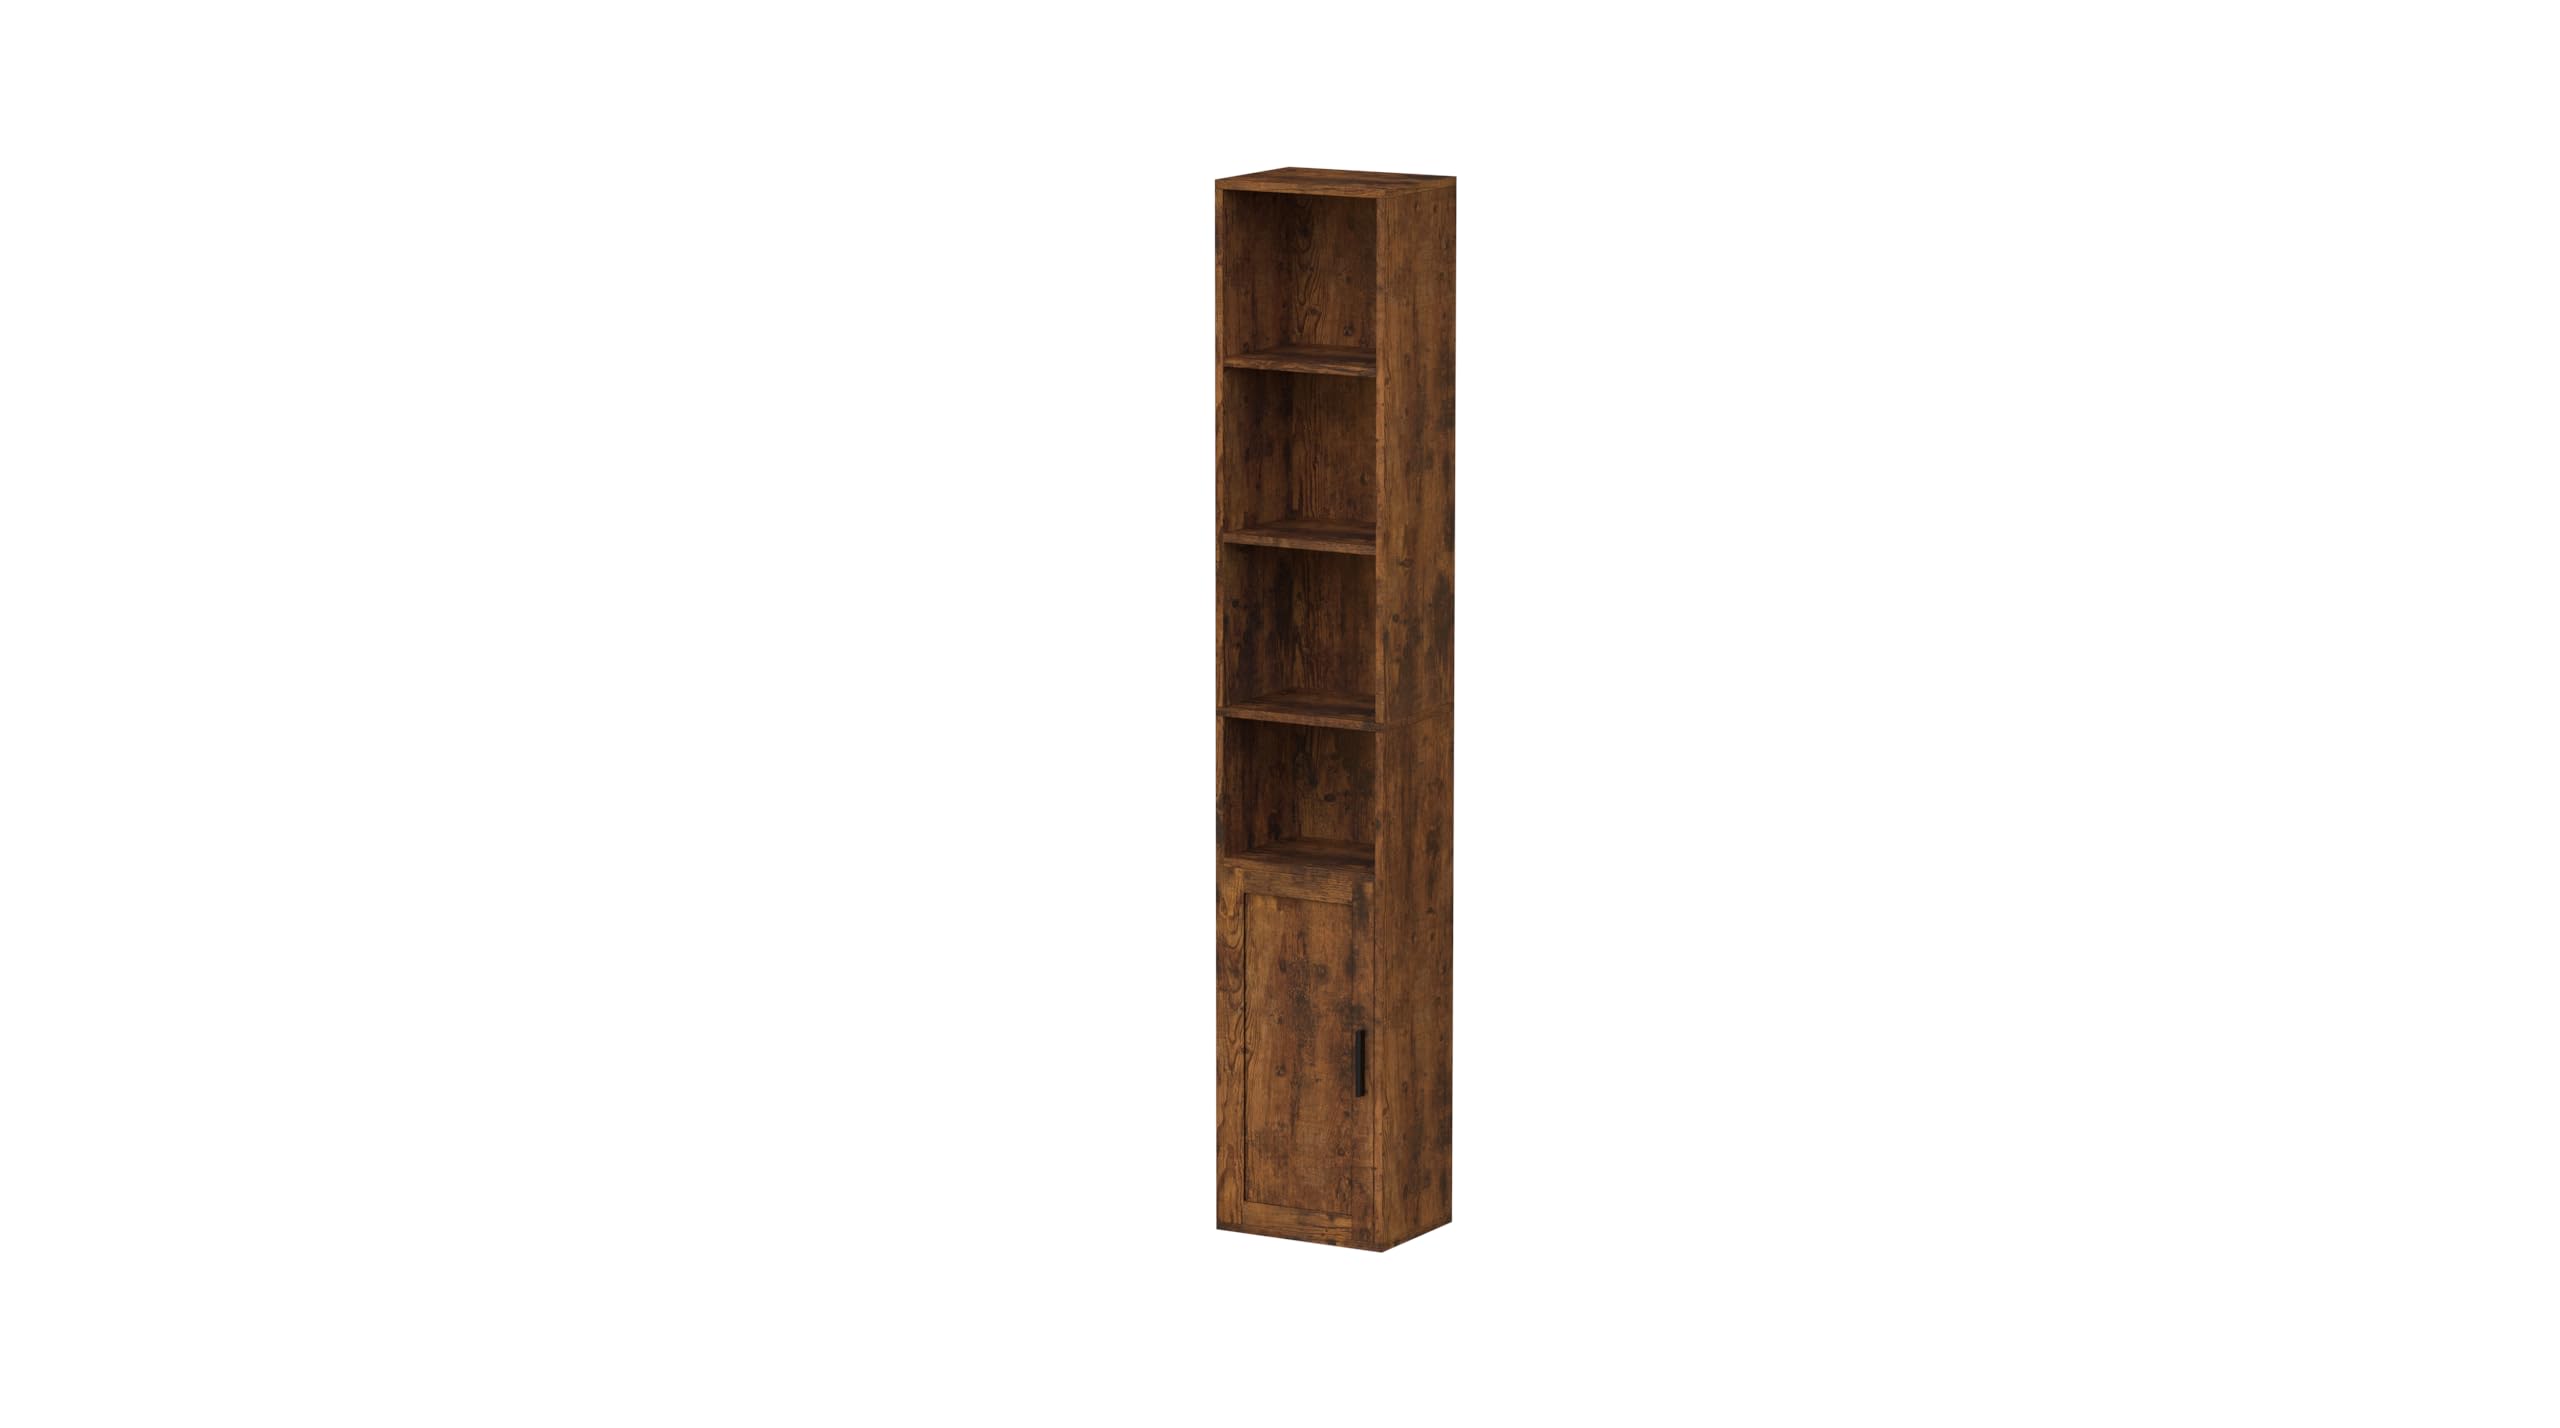
Image 1.1: The VASAGLE Custos Collection LBC401K01 Bookcase, featuring a rustic brown finish, six tiers, and a lower cabinet door.
2. Safety Instructions
To ensure safe use of this product, please observe the following guidelines:
- Read all instructions: Before assembly and use, carefully read and understand all instructions provided in this manual.
- Keep children and pets away: During assembly, keep children and pets away from the work area. Small parts can be a choking hazard.
- Assemble on a clean, flat surface: Assemble the unit on a soft, clean, and flat surface to prevent scratches and damage.
- Use correct tools: Ensure you have all necessary tools as specified in the assembly section.
- Do not overtighten screws: Overtightening screws can damage the material. Tighten until snug.
- Install anti-tip kit: Always install the included anti-tip kit to prevent the unit from tipping over, especially in households with children.
- Distribute weight evenly: Do not overload shelves. Distribute weight evenly to maintain stability.
- Do not climb or stand on the unit: This unit is not designed for climbing or standing.
- Regularly check fasteners: Periodically check all fasteners to ensure they remain tight.
3. Package Contents
Before assembly, verify that all parts listed below are present and undamaged. If any parts are missing or damaged, do not proceed with assembly. Contact customer support for assistance.
- Side Panels (Left & Right)
- Back Panels
- Fixed Shelves
- Adjustable Shelves
- Bottom Panel
- Top Panel
- Door Panel
- Hardware Pack (screws, dowels, cam locks, hinges, shelf pins, anti-tip kit)
- Assembly Tool (e.g., Allen wrench)
Note: The exact number and type of fasteners are detailed in the included hardware pack diagram.
4. Assembly Instructions (Setup)
Follow these steps carefully for proper assembly. It is recommended to have two people for certain steps.
- Step 1: Prepare Components
Unpack all components and lay them out on a clean, soft surface. Identify each part by its label (if provided) and cross-reference with the parts list. Separate all hardware into individual groups.
Image 4.1: Illustration showing all components laid out and identified.
- Step 2: Assemble the Base Frame
Attach the bottom panel to the side panels using the specified fasteners (e.g., cam locks and dowels). Ensure the grooves for the back panel are facing the correct direction.
Image 4.2: Diagram illustrating the connection of the bottom panel to the side panels.
- Step 3: Install Fixed Shelves
Insert the fixed shelves into the pre-drilled holes in the side panels. Secure them with the appropriate fasteners. Ensure all connections are snug.
Image 4.3: Visual guide for installing fixed shelves into the main frame.
- Step 4: Attach Back Panels
Slide the back panels into the grooves on the rear of the unit. Secure them with small nails or screws as indicated in the hardware pack. Ensure the unit is square before securing.
Image 4.4: Step-by-step image showing how to slide and secure the back panels.
- Step 5: Install the Top Panel
Place the top panel onto the assembled frame and secure it using the designated fasteners. Ensure it aligns perfectly with the side panels.
Image 4.5: Illustration of attaching the top panel to complete the main structure.
- Step 6: Install the Door
Attach the hinges to the door panel and then to the designated side panel of the bookcase. Adjust the hinges as needed to ensure the door opens and closes smoothly and aligns correctly.
Image 4.6: Detailed diagram for hinge and door installation, including adjustment points.
- Step 7: Install Adjustable Shelves
Insert the shelf pins into the desired holes for the adjustable shelves. Place the adjustable shelves onto these pins. The 1st, 4th, and 5th shelves are adjustable up to 3cm up and down.
Image 4.7: Visual guide for placing shelf pins and adjustable shelves.
- Step 8: Install Anti-Tip Kit
Secure the anti-tip kit to the top rear of the bookcase and to a wall stud using the provided hardware. This step is crucial for safety and must not be skipped.
Image 4.8: Diagram showing proper installation of the anti-tip kit to the wall.
5. Operating Instructions
This bookcase is designed for storing books, decorative items, and other household goods. The lower cabinet provides discreet storage.
- Loading Shelves: Place items on shelves, distributing weight evenly. Avoid placing heavy items exclusively on one side or on the very edge of a shelf.
- Adjusting Shelves: To adjust the height of the adjustable shelves, carefully remove all items from the shelf, lift the shelf, remove the shelf pins, reposition the pins to the desired height, and then replace the shelf. Ensure all four pins are securely in place before reloading the shelf.
- Door Operation: The lower door opens and closes manually. Avoid forcing the door if it feels stiff; check hinges for alignment.
6. Maintenance
Proper maintenance will extend the life of your bookcase.
- Cleaning: Wipe surfaces with a soft, damp cloth. Avoid harsh chemicals or abrasive cleaners, which can damage the finish. Dry immediately with a clean cloth.
- Dusting: Regularly dust with a dry, soft cloth.
- Fastener Check: Periodically (e.g., every 6 months) check all screws, bolts, and cam locks to ensure they are tight. Retighten if necessary, but do not overtighten.
- Avoid Direct Sunlight and Moisture: Prolonged exposure to direct sunlight or excessive moisture can cause fading, warping, or damage to the material.
7. Troubleshooting
If you encounter issues with your bookcase, refer to the following common problems and solutions:
| Problem | Possible Cause | Solution |
|---|---|---|
| Bookcase is wobbly or unstable. | Loose fasteners; uneven floor; anti-tip kit not installed. | Ensure all screws and cam locks are tightened. Place shims under legs if floor is uneven. Install the anti-tip kit securely to a wall stud. |
| Door does not close properly or is misaligned. | Hinges are loose or improperly adjusted. | Tighten hinge screws. Adjust hinge screws to align the door. Refer to hinge adjustment instructions if available. |
| Shelves sag or appear weak. | Overloaded shelf; uneven weight distribution. | Reduce weight on the shelf. Distribute items more evenly. Ensure shelf pins are fully inserted. |
8. Specifications
- Model: LBC401K01
- Brand: VASAGLE
- Product Dimensions: 9.45 x 12.52 x 68.9 inches (24 x 31.8 x 175 cm)
- Item Weight: 35 pounds (15.9 Kilograms)
- Material: Chipboard and MDF board
- Color: Rustic Brown
- Number of Tiers: 6 (including lower cabinet)
- Adjustable Shelves: 1st, 4th, and 5th shelves (adjustable up to 3cm up/down)
- Weight Capacity per Shelf: Up to 10 kg (22 lbs)
- Assembly Required: Yes
9. Warranty and Support
For warranty information or technical support, please refer to the documentation included with your purchase or contact VASAGLE customer service. Ensure you have your model number (LBC401K01) and proof of purchase available when contacting support.


