1. Introduction
This instruction manual provides essential information for the proper use and installation of your SPARKHOBBY SH1.0mm and SH1.25mm Silicone FPV VTX Cables. These cables are designed for connecting various components in RC drones, including FPV cameras, video transmitters (VTX), and GPS modules. Please read this manual carefully before installation and use to ensure optimal performance and safety.
2. Product Overview
The SPARKHOBBY FPV VTX cables are constructed from high-quality silicone wire, offering excellent temperature resistance and conductivity. They are available in various pin configurations (4-pin, 5-pin, 6-pin, 7-pin) and terminal spacings (1.0mm and 1.25mm) to suit a wide range of FPV equipment.

Figure 2.1: An assortment of SPARKHOBBY SH1.0mm and SH1.25mm cables, showcasing various pin configurations (4P, 5P, 6P, 7P) and terminal spacings.
2.1 Key Features
- Material: High-quality silicone wire for durability and high-temperature resistance.
- Conductivity: Excellent electrical conductivity for reliable signal transmission.
- Compatibility: Designed for use with various FPV components such as RUNCAM and FOXEER cameras, FOXEER TX2 image transmission, and RXSR receivers, BN220 280GPS modules.
- Pin Configurations: Available in 4-pin, 5-pin, 6-pin, and 7-pin options.
- Terminal Spacing: Available in 1.0mm and 1.25mm terminal spacing.
- Length: Approximately 150mm (15cm).

Figure 2.2: A detailed view of a 7-pin SH1.0mm FPV VTX cable, highlighting the connector and individual wires.
3. Setup and Installation
Proper installation is critical for the functionality of your FPV system. Always ensure power is disconnected from all components before beginning installation.
3.1 Important Considerations
- Pin Sequence: Do not rely solely on wire color. Always refer to the pinout definition provided by the manufacturer of your specific FPV camera, VTX, or GPS module. Pin sequences can vary between manufacturers.
- Terminal Spacing: Ensure the cable's terminal spacing (1.0mm or 1.25mm) matches the port on your device.
- Pin Count: Verify that the cable's pin count (4P, 5P, 6P, or 7P) matches the required number of pins for your device.
3.2 Connection Steps
- Identify Device Pinout: Consult the user manual or product specifications for your FPV camera, VTX, or GPS module to determine its exact pinout (e.g., VCC, GND, Video In, Video Out, TX, RX).
- Match Cable to Device: Select the SPARKHOBBY cable with the correct terminal spacing and pin count for your device.
- Align Pins: Carefully align the cable connector with the corresponding port on your device, ensuring that each pin on the cable matches the correct function on the device (e.g., VCC to VCC, GND to GND).
- Secure Connection: Gently push the connector into the port until it is fully seated. Avoid excessive force to prevent damage to the pins or port.
- Verify Connection: Double-check all connections before applying power to the system.

Figure 3.1: Example of an FPV camera connected using a multi-pin cable. Note the pinout labels on the camera.

Figure 3.2: Example of a BN-880 GPS module connected with a multi-pin cable, showing the connection to the module's port.
4. Operating Guidelines
Once properly installed, these cables facilitate the communication and power delivery between your FPV components. No specific "operation" is required for the cables themselves, but adhering to best practices ensures their longevity and reliable performance.
- Secure Routing: Route cables away from moving parts, sharp edges, and heat sources within your drone. Use cable ties or heat shrink tubing to secure them.
- Avoid Strain: Do not pull on the cables directly to disconnect them. Always grasp the connector housing.
- Environmental Conditions: While silicone is temperature resistant, avoid exposing cables to extreme temperatures or harsh chemicals that could degrade the insulation.
5. Maintenance and Care
These silicone cables are designed for durability and require minimal maintenance. Following these guidelines will help extend their lifespan:
- Regular Inspection: Periodically inspect cables for any signs of wear, cuts, fraying, or damaged insulation.
- Cleaning: If necessary, gently clean the cables with a soft, dry cloth. Avoid using solvents or abrasive cleaners.
- Storage: Store unused cables in a dry, cool place, away from direct sunlight and extreme temperatures. Avoid kinking or tightly bending the cables during storage.
- Replacement: If a cable shows significant signs of damage, replace it immediately to prevent potential electrical issues or system failure.
6. Troubleshooting
If you encounter issues after installing the cables, consider the following troubleshooting steps:
- No Power/Signal:
- Check Pinout: Re-verify that the cable's pin sequence correctly matches the device's pinout. This is the most common cause of connection issues.
- Secure Connection: Ensure the connectors are fully seated and not loose.
- Cable Integrity: Inspect the cable for any visible damage (cuts, breaks).
- Intermittent Connection:
- Vibration: Ensure cables are securely routed and not subject to excessive vibration that could loosen connections.
- Connector Wear: Over time, connectors can wear out. If issues persist, try a new cable.
- Incorrect Functionality:
- Pinout Mismatch: If a component receives power but behaves unexpectedly (e.g., no video signal), it is highly likely that the data or signal pins are incorrectly connected. Refer to the device's pinout diagram.
If troubleshooting steps do not resolve the issue, contact SPARKHOBBY customer support or consult relevant FPV community forums for assistance.
7. Specifications
| Feature | Detail |
|---|---|
| Brand | SPARKHOBBY |
| Model Number | SH1.0mm 1.25mm 005 |
| Material | Silicone & Metal |
| Terminal Spacing Options | 1.0mm, 1.25mm |
| Pin Count Options | 4-pin, 5-pin, 6-pin, 7-pin |
| Cable Length | Approximately 150mm |
| Manufacturer Minimum Age | 8 months (Adult supervision recommended for use) |
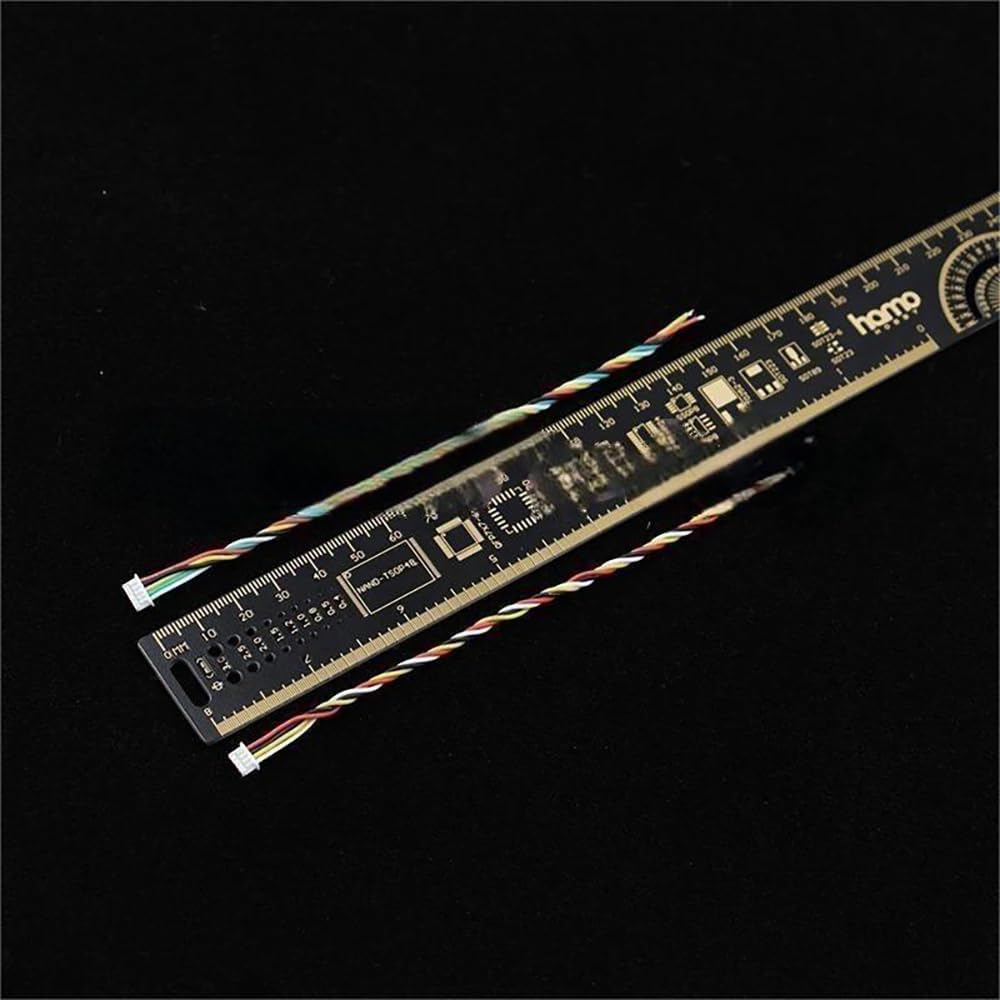
Figure 7.1: Cables displayed with a ruler, indicating their approximate length of 150mm.
8. Warranty and Support
SPARKHOBBY products are manufactured to high standards. For specific warranty information, please refer to the purchase documentation or contact your retailer. In case of technical issues or questions not covered in this manual, please visit the official SPARKHOBBY store on Amazon or contact their customer support directly.
SPARKHOBBY Store Link: Visit SPARKHOBBY Store