Introduction
The GMKtec G9 Mini PC is a versatile and compact computing solution designed for various applications, including daily tasks, office work, home entertainment, and network-attached storage (NAS) functionalities. It features an Intel N150 processor, multiple M.2 NVMe slots for extensive storage, and dual-boot capabilities with Windows 11 Pro and Linux. This manual provides essential information for setting up, operating, maintaining, and troubleshooting your GMKtec G9 Mini PC.
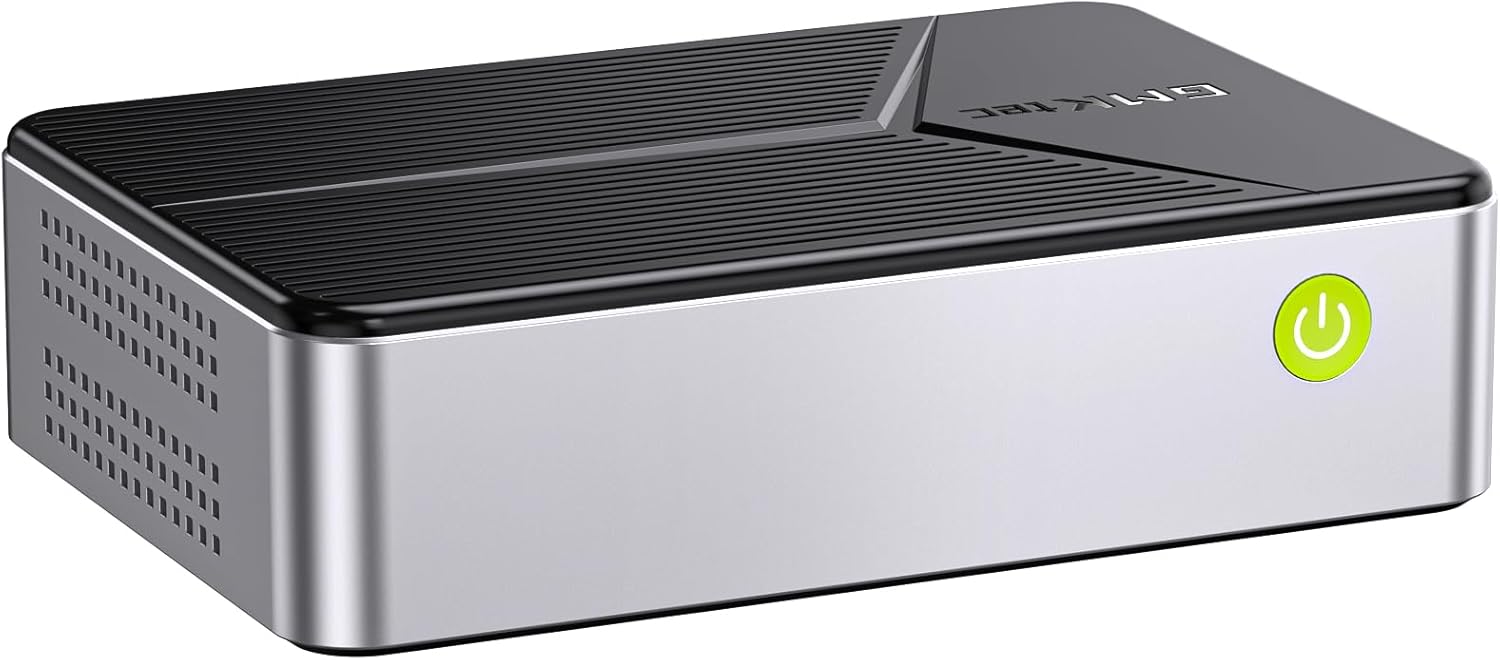
Image: The GMKtec G9 Mini PC, a compact computing device.
Setup
1. Unpacking and Initial Inspection
Carefully remove the Mini PC and all accessories from the packaging. Inspect for any visible damage. Ensure all components listed in the packing list are present.
2. Connecting Peripherals
- Power Adapter: Connect the power adapter to the DC-in port on the Mini PC and then to a power outlet.
- Display: Connect your monitor(s) to the HDMI ports or the Type-C port (with DP support) using appropriate cables. The device supports triple 4K @ 60 Hz display output.
- Keyboard and Mouse: Connect your USB keyboard and mouse to the available USB 3.2 ports.
- Network: For wired network access, connect an Ethernet cable to one of the 2.5GbE RJ45 ports. For wireless connectivity, ensure your Wi-Fi network is available.
- Audio: Connect speakers or headphones to the 3.5mm audio port if needed.

Image: An overview of the GMKtec G9 Mini PC's features, including processor, graphics, storage, RAM, and connectivity options.
3. Powering On
Press the power button located on the front of the Mini PC. The system will boot up. The first boot may take longer as it configures the operating system.
4. Dual Boot System
The G9 Mini PC comes pre-installed with a dual-boot system, featuring Windows 11 Pro on the SSD and Linux (version 24.10 or higher recommended) on the 64GB eMMC memory. The default boot is typically to Windows 11 Pro. You can switch between operating systems during startup via the boot menu (consult your system's BIOS/UEFI settings for specific key presses, often F7 or F11).

Image: Visual representation of the dual-boot capability, showing Windows and Linux operating systems side-by-side on monitors.
Operating Instructions
1. General Usage
Once booted, operate the Mini PC as you would any standard desktop computer. Use your connected keyboard and mouse to navigate the operating system interface. For optimal performance, ensure all drivers are up to date.
2. Network Attached Storage (NAS) Functionality
The G9 Mini PC is designed with 4 PCIe M.2 2280 slots, allowing it to function as a powerful NAS. While GMKtec does not provide NAS software, you can install third-party NAS software (e.g., TrueNAS, OpenMediaVault) to create a centralized storage network for file backup, sharing, and media streaming. The dual 2.5GbE Ethernet ports provide high-speed network connectivity for efficient data transfer.

Image: Illustration highlighting the dual 2.5Gbps high-speed Ethernet ports for fast network connectivity.
3. Media Streaming Server Hub
Utilize the G9 Mini PC as a media streaming server. With sufficient storage and appropriate software, you can stream movies, music, and other media content to various devices within your home network, including phones, tablets, laptops, and smart TVs.

Image: A visual depicting the Mini PC connected to a monitor, keyboard, and mouse, functioning as a media streaming server hub.
4. Budget Homelab Applications
The G9 Mini PC is suitable for homelab setups, allowing you to host servers, run virtual machines, or manage surveillance systems. Its compact size and multiple storage options make it an ideal solution for personal or small-scale network environments.

Image: The Mini PC integrated into a homelab setup, displaying multiple monitors showing surveillance feeds.
5. Triple Display Output
The Mini PC supports connecting up to three 4K displays simultaneously via its two HDMI 2.0 ports and one full-function Type-C port. This capability enhances productivity for office tasks, film viewing, and design work.

Image: A setup showing the Mini PC connected to three monitors, demonstrating its triple display output capability for multitasking.
Maintenance
1. Storage and RAM Upgrades
The G9 Mini PC features a disassembled design for easy upgrades. It supports four M.2 2280 PCIe slots, with a maximum capacity of 4TB per slot, totaling up to 16TB. The system also includes 12GB LPDDR5 RAM and 64GB eMMC storage. To upgrade, carefully open the chassis and install compatible SSDs or RAM modules. Refer to the detailed instructions provided in the separate hardware upgrade guide (if applicable) or consult professional assistance.

Image: An exploded view of the Mini PC showing the internal layout and the four M.2 SSD slots for easy installation and upgrades.
2. Cooling System
The G9 Mini PC is equipped with a triple cooling system, including two fans for the SSD/DDR compartments and a large fan for the CPU. This design helps maintain optimal operating temperatures while producing minimal fan noise (33-36 dB). Ensure proper ventilation around the device to prevent overheating. Regularly clean dust from the vents using compressed air.
Troubleshooting
Common Issues and Solutions:
- No Display Output:
- Check all display cable connections (HDMI, Type-C).
- Ensure the monitor is powered on and set to the correct input source.
- Try a different display cable or monitor.
- System Not Powering On:
- Verify the power adapter is securely connected to both the Mini PC and the power outlet.
- Test the power outlet with another device.
- If the device was recently updated or experienced a power issue, a BIOS reset might be necessary (e.g., by temporarily removing the CMOS battery, consult professional guidance if unsure).
- High Operating Temperatures:
- Ensure the Mini PC is placed in a well-ventilated area, away from direct sunlight or heat sources.
- Do not block the ventilation holes.
- Consider adding heatsinks to M.2 SSDs, especially if running intensive applications.
- Update BIOS/UEFI firmware if available, as it may contain thermal management improvements.
- Operating System Issues (e.g., Linux/Windows not booting):
- Access the BIOS/UEFI settings (usually by pressing F7 or F11 during startup) to check boot order.
- Ensure the correct boot drive (SSD or eMMC) is selected.
- If an OS is corrupted, a reinstallation may be required.
- Network Connectivity Problems:
- For wired connections, check Ethernet cable integrity and router status.
- For Wi-Fi, ensure the Wi-Fi adapter is enabled and connected to the correct network.
- Update network drivers.
For persistent issues, refer to the official GMKtec support resources or contact customer service.
Specifications
| Feature | Specification |
|---|---|
| Brand | GMKtec |
| Model Number | GMKtec NUCBOX G9 |
| Processor | Intel N150 (4 Cores, 4 Threads, up to 3.6 GHz) |
| Graphics | Intel UHD Graphics (max. 1000 MHz) |
| RAM | 12GB LPDDR5 |
| Storage (Primary) | 1TB M.2 SSD |
| Storage (Secondary) | 64GB eMMC |
| Storage Expansion | 4 x M.2 2280 PCIe slots (Max 16TB total) |
| Operating System | Dual Boot: Windows 11 Pro, Linux |
| Video Output | 2 x HDMI (4K @ 60 Hz), 1 x Type-C (DP/Data/PD) - Triple Display Support |
| USB Ports | 3 x USB 3.2 (10 Gbps) |
| Network | Dual RJ45 2.5GbE Ethernet, WiFi 6, Bluetooth 5.2 |
| Audio | 3.5mm Audio Jack |
| Dimensions (L x W x H) | 12 x 10 x 12 cm |
| Weight | 1.13 kg |
Warranty and Support
GMKtec provides comprehensive support for its products. The G9 Mini PC typically comes with a 2-year warranty.
Amazon Support:
For general inquiries or issues related to your purchase, you can contact Amazon Support. Log in to your Amazon account, go to "Your Orders," and select "Ask Product Question" for assistance.
After-Sales Support:
For technical assistance, troubleshooting, or warranty claims, you can reach out to the GMKtec After-Sales Team directly.
Email: support@gmktec.com
24/7 Customer Support is available via email.
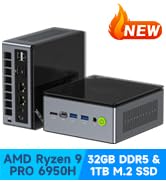
Image: Information regarding warranty and support channels, including Amazon and direct email support.


