Hafuloky P013
Hafuloky Portable Tire Inflator Instruction Manual
Model: P013
Brand: Hafuloky
1. Introduction
Thank you for choosing the Hafuloky Portable Tire Inflator. This compact and versatile air compressor is designed to provide quick and efficient inflation for various items, including car tires, bicycle tires, motorcycle tires, and sports balls. It also features emergency tools such as an LED light and a power bank function, making it an essential companion for daily use and travel.
2. Package Contents
Please ensure all items are present in your package:
- 1 x Hafuloky Portable Tire Inflator (Model P013)
- 1 x Inflation Tube (Hose)
- 1 x USB Type-C Charging Cable
- Various Nozzles/Adapters (for different inflatables)
- 1 x Storage Bag
- 1 x User Manual

Image: Contents of the Hafuloky Portable Tire Inflator package.
3. Key Features
- High-Performance Inflation: Generates a powerful high-velocity airflow of 36L/min with a maximum pressure of 180 PSI, enabling fast inflation.
- Multiple Inflation Modes: Features four preset modes (bicycle, motorcycle, car, ball) and a customizable fifth mode. Supports PSI, KPA, BAR, and KG/CM² pressure units.
- Built-in 25000mAh Battery: Cordless operation for convenience, eliminating the need for an external power source during use.
- Dual Screen Display: Large LED display shows real-time pressure values and preset values for easy monitoring.
- Automatic Shutoff: Prevents over-inflation by automatically stopping when the desired pressure is reached.
- Multifunctional Emergency Tools: Includes an LED light with three modes for illumination or warning, and a 5V/2A USB output/input port for emergency power bank functionality.
- Portable Design: Compact and lightweight, equipped with a storage bag for easy transport and storage.
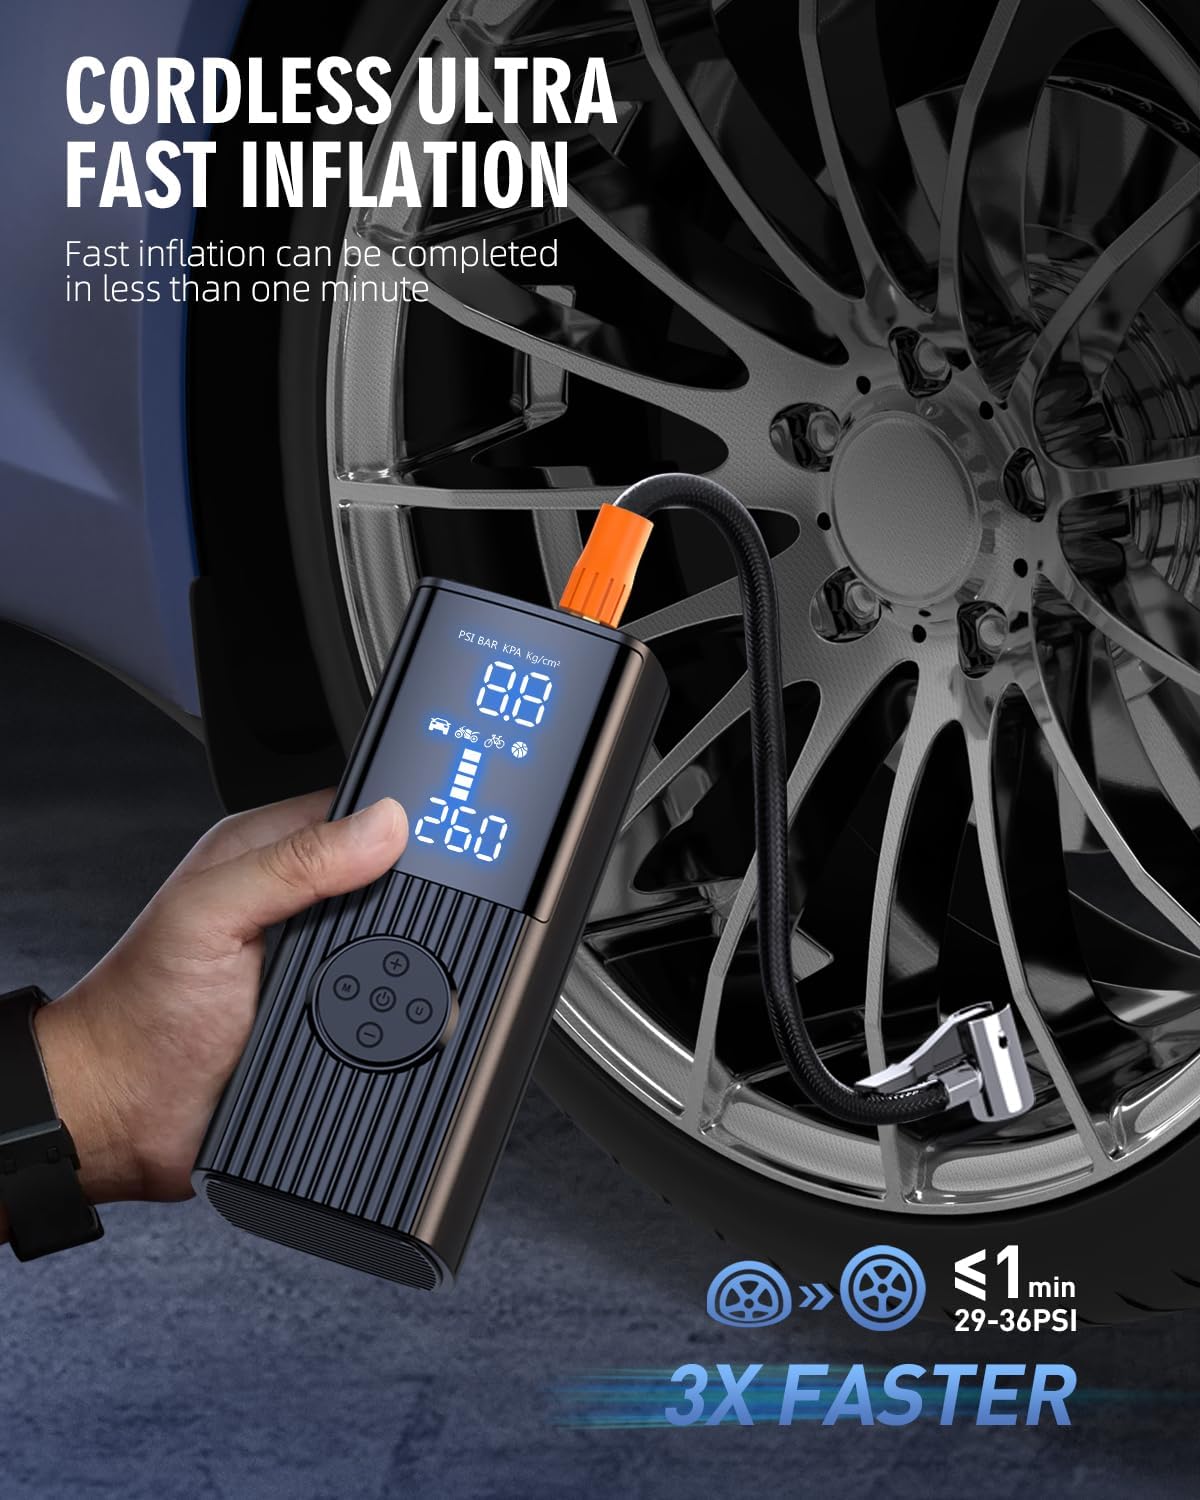
Image: Dual screen display of the inflator showing pressure readings.

Image: The inflator's power bank and LED light features.
4. Setup
- Initial Charge: Before first use, fully charge the tire inflator using the provided USB Type-C cable. Connect the cable to the inflator's Type-C port and a suitable USB power adapter (not included). The display will indicate charging status.
- Attach Inflation Tube: Screw the inflation tube securely into the designated port on the top of the inflator.
- Select Nozzle: Choose the appropriate nozzle/adapter for the item you intend to inflate (e.g., Schrader valve for car tires, Presta valve adapter for some bicycles, needle for balls). Attach it to the free end of the inflation tube.
5. Operating Instructions
- Power On: Press and hold the power button for three seconds to turn on the inflator. The LED display will light up.
- Select Mode: Press the 'M' button to cycle through the four preset inflation modes (bicycle, motorcycle, car, ball). The corresponding icon will appear on the screen.
- Adjust Pressure Unit: In any mode, press the 'M' button again to change the pressure unit (PSI, KPA, BAR, KG/CM²).
- Set Target Pressure: Use the '+' and '-' buttons to adjust the desired target pressure. The preset value will flash as you adjust it.
- Connect to Item: Securely connect the inflation tube with the appropriate nozzle to the valve of the item you wish to inflate. The real-time pressure of the item will be displayed.
- Start Inflation: Press the power button again to start the inflation process. The inflator will automatically stop once the target pressure is reached.
- Disconnect: Once inflation is complete, disconnect the tube from the item and then from the inflator.
- LED Light Function: Press the light button to turn on the LED light. Press again to cycle through different light modes (e.g., steady, flashing).
- Power Bank Function: To use as a power bank, connect your electronic device to the USB output port using your device's charging cable.

Image: Operational steps for the tire inflator.
6. Maintenance
- Cleaning: Wipe the exterior of the inflator with a soft, dry cloth. Do not use harsh chemicals or abrasive cleaners.
- Storage: Store the inflator and its accessories in the provided storage bag in a cool, dry place, away from direct sunlight and extreme temperatures.
- Battery Care: For optimal battery life, charge the device at least once every three months if not in regular use.
- Hose and Nozzles: Ensure the inflation tube and nozzles are clean and free from debris before and after each use to prevent blockages.
7. Troubleshooting
| Problem | Possible Cause | Solution |
|---|---|---|
| Device does not turn on. | Low battery or power button not held long enough. | Charge the device fully. Press and hold the power button for 3 seconds. |
| Inflation is slow or not working. | Hose not securely connected, wrong nozzle, or low battery. | Ensure all connections are tight. Use the correct nozzle. Recharge the device. |
| Inaccurate pressure reading. | Loose connection or sensor issue. | Ensure the hose is tightly connected to the valve. If problem persists, contact support. |
| Device overheats. | Continuous long-term operation. | Allow the device to cool down for at least 10-15 minutes before resuming use. |
8. Specifications
| Specification | Detail |
|---|---|
| Brand | Hafuloky |
| Model Name | P013 |
| Voltage | 12 Volts |
| Power Source | Battery Powered |
| Color | Dark Black |
| Material | Aluminum |
| Air Flow Capacity | 36 LPM |
| Maximum Operating Pressure | 180 Pound per Square Inch |
| Item Weight | 1.92 pounds |
| Package Dimensions | 7.28 x 4.61 x 2.87 inches |
| Batteries | 1 A batteries required. |
9. Warranty and Support
Hafuloky products are manufactured to high-quality standards. For any warranty claims, technical support, or inquiries, please refer to the contact information provided on the product packaging or visit the official Hafuloky website. Please retain your proof of purchase for warranty purposes.
Ask a question about this manual
Ask about setup, troubleshooting, compatibility, parts, safety, or missing instructions. Manuals+ will review the question and use this page’s manual context to help answer it.