Introduction
This manual provides essential instructions for the safe and effective use of your Panasonic HC-X2100 4K Camcorder. The HC-X2100 is a compact and portable 4K 60p camcorder designed for professional video production, featuring a wide-angle lens, powerful optical zoom, advanced autofocus capabilities, and robust image stabilization. Please read this manual thoroughly before operating the camcorder and retain it for future reference.
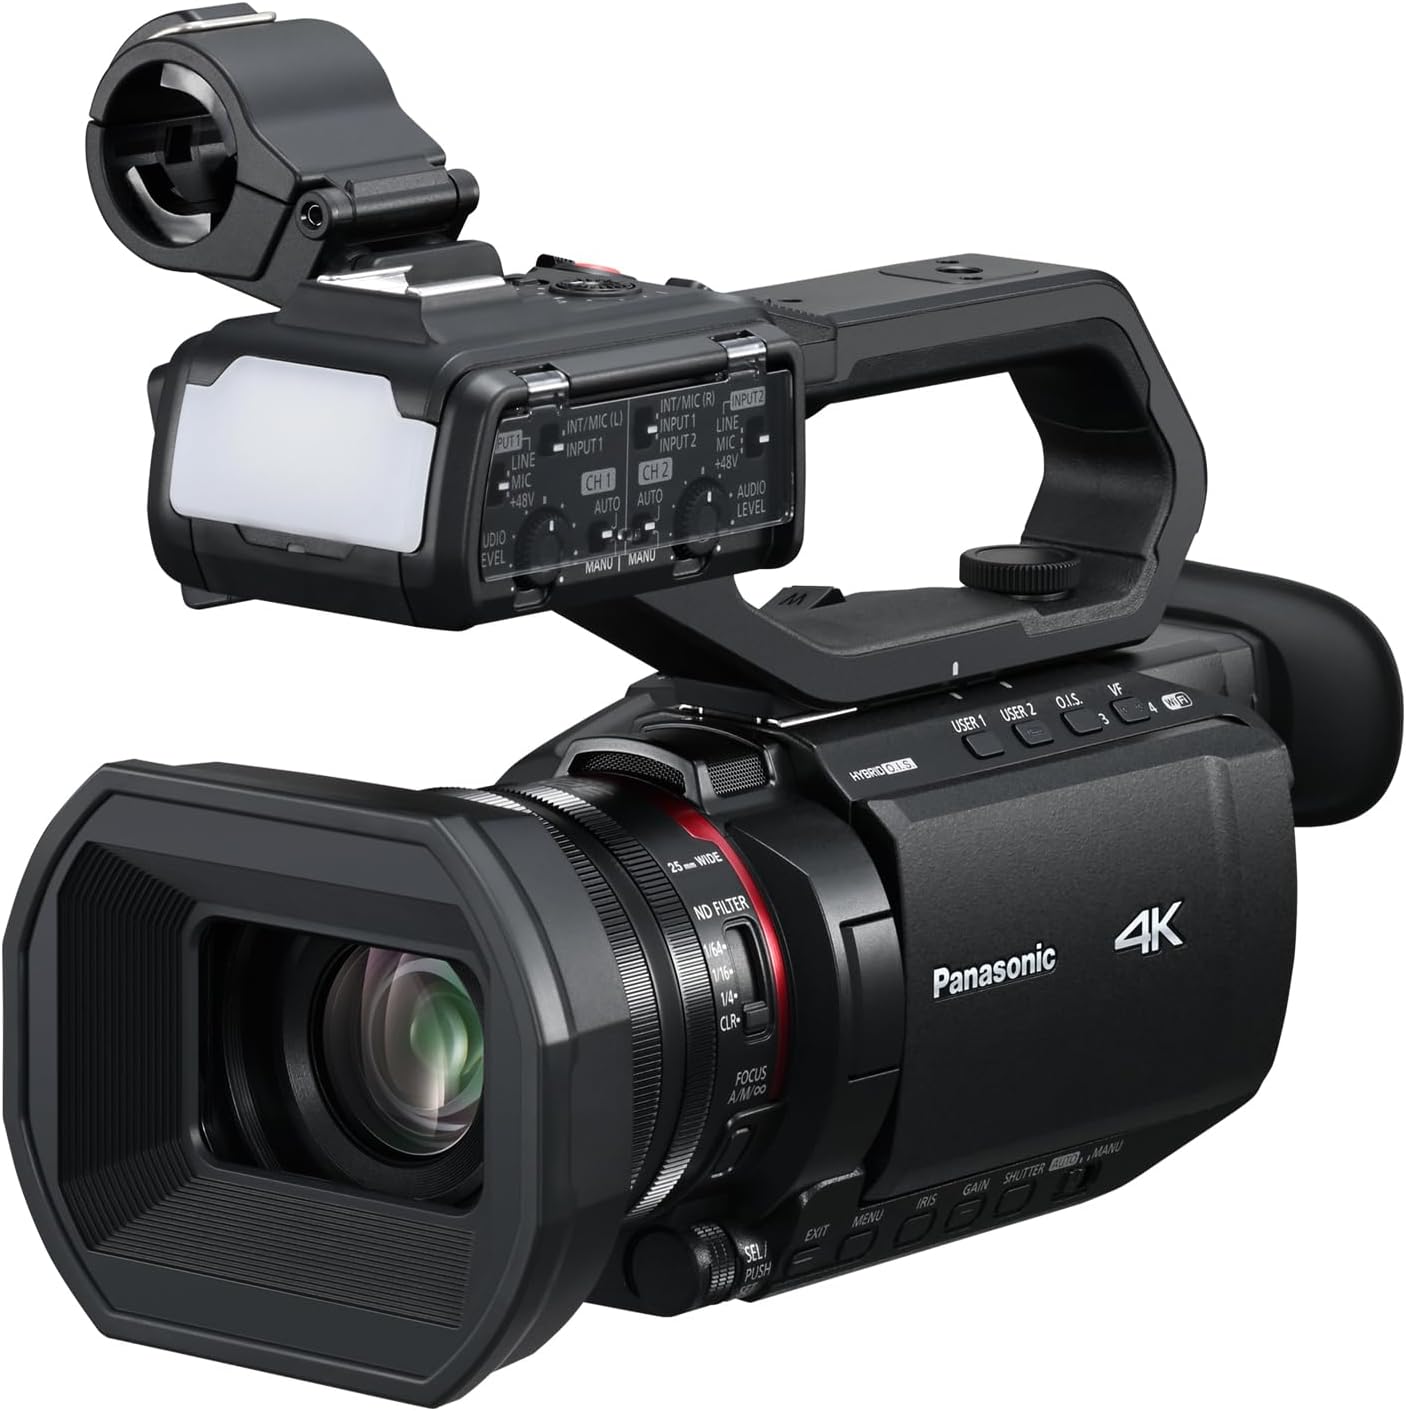
Image: The Panasonic HC-X2100 4K Camcorder, a compact professional video camera.
Setup
1. Unpacking and Initial Inspection
Carefully remove all components from the packaging. Verify that all items listed below are present and undamaged.
- Camcorder (HC-X2100 body)
- Rechargeable Battery Pack
- Lens Hood
- Detachable Handle Unit
2. Battery Installation and Charging
Insert the provided rechargeable battery pack into the battery compartment located at the rear of the camcorder. Ensure it clicks securely into place. To charge the battery, connect the camcorder to a power source using a USB-C cable. The camcorder supports USB Power Delivery (PD) for continuous power and charging even when the unit is off.

Image: The camcorder connected to a portable power bank via USB-C for charging.
3. Attaching the Lens Hood
Attach the lens hood to the front of the lens by aligning the marks and twisting until it locks. The lens hood helps to reduce flare and protect the lens.
4. Attaching/Detaching the Handle Unit
The handle unit is detachable. To attach, slide it onto the hot shoe mount on top of the camcorder and secure it with the locking mechanism. The handle unit includes a REC button, zoom lever, 2-channel XLR audio inputs, and an LED light for enhanced functionality.
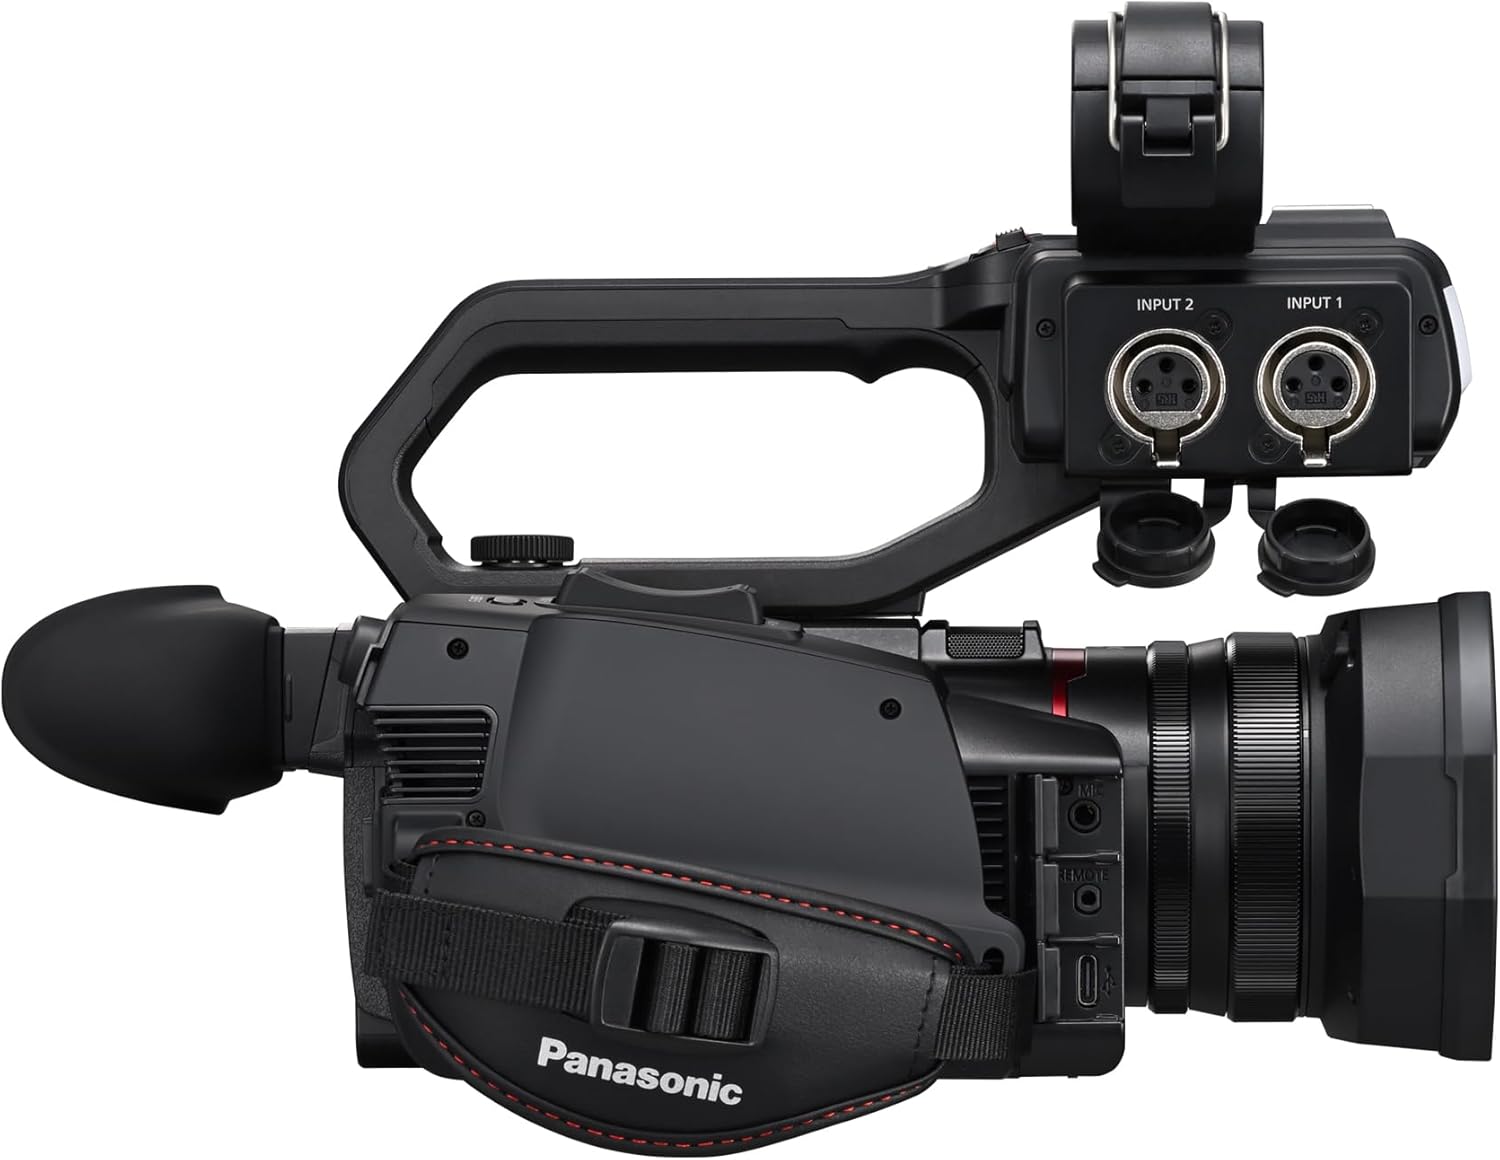
Image: Rear view of the camcorder showing the detachable handle unit with XLR audio inputs.
5. Inserting a Memory Card
Open the memory card slot cover and insert an SDHC/SDXC memory card (sold separately) until it clicks into place. Ensure the card is inserted in the correct orientation. The camcorder supports high-capacity cards for 4K recording.
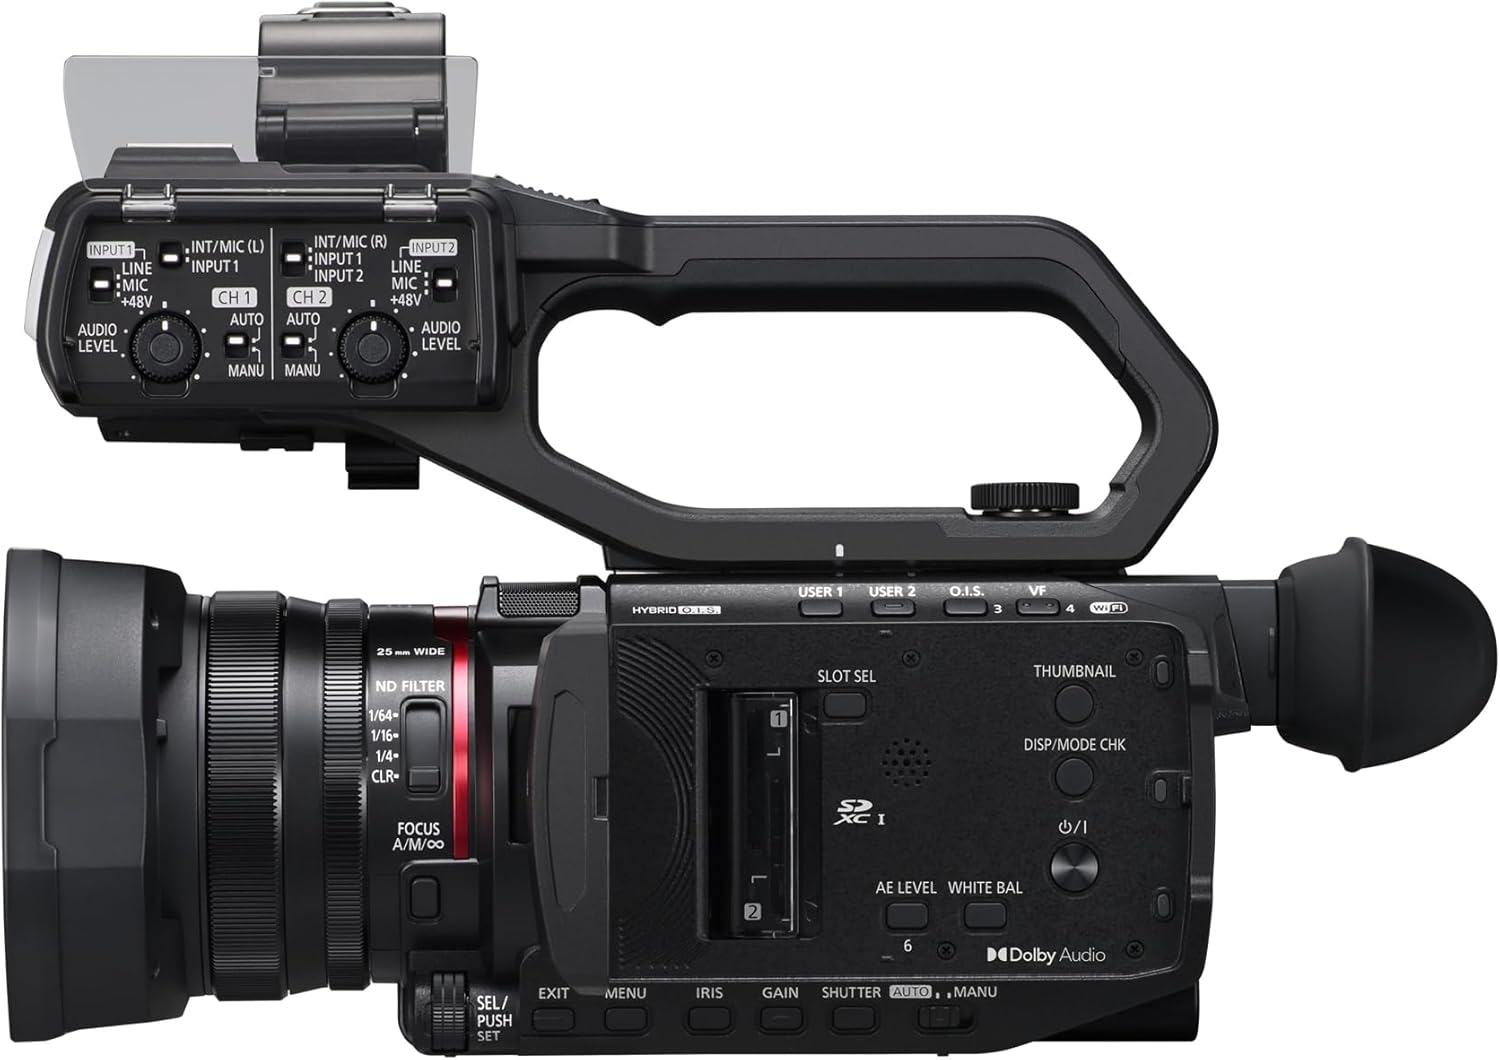
Image: Top view of the camcorder, highlighting the SD card slot and various controls on the handle unit.
Operating Instructions
1. Power On/Off
To power on the camcorder, slide the power switch to the ON position. To power off, slide it to the OFF position. The camcorder is designed for extended shooting sessions, offering up to 4 hours and 35 minutes of battery life (60 Hz).
2. Basic Recording
Press the REC button on the camcorder body or the handle unit to start and stop recording. The HC-X2100 supports 4K 59.94p/50p video recording with HEVC (LongGOP/10 bit 4:2:0/MOV) codec at a high bit rate of 200 Mbps for detailed footage.

Image: The Panasonic HC-X2100 camcorder with its side-mounted LCD screen open, displaying recording information.
3. Zoom Operation
Utilize the zoom lever on the handle unit or the camcorder body to adjust the focal length. The camcorder features a 25mm wide-angle lens and a powerful 24x optical zoom, extendable to 32x in 4K and 48x in Full HD using i.ZOOM.

Image: Visual representation of the camcorder's wide-angle (25mm) and zoom (24x optical, 48x i.ZOOM) capabilities, showing a scene from wide to telephoto.
4. Autofocus and Manual Focus
The camcorder features 4K high-precision autofocus with face detection and color recognition to maintain sharp focus on subjects. For precise control, switch to manual focus using the focus ring on the lens barrel.

Image: A demonstration of the camcorder's high-precision autofocus with face detection, highlighting a subject in focus.
5. Image Stabilization (HYBRID O.I.S.)
The 5-axis HYBRID O.I.S. (Optical Image Stabilization) system, including the Ball O.I.S. System, corrects camera shake in five directions, ensuring stable and smooth footage even during handheld shooting.

Image: A diagram illustrating the 5-axis HYBRID O.I.S. system, showing how it compensates for camera movement.
6. Advanced Recording Modes
- Super Slow-motion: Record at 120/100fps (FHD) with 10-bit recording for dramatic slow-motion effects.
- Audio Recording: Utilize the 2-channel XLR audio inputs on the handle unit for professional microphone connections and full-scale audio recording.
7. Wireless Control
The camcorder supports wireless control via the HC ROP app, allowing remote operation from a compatible smart device. Refer to the app's instructions for pairing and functionality.

Image: A tablet displaying the HC ROP app interface, demonstrating wireless control of the camcorder.
Maintenance
1. Cleaning the Camcorder
- Body: Use a soft, dry cloth to wipe the camcorder body. For stubborn dirt, slightly dampen the cloth with water and then wipe dry. Avoid using harsh chemicals or abrasive cleaners.
- Lens: Use a lens brush to remove dust, then gently wipe with a lens cleaning cloth and lens cleaning solution. Do not touch the lens surface with your fingers.
- LCD Screen: Gently wipe the LCD screen with a soft, lint-free cloth.
2. Battery Care
- Store batteries in a cool, dry place when not in use.
- Avoid fully discharging batteries frequently to prolong their lifespan.
- If storing for an extended period, charge batteries to approximately 50% capacity.
3. Storage
When storing the camcorder for an extended period, remove the battery, attach the lens cap, and store it in a dry, dust-free environment away from direct sunlight and extreme temperatures. Use a protective case for transport.

Image: Diagram illustrating the internal heat dissipation design of the camcorder, showing airflow and cooling components.
Troubleshooting
If you encounter issues with your camcorder, refer to the following common problems and solutions. If the problem persists, contact customer support.
1. Camcorder Does Not Power On
- Ensure the battery is fully charged and correctly inserted.
- Verify that the power switch is in the ON position.
- If using an AC adapter, ensure it is properly connected to both the camcorder and a power outlet.
2. No Image on Screen/Viewfinder
- Check if the lens cap is removed.
- Ensure the LCD screen is open and facing you, or the viewfinder is extended.
- Adjust brightness settings if the screen appears too dark.
3. Recording Does Not Start
- Confirm that a memory card is inserted and has sufficient free space.
- Check if the memory card is formatted correctly for the camcorder.
- Ensure the camcorder is not in playback mode.
4. Blurry Images/Out of Focus
- Verify that the autofocus is enabled, or adjust manual focus if in manual mode.
- Clean the lens if it is dirty.
- Ensure there is adequate lighting for the autofocus system to function effectively.
Specifications
| Feature | Detail |
|---|---|
| Brand | Panasonic |
| Model Number | HC-X2100 |
| Product Dimensions | 9.1 x 9.1 x 9.1 inches |
| Item Weight | 4.38 pounds |
| Photo Sensor Technology | MOS |
| Video Capture Resolution | 4K |
| Maximum Focal Length | 98.9 Millimeters |
| Flash Memory Type | SDHC |
| Video Capture Format | MOV |
| Supported Audio Format | AAC, PCM |
| Screen Size | 3.5 Inches |
| Connectivity Technology | USB |
| Optical Zoom | 24 x |
| Batteries | 2 P76 batteries required (included) |
Warranty and Support
For detailed warranty information, please refer to the warranty card included with your product or visit the official Panasonic support website. Panasonic provides customer support for product inquiries, technical assistance, and service requests.
Online Support: Visit the Panasonic Support Website for FAQs, driver downloads, and service center locations.
Contact Information: Refer to your product's documentation for specific regional contact numbers or email support.


