
Introduction
This manual provides essential instructions for the safe and efficient operation, maintenance, and troubleshooting of your AZQQ S2 Robot Vacuum and Mop. Please read this manual thoroughly before using the product and retain it for future reference.
Important Safety Instructions
To reduce the risk of injury or damage, read these safety instructions carefully and keep them handy when setting up, using, and maintaining your robot.
- Do not use the robot in environments with open flames or explosive materials.
- Ensure the charging base is placed against a wall on a level surface, away from water sources.
- Keep hair, loose clothing, fingers, and all parts of the body away from openings and moving parts.
- Do not operate the robot in rooms where an infant or child is sleeping.
- Do not use the robot to pick up large debris, liquids, or burning/smoking objects.
- Only use the original charging adapter and battery pack provided by the manufacturer.
- Unplug the charging base during lightning storms or when not in use for long periods.
- This appliance can be used by children aged 8 years and above and persons with reduced physical, sensory or mental capabilities or lack of experience and knowledge if they have been given supervision or instruction concerning use of the appliance in a safe way and understand the hazards involved.
Package Contents
Verify that all components are present in the package:
- S2 Robot Vacuum
- Charging Base
- Adapter
- 2-in-1 Dust & Water Bin
- Mop Board
- Mop Pad
- Remote Control (AAA Battery x 2)
- Side Brushes x2
- HEPA Filters x2 (One installed in the dustbin, one in the package)
- Cleaning Tool

Figure 1: Contents of the AZQQ S2 Robot Vacuum package, illustrating all included accessories.
Product Overview
The AZQQ S2 is a versatile robot vacuum and mop designed for efficient cleaning of various floor types. Familiarize yourself with its main components.

Figure 2: AZQQ S2 Robot Vacuum and Mop with charging base, remote control, and cleaning accessories.
Setup Guide
1. Prepare the Cleaning Area
Before operating, remove any obstacles such as cables, small objects, or loose rugs that could entangle the robot or obstruct its path.
2. Install Side Brushes
Press the side brushes onto the posts at the bottom of the robot until they click into place. Ensure they are securely attached.
3. Place the Charging Base
Position the charging base against a wall in an open, uncluttered area. Ensure there is at least 0.5 meters (1.6 feet) of clear space on both sides and 1.5 meters (4.9 feet) in front of the base. Connect the adapter to the charging base and plug it into a power outlet.

Figure 3: The robot vacuum automatically returns to its charging base when battery is low.
4. Initial Charging
Place the robot onto the charging base. The indicator light on the robot will illuminate to show it is charging. For first-time use, charge the robot for at least 6 hours to ensure optimal battery performance.
5. App Connection (Optional)
Download the AZQQ app from your smartphone's app store. Follow the in-app instructions to connect your robot to your home Wi-Fi network (2.4GHz only). This enables remote control, scheduling, and access to additional features.

Figure 4: Control the robot vacuum using the dedicated smartphone application.
Operating Instructions
1. Power On/Off
Press and hold the power button on the robot for a few seconds to turn it on or off. A voice prompt will confirm the action.
2. Cleaning Modes
The AZQQ S2 offers multiple cleaning modes to suit different needs:
- Auto Cleaning: The robot intelligently navigates and cleans the entire area using a Z-shape pattern.
- Edge Cleaning: The robot cleans along walls and furniture edges.
- Spot Cleaning: The robot focuses on a specific dirty area, cleaning in a spiral pattern.
- Manual Cleaning: Control the robot's movement manually using the remote control or app.
- Smart Room Cleaning: Cleans a designated room or area.

Figure 5: The robot vacuum supports multiple cleaning modes including Auto, Edge, Spot, and Smart Room cleaning.
3. Navigation and Obstacle Avoidance
The S2 robot vacuum uses smart navigation to ensure comprehensive coverage of your home. Its advanced sensors allow it to detect and avoid obstacles, slowing down to prevent collisions and navigating smoothly around furniture.

Figure 6: The robot utilizes intelligent navigation to follow an efficient Z-shape cleaning path.

Figure 7: Precision obstacle avoidance technology helps the robot navigate around furniture and other objects.
4. Vacuuming and Mopping Functionality
The S2 can vacuum and mop simultaneously. To use the mopping function:
- Fill the 2-in-1 dust & water bin with clean water.
- Attach the mop pad to the mop board and then attach the mop board to the robot.
- Select a cleaning mode. The robot will automatically dispense water and mop while vacuuming.
Adjustable water flow settings (Low, Medium, High) are available via the app to suit different floor types and cleaning needs.

Figure 8: The AZQQ S2 robot vacuum and mop combo in action, cleaning a hard floor.
5. Carpet Transition
The robot is designed with a unique chassis and optimized motion algorithm, allowing it to easily cross edges of carpets and thresholds up to 1.8 cm, ensuring seamless cleaning across different floor types.
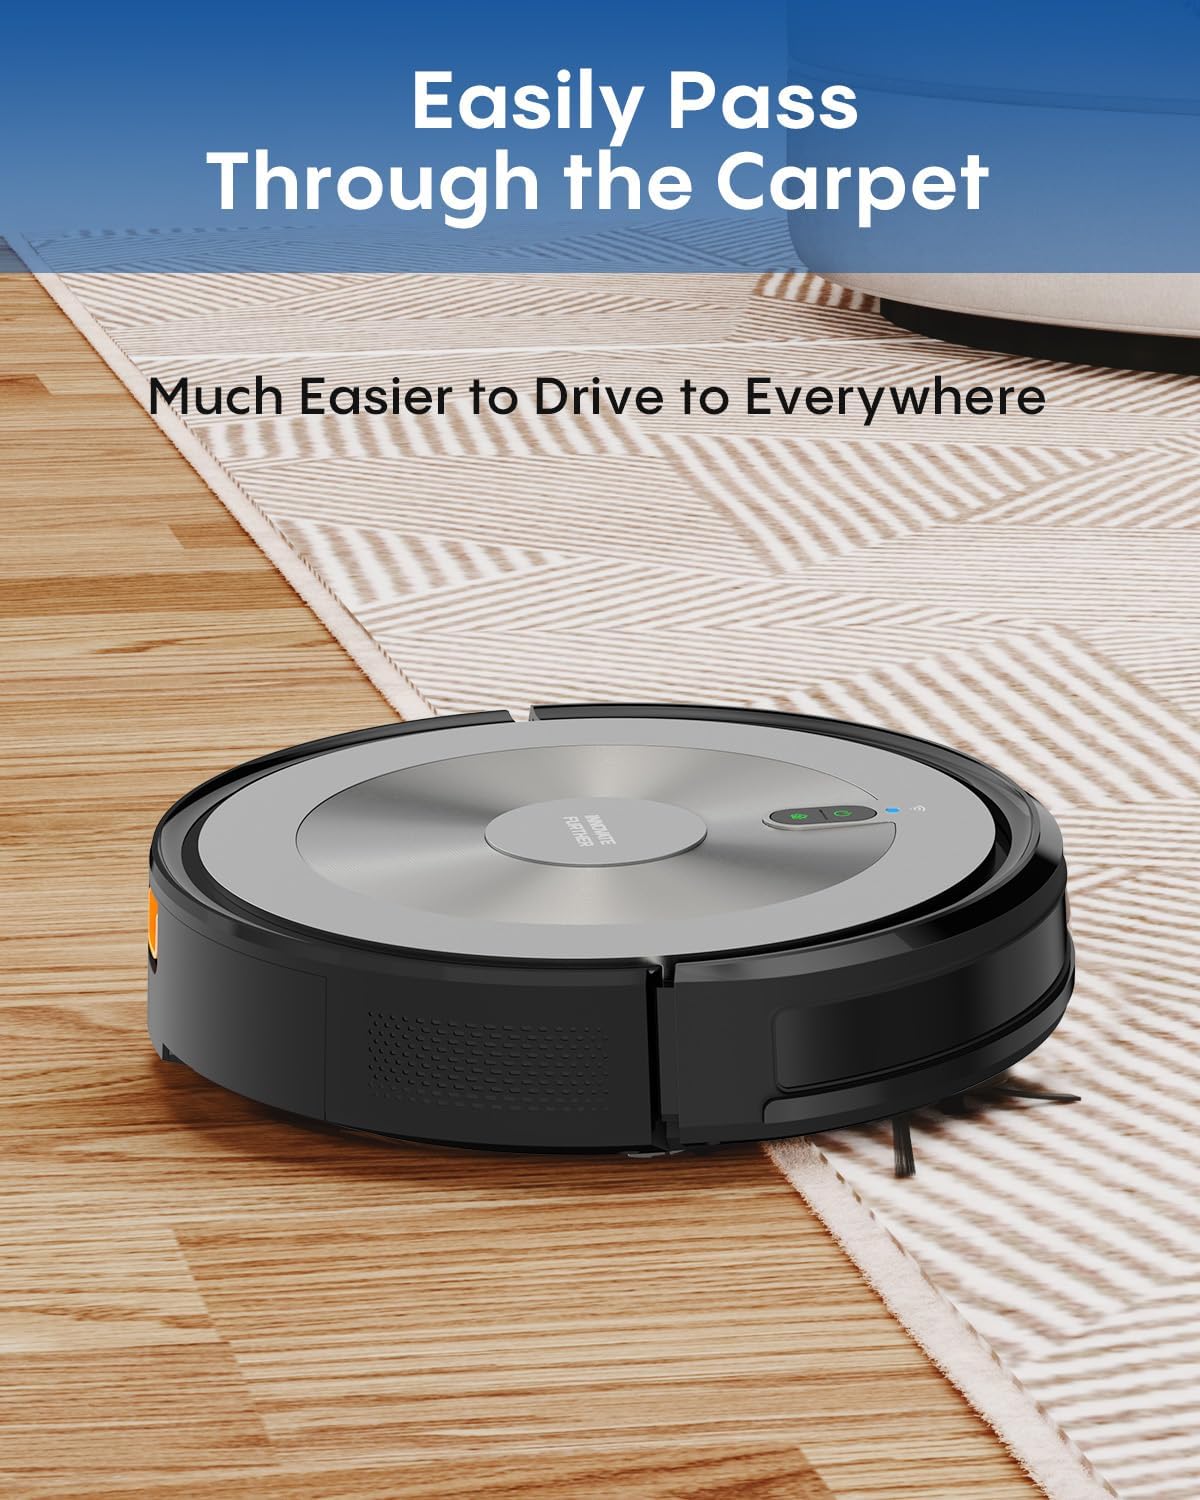
Figure 9: The robot is designed to easily transition over low-pile carpets and thresholds up to 1.8 cm.
6. Pet Hair Friendly Design
The S2 features a brushless intake design that effectively prevents pet hair from tangling, maintaining consistent cleaning efficiency, making it ideal for homes with pets.
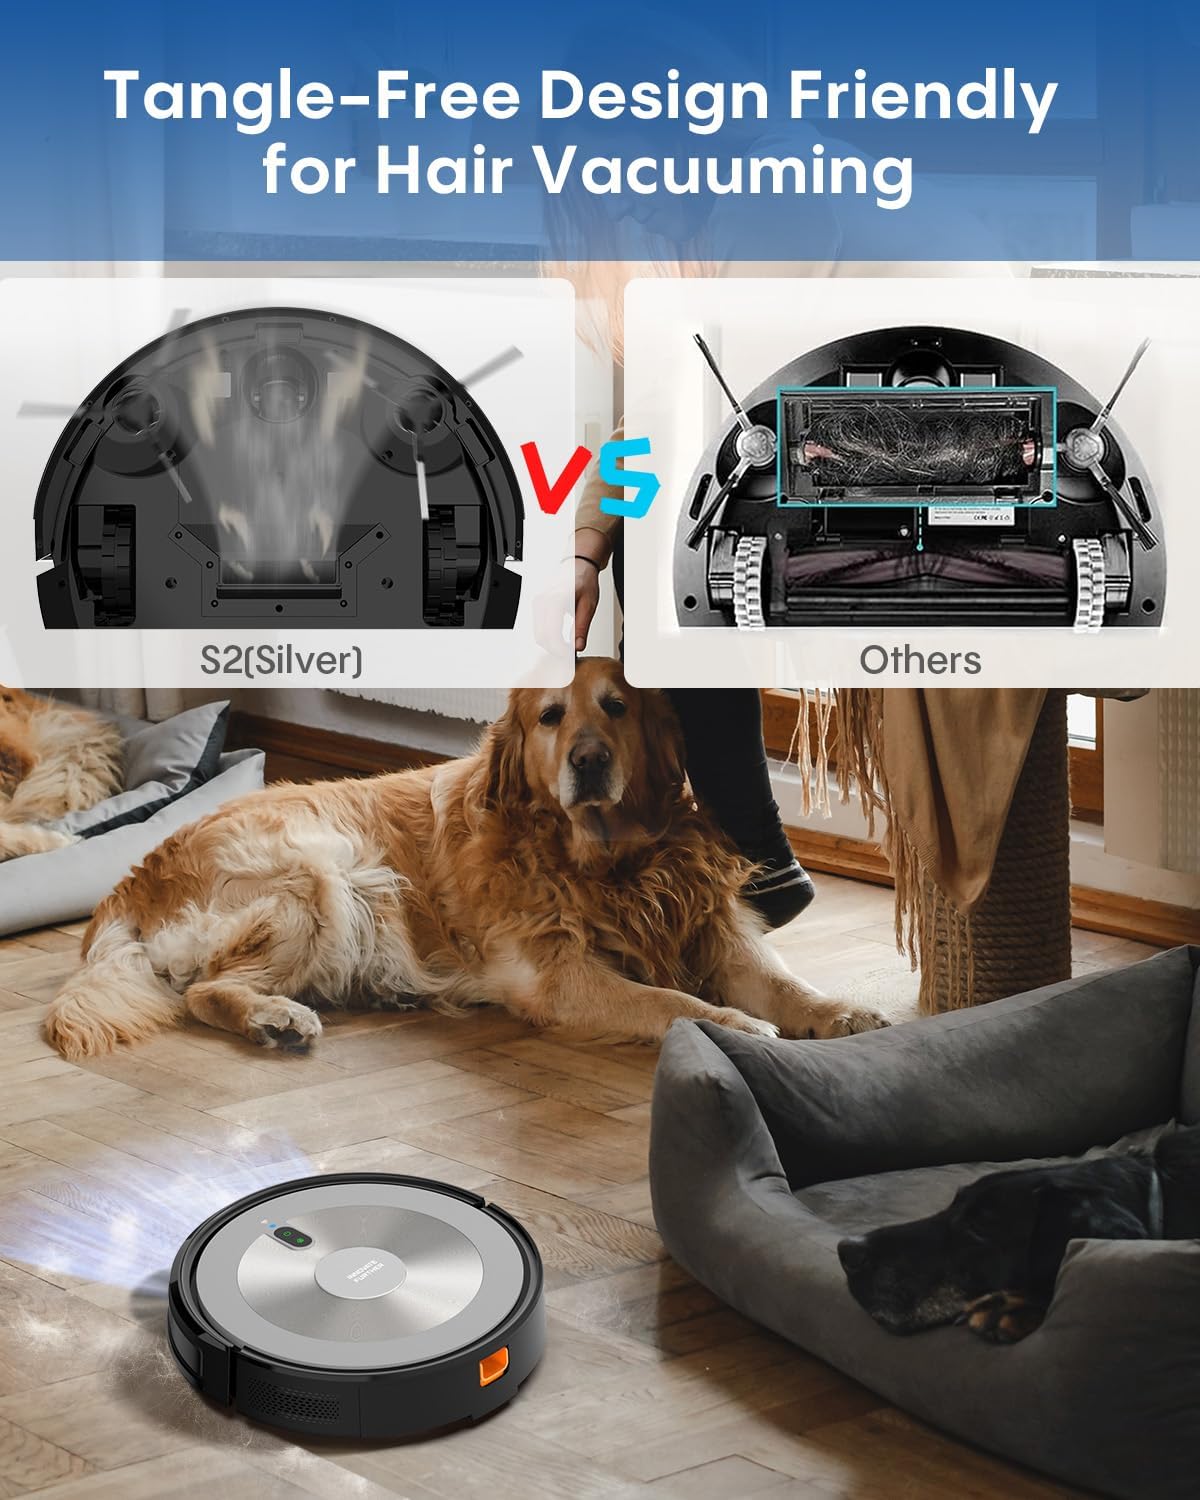
Figure 10: The brushless intake design effectively collects pet hair without tangling.
7. Scheduling
Use the mobile app to set up cleaning schedules. The robot will automatically start cleaning at the programmed times.
8. Voice Control
The AZQQ S2 is compatible with Amazon Alexa and Google Assistant. Link your robot to your smart home system through the app to enable voice commands for starting, stopping, or sending the robot back to its charging base.
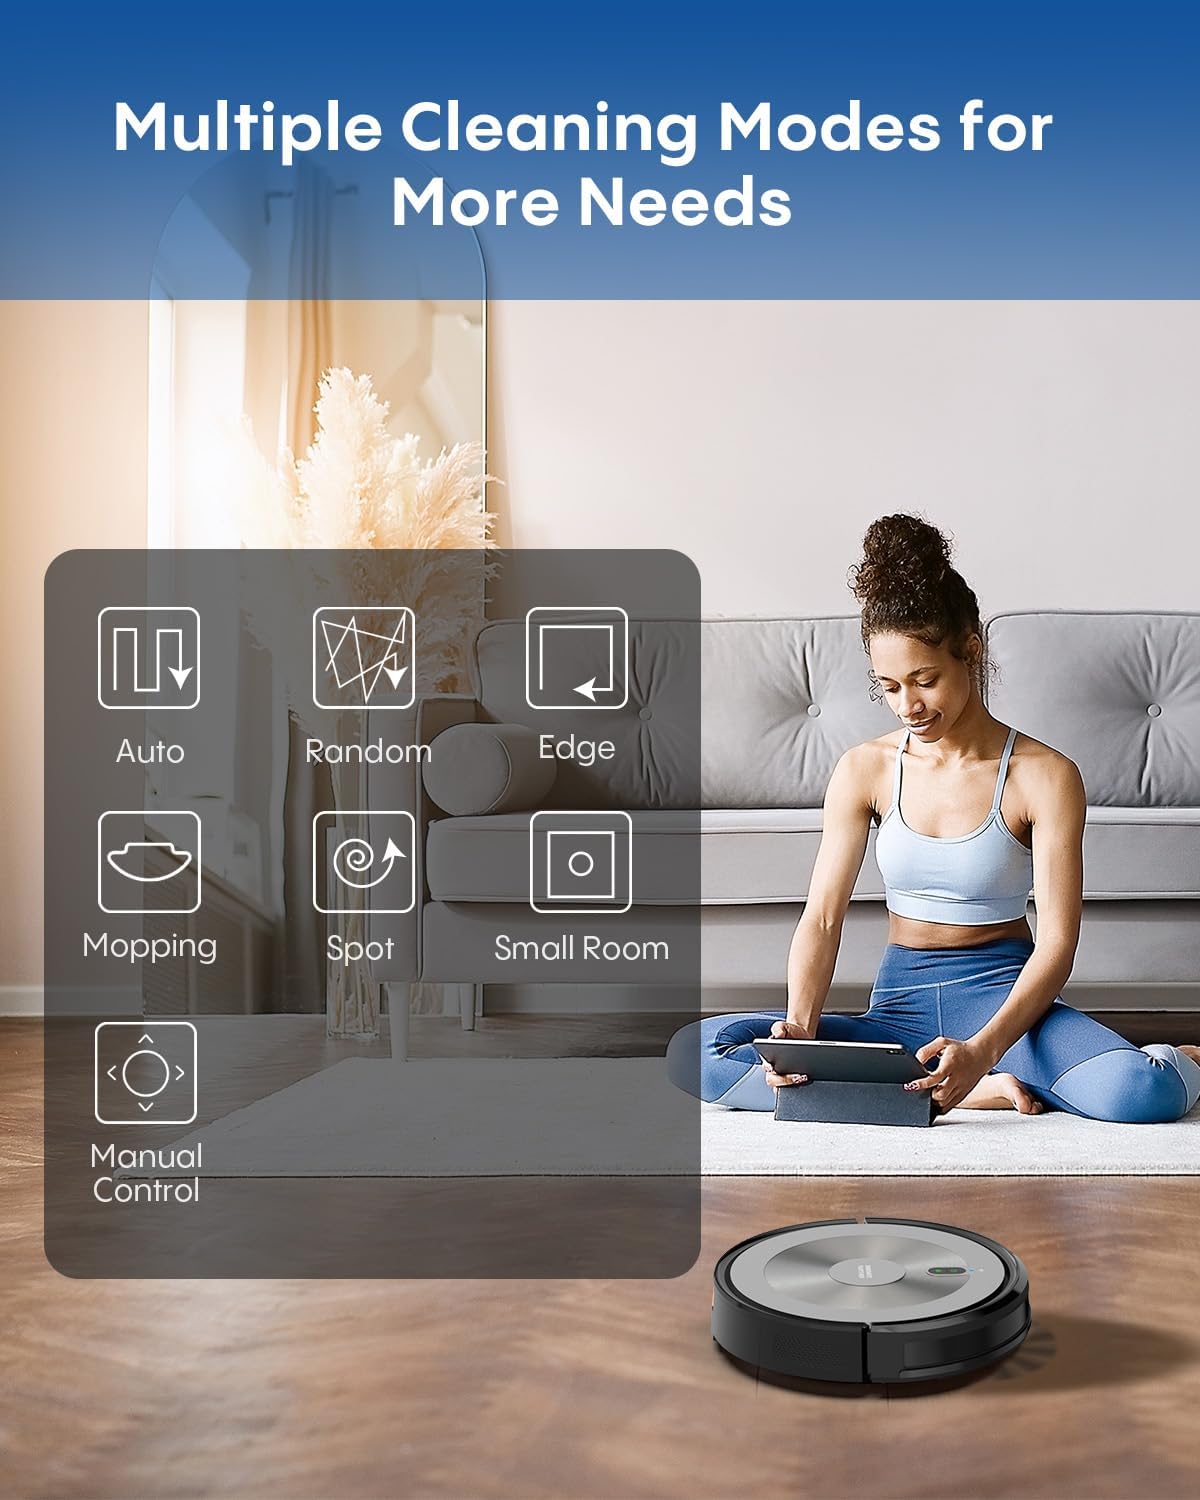
Figure 11: The robot vacuum can be controlled using voice commands through Amazon Alexa or Google Assistant.
Maintenance
Regular maintenance ensures optimal performance and extends the lifespan of your AZQQ S2 robot vacuum.
1. Emptying the Dustbin
Press the release button to remove the 2-in-1 dust & water bin. Open the bin cover and empty the collected debris into a trash can. It is recommended to empty the dustbin after each cleaning cycle.
2. Cleaning Filters
Remove the HEPA filter and sponge filter from the dustbin. Tap them gently to remove dust. Rinse the sponge filter with water and allow it to air dry completely before reinstallation. Do not wash the HEPA filter.
3. Cleaning Side Brushes
Periodically check the side brushes for tangled hair or debris. Use the provided cleaning tool or scissors to cut and remove any tangled material. Replace brushes if they are worn or damaged.
4. Cleaning Sensors
Wipe the anti-drop sensors, bumper sensors, and charging contacts on the robot and charging base with a clean, dry cloth. Keep these sensors clear for proper navigation and charging.
5. Cleaning Mop Pad and Water Tank
After mopping, remove the mop pad and wash it thoroughly. Allow it to air dry completely. Empty any remaining water from the water tank and rinse it out. Ensure the tank is dry before storing.
Troubleshooting
Refer to this section for solutions to common issues you might encounter with your AZQQ S2 robot vacuum.
| Problem | Possible Cause | Solution |
|---|---|---|
| Robot does not power on. | Low battery or not charged. | Place the robot on the charging base and ensure it is charging. Allow sufficient time for charging. |
| Robot gets stuck frequently. | Obstacles, tangled cables, or uneven surfaces. | Clear the cleaning area of obstacles. Ensure cables are secured. Check for thresholds higher than 1.8 cm. |
| Poor cleaning performance. | Full dustbin, dirty filters, or worn brushes. | Empty the dustbin. Clean or replace filters. Clean or replace side brushes. |
| Robot does not return to charging base. | Charging base obstructed, too far, or dirty charging contacts. | Ensure the charging base is in an open area. Clean charging contacts on both robot and base. Manually place the robot on the base. |
| App connection issues. | Incorrect Wi-Fi password, 5GHz network, or router issues. | Ensure you are connecting to a 2.4GHz Wi-Fi network. Verify Wi-Fi password. Restart router and robot. |
Specifications
| Feature | Detail |
|---|---|
| Brand | AZQQ |
| Model Name | S2 |
| Suction Power | 3000Pa |
| Battery Life | Up to 120 minutes |
| Coverage Area | Up to 1600 sq ft |
| Product Dimensions | 12.2"L x 12.2"W x 3.14"H |
| Obstacle Clearance | Up to 1.8 cm |
| Control Method | App, Remote, Voice (Alexa, Google Assistant) |
| Wi-Fi Compatibility | 2.4GHz Only |
| Filter Type | Sponge, HEPA |
Warranty and Support
The AZQQ S2 Robot Vacuum and Mop comes with a standard manufacturer's warranty. Please refer to the warranty card included in your package for specific terms and conditions.
For technical support, troubleshooting assistance, or warranty claims, please contact AZQQ customer service through the contact information provided on the official AZQQ website or your purchase platform.
When contacting support, please have your model number (S2) and purchase date available.


