1. Product Overview
This manual provides essential information for the installation, operation, and troubleshooting of the SQJZWOD MCPB480A1 Treadmill Motor Controller. This circuit board serves as the central control unit for compatible treadmills, managing motor speed, incline, and processing sensor data.
The MCPB480A1 controller is engineered with high-quality components to ensure reliable performance and a long service life. It optimizes power consumption and integrates seamlessly with treadmill systems to provide various exercise modes and intensity options.

Figure 1: Overview of the MCPB480A1 Treadmill Motor Controller.
2. Specifications
| Parameter | Value |
|---|---|
| Part Model | MCPB480A1 |
| Application | Treadmill Repair/Replacement |
| Voltage Compatibility | 220V systems |
| Connector Type | 5-pin (also compatible with 4-pin systems, verify compatibility) |
| Package Dimensions | 1.18 x 0.79 x 0.39 inches |
| Item Weight | 1.76 ounces |
| Manufacturer | tan9983cd00 (SQJZWOD) |

Figure 2: The MCPB480A1 board, specifically highlighting the 5-pin connector for compatibility verification.

Figure 3: The MCPB480A1 board, indicating its compatibility with both 4-pin and 5-pin connections.
3. Installation and Setup
Important Safety Notice: Installation of this component involves working with electrical systems. It is highly recommended that installation be performed by a qualified technician to prevent injury or damage to the treadmill. Always disconnect the treadmill from the power source before attempting any installation or repair.
- Power Disconnection: Ensure the treadmill is unplugged from the wall outlet and any battery backup systems are disconnected.
- Access the Controller: Locate and open the motor compartment of your treadmill. This usually involves removing screws from a cover panel.
- Identify the Old Controller: Carefully observe the existing motor controller and its connections. Take photos for reference if necessary.
- Disconnect Wiring: Systematically disconnect all wires and connectors from the old controller. Pay close attention to the pin configuration (e.g., 5-pin or 4-pin main connector).
- Remove Old Controller: Unscrew or unmount the old controller from its position.
- Install New Controller: Place the new MCPB480A1 controller in the same position. Secure it using the original mounting hardware.
- Reconnect Wiring: Carefully reconnect all wires and connectors to the new controller, ensuring each connection is firm and correctly seated. Verify the main connector matches your treadmill's requirement (5-pin or 4-pin).
- Secure Compartment: Close and secure the motor compartment cover.
- Test Functionality: Plug the treadmill back into the power source and perform a test run to ensure all functions (speed, incline, display) are operating correctly.

Figure 4: Side view of the MCPB480A1 controller, illustrating the heat sink for thermal management.
4. Operation
The MCPB480A1 motor controller operates as the brain of your treadmill, translating user inputs from the console into actions for the motor and incline system. Once correctly installed, its operation is integrated with the treadmill's existing control panel.
- Speed Control: The controller receives signals from the treadmill console to precisely adjust the speed of the running belt.
- Incline Adjustment: For treadmills with incline features, the controller manages the lift motor to change the angle of the running deck.
- Data Processing: It processes data from various sensors (e.g., speed, heart rate) and relays this information to the treadmill's display for real-time monitoring.
- Safety Features: The controller incorporates safety mechanisms, such as over-current protection, to safeguard the treadmill and user.

Figure 5: Top-down view of the MCPB480A1 controller board, showing component layout.
5. Maintenance
The MCPB480A1 motor controller is designed for durability and requires minimal direct maintenance. However, ensuring the overall cleanliness and proper functioning of your treadmill will contribute to the longevity of the controller.
- Keep Clean: Periodically inspect the motor compartment for dust and debris. Use compressed air or a soft brush to gently remove any accumulation from the controller and surrounding components. Ensure the treadmill is unplugged before cleaning.
- Ventilation: Ensure the treadmill's motor compartment has adequate ventilation. Do not block air vents, as proper airflow is crucial for dissipating heat from the controller and motor.
- Avoid Moisture: Keep the treadmill in a dry environment. Moisture can severely damage electronic components.
- Professional Inspection: Consider periodic professional inspection of your treadmill, especially if it sees heavy use. A technician can identify potential issues before they lead to component failure.
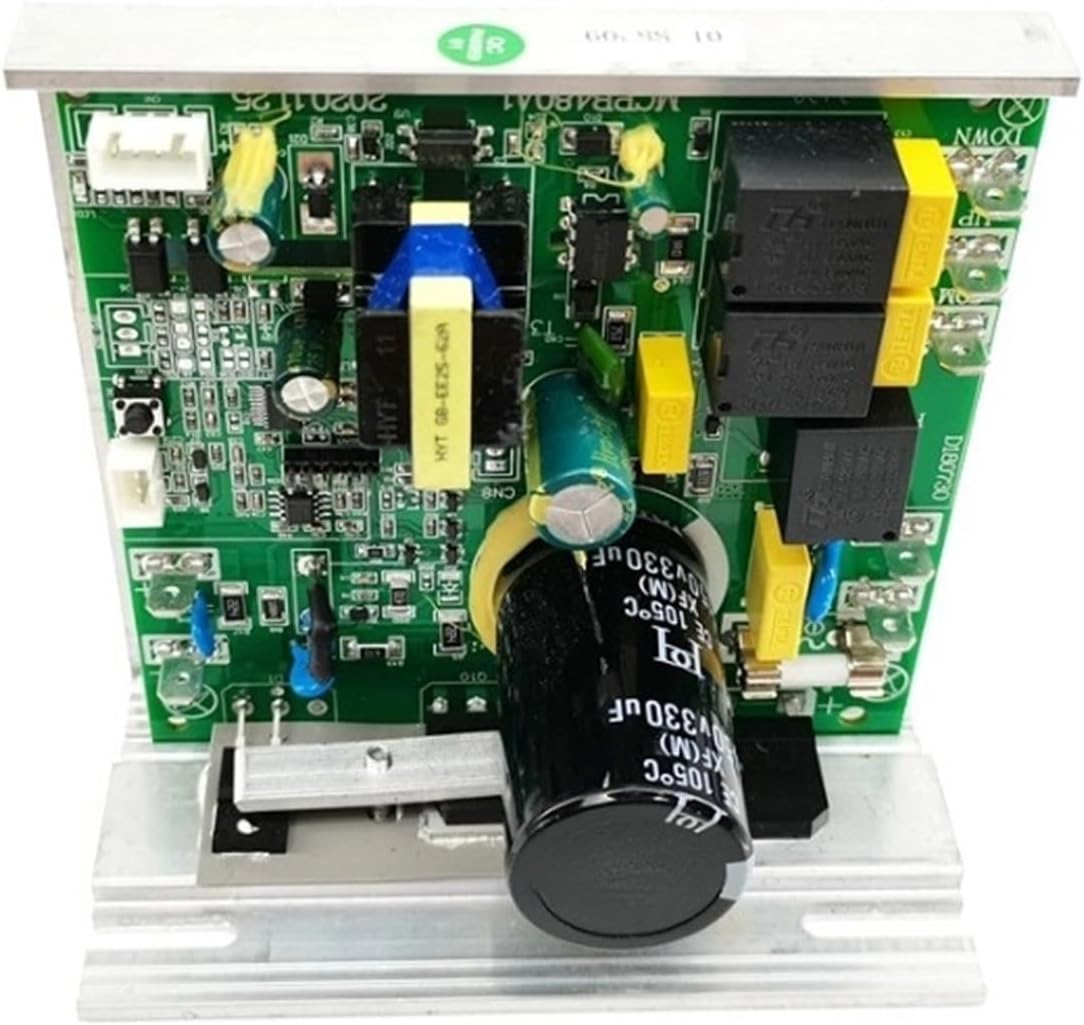
Figure 6: Another top-down view of the MCPB480A1 controller board, showing different angles of components.
6. Troubleshooting Common Error Codes
If your treadmill displays an error code, the MCPB480A1 controller may be indicating a specific issue. Below are common error codes and their typical causes:
- E01: This code typically indicates a communication failure or a sensor failure. Check all sensor connections and wiring for looseness or damage.
- E02: This error suggests a motor issue. It is recommended to test the treadmill motor first. If the motor functions normally, the controller may need replacement.
- E03: This code points to a sensor fault. The treadmill may run for a few seconds before displaying E03. Inspect all relevant sensors and their connections.
- E04: This usually signifies an over-current fault. This situation often indicates burned components on the controller itself, suggesting a need for replacement.
- E08: This error may indicate a lift motor control fault, affecting the treadmill's incline function.
Note: These are general guidelines. Specific treadmill models may have variations in error code meanings. Always consult your treadmill's original user manual for precise troubleshooting steps. If issues persist after basic checks, professional assistance is advised.
7. Warranty and Support
Warranty Information
Specific warranty details for the MCPB480A1 controller are typically provided by the seller at the time of purchase. Please refer to your purchase documentation or contact the seller directly for information regarding warranty coverage, duration, and claims procedures.
Customer Support
For technical assistance, compatibility questions, or further troubleshooting beyond the scope of this manual, please contact the seller or manufacturer. When contacting support, please have your product model (MCPB480A1) and purchase details readily available.
The manufacturer, tan9983cd00 (associated with SQJZWOD), can be reached through the platform where the product was purchased. For general inquiries, you may send an email, and responses are typically provided within 24 hours.