1. Introduction
This manual provides essential instructions for the safe and efficient operation of your Keurig K-2550 Commercial Single-Serve Coffee Maker. The K-2550 is designed for commercial environments, offering versatility and convenience for brewing a wide range of beverages. It features an intuitive touch screen interface and supports both direct water line plumbing and a 110 oz. water reservoir.

Image 1.1: The Keurig K-2550 Commercial Coffee Maker brewing an iced beverage.

Image 1.2: Overview of key features including Strong Brew, Iced Coffee, multiple cup sizes, and a large water reservoir.
2. Safety Information
Please read all safety instructions before using your Keurig K-2550 coffee maker to prevent injury or damage. Keep this manual for future reference.
- Always place the brewer on a stable, flat surface.
- Do not immerse the brewer, plug, or cord in water or other liquids.
- Ensure the power cord is not damaged and is routed safely to prevent tripping hazards.
- Do not operate the brewer if it has a damaged cord or plug, or after it malfunctions or has been damaged in any manner. Contact customer support for assistance.
- Exercise caution when handling hot liquids and steam.
- Unplug the brewer before cleaning or when not in use for extended periods.
- This appliance is designed for commercial use.
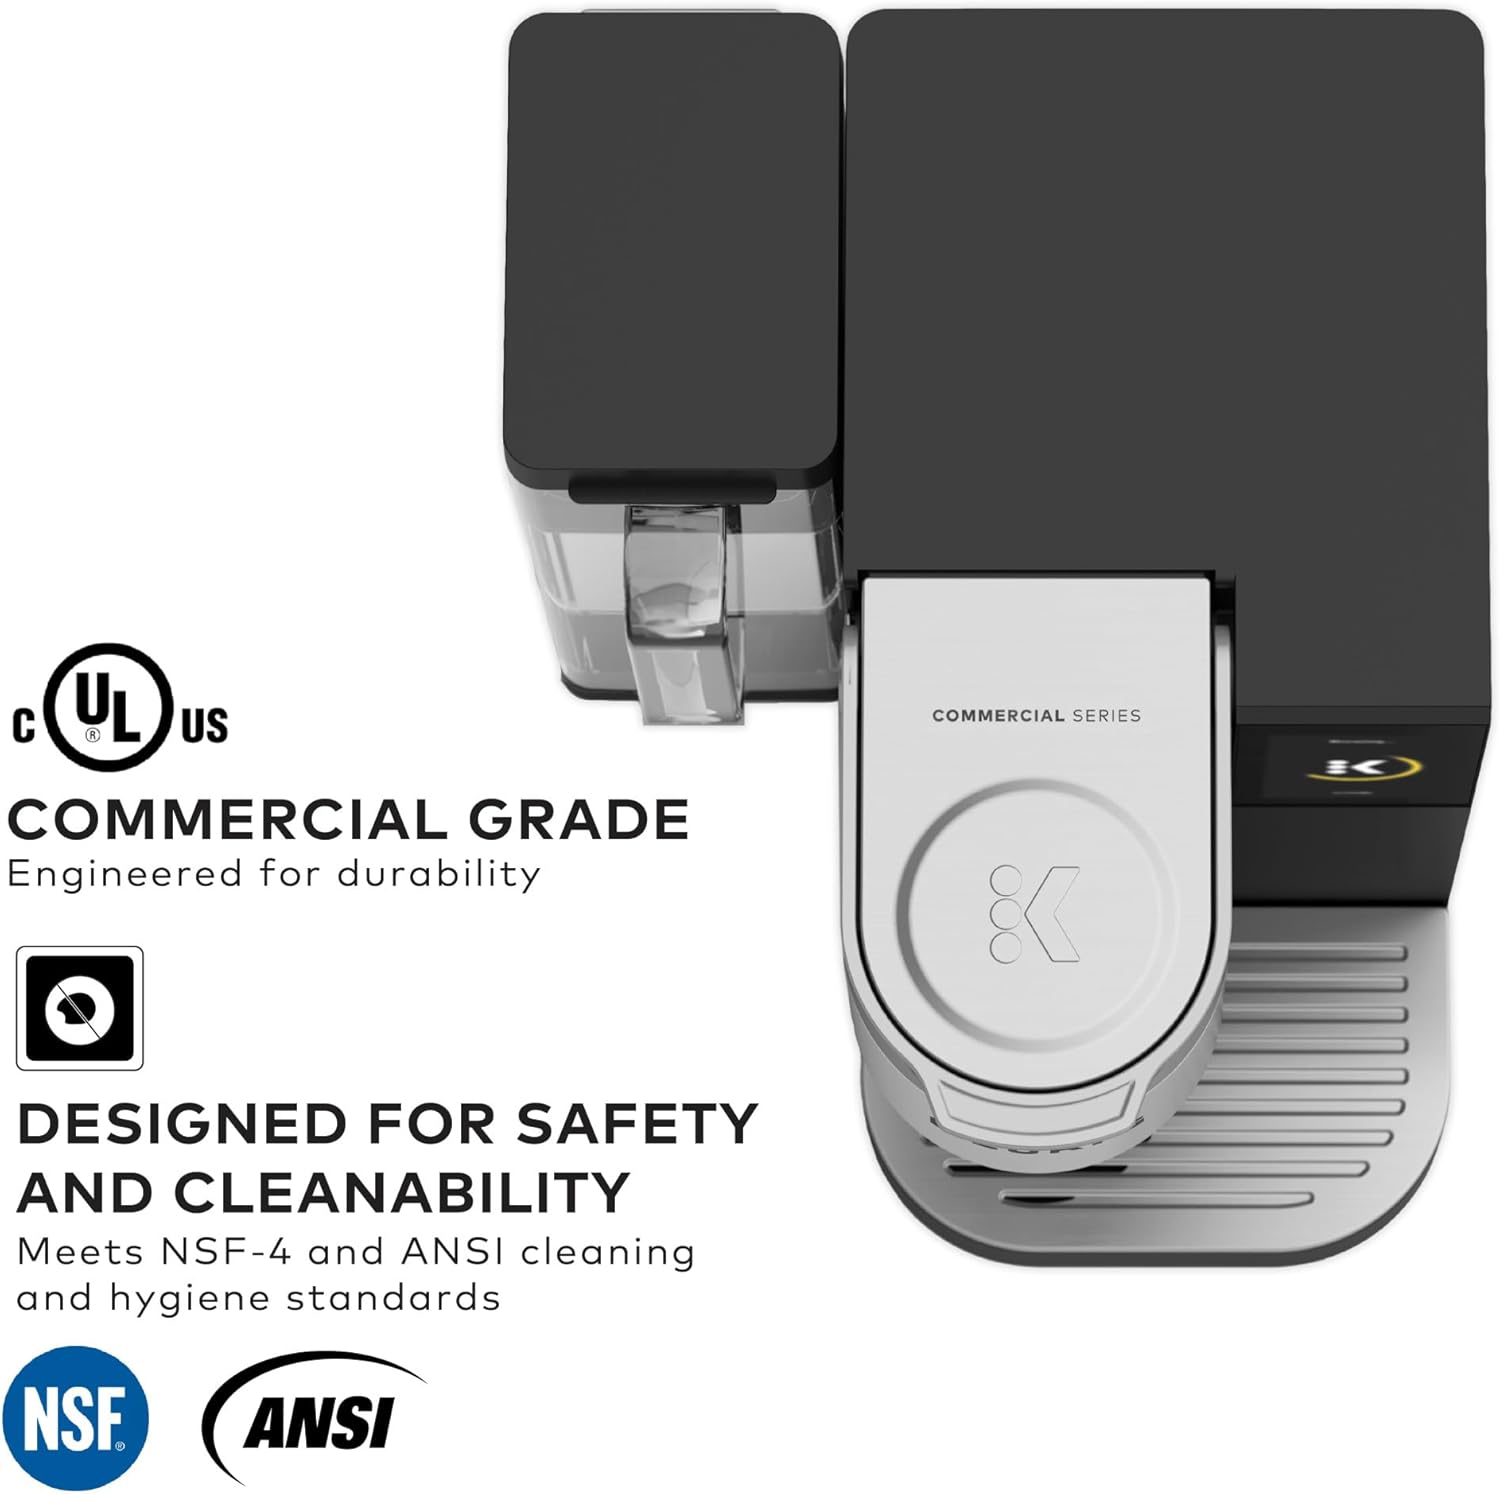
Image 2.1: The K-2550 is designed for safety and cleanability, meeting NSF-4 and ANSI standards.
3. Setup
3.1 Unpacking
Carefully remove all packaging materials from the box. Ensure all components are present: the brewer, water reservoir, and drip tray.
3.2 Initial Rinse
Before first use, perform an initial rinse cycle without a K-Cup pod to clean the internal components.
- Fill the water reservoir with fresh water or connect the direct water line.
- Place a large mug on the drip tray.
- Power on the brewer.
- Select the largest brew size and initiate a brew cycle without a K-Cup pod.
- Discard the hot water. Repeat this process once more.
3.3 Water Source Connection
The K-2550 offers two options for water supply:
- 110 oz. Water Reservoir: Fill the removable reservoir with fresh, filtered water. Ensure it is securely seated on the brewer.
- Direct Water Line: For continuous water supply, the brewer can be plumbed directly to a water line. This installation should be performed by a qualified professional. Refer to the separate direct water line installation guide for detailed instructions.

Image 3.1: Filling the 110 oz. water reservoir with fresh water.

Image 3.2: The removable 110 oz. water reservoir.
3.4 Power Connection
Plug the brewer into a grounded electrical outlet. The brewer will power on and begin heating the water.
4. Operation
4.1 Powering On
The brewer will automatically power on when plugged in. The touch screen will display options once the water is heated.
4.2 Inserting a K-Cup Pod
- Lift the handle to open the K-Cup pod holder.
- Place a K-Cup pod into the holder.
- Lower the handle firmly until it clicks into place.
4.3 Selecting Brew Settings
Use the intuitive hi-res touch screen to customize your beverage.
- Cup Sizes: Choose from 4, 6, 8, 10, or 12 oz.
- STRONG Brew: Select the 'STRONG' option for a bolder, more intense flavor.
- Brew Over Ice: Select 'Brew Over Ice' for a refreshing iced beverage. This setting brews a concentrated 6 oz. hot coffee over ice to prevent dilution.

Image 4.1: The touch screen interface for selecting brew options.

Image 4.2: User interacting with the touch screen to select a beverage type.
4.4 Brewing Process
- Place a mug or cup on the drip tray. For iced beverages, fill your cup with ice before placing it on the drip tray.
- Select your desired brew settings on the touch screen.
- Press the 'Brew' button. The brewer will dispense your beverage in approximately one minute.

Image 4.3: The K-2550 ready to brew with a mug in place.

Image 4.4: Coffee being brewed into a mug.

Image 4.5: A freshly brewed iced coffee from the K-2550.
4.5 Accommodating Travel Mugs
The drip tray is removable to accommodate most travel mugs. Simply lift and remove the drip tray assembly before placing your travel mug.

Image 4.6: The removable drip tray allows for taller travel mugs.
5. Maintenance
Regular cleaning and maintenance ensure optimal performance and longevity of your Keurig K-2550.
5.1 Cleaning the Exterior
Wipe the exterior surfaces with a damp, non-abrasive cloth. Do not use harsh chemicals or abrasive cleaners.
5.2 Cleaning the Drip Tray
The drip tray should be emptied and cleaned regularly. It is top-rack dishwasher safe.
5.3 Cleaning the Water Reservoir
The water reservoir can be cleaned with mild soap and water. Rinse thoroughly. It is not dishwasher safe.
5.4 Descaling
Over time, calcium deposits (scale) can build up in your brewer. Descaling helps maintain performance. Refer to the Keurig website or contact customer support for specific descaling instructions for your model.
5.5 Draining for Storage or Relocation
The internal water tanks are completely drainable, which is beneficial for transportation or long-term storage. Consult the Keurig website or customer support for detailed draining procedures.
6. Troubleshooting
If you encounter issues with your Keurig K-2550, refer to the following common problems and solutions:
- Brewer Not Powering On: Ensure the power cord is securely plugged into a working electrical outlet. Check the circuit breaker.
- No Water Dispensed: Check if the water reservoir is filled and properly seated, or if the direct water line is connected and supplying water. Ensure the handle is fully lowered.
- Weak Brew: Try selecting the 'STRONG' brew option or ensure you are using a fresh K-Cup pod.
- Water Leaks: Check that the water reservoir is correctly installed and not overfilled. Inspect the K-Cup pod for damage before insertion.
- Error Messages: If an error message appears on the touch screen, try unplugging the brewer for 30 seconds and then plugging it back in. If the error persists, contact Keurig Customer Support.
7. Specifications
| Feature | Detail |
|---|---|
| Brand | Keurig |
| Model Name | Keurig® K-2550™ Commercial Coffeemaker with Water Reservoir |
| Item Model Number | 5000380374 |
| UPC | 611247403068 |
| Color | Black |
| Product Dimensions | 14.25"D x 12"W x 13"H |
| Item Weight | 18.91 pounds |
| Capacity | 110 oz. (Water Reservoir) |
| Coffee Input Type | Pod (K-Cup®) |
| Special Features | Adjustable Brew Strength, Single Cup Brew, Brew Over Ice, Touch Screen |
| Water Source Options | 110 oz. Water Reservoir or Direct Water Line |

Image 7.1: Product dimensions of the Keurig K-2550.
8. Warranty and Support
For warranty information, product registration, or technical assistance, please visit the official Keurig website or contact Keurig Customer Support directly. Keep your purchase receipt as proof of purchase.
Keurig Customer Support: www.keurig.com/support