1. Introduction
This manual provides detailed instructions for the installation, operation, and maintenance of your Yoidesu Smart Thermostat. Please read this manual thoroughly before installation and use to ensure proper function and safety.
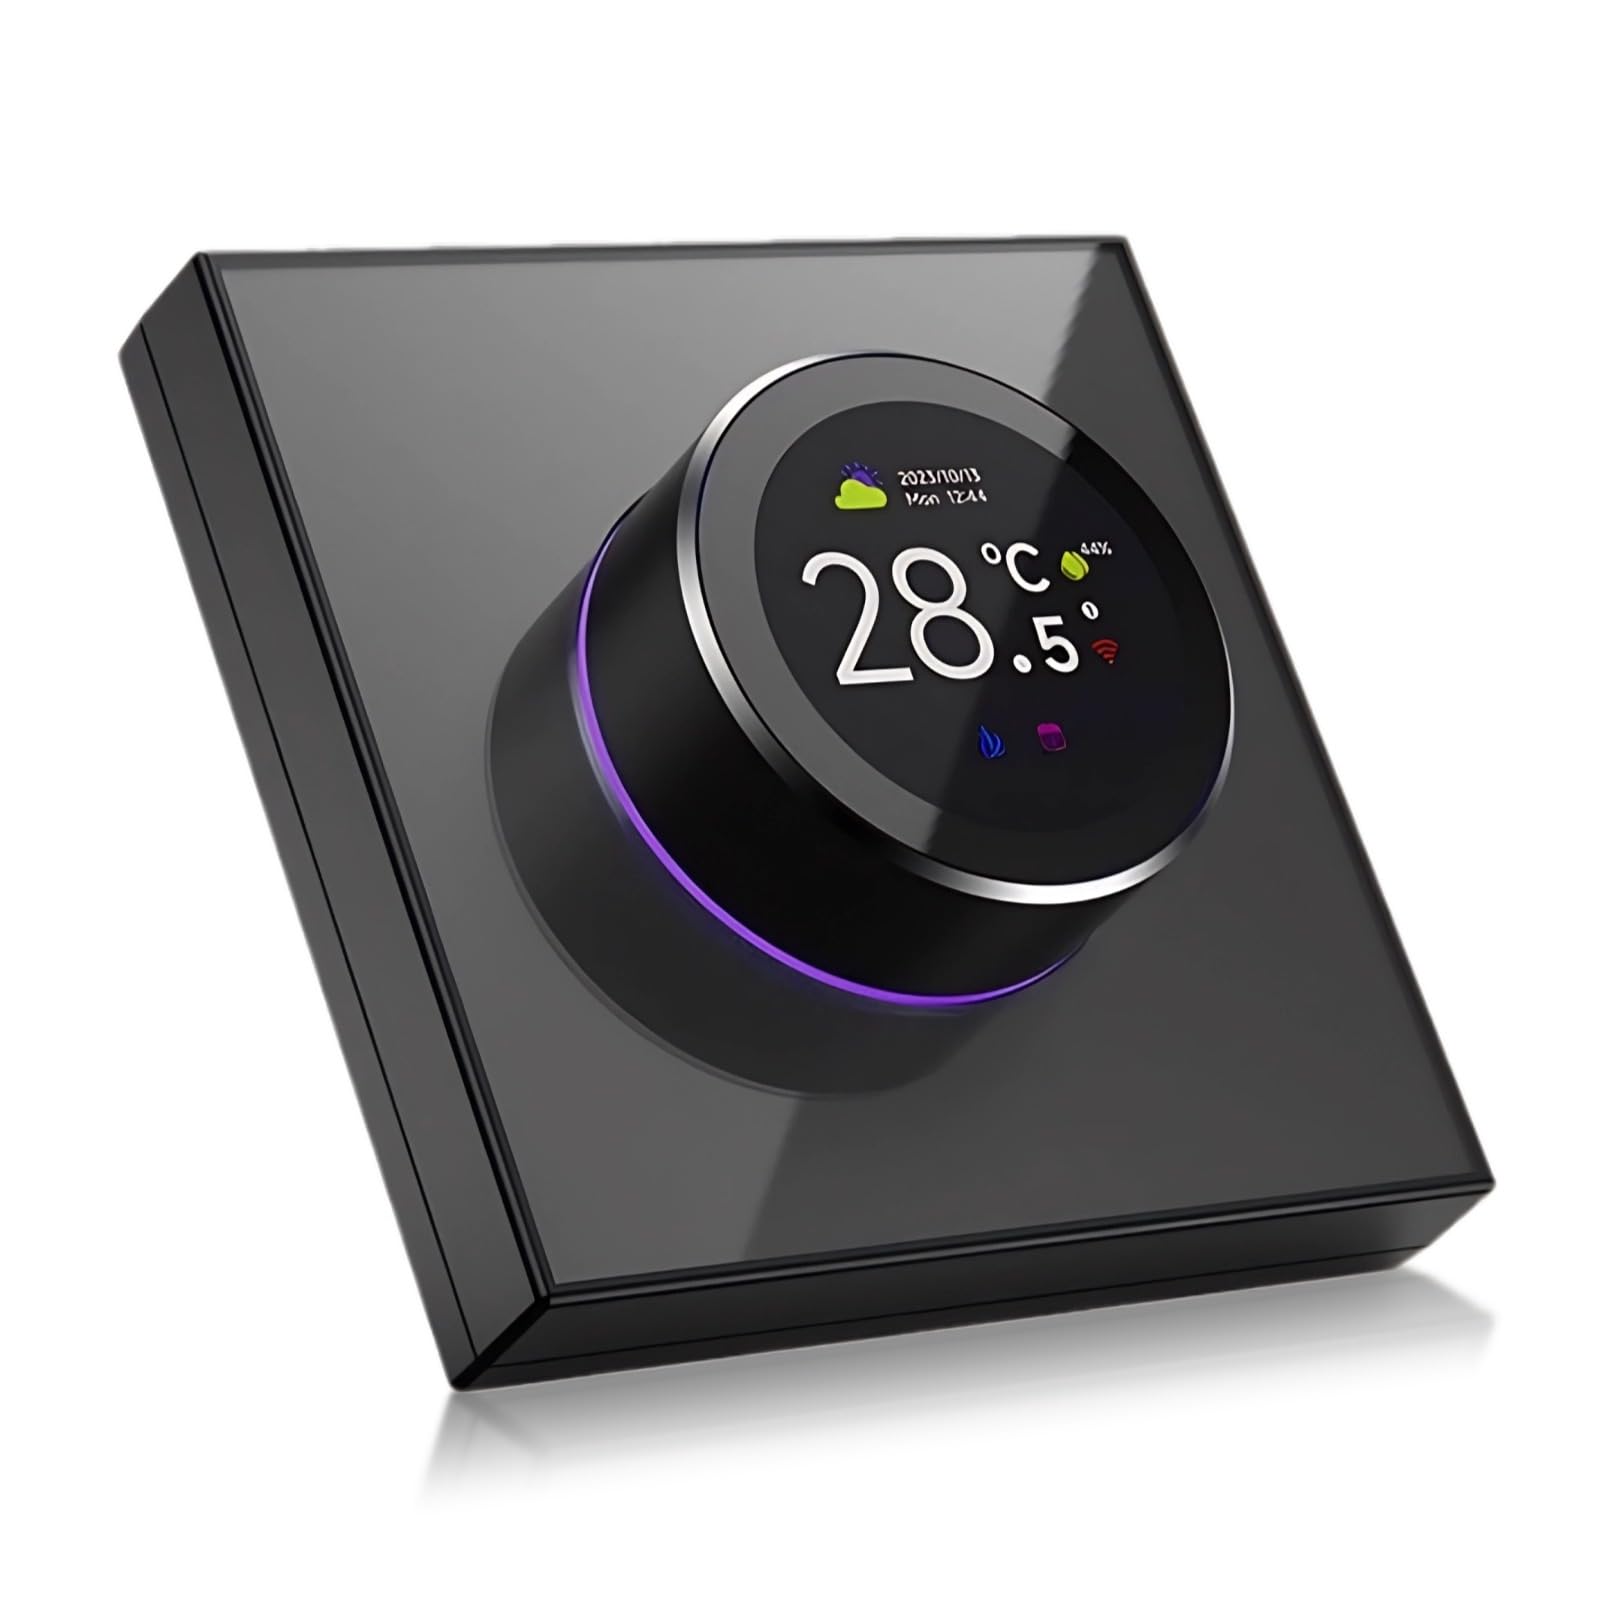
The Yoidesu Smart Thermostat features a sleek design with a central 1.32-inch TFT screen and a rotating knob for intuitive control. It supports app programming, WiFi connectivity, and voice control.
2. Safety Information
- Always disconnect power to the heating/cooling system at the main fuse or circuit breaker before installing or servicing the thermostat.
- Installation should be performed by a qualified electrician or HVAC professional if you are unfamiliar with electrical wiring.
- Do not expose the thermostat to water or excessive humidity.
- Keep out of reach of children.
3. Package Contents
Verify that all components are present in the package:
- Yoidesu Smart Thermostat Unit
- Mounting Screws and Anchors
- Instruction Manual (this document)
4. Setup
4.1 Wiring and Installation
Important: Incorrect wiring can damage the thermostat or your heating/cooling system. If you are unsure about any wiring steps, consult a qualified professional.
- Power Disconnection: Turn off power to your heating/cooling system at the circuit breaker.
- Remove Old Thermostat: Carefully remove your old thermostat from the wall. Note the wiring connections. It is recommended to label each wire with the terminal designation (e.g., R, W, Y, G, C) before disconnecting.
- Mounting: Mount the new Yoidesu Smart Thermostat base plate to the wall using the provided screws and anchors. Ensure the wires pass through the opening in the base plate.
- Wiring Connections: Connect the wires from your heating/cooling system to the corresponding terminals on the Yoidesu Smart Thermostat. Refer to the detailed wiring diagram provided in the separate installation guide included with your product for specific terminal assignments. A common (C) wire is typically required for smart thermostats.
- Attach Thermostat: Secure the thermostat unit to the mounted base plate.
- Restore Power: Turn the power back on at the circuit breaker.
4.2 Initial Power-On and App Pairing
- Upon first power-on, the thermostat will enter setup mode.
- Download the Tuya Smart or Smart Life app from your mobile device's app store.
- Create an account or log in.
- Follow the in-app instructions to add a new device. The thermostat should be automatically detected or can be added manually.
- Connect the thermostat to your home's 2.4GHz Wi-Fi network.
4.3 Voice Assistant Integration
To integrate with voice assistants like Google Assistant:
- Ensure your thermostat is successfully paired with the Tuya Smart app.
- Open your voice assistant app (e.g., Google Home).
- Navigate to the 'Add device' or 'Works with Google' section.
- Search for and link the 'Tuya Smart' or 'Smart Life' service.
- Authorize the connection using your Tuya Smart account credentials.
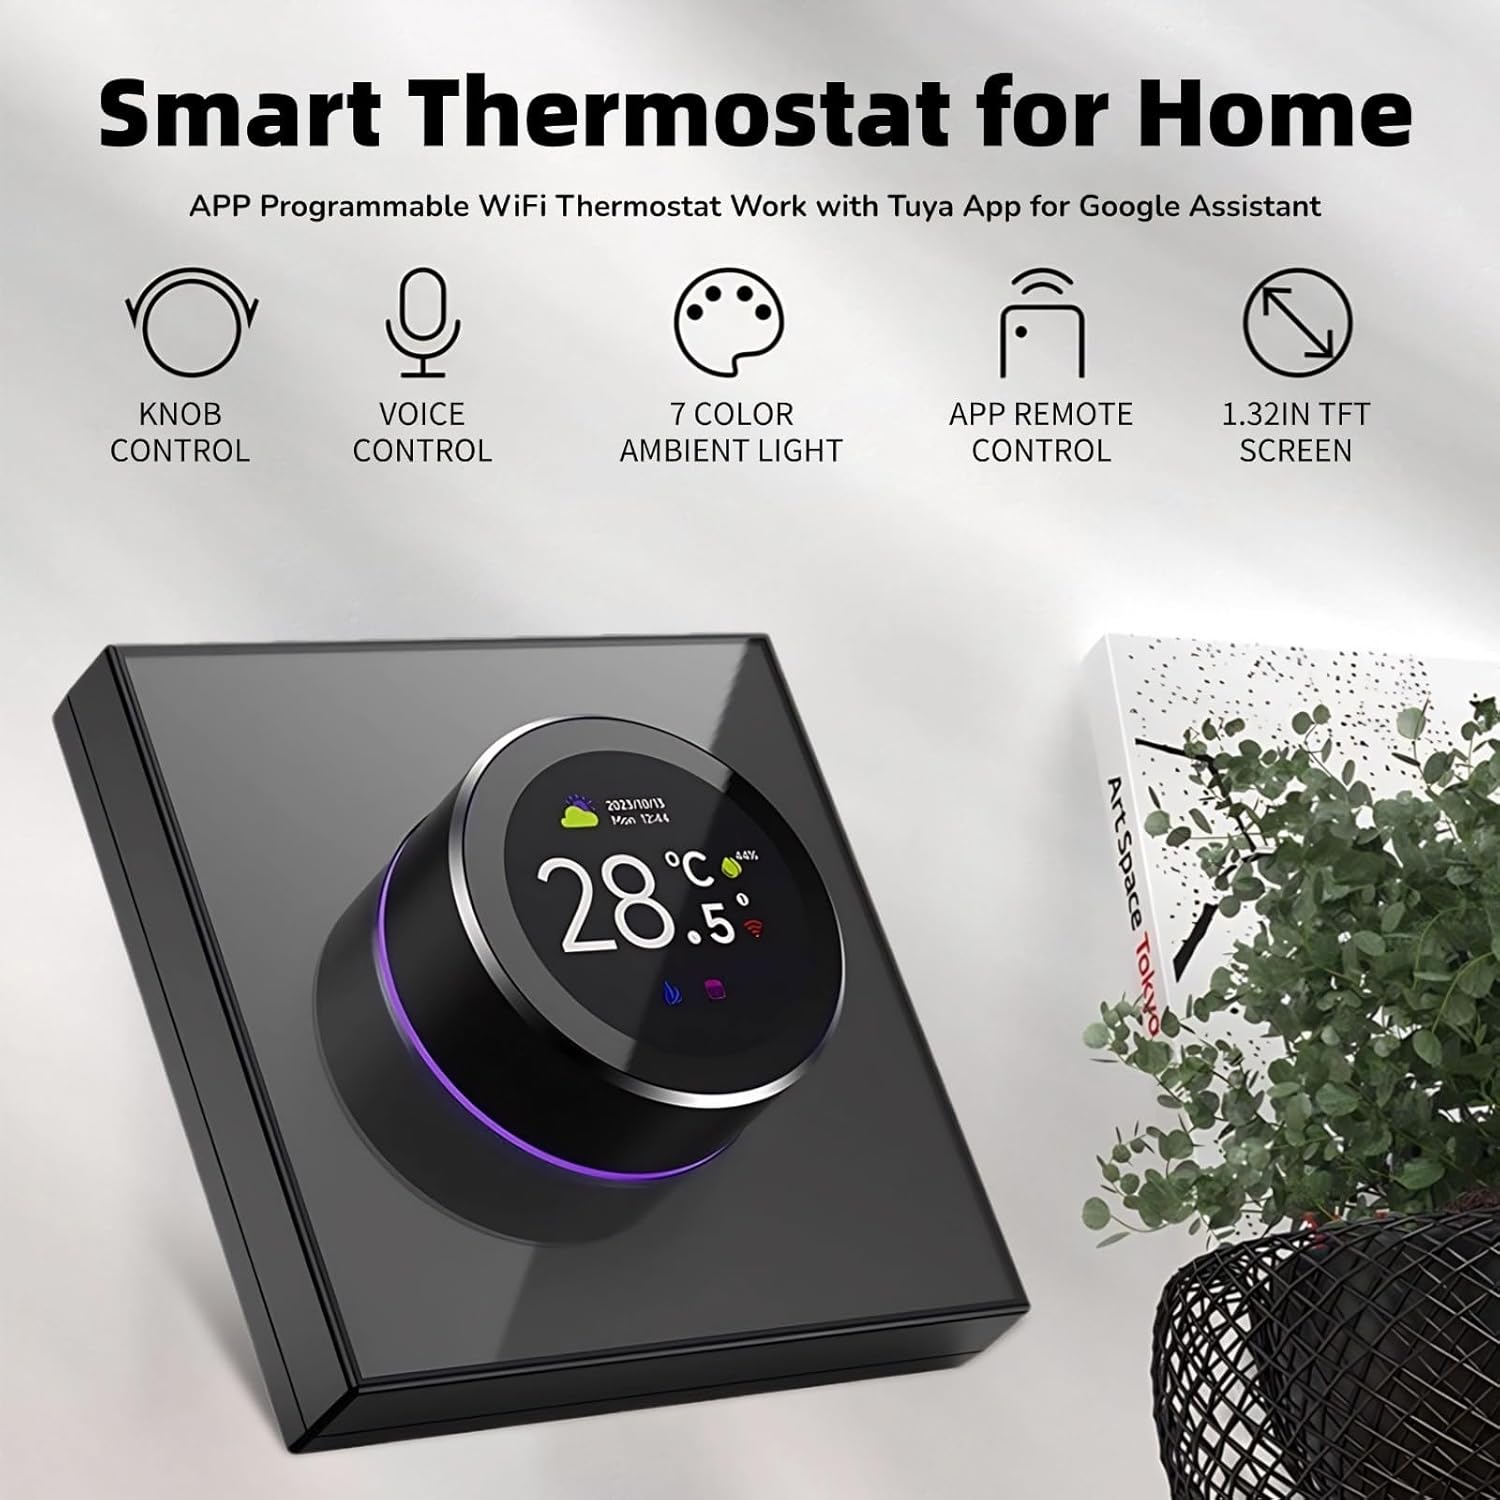
This image highlights the key features of the thermostat, including its physical knob for control, voice command capabilities, customizable 7-color ambient light, remote control via a smartphone app, and a clear 1.32-inch TFT display.
5. Operation
5.1 Screen Interface and Knob Control
The thermostat features a 1.32-inch TFT screen and a two-way rotating knob for interaction.
- Standby Screen: Displays current temperature, time, and weather information.
- Master Control Screen: Rotate the knob to access various function icons. Press the knob to select an option.
- Temperature Adjustment: In standby mode, rotate the knob to adjust the target temperature.
- Menu Navigation: Rotate the knob to scroll through menu options. Press the knob to confirm a selection.

The thermostat's screen displays current temperature, time, and weather in standby mode. In master control mode, various icons represent functions like power, settings, clock, program mode, brightness, temperature calibration, sensor type, and set temperature.

The two-way rotating knob allows for smooth adjustment of settings. The ambient light around the knob changes color, providing visual feedback and enhancing the user experience.
5.2 Main Control Functions
The thermostat provides access to 8 main control functions:

This diagram details the eight primary control functions available on the thermostat's interface, enabling users to manage temperature settings, power, calibration, display brightness, programming modes, time, sensor type, and language.
- Set Temp: Adjust the desired temperature.
- Power: Turn the thermostat on or off.
- Temp Calibration: Calibrate the temperature sensor for accuracy.
- Brightness: Adjust the screen brightness.
- Program Mode: Set up daily or weekly heating schedules.
- Clock: Set the current time and date.
- Sensor Type: Select the type of temperature sensor (e.g., internal, external floor sensor).
- Language: Change the display language.
5.3 Smart Voice Control
Once integrated with a voice assistant, use commands such as:
- "Hey Google, turn on the thermostat."
- "Hey Google, set the thermostat to 72 degrees."
- "Hey Google, what is the temperature in the living room?"

The thermostat integrates with smart home systems, allowing users to adjust temperature and settings using voice commands through compatible voice assistants.
5.4 Unique Ambience Light
The ambient light around the knob can be customized. The color of the ambient light changes synchronously with the color of the function area selected on the screen, providing visual cues and personalization.

The thermostat features a unique ambient light that can be customized with various colors, allowing users to personalize the device's appearance to match their decor or preference.
6. Maintenance
6.1 Cleaning
To maintain the appearance and functionality of your thermostat:
- Wipe the screen and body with a soft, dry cloth.
- Do not use abrasive cleaners, solvents, or chemical sprays, as these can damage the surface or internal components.
7. Troubleshooting
If you encounter issues with your Yoidesu Smart Thermostat, refer to the following common problems and solutions:
| Problem | Possible Cause | Solution |
|---|---|---|
| Thermostat has no power/screen is blank. | No power from HVAC system; incorrect wiring; circuit breaker tripped. | Check circuit breaker. Verify wiring connections (especially the C-wire). Consult a professional if wiring is uncertain. |
| Cannot connect to Wi-Fi. | Incorrect Wi-Fi password; thermostat too far from router; 5GHz network selected. | Ensure correct password. Move thermostat closer to router. Confirm your router is broadcasting a 2.4GHz network. |
| Temperature reading is inaccurate. | Thermostat location affected by drafts or heat sources; sensor calibration needed. | Relocate thermostat if possible. Use the 'Temp Calibration' function in the settings menu. |
| Voice control not responding. | Thermostat not linked to voice assistant; internet connectivity issue; incorrect commands. | Verify Tuya Smart app is linked to your voice assistant. Check internet connection. Use standard voice commands. |
| Heating/Cooling system not responding. | Incorrect wiring; system power off; thermostat mode incorrect. | Double-check wiring. Ensure HVAC system is powered on. Confirm thermostat is in the correct mode (Heat/Cool). |
For persistent issues, refer to the manufacturer's website or contact customer support.
8. Specifications
| Feature | Detail |
|---|---|
| Model Number | Yoidesu75bctqhkia |
| Brand | Yoidesu |
| Screen | 1.32-inch TFT Display |
| Control Method | Knob Control, Voice Control, APP Remote Control |
| Smart Home Compatibility | Tuya App, Google Assistant |
| Material | PC, ABS |
| Item Weight | 7.6 ounces (approx. 215 grams) |
| Package Dimensions | 3.94 x 3.54 x 2.76 inches (10 x 9 x 7 cm) |
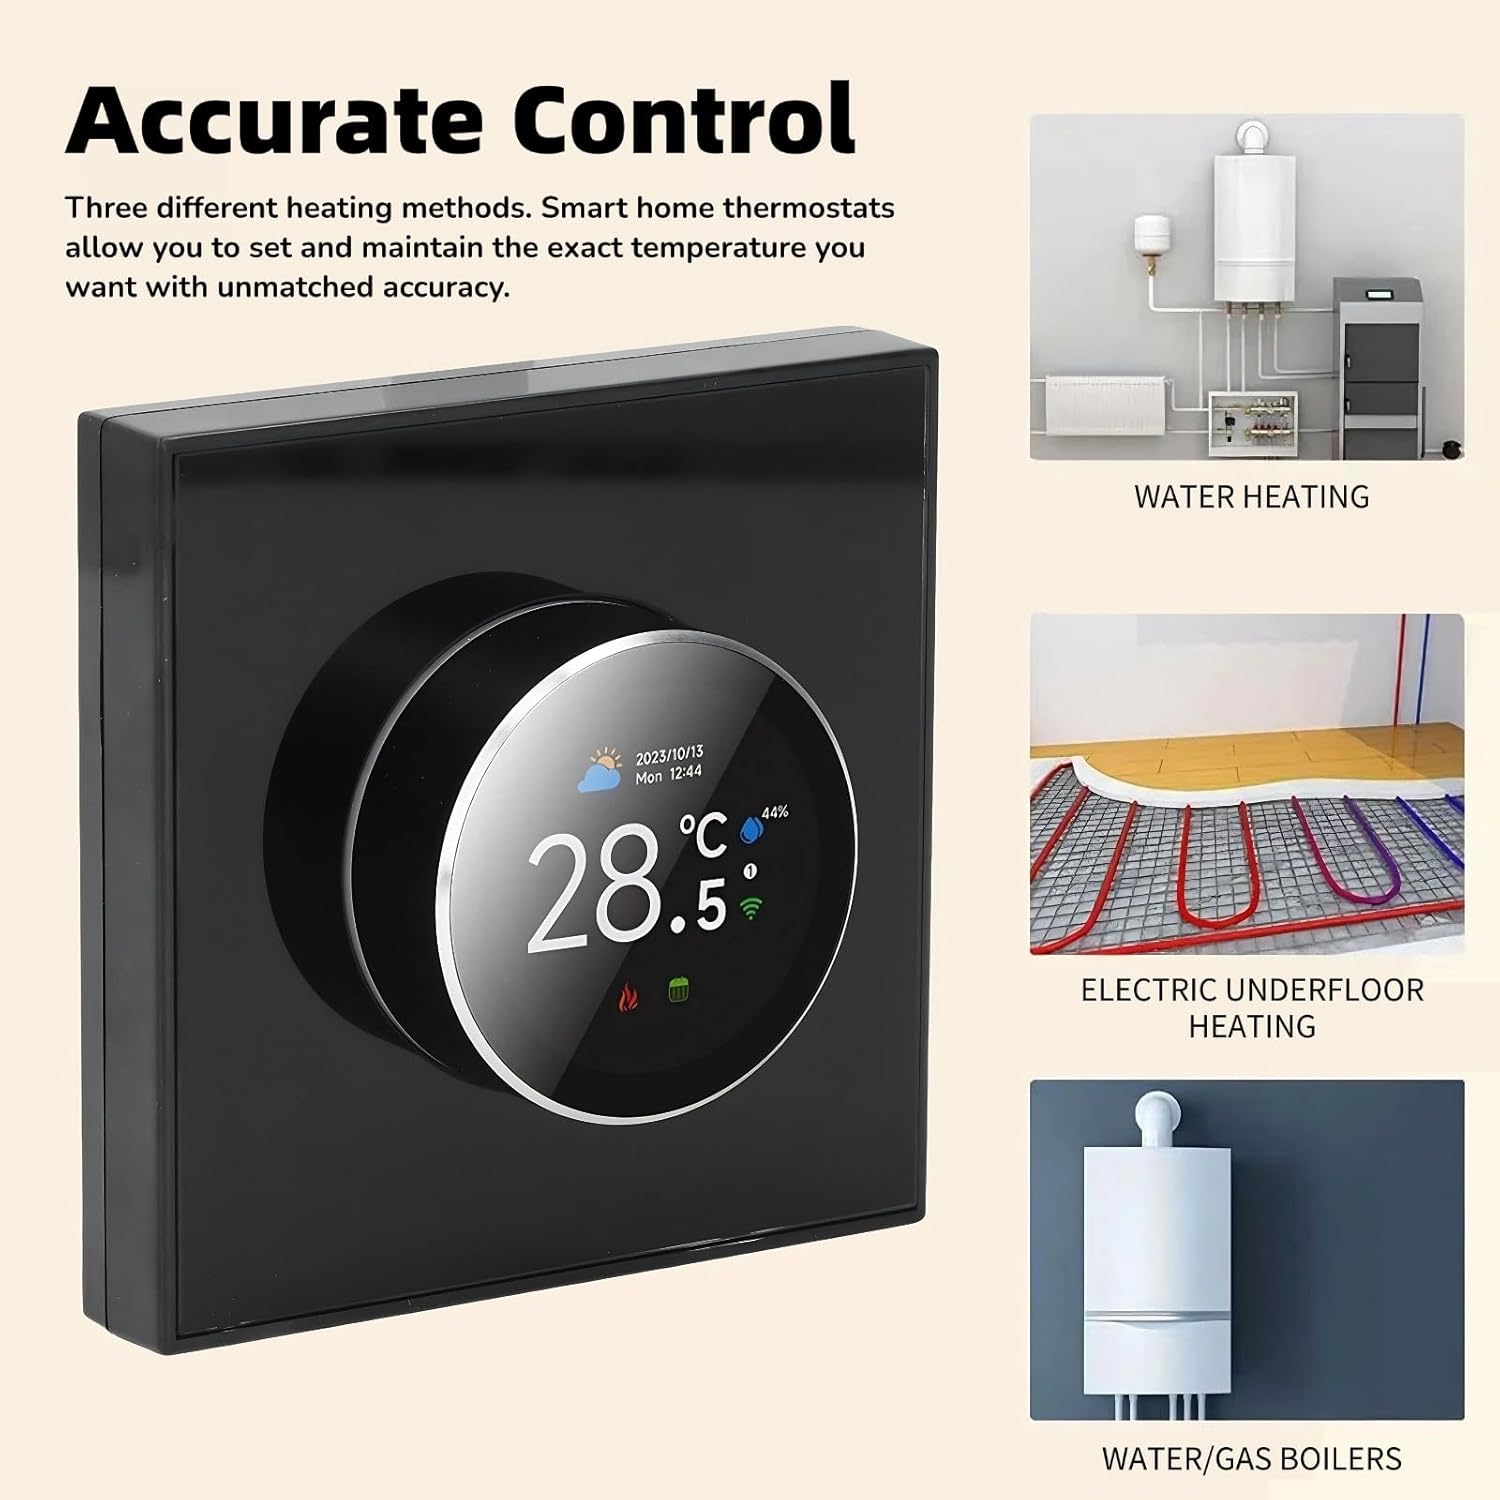
The thermostat is compatible with various heating systems, including water heating, electric underfloor heating, and water/gas boilers, providing versatile control for different home setups.
9. Warranty and Support
9.1 Warranty Information
For specific warranty terms and conditions, please refer to the warranty card included with your product or visit the official Yoidesu website. Keep your proof of purchase for warranty claims.
9.2 Customer Support
If you require further assistance, technical support, or have questions not covered in this manual, please contact Yoidesu customer support through their official website or the contact information provided in your product packaging.