Restmo O-HT-4A3-GN
RESTMO Three Knob Sprinkler Timer User Manual
Model: O-HT-4A3-GN | Brand: Restmo
1. Introduction
Thank you for choosing the RESTMO Three Knob Sprinkler Timer. This mechanical control automatic irrigation timer is designed to simplify your watering tasks, offering reliable and efficient operation for your garden hose and sprinkler system. Its intuitive 3-dial interface allows for easy setup of automatic, manual, and rain delay functions. Please read this manual carefully to ensure proper installation and operation.
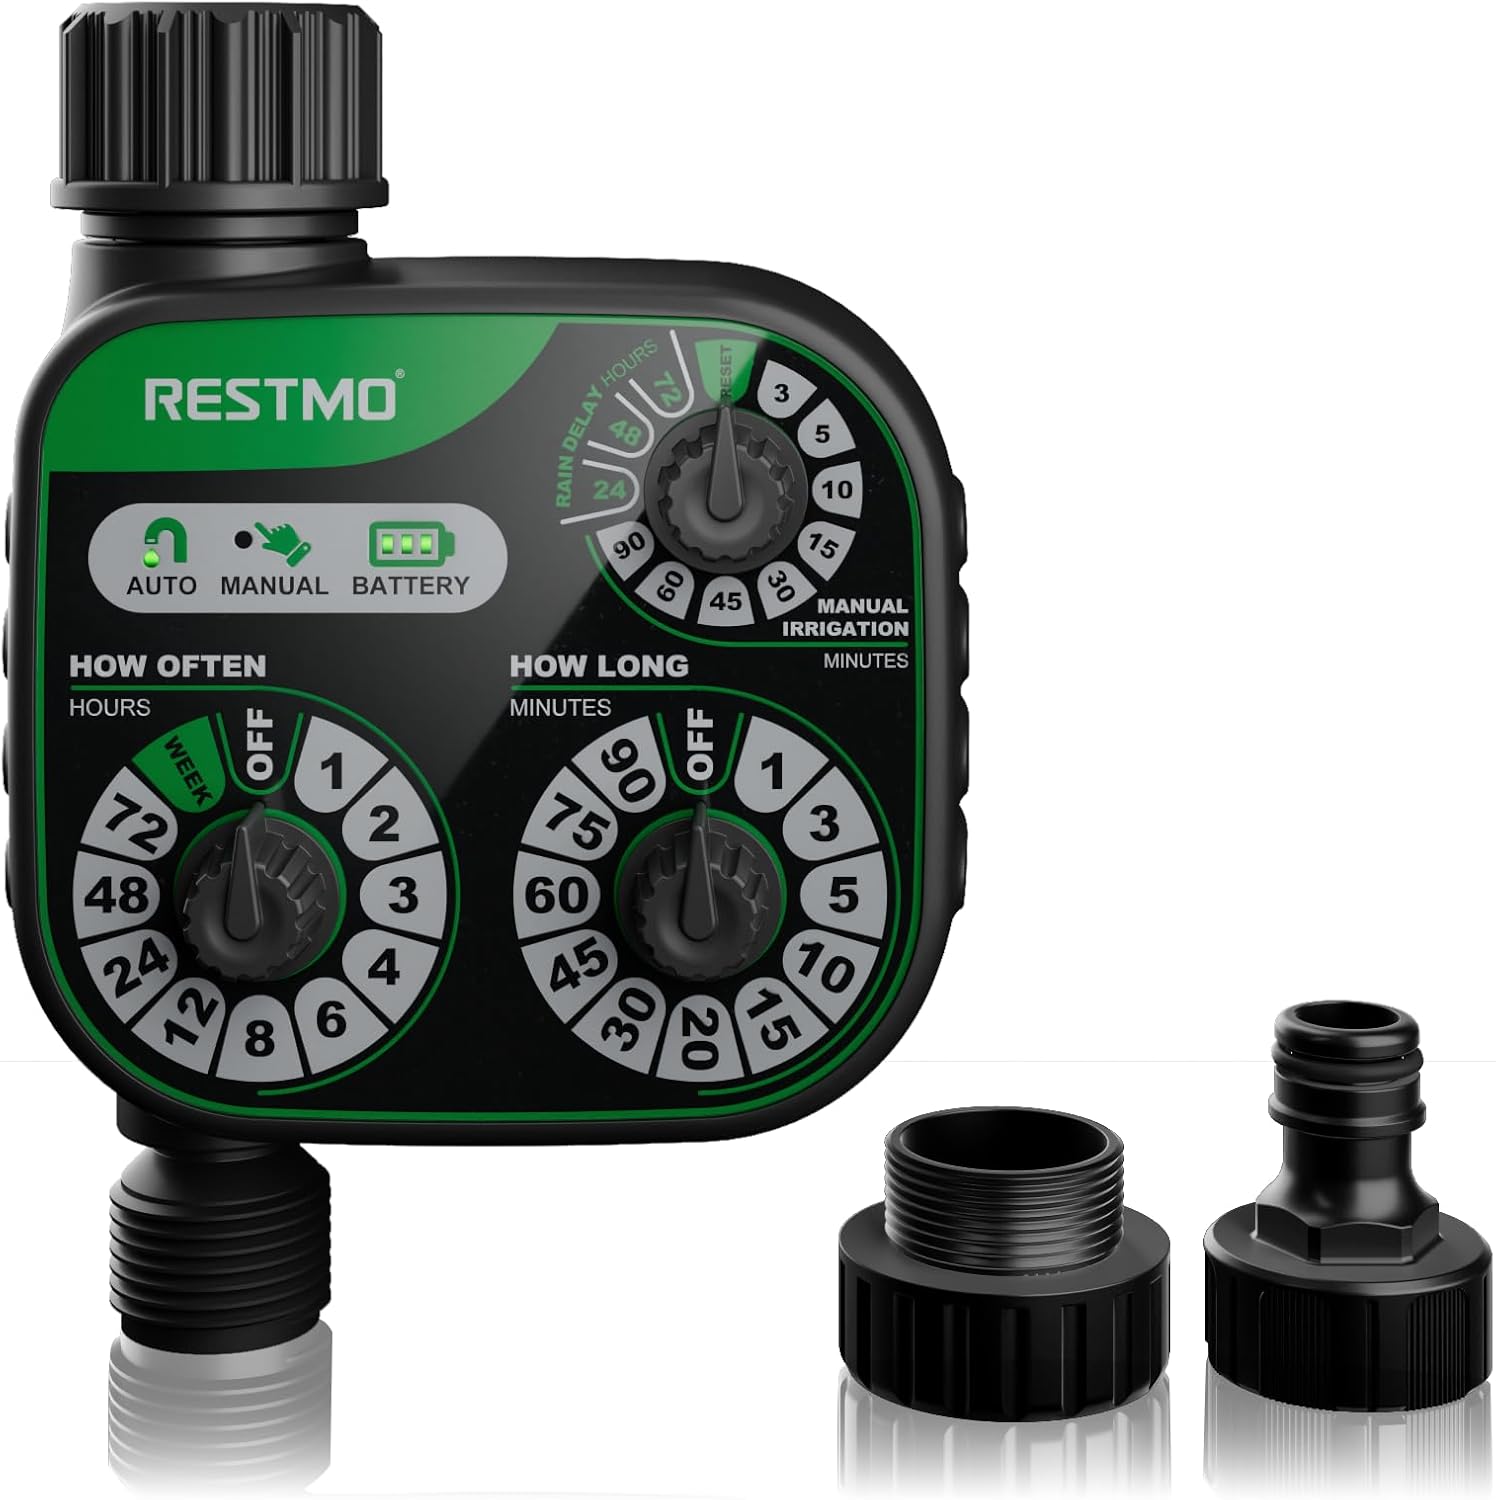
Figure 1.1: RESTMO Three Knob Sprinkler Timer with its components.
2. Product Overview
The RESTMO Sprinkler Timer features a robust design with three distinct control dials for comprehensive watering management. It is equipped with necessary adapters for versatile connection to various water sources.
Key Features:
- Mechanical Control: Simple and durable mechanical dials for setting watering parameters.
- Automatic Irrigation: Set frequency and duration for hands-free watering.
- Manual Watering: Initiate immediate watering without disrupting programmed schedules.
- Rain Delay: Pause watering for 24, 48, or 72 hours to prevent overwatering during rainy periods.
- Versatile Compatibility: Includes adapters for 3/4-inch to 1-inch faucets and 1/2-inch hoses.

Figure 2.1: Detailed view of the control panel with 'How Often', 'How Long', and 'Manual Irrigation/Rain Delay' dials.
3. Setup and Installation
Follow these steps to set up your RESTMO Sprinkler Timer:
- Battery Installation: The timer requires two AA alkaline batteries (not included). Locate the battery compartment on the back of the unit, open it, insert the batteries according to the polarity indicators, and close the compartment securely.
- Connect to Faucet: Attach the timer to your outdoor faucet. The timer comes with an adapter that fits 3/4-inch to 1-inch faucets. Ensure a tight, leak-free connection.
- Connect Hose: Attach your 1/2-inch garden hose to the outlet of the timer using the provided male connector. Tighten securely to prevent leaks.

Figure 3.1: Exploded view diagram illustrating the timer's components and connection points.
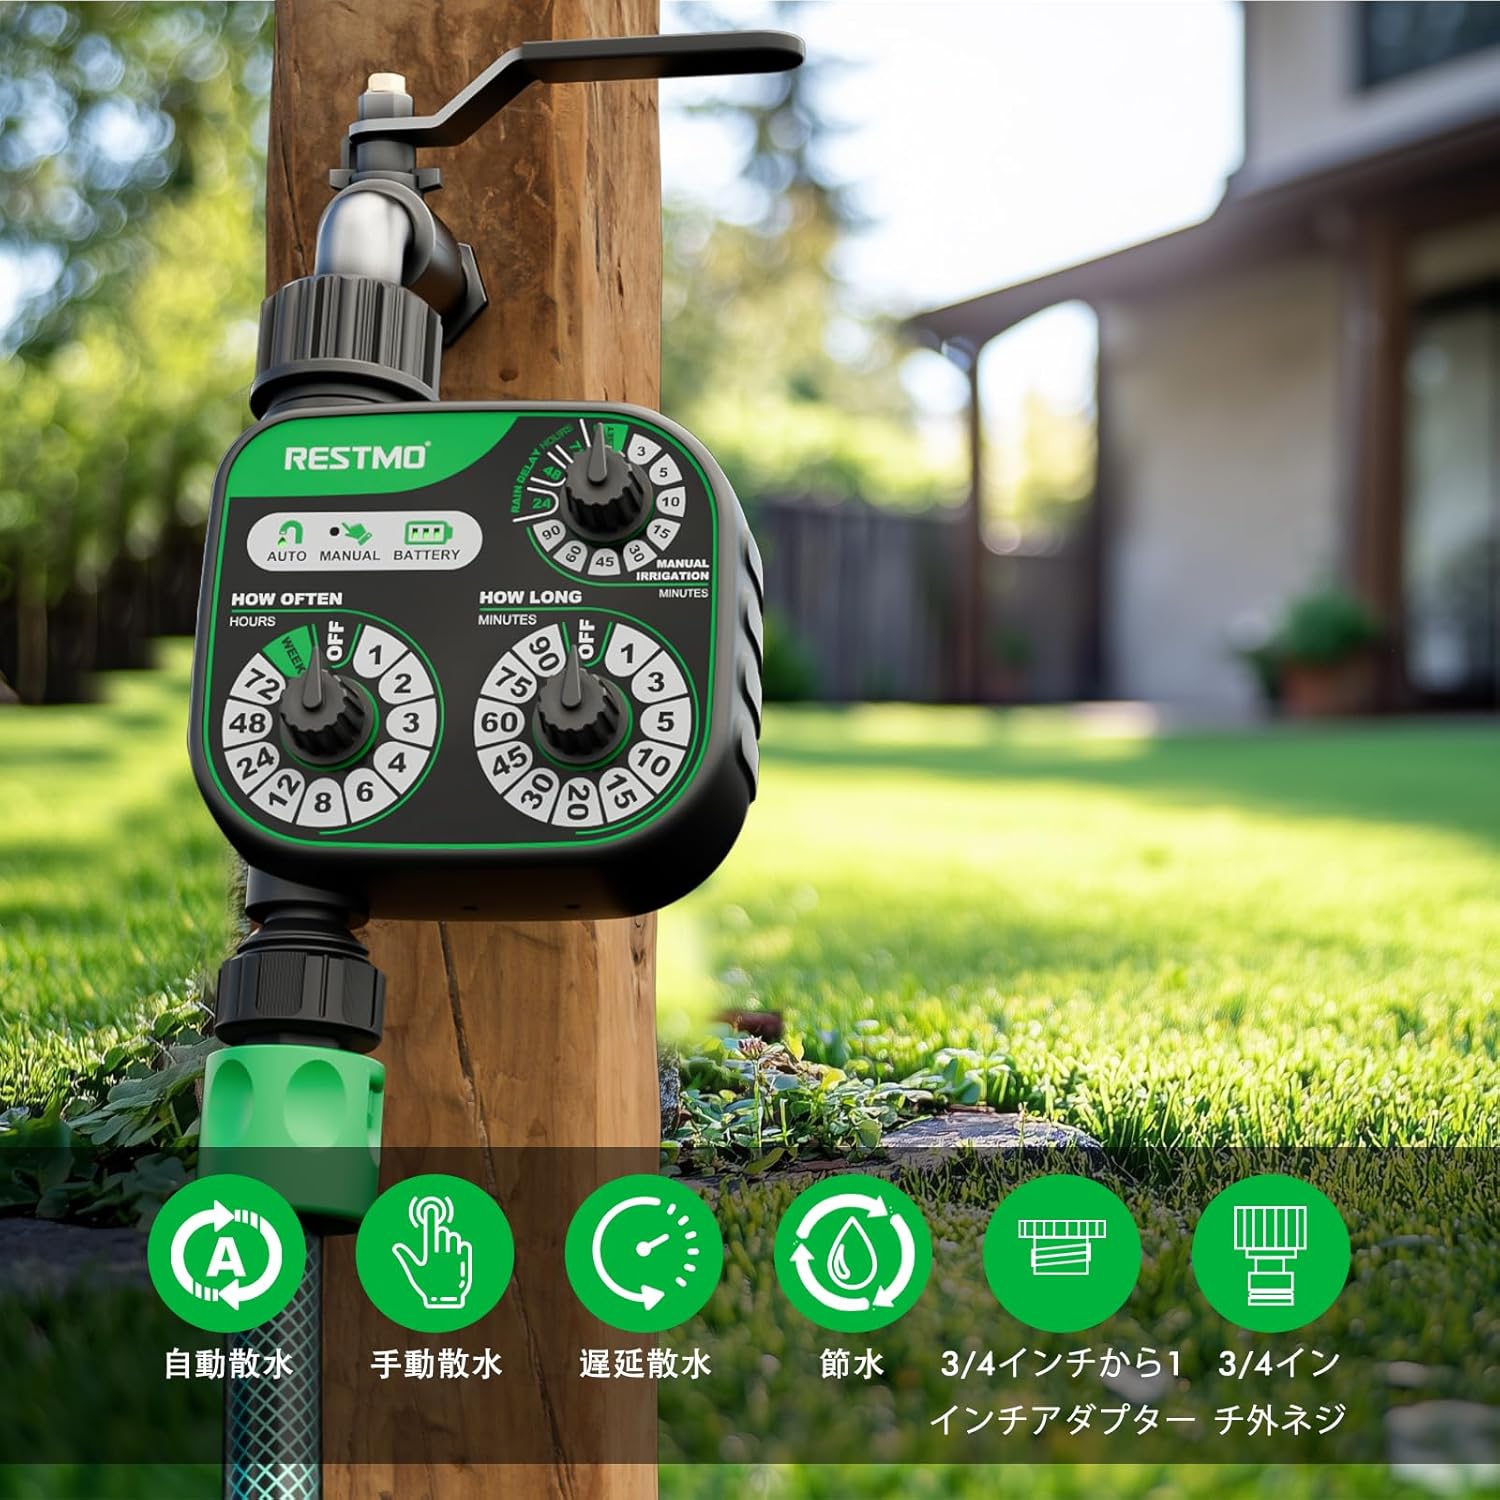
Figure 3.2: The timer connected to a faucet and hose, ready for use.
4. Operating Instructions
The RESTMO Sprinkler Timer features three intuitive dials for easy operation:
4.1. Automatic Watering
To set up an automatic watering schedule:
- Set Watering Frequency: Turn the 'HOW OFTEN' dial to select how frequently you want to water. Options range from 1 hour to 1 week.
- Set Watering Duration: Turn the 'HOW LONG' dial to select the duration of each watering session. Options range from 1 minute to 90 minutes.
The automatic watering schedule will begin immediately after setting both dials. The timer will repeat the cycle based on your chosen frequency and duration.

Figure 4.1: Setting automatic watering frequency and duration.
4.2. Manual Watering
To initiate manual watering without affecting your programmed schedule:
- Turn the 'MANUAL IRRIGATION' dial to the desired manual watering time (e.g., 5, 10, 15 minutes).
Manual watering will start immediately and run for the selected duration. Once completed, the timer will revert to its pre-set automatic program.
4.3. Rain Delay
To pause watering during rainy periods and prevent overwatering:
- Turn the 'RAIN DELAY' dial to select the desired delay period: 24, 48, or 72 hours.
The timer will pause for the selected duration and then resume its automatic schedule. To cancel a rain delay, turn the dial back to 'OFF' or 'RESET'.

Figure 4.2: Visual representation of manual watering and rain delay in action.
5. Maintenance
Proper maintenance ensures the longevity and optimal performance of your sprinkler timer:
- Battery Replacement: Replace batteries when the battery indicator on the control panel shows low power. Always use fresh AA alkaline batteries.
- Cleaning: Periodically clean the exterior of the timer with a soft, damp cloth. Do not use abrasive cleaners or immerse the unit in water.
- Winterization: Before the first frost, disconnect the timer from the faucet and hose. Drain any remaining water from the unit and store it indoors in a dry, protected area to prevent damage from freezing temperatures.
- Check Connections: Regularly inspect all connections for leaks and ensure they are tight.
6. Troubleshooting
If you encounter issues with your RESTMO Sprinkler Timer, refer to the following common problems and solutions:
| Problem | Possible Cause | Solution |
|---|---|---|
| Timer not watering | Low or dead batteries; Faucet turned off; Incorrect program settings; Rain delay active. | Replace batteries; Ensure faucet is fully open; Check 'HOW OFTEN' and 'HOW LONG' settings; Turn 'RAIN DELAY' dial to OFF/RESET. |
| Water leaking from connections | Loose connections; Worn out washer. | Tighten all connections; Replace the rubber washer inside the connector if damaged. |
| Timer not responding to dial turns | Batteries are completely drained; Internal mechanical issue. | Replace batteries; If problem persists, contact customer support. |
7. Specifications
| Feature | Specification |
|---|---|
| Model Number | O-HT-4A3-GN |
| Brand | Restmo |
| Color | Green |
| Product Dimensions (approx.) | 15.8 x 12 x 7.4 cm (6.2 x 4.7 x 2.9 inches) |
| Weight | 330 g (0.73 lbs) |
| Power Source | 2 x AA Alkaline Batteries (not included) |
| Watering Duration Settings | 1, 3, 5, 10, 15, 20, 30, 45, 60, 75, 90 minutes |
| Watering Frequency Settings | 1, 2, 3, 4, 6, 8, 12, 24, 48, 72 hours, or 1 week |
| Rain Delay Settings | 24, 48, 72 hours |
| Inlet/Outlet Thread | 3/4" BSP |
| Operating Pressure | 8-120 PSI (0.5-8 Bar) |
| Maximum Flow Rate | 10 GPM (35 L/min) |
| Operating Temperature | 3-50°C (38-120°F) |
| Waterproof Rating | IP54 |
8. Warranty and Support
RESTMO products are designed for reliability and durability. While specific warranty details may vary by region, RESTMO is committed to customer satisfaction and offers support for its products. For any questions, technical assistance, or warranty claims, please contact RESTMO customer support through the retailer where you purchased the product or visit the official RESTMO website for contact information.
Please retain your proof of purchase for any warranty-related inquiries.
Related Documents - O-HT-4A3-GN
 |
RESTMO O-HT-1A-RF-GN Digital Hose Timer User Manual Comprehensive user manual for the RESTMO O-HT-1A-RF-GN digital hose timer, covering operation, settings, manual control, warnings, specifications, troubleshooting, and FCC compliance. |
 |
Restmo 2-Zone Digital Water Timer User Manual | O-HT-3B Setup & Troubleshooting Comprehensive user manual for the Restmo 2-Zone Digital Water Timer (Model O-HT-3B). Learn how to install, set up, operate, and troubleshoot your water timer for efficient garden watering. |
 |
RESTMO O-HT-1B-RF-GN Digital Hose Timer User Manual User manual for the RESTMO O-HT-1B-RF-GN digital hose timer, detailing setup, operation, and features for automatic garden watering. |
 |
RESTMO 1-Zone Digital Water Timer User Manual (O-HT-3A) Comprehensive user manual for the RESTMO 1-Zone Digital Water Timer (Model O-HT-3A), covering installation, programming, features, and troubleshooting for efficient garden watering. |
 |
RESTMO O-HT-2B-BT-GN Digital Hose Timer User Manual Comprehensive user manual for the RESTMO O-HT-2B-BT-GN digital hose timer, covering installation, operation, features, and troubleshooting for efficient garden watering. |
 |
Restmo 4-Zone Digital Water Timer User Manual Comprehensive user manual for the Restmo 4-Zone Digital Water Timer (Model O-HT-3D), covering installation, setup, operation, and troubleshooting for efficient garden watering. |
Ask a question about this manual
Ask about setup, troubleshooting, compatibility, parts, safety, or missing instructions. Manuals+ will review the question and use this page’s manual context to help answer it.