
1. Introduction
The Pioneer GM-DX104 is a compact Class D 4-channel car amplifier designed to enhance your in-car audio experience. It delivers exceptional sound quality with rich details, deep bass, and supports high-resolution audio. This amplifier offers flexible performance for various audio setups, capable of powering 4, 3, or 2 speakers with 45W RMS per channel at 4 ohms, 90W RMS when bridged, or up to 100W x 4 MAX at 4 ohms (1% THD).
Its precise frequency control, including High-Pass (HPF) and Low-Pass (LPF) filters (e.g., 80 Hz crossover), ensures smooth transitions between frequencies and improved sound clarity. The GM-DX104 is compatible with modern vehicles, including electric vehicles (EVs), supporting systems up to 16V. Gold-plated terminals enhance signal accuracy and prevent corrosion, contributing to long-lasting, reliable performance. With low current consumption (1.6 amps), installation is simplified, often without the need for complex engine wiring. This compact and efficient amplifier provides a superior audio upgrade for your vehicle.
2. What's in the Box
Upon opening the package, verify that all components are present:
- Pioneer GM-DX104 Amplifier Unit
- OFC Power Wires
- Speaker Output Wires
- RCA & Speaker Input Harnesses
- Bass Boost Remote Control
- Allen Key
- Mounting Screws
- Owner's Manual (this document)
3. Key Features
- Exceptional Sound Quality: Class D amplifier designed for high-resolution audio, delivering rich detail, expansive soundstage, and deep bass.
- Flexible Speaker Configuration: Supports 4, 3, or 2 speaker setups with 4x 45W RMS at 4 ohms, 90W RMS when bridged, or up to 100W x 4 MAX at 4 ohms (1% THD).
- High Voltage Compatibility: Operates with systems up to 16V, suitable for electric vehicles (EVs) and advanced applications.
- Precise Frequency Control: Features High-Pass (HPF) and Low-Pass (LPF) filters (e.g., 80 Hz crossover) for optimized speaker performance and fine-tuned audio.
- Enhanced Performance & Durability: Gold-plated terminals ensure improved signal accuracy, corrosion resistance, and long-term reliability.
- Easy & Efficient Installation: Low current consumption (1.6 amps) simplifies wiring, allowing power from navigation or audio systems. Includes RCA and speaker input cables.
- Compact Design: Adaptable installation in various vehicle spaces due to its small footprint, without compromising performance.
4. Setup and Installation
Proper installation is crucial for optimal performance and safety. If you are unsure about any steps, consult a professional installer.
4.1 Amplifier Placement
Choose a location that is dry, well-ventilated, and away from direct sunlight or heat sources. Ensure sufficient space around the amplifier for air circulation. The compact design of the GM-DX104 allows for flexible placement, such as under a seat or behind the dashboard.

Image: Dimensions of the Pioneer GM-DX104 amplifier, showing its compact size for versatile installation.
4.2 Wiring Connections
Before making any connections, disconnect the vehicle's negative battery terminal to prevent electrical shorts.
- Power Connection: Connect the OFC Power Wires to the amplifier's power input terminals. Ensure the positive (+) wire is connected to the vehicle's battery (via an appropriate fuse holder) and the negative (-) wire is connected to a solid chassis ground point. The amplifier supports up to 16V systems.
- Remote Turn-On: Connect the remote turn-on wire from your head unit or ignition source to the amplifier's remote input terminal. This wire signals the amplifier to turn on and off with your vehicle's audio system.
- Input Signal: The GM-DX104 supports both RCA (low-level) and speaker-level (high-level) inputs. Use the provided RCA & Speaker Input Harnesses as appropriate for your head unit. For speaker-level inputs, connect your speaker wires directly to the harness.
- Speaker Output: Connect your speakers to the amplifier's speaker output terminals. Ensure correct polarity (+ to + and - to -) for each speaker. The amplifier can be configured for 4, 3, or 2 channel operation.
- Fuses: The amplifier is equipped with two 40A fuses for protection. Ensure these are correctly installed.
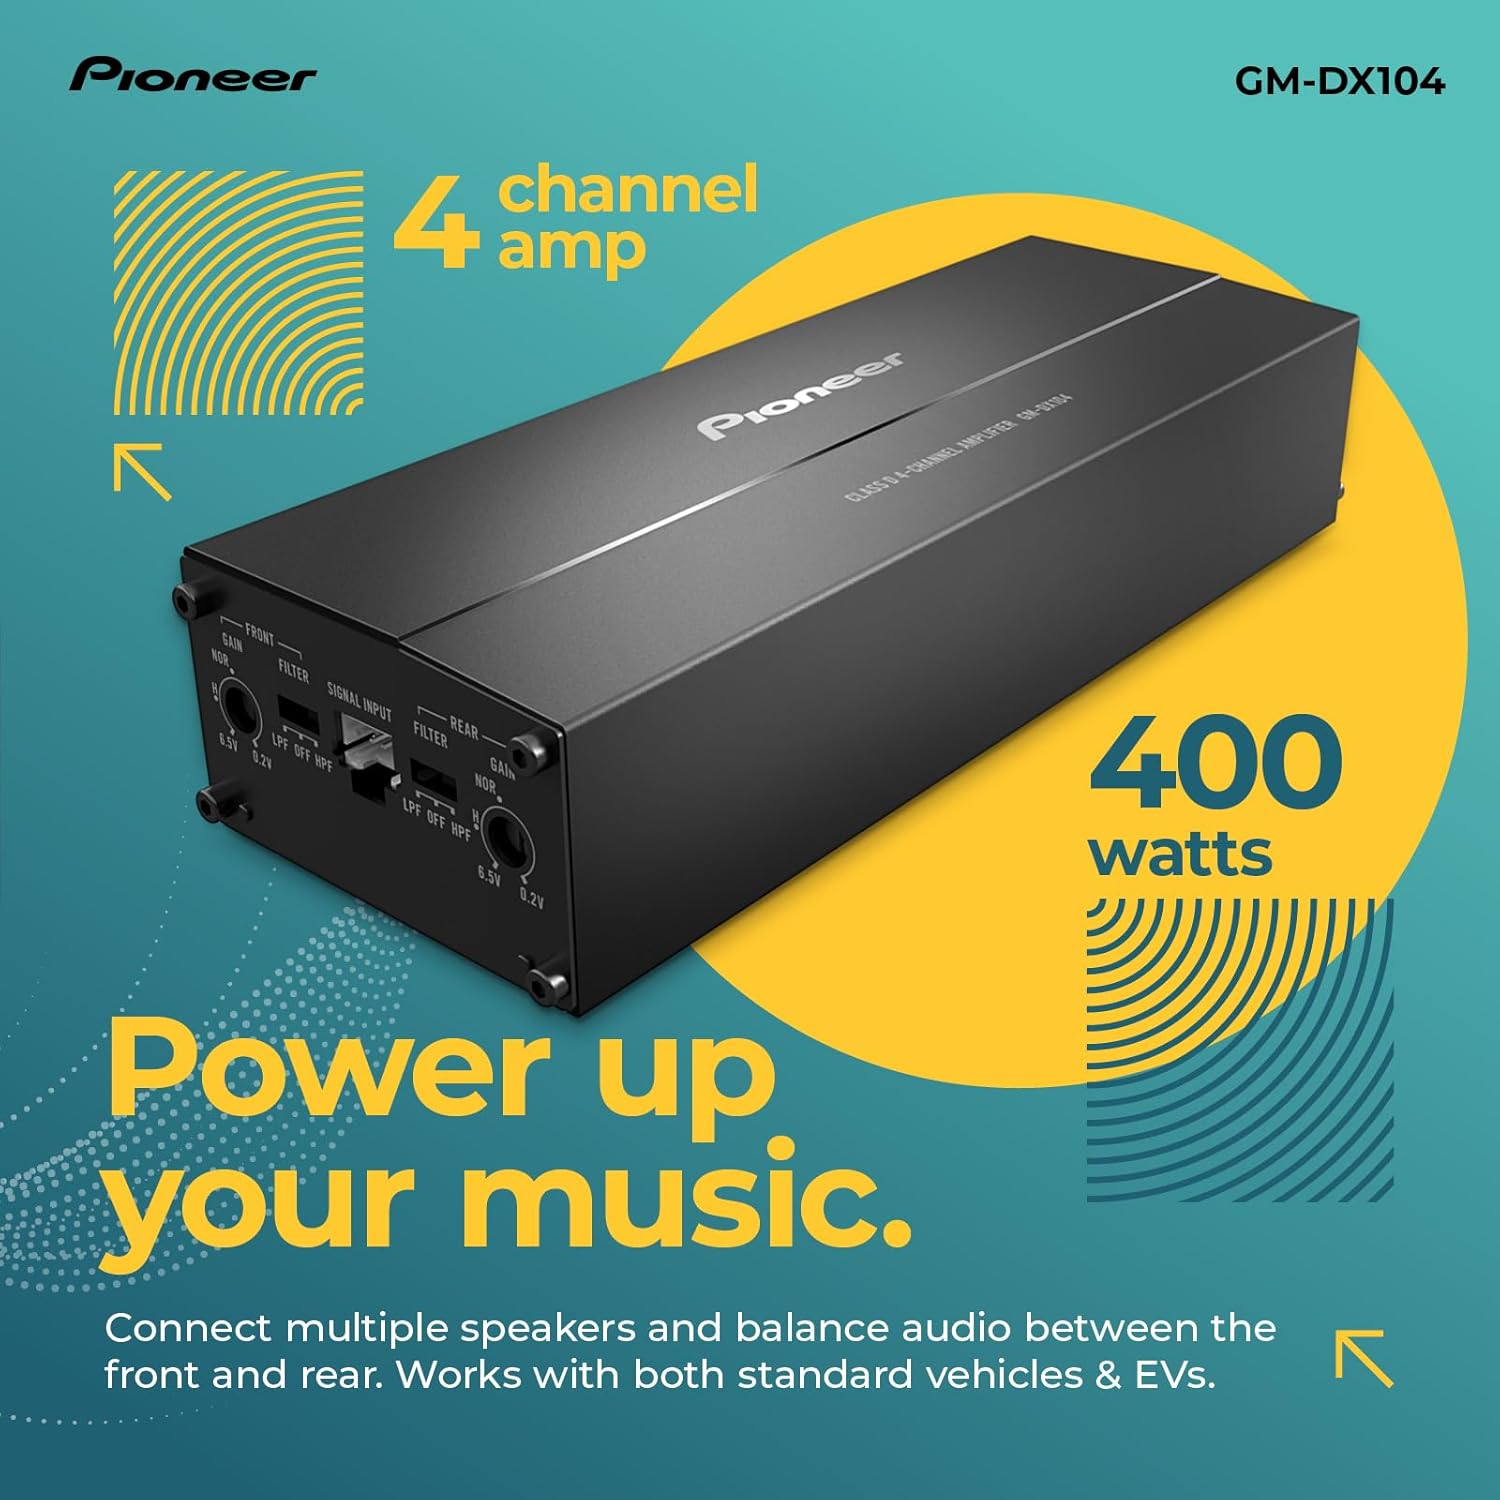
Image: Rear panel connections of the amplifier, illustrating power, ground, remote, fuse, and speaker output terminals.
4.3 Bass Boost Remote Control
The included bass boost remote control allows for convenient adjustment of bass levels from the driver's seat. Connect the remote control cable to the designated port on the amplifier.

Image: Top view of the amplifier showing the control panel with gain, filter, and signal input settings.
5. Operating Instructions
5.1 Gain Adjustment
Adjust the gain controls (FRONT and REAR) on the amplifier to match the output level of your head unit. Start with the gain at minimum and slowly increase it until the sound is clear and undistorted at your desired maximum volume. Avoid setting the gain too high, as this can lead to distortion and potential damage to speakers.
5.2 Filter Settings (HPF/LPF)
The GM-DX104 features High-Pass Filter (HPF) and Low-Pass Filter (LPF) settings to optimize sound output for your speakers.
- HPF (High-Pass Filter): Allows frequencies above the set crossover point to pass through. Use this for full-range speakers to prevent low bass frequencies from distorting them.
- LPF (Low-Pass Filter): Allows frequencies below the set crossover point to pass through. Use this for subwoofers to ensure they only reproduce bass frequencies.
- OFF: Disables the filter, allowing full-range audio to pass through.
Adjust the crossover frequency (e.g., 80 Hz) according to your speaker types and listening preferences to achieve a balanced sound.
6. Maintenance
To ensure the longevity and optimal performance of your Pioneer GM-DX104 amplifier, follow these maintenance guidelines:
- Cleaning: Regularly wipe the amplifier's exterior with a soft, dry cloth. Avoid using harsh chemicals or abrasive cleaners.
- Ventilation: Ensure that the amplifier's cooling fins are free from dust and debris. Proper airflow is essential to prevent overheating.
- Connection Checks: Periodically inspect all wiring connections (power, ground, remote, input, output) to ensure they are secure and free from corrosion. Loose connections can lead to poor performance or damage.
- Fuse Replacement: If a fuse blows, replace it only with a fuse of the same type and rating (40A). Using an incorrect fuse can cause serious damage to the amplifier or vehicle's electrical system.
7. Troubleshooting
If you encounter issues with your amplifier, refer to the following common troubleshooting steps:
| Problem | Possible Cause | Solution |
|---|---|---|
| No Power | Blown fuse, loose power/ground/remote wire, faulty wiring. | Check and replace fuses. Verify all power, ground, and remote connections are secure. Test wiring for continuity. |
| No Sound | No input signal, incorrect gain settings, speaker wires disconnected, amplifier in protection mode. | Ensure RCA or speaker-level inputs are connected. Adjust gain. Check speaker wire connections. If in protection, check for shorts or overheating. |
| Distorted Sound | Gain set too high, incorrect filter settings, poor quality input signal, speaker impedance mismatch. | Lower gain settings. Adjust HPF/LPF. Ensure head unit output is clean. Verify speaker impedance matches amplifier's capabilities. |
| Amplifier Overheating | Insufficient ventilation, impedance too low, prolonged high volume use. | Ensure proper airflow around the amplifier. Check speaker impedance. Reduce volume or allow amplifier to cool down. |
8. Specifications
The following specifications apply to the Pioneer GM-DX104 4-Channel Car Amplifier:
| Feature | Specification |
|---|---|
| Model | GM-DX104 |
| Number of Channels | 4 |
| Output Power (RMS) | 45W x 4 (4 ohms), 90W x 2 (bridged) |
| Maximum Power Output | 400W (100W x 4 MAX at 4 ohms, 1% THD) |
| Power Source | 14.4V DC (10.8V to 15.1V allowable) |
| Grounding System | Negative Type |
| Current Consumption | 1.6 Amps (low current consumption) |
| Fuse | 40A x 2 |
| Dimensions (W x H x D) | 7.5 x 2.5 x 1.5 inches (190.5 x 63.5 x 38.1 mm) |
| Weight | 1.3 Pounds (0.59 kg) |
| Specification Met | Hi-Res Certified |
9. Warranty and Support
For warranty information, please refer to the warranty card included with your product or visit the official Pioneer website. For technical support or service inquiries, contact Pioneer customer service through their official channels.