
1. Introduction
This manual provides essential information for the safe and efficient operation, installation, and maintenance of your FOTING 1HP Submersible Sewage/Effluent Pump, Model FT-Q85084. This heavy-duty cast iron pump is designed for various applications including sump basins, residential sewage, and basement dewatering. Please read these instructions thoroughly before installation and use to ensure proper function and safety.
2. Safety Information
Always follow basic safety precautions to reduce the risk of fire, electric shock, and personal injury.
General Safety Warnings:
- Electrical Safety: Ensure the power supply matches the pump's voltage (115V). Always connect to a grounded outlet. Do not operate with a damaged cord or plug.
- Submersion: This pump is designed for submersible use only. Ensure it is fully submerged during operation to prevent overheating.
- Handling: Never lift the pump by its power cord or float switch cable. Always use the designated handle for lifting and positioning.
- Hazardous Materials: Do not use this pump for flammable, corrosive, or explosive liquids. It is intended for water and sewage containing solids up to 1.25 inches in diameter.
- Children and Pets: Keep children and pets away from the pump and its operating area.
- Maintenance: Disconnect power before performing any maintenance or cleaning.

Figure 2.1: Always lift the pump by its handle. Never pull the power cord.
3. Package Contents
Verify that all items are present and undamaged upon unpacking:
- FOTING 1HP Submersible Sewage/Effluent Pump
- Adjustable Tethered Float Switch (pre-attached)
- 10-foot Power Cord with Piggyback Plug
- 2-inch NPT Discharge Adapter
- Instruction Manual
4. Specifications
Key technical parameters for the FOTING FT-Q85084 pump:

Figure 4.1: Technical Parameters Overview.
| Parameter | Value |
|---|---|
| Output Power | 1 HP |
| Max. Flow Rate | 5600 GPH |
| Max. Head | 32 ft (40 ft indicated on image, refer to product for exact max head) |
| Min. Suction Level | 1.25 inches |
| Protection Type | IPX8 |
| Noise Level | < 60dB |
| Discharge Size | 2 inch NPT |
| Motor Type | PSC Motor |
| Casing Material | Cast Iron and Stainless Steel |
| Max Solid Handling | 1.25 inches |

Figure 4.2: Output Flow Rate vs. Total Head.
5. Setup and Installation
Follow these steps for proper installation of your submersible pump:
- Prepare the Sump Basin: Ensure the sump basin is clean and free of large debris that could obstruct the pump or float switch. The basin should be large enough to accommodate the pump and allow free movement of the float switch.
- Attach Discharge Pipe: Connect a suitable discharge pipe (hoses not included) to the 2-inch NPT discharge port of the pump. Use appropriate thread sealant for a watertight connection.
- Position the Pump: Carefully lower the pump into the sump basin. Ensure it rests on a solid, level surface. The pump should be positioned so that the float switch can move freely without obstruction from the basin walls or other pipes.
- Adjust Float Switch: The tethered float switch controls the automatic operation of the pump. Adjust the length of the float switch cable using the cable lock to set the desired ON and OFF water levels. The ON level should be high enough to allow the pump to fully submerge before activating, and the OFF level should prevent dry running.
- Connect Power: The pump features a piggyback plug for automatic or manual operation.
- Automatic Mode: Plug the pump's power cord into the float switch's piggyback plug, then plug the piggyback plug into a grounded 115V electrical outlet. The pump will turn on and off automatically based on the float switch position.
- Manual Mode: For continuous operation (e.g., for testing or complete dewatering), plug the pump's power cord directly into a grounded 115V electrical outlet, bypassing the float switch. Caution: Do not leave unattended in manual mode to prevent dry running.
- Test Operation: Once installed, fill the sump basin with water to test the pump's automatic operation. Observe that the pump activates at the desired ON level and deactivates at the desired OFF level.

Figure 5.1: Installation and Power Connection Steps.

Figure 5.2: Automatic Operation and Float Switch Adjustment.
6. Operating Instructions
The FOTING FT-Q85084 pump offers both automatic and manual operation modes.
Automatic Operation:
In automatic mode, the pump will activate and deactivate based on the water level in the sump basin, controlled by the tethered float switch. Ensure the float switch is adjusted correctly for your desired ON/OFF levels. The pump will start when the water level rises and lifts the float switch, and stop when the water level drops and the float switch returns to its lower position.
Manual Operation:
For situations requiring continuous pumping, such as initial setup testing or complete dewatering, the pump can be operated manually by plugging its power cord directly into the outlet. In manual mode, the pump will run continuously until unplugged. It is crucial to monitor the pump in manual mode to prevent dry running, which can cause damage.

Figure 6.1: Energy Saving PSC Motor.
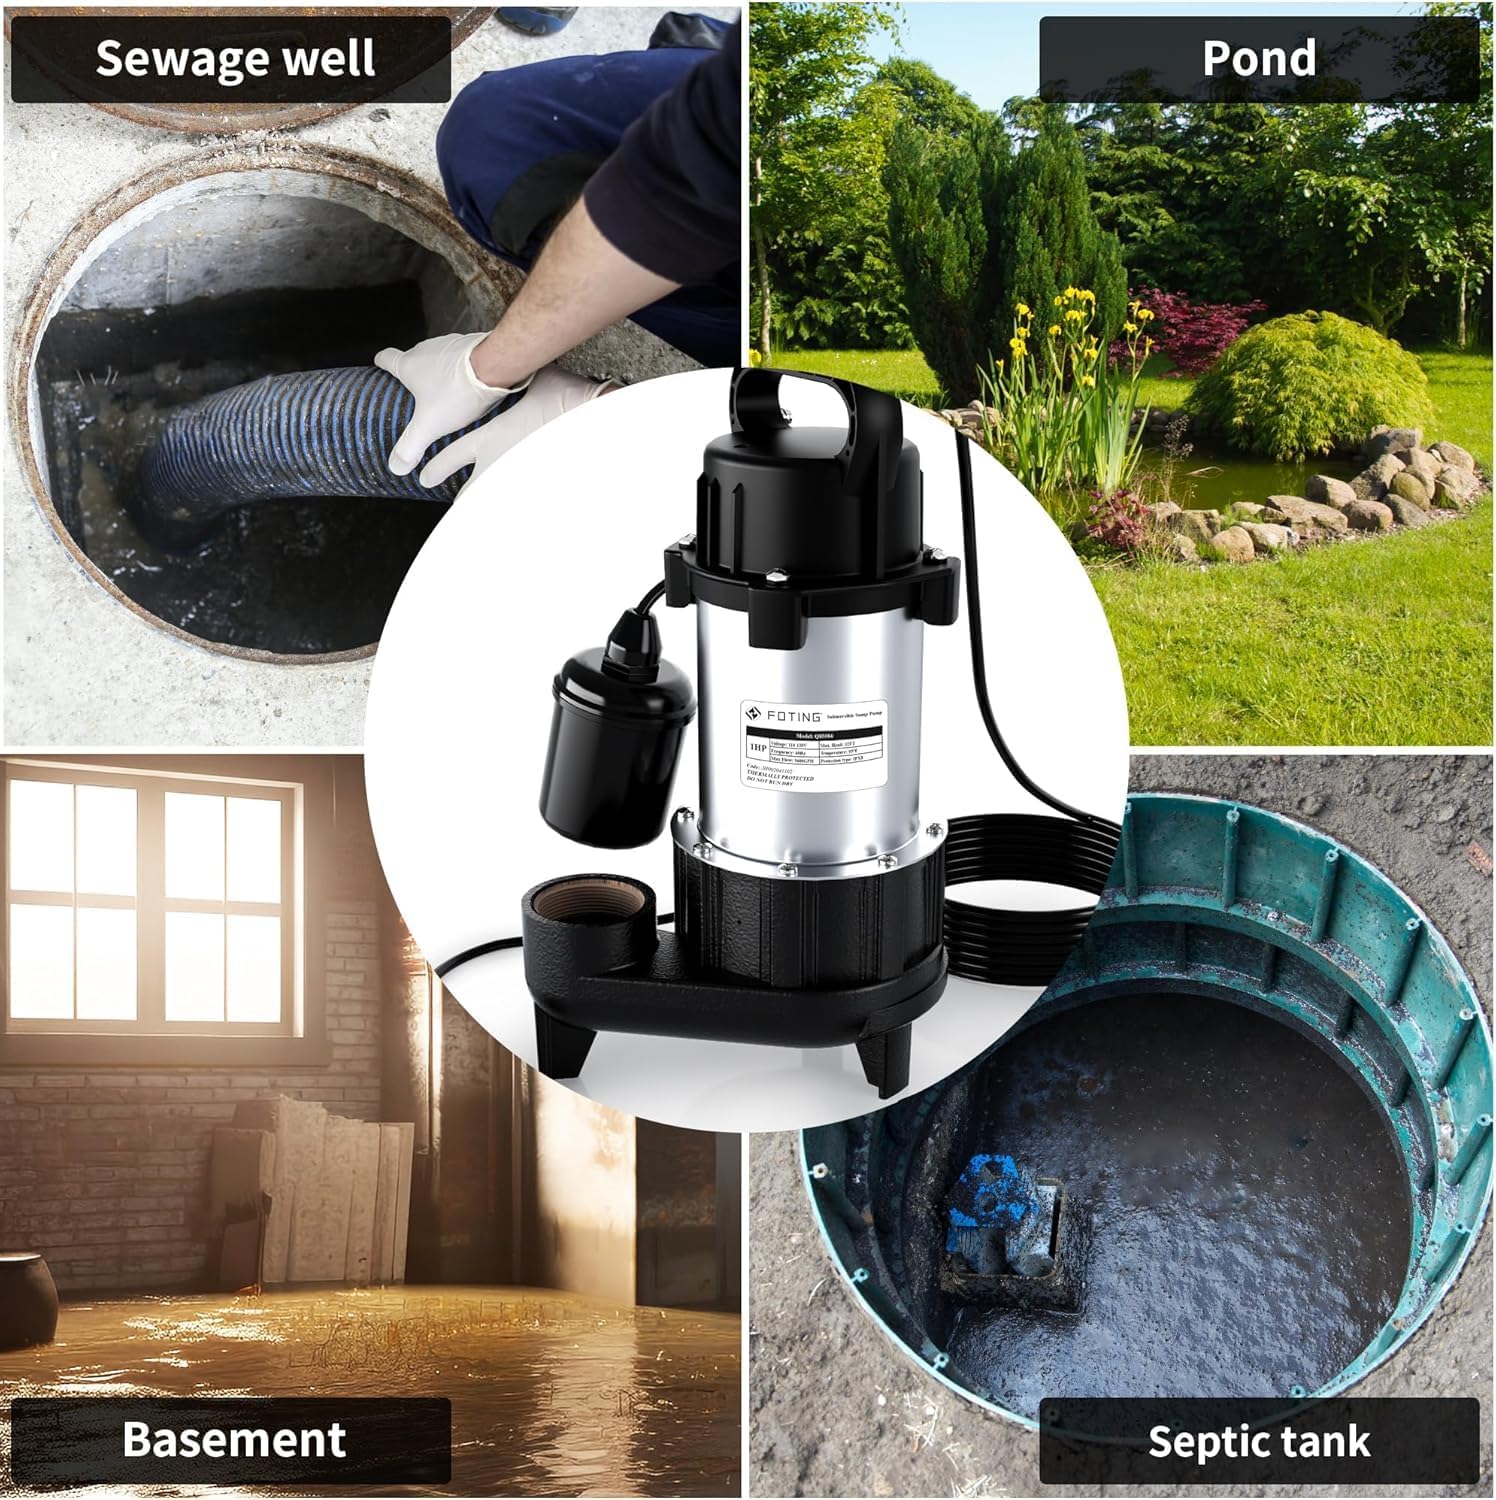
Figure 6.2: Typical Applications.
7. Maintenance
Regular maintenance ensures the longevity and optimal performance of your pump.
- Disconnect Power: Always unplug the pump from the power source before any inspection or maintenance.
- Inspect Float Switch: Periodically check the float switch for free movement. Ensure it is not obstructed by debris or the basin walls.
- Clean Impeller: If the pump's performance decreases, the non-clog vortex impeller may be partially blocked. Disconnect power, remove the pump, and inspect the impeller area for debris. Clear any obstructions carefully.
- Check Discharge Pipe: Ensure the discharge pipe is clear and free of blockages.
- Winterization: In freezing temperatures, ensure the pump is fully submerged or removed and stored in a warm, dry place to prevent water inside from freezing and damaging components.
- General Cleaning: Clean the exterior of the pump periodically to remove any buildup.
8. Troubleshooting
Refer to the table below for common issues and their solutions.
| Problem | Possible Cause | Solution |
|---|---|---|
| Pump does not start | No power; Float switch stuck; Thermal overload activated; Clogged impeller | Check power connection/breaker; Free float switch; Allow pump to cool; Clear impeller |
| Pump runs but no water pumps | Air lock; Impeller clogged; Discharge pipe blocked; Water level too low | Shake pump gently to release air; Clear impeller; Clear discharge pipe; Ensure adequate water level |
| Pump cycles too frequently | Float switch set incorrectly; Check valve leaking; Sump pit too small | Adjust float switch ON/OFF levels; Inspect/replace check valve; Consider larger sump pit |
| Pump is noisy or vibrates excessively | Debris in impeller; Pump not stable; Worn bearings | Clear impeller; Ensure pump is on a stable surface; Contact support if bearings are suspected |
| Pump overheats and shuts off | Dry running; Motor overload; Insufficient cooling | Ensure pump is fully submerged; Check for blockages; Allow pump to cool, then restart |
9. Warranty and Support
FOTING is committed to providing quality products and customer satisfaction. This product comes with a standard manufacturer's warranty covering defects in materials and workmanship under normal use. For specific warranty details, duration, and terms, please refer to the warranty card included with your purchase or contact FOTING customer service.
For technical support, troubleshooting assistance, or replacement parts, please contact FOTING customer service through the retailer where the product was purchased or visit the official FOTING website for contact information. Please have your model number (FT-Q85084) and purchase date available when contacting support.