FYNORA-REVIXO DVG60M9900 DVG52M8650
Dryer Drum Felt Gasket Seal Kit Instruction Manual
Model: DVG60M9900 DVG52M8650 | Brand: FYNORA-REVIXO
Product Overview
This instruction manual provides guidance for the installation and maintenance of the Dryer Drum Felt Gasket Seal Kit. This kit is designed to replace worn or damaged felt gaskets on the front or rear drum of compatible dryers, restoring proper sealing and operation. It includes the felt gasket and necessary adhesive for installation.
Package Contents
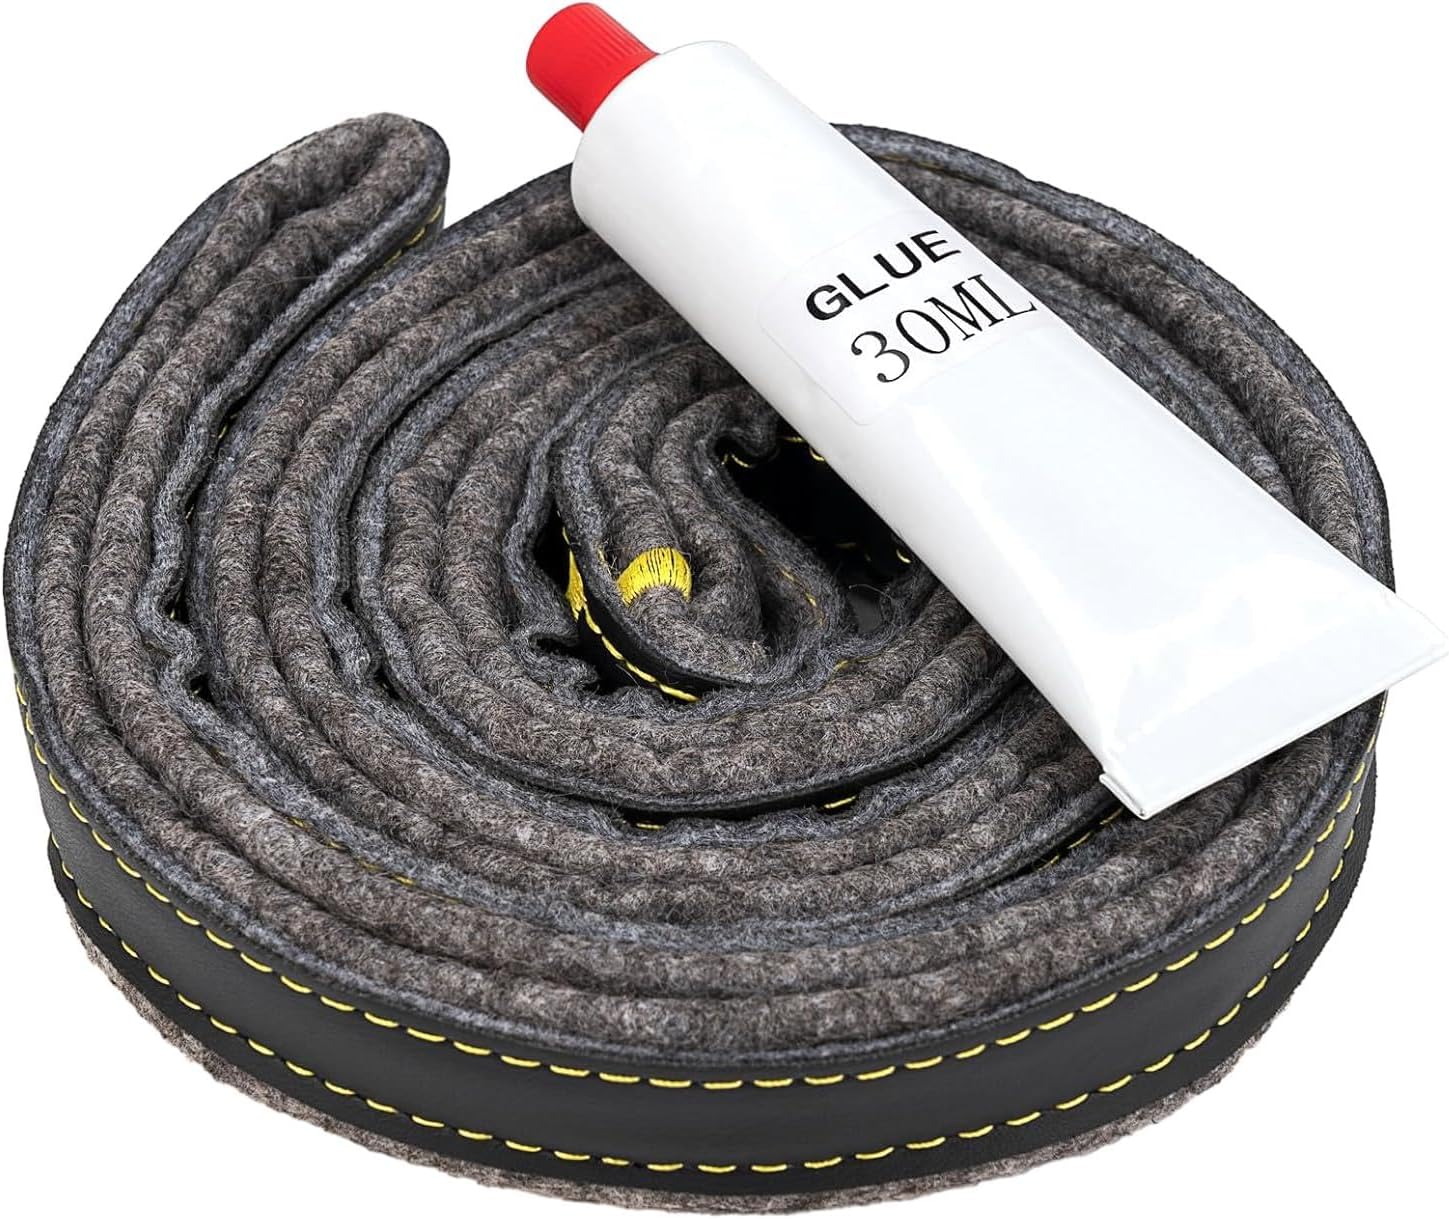
Image: A coiled gray felt gasket with a black strip and yellow stitching, accompanied by a white tube of 30ml glue with a red cap.
- Dryer Drum Felt Gasket Seal
- Adhesive (30ml)
Safety Information
- Always disconnect power to the dryer before beginning any repair or installation.
- Wear appropriate personal protective equipment (PPE) such as gloves and eye protection during installation.
- Keep adhesive out of reach of children and pets. Use in a well-ventilated area to avoid inhaling fumes.
- Refer to your specific dryer's service manual or repair guide for detailed disassembly and reassembly instructions, as procedures may vary by model.
Installation (Setup)
Replacing the dryer drum felt gasket requires careful disassembly and reassembly of the dryer. The following steps provide a general guide. Always consult your dryer's specific service manual for precise instructions.
- Preparation: Ensure the dryer is completely disconnected from its power source (unplugged or circuit breaker off). Move the dryer away from the wall to allow sufficient working space.
- Disassembly: Carefully disassemble the dryer cabinet to gain access to the drum and the old felt gasket. This typically involves removing the top panel, front panel, and possibly the drum itself. Document screw locations and component positions to aid reassembly.
- Remove Old Gasket: Peel off the old, worn felt gasket. Thoroughly clean the surface where the new gasket will be applied. Ensure all old adhesive, lint, and debris are completely removed to provide a clean, smooth surface for the new gasket.
- Apply Adhesive: Apply a thin, even layer of the provided adhesive to the cleaned surface where the new gasket will sit. Follow any specific instructions on the adhesive tube regarding application or cure time.
- Install New Gasket: Carefully press the new felt gasket into place, ensuring it is properly aligned and adheres firmly to the drum or bulkhead. Apply even pressure along the entire length of the gasket. Allow the adhesive to set according to its instructions before proceeding with reassembly.
- Reassembly: Reassemble the dryer in the reverse order of disassembly. Ensure all connections are secure, wires are properly routed, and panels are correctly fastened.
- Final Check: Before restoring power, manually rotate the dryer drum several times to ensure it moves freely and the new gasket does not cause any obstruction or rubbing.
Post-Installation Operation Checks
After completing the installation, perform the following checks to ensure proper functionality:
- Reconnect power to the dryer.
- Run a short, empty cycle (e.g., Air Fluff) to ensure proper operation and to allow any residual adhesive fumes to dissipate.
- Listen for any unusual noises, such as squeaking or grinding, which could indicate improper installation or misalignment of components.
- Check for proper airflow and heating during the cycle.
Maintenance
The felt gasket is a wear item designed to provide a seal for the dryer drum. Its lifespan depends on dryer usage and environmental factors. While specific maintenance for the gasket itself is not typically required, general dryer maintenance can help prolong its life and the efficiency of your appliance.
- Periodically inspect the gasket for signs of wear, fraying, tears, or damage. Replace if significant wear is observed.
- Clean the lint trap after every load to maintain optimal airflow and prevent lint buildup, which can stress dryer components.
- Ensure dryer exhaust vents are clear and unobstructed to prevent overheating, which can degrade components like the felt gasket over time.
Troubleshooting
| Problem | Possible Cause | Solution |
|---|---|---|
| Drum not spinning freely or squeaking noise | Gasket improperly installed, misaligned, or adhesive causing friction. | Re-check gasket alignment. Ensure no excess adhesive is interfering with drum movement. Verify drum rollers and idler pulley are in good condition. |
| Air leakage around drum or reduced drying efficiency | Gasket not fully sealed, damaged during installation, or incorrect type. | Inspect gasket for gaps, tears, or improper adhesion. Reapply adhesive if necessary, or replace gasket if damaged. Ensure correct part was used. |
| Adhesive not holding the gasket in place | Surface not clean, insufficient adhesive applied, or not enough cure time. | Ensure the surface was thoroughly cleaned and dry before application. Apply a sufficient, even layer of adhesive. Allow adequate cure time before reassembling and operating the dryer. |
Specifications
- Product Type: Dryer Drum Felt Gasket Seal Kit
- Brand: FYNORA-REVIXO
- Compatible Appliance Brands: Samsung, LG, Whirlpool
- Compatible Models (Partial List): DVG45T3400, DVG45T6000, DVG45T6020W, DVG45T6200W, DVG50M7450, DVG50R5200W, DVG50R5400, DVG50R8500, DVG50T5300C, DVG52M7750, DVG52M8650, DVG54M8750, DVG54R7200, DVG54R7600, DVG55M9600, DVG55M9605, DVG60M9900, DVG60M9905V, MDE6700A, MDE9700A, MDG6700AWW, MDG9700AW, MDG9700BWW, YIED7200TW, YNED7200TW, DC97-07618A, DV42H5200EF
- ASIN: B0DST82LVP
- Date First Available: January 11, 2025
Customer Support
For further assistance, technical support, or inquiries regarding this product, please contact the manufacturer or seller through the platform where the purchase was made.
Manufacturer: FYNORA-REVIXO
Seller: Potujno (via Amazon.com)
Note: Always refer to your specific dryer's service manual for detailed repair procedures and safety guidelines.