1. Introduction
Thank you for choosing the Josbuynls F880 Bottom Loading Hot and Cold Water Dispenser. This manual provides essential information for the safe and efficient operation, installation, and maintenance of your new appliance. Please read these instructions thoroughly before use and retain them for future reference.
This water dispenser is designed to provide convenient access to both hot and cold water from a 20-liter (5.28-gallon) water bottle, loaded from the bottom compartment. Its features include indicator lights for operational status, a removable drip tray, and safety mechanisms for reliable performance.

Image 1.1: Front view of the Josbuynls F880 Bottom Loading Water Dispenser, showcasing its sleek design and dispensing area.
2. Important Safety Instructions
To reduce the risk of injury or property damage, always follow basic safety precautions when using electrical appliances. This includes, but is not limited to, the following:
- Read all instructions before using the appliance.
- Do not operate any appliance with a damaged cord or plug, or after the appliance malfunctions or has been damaged in any manner.
- Ensure the appliance is properly grounded. Connect only to properly grounded outlets.
- Do not immerse the power cord, plug, or any part of the appliance in water or other liquids.
- Close supervision is necessary when any appliance is used by or near children.
- Unplug the dispenser from the outlet before cleaning, servicing, or moving.
- Do not use outdoors. This appliance is for indoor use only.
- Keep flammable materials and vapors away from the dispenser.
- The dispenser is equipped with over-temperature protection, overload protection, and anti-dry burn protection. Do not attempt to bypass these safety features.
- Always ensure the water bottle is properly installed and water has filled the internal tanks before turning on the heating or cooling functions to prevent dry burning.
- Hot water dispensed from this unit can cause severe burns. Exercise caution.
3. Product Components and Features
3.1 Key Components
- Hot Water Tap: Dispenses hot water.
- Cold Water Tap: Dispenses cold water.
- Indicator Lights: Display the operational status (Power, Hot, Cold, No Water).
- Bottom Loading Compartment: Houses the water bottle.
- Water Probe and Hose: Draws water from the bottle.
- Removable Drip Tray: Collects spilled water for easy cleaning.
- Power Switch: Controls the main power to the unit.
- Hot Water Switch: Activates the heating function.
- Cold Water Switch: Activates the cooling function.
- Drain Plug: Located at the back for draining residual water.

Image 3.1: Close-up view of the dispenser taps (red for hot, white for ambient, blue for cold) and indicator lights (Power, Hot, Cold, No Water).

Image 3.2: Rear view of the water dispenser, highlighting the power cord, ventilation, and the drain plug.
4. Setup
4.1 Unpacking
- Carefully remove the water dispenser from its packaging.
- Inspect the unit for any signs of damage. If damaged, do not operate and contact customer support.
- Remove all packing materials, including any protective films or tapes.
4.2 Placement
- Place the dispenser on a firm, level surface capable of supporting its weight when full.
- Ensure there is adequate ventilation around the unit, at least 10 cm (4 inches) from walls or other objects.
- Avoid direct sunlight or proximity to heat sources (e.g., ovens, radiators) to maintain cooling efficiency.
- Do not place the dispenser in an area where the temperature will fall below 4°C (39°F).
4.3 Water Bottle Installation
- Open the lower compartment door of the dispenser.
- Uncap a fresh 20L (5.28 Gallon) water bottle.
- Insert the water probe and hose assembly into the water bottle. Ensure the probe reaches the bottom of the bottle.
- Carefully slide the water bottle into the bottom compartment.
- Close the compartment door securely.

Image 4.1: The bottom loading compartment open, showing a 5-gallon water bottle being inserted with the water probe.

Image 4.2: The empty bottom loading compartment, illustrating the space for the water bottle and the water intake mechanism.
4.4 Initial Priming and Power Connection
- After installing the water bottle, allow several minutes for the internal tanks to fill with water.
- Dispense water from both the hot and cold taps until water flows steadily, indicating the tanks are full and air has been purged. Do not turn on heating or cooling until water flows from both taps.
- Plug the power cord into a grounded 110V, 60Hz electrical outlet.
- Flip the main power switch (usually located at the back of the unit) to the 'ON' position. The 'POWER' indicator light should illuminate.
5. Operating Instructions
5.1 Dispensing Cold Water
- Ensure the 'COLD' switch (usually at the back) is in the 'ON' position. The 'COLD' indicator light on the front panel will illuminate when cooling is active.
- Place a cup under the blue cold water tap.
- Press the blue tap lever to dispense cold water. Release the lever to stop the flow.
- Allow approximately 15-20 minutes for the water to reach its optimal cold temperature (13-15°C / 55.4-59°F) after initial setup or if the cold water tank was empty.
5.2 Dispensing Hot Water
- Ensure the 'HOT' switch (usually at the back) is in the 'ON' position. The 'HOT' indicator light on the front panel will illuminate when heating is active.
- Place a cup under the red hot water tap.
- Press the red tap lever to dispense hot water. Release the lever to stop the flow.
- Allow approximately 10-15 minutes for the water to reach its optimal hot temperature (>90°C / 194°F) after initial setup or if the hot water tank was empty.
- Caution: Hot water is extremely hot and can cause burns. Exercise extreme care when dispensing hot water.
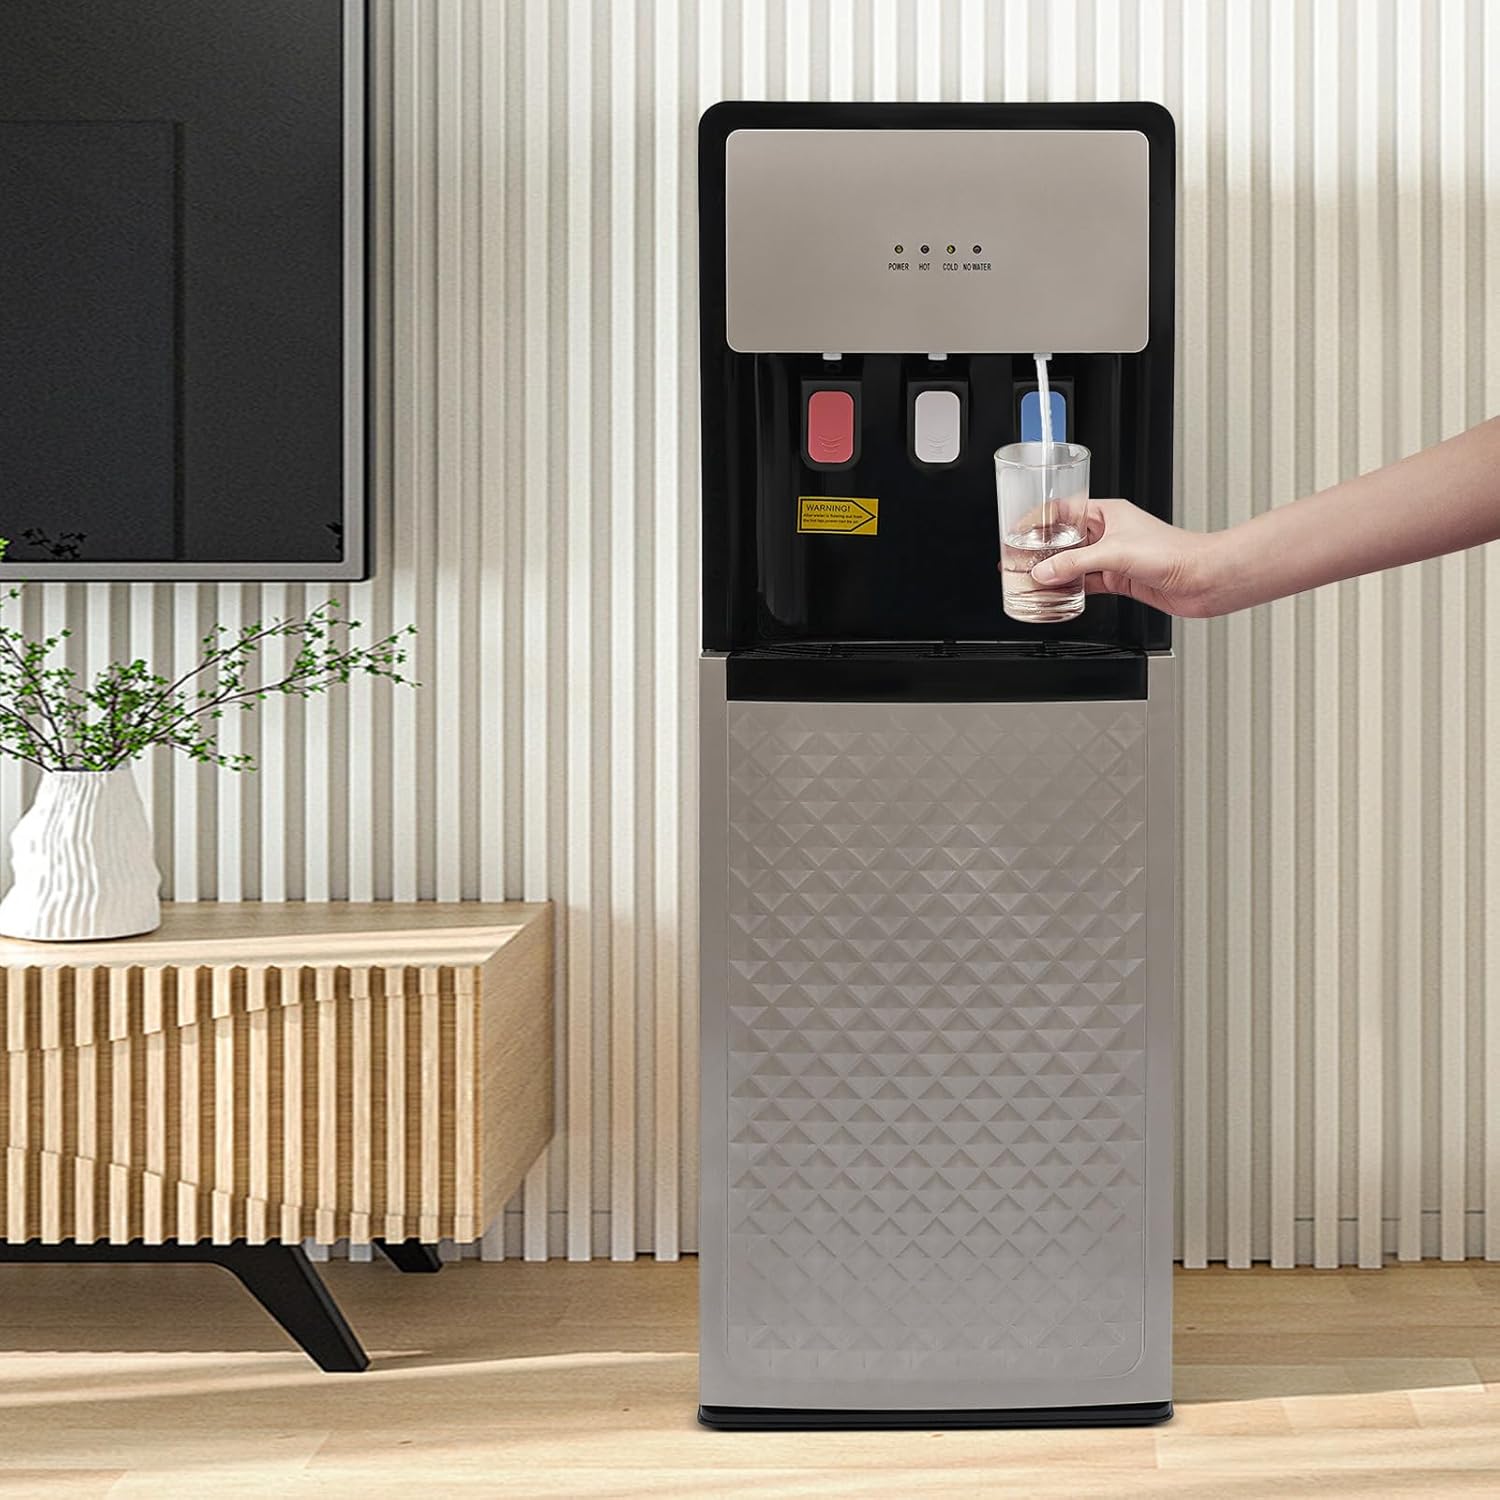
Image 5.1: A user dispensing water from the dispenser into a glass, demonstrating the ease of use.
5.3 'NO WATER' Indicator
The 'NO WATER' indicator light will illuminate when the water bottle in the bottom compartment is empty or nearly empty. Replace the water bottle promptly when this light appears to ensure continuous operation and prevent dry burning of the heating element.
6. Maintenance
Regular maintenance ensures the longevity and hygienic operation of your water dispenser.
6.1 Cleaning the Exterior
- Unplug the dispenser from the power outlet.
- Wipe the exterior surfaces with a soft, damp cloth. For stubborn stains, use a mild, non-abrasive cleaner.
- Do not use harsh chemicals, abrasive pads, or solvents, as these can damage the finish.
6.2 Cleaning the Drip Tray
- The drip tray is detachable. Pull it out from under the taps.
- Empty any collected water and wash the tray with warm, soapy water.
- Rinse thoroughly and dry before reinserting.
6.3 Draining Residual Water
It is recommended to drain residual water from the dispenser periodically, especially before long periods of non-use or moving the unit.
- Unplug the dispenser and allow it to cool completely (for hot water).
- Place a bucket or large container under the drain plug located at the back of the unit.
- Unscrew the drain plug to allow water to flow out.
- Once drained, screw the drain plug back in securely.
6.4 Descaling (Recommended Annually)
Over time, mineral deposits can build up inside the hot water tank. Descaling helps maintain efficiency.
- Unplug the dispenser and drain all water as described in Section 6.3.
- Prepare a descaling solution (e.g., a mixture of water and white vinegar, or a commercial descaling agent suitable for water heaters).
- Pour the descaling solution into the hot water tank (access may vary by model, refer to specific instructions if provided with descaling kit).
- Allow the solution to sit for the recommended time (e.g., 30 minutes to an hour).
- Drain the descaling solution completely.
- Rinse the tank thoroughly by filling it with clean water and draining it several times to remove any residue.
- Refill the dispenser with a fresh water bottle and prime as per Section 4.4 before resuming normal operation.
7. Troubleshooting
If you encounter issues with your water dispenser, refer to the following common problems and solutions:
- No Power:
- Check if the power cord is securely plugged into a working electrical outlet.
- Ensure the main power switch on the back of the unit is 'ON'.
- Check your household circuit breaker or fuse box.
- No Hot Water:
- Ensure the 'HOT' switch on the back is 'ON' and the 'HOT' indicator light is illuminated.
- Verify the water bottle is not empty and the internal hot water tank is full (check 'NO WATER' indicator).
- Allow sufficient time for the water to heat up.
- No Cold Water:
- Ensure the 'COLD' switch on the back is 'ON' and the 'COLD' indicator light is illuminated.
- Verify the water bottle is not empty and the internal cold water tank is full (check 'NO WATER' indicator).
- Allow sufficient time for the water to cool down.
- Water Leakage:
- Check if the water bottle is properly seated and not cracked.
- Ensure the drain plug at the back is securely tightened.
- Verify the drip tray is correctly positioned.
- Water Not Dispensing:
- Check if the 'NO WATER' indicator is on, indicating an empty bottle.
- Ensure the water probe is correctly inserted into the water bottle.
- Confirm the taps are not clogged.
If the problem persists after attempting these solutions, please contact customer support.
8. Specifications
| Feature | Specification |
|---|---|
| Model | F880 |
| Color | Silver Grey |
| Material | PP (Polypropylene), 304 Stainless Steel |
| Plug Type | US Standard |
| Voltage | 110V |
| Rated Frequency | 60Hz |
| Total Rated Power | 620W |
| Heating Power | 450W |
| Cooling Power | 70W |
| Applicable Water Bucket Capacity (Max.) | 20L / 5.28 Gallons |
| Cold Water Capacity | 0.6L / 0.16 Gallons per hour |
| Hot Water Capacity | 0.6L / 0.16 Gallons per hour |
| Cold Water Temperature | 13-15°C / 55.4-59°F |
| Hot Water Temperature | >90°C / 194°F |
| Power Cord Length | 1.5m / 4.92ft |
| Product Size (D x W x H) | 30cm x 33cm x 90cm / 11.81in x 12.99in x 35.43in |
| Net Weight | 5.8kg / 12.79lbs |

Image 8.1: Dimensional diagram of the water dispenser, indicating height, width, and depth measurements.
9. Warranty and Customer Support
For warranty information, please refer to the documentation provided at the time of purchase or contact your retailer. If you require technical assistance, have questions about operation, or need to report a problem, please contact Josbuynls customer support through your purchase platform or the official Josbuynls website.