1. Introduction
This manual provides essential information for the safe and efficient use of the CungSu E32-T21L industrial sensor. Please read this manual thoroughly before installation and operation to ensure correct usage and to prevent damage to the product or injury to personnel. Keep this manual in a safe place for future reference.
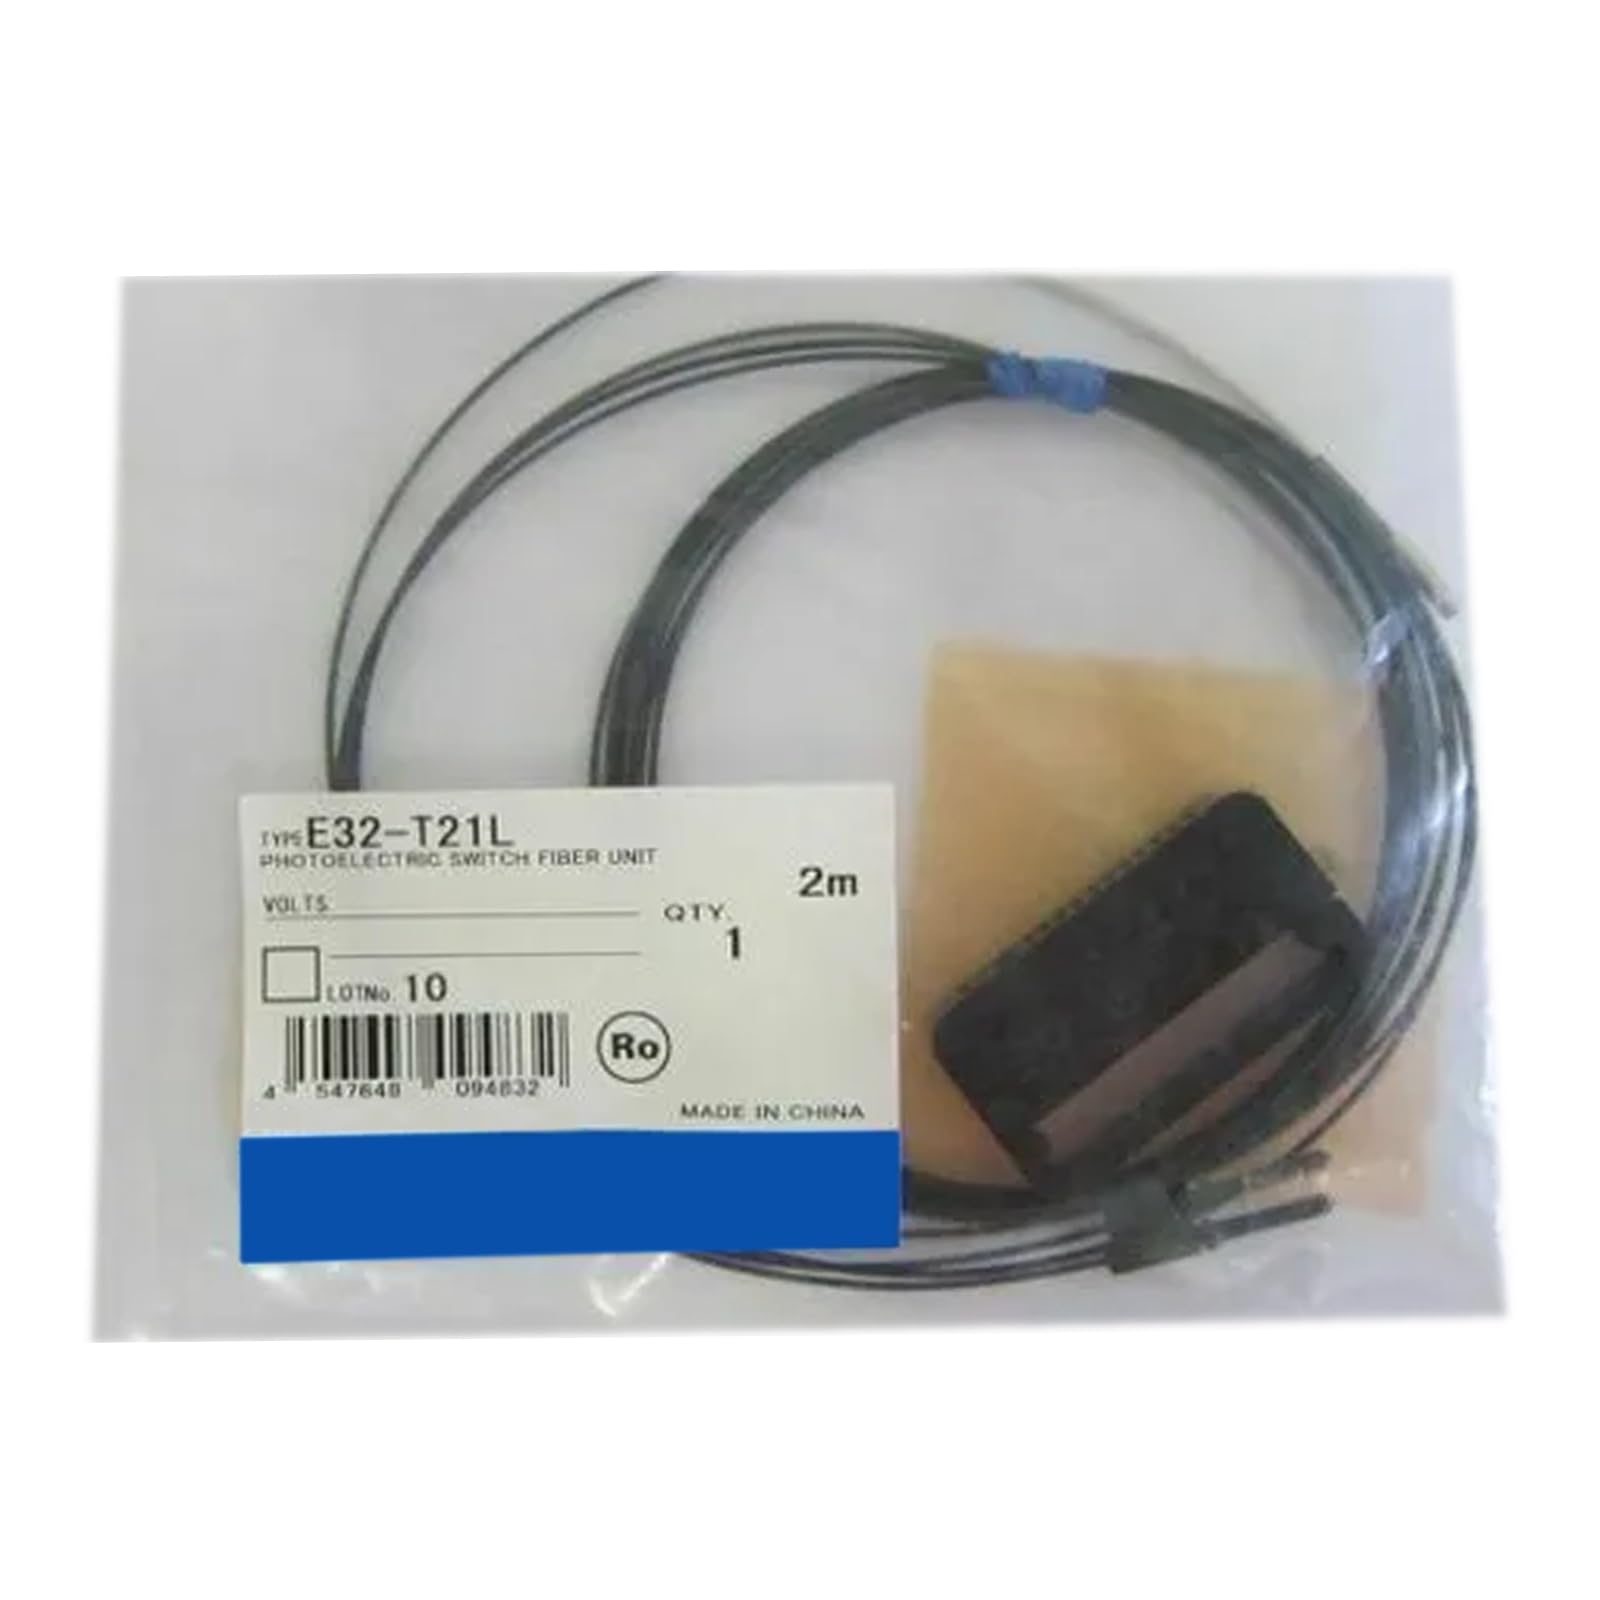
Figure 1: CungSu E32-T21L Industrial Sensor. This image shows the compact design of the E32-T21L sensor, typically used in industrial automation for detection tasks.
2. Safety Precautions
Always observe the following safety precautions to prevent electric shock, fire, or damage to the product.
- Ensure power is disconnected before installation or maintenance.
- Do not disassemble or modify the product.
- Avoid exposing the product to excessive shock, vibration, or extreme temperatures.
- Use only specified power supply voltages.
3. Setup
3.1 Unpacking
Carefully remove the E32-T21L sensor from its packaging. Inspect the unit for any visible damage. If damage is found, do not proceed with installation and contact your supplier.
3.2 Mounting
- Select a stable mounting location free from excessive vibration and heat.
- Secure the sensor using appropriate mounting hardware (not included). Ensure the sensor is firmly fixed to prevent movement during operation.
- Position the sensor to ensure a clear path for the fiber optic cable and target detection.
3.3 Wiring
Connect the sensor to the control system according to the wiring diagram provided with your system. Ensure correct polarity for the power supply. Incorrect wiring can damage the sensor.
- Power Supply: Connect the positive (+) and negative (-) terminals to a stable DC power source.
- Output: Connect the output signal wire to the input of your control device (e.g., PLC).
4. Operating
4.1 Power On
After completing all wiring and mounting, apply power to the sensor. The power indicator LED (if present) should illuminate, indicating the sensor is receiving power.
4.2 Sensitivity Adjustment
If your model includes a sensitivity adjuster, rotate it to achieve the desired detection range and stability. Test the detection by presenting the target object to the sensor's field of view. The output indicator LED should change state when the target is detected.
4.3 Normal Operation
Once configured, the E32-T21L sensor will continuously monitor its detection area. When a target enters the detection zone, the sensor's output will activate, signaling the control system.
5. Maintenance
5.1 Cleaning
Keep the sensor lens and housing clean. Use a soft, dry cloth to wipe away dust and debris. For stubborn dirt, a cloth lightly dampened with isopropyl alcohol may be used. Avoid abrasive cleaners or solvents.
5.2 Inspection
Periodically inspect the sensor and its wiring for any signs of wear, damage, or loose connections. Ensure mounting hardware remains secure. Replace any damaged components immediately.
5.3 Storage
If storing the sensor for an extended period, keep it in its original packaging in a dry, temperature-controlled environment, away from direct sunlight and corrosive gases.
6. Troubleshooting
| Problem | Possible Cause | Solution |
|---|---|---|
| Sensor not powering on | No power supply; incorrect wiring; faulty sensor | Check power connections; verify wiring diagram; replace sensor if faulty |
| Sensor not detecting target | Incorrect sensitivity setting; obstructed lens; target out of range; faulty sensor | Adjust sensitivity; clean lens; reposition target or sensor; replace sensor if faulty |
| Intermittent detection | Unstable mounting; electrical noise; fluctuating power supply | Secure mounting; check for interference; ensure stable power supply |
7. Specifications
The following specifications are for the CungSu E32-T21L sensor:
- Product Number: E32-T21L
- Product Status: New with Factory Seal
- Manufacturer: CungSu
- ASIN: B0DSRW7DM9
- First Available: January 11, 2025
8. Warranty and Support
The CungSu E32-T21L is supplied new with a factory seal. For specific warranty details, please refer to the terms and conditions provided at the time of purchase or contact your supplier. For technical support or inquiries regarding the product, please contact Realing US, the company focused on factory automation business with a team of passionate engineers. They are available to assist with any product-related issues.
Customer Service: We are devoted to providing excellent customer service.
Contact: Please refer to your purchase documentation for direct contact information or visit the Realing US seller page on Amazon.