Beko MGF23330S
Beko MGF23330S Digital Microwave with Grill User Manual
Model: MGF23330S
1. Introduction
Thank you for choosing the Beko MGF23330S Digital Microwave with Grill. This appliance is designed to offer a versatile and efficient cooking experience, combining the speed of microwave cooking with the browning and crisping capabilities of a grill. To ensure safe and optimal performance, please read this manual thoroughly before operating the appliance and retain it for future reference.
2. Safety Instructions
- Read all instructions before using the appliance.
- Do not attempt to operate this oven with the door open as this can result in harmful exposure to microwave energy.
- Do not place any object between the oven front face and the door or allow soil or cleaner residue to accumulate on sealing surfaces.
- Do not operate the oven if it is damaged. It is particularly important that the oven door closes properly and that there is no damage to the: (1) Door (bent), (2) Hinges and latches (broken or loosened), (3) Door seals and sealing surfaces.
- Only qualified service personnel should adjust or repair this oven.
- Ensure the appliance is properly grounded.
- Do not use corrosive chemicals or vapors in this appliance.
- Always use microwave-safe cookware.
- Liquids and other foods must not be heated in sealed containers since they are liable to explode.
- The contents of feeding bottles and baby food jars shall be stirred or shaken and the temperature checked before consumption, in order to avoid burns.
- Eggs in their shell and whole hard-boiled eggs should not be heated in microwave ovens since they may explode, even after microwave heating has ended.
3. Product Overview
3.1 Components
- Oven Cavity: The interior space where food is placed for cooking. Made of rust-resistant stainless steel for durability and easy cleaning.
- Turntable: A rotating glass tray that ensures even cooking by continuously rotating the food.
- Door: Equipped with a safety lock mechanism.
- Control Panel: Features a digital display, buttons, and a dial for setting cooking time, power levels, and selecting programs.
- Grill Rack: (Included with grill models) Used for grilling food.
3.2 Control Panel
The control panel features a clear digital display and intuitive buttons for easy operation. Key functions include:
- Power Level: Adjusts microwave power.
- Weight Defrost: Defrosts food based on weight.
- Jet Defrost: Quick defrost function.
- Grill: Activates the grill function.
- Combi: Combines microwave and grill cooking.
- Preset/Auto Menu: Accesses pre-programmed cooking settings.
- Express: For quick start cooking.
- Clock: Sets the time.
- Memory: Stores custom cooking settings.
- Cancel/Stop: Stops cooking or clears settings.
- Start: Begins cooking.
- 10 Minutes / 1 Minute / 10 Seconds: Buttons for quick time adjustments.

Figure 1: Front view of the Beko MGF23330S Digital Microwave with Grill, showing the sleek grey finish and digital control panel.
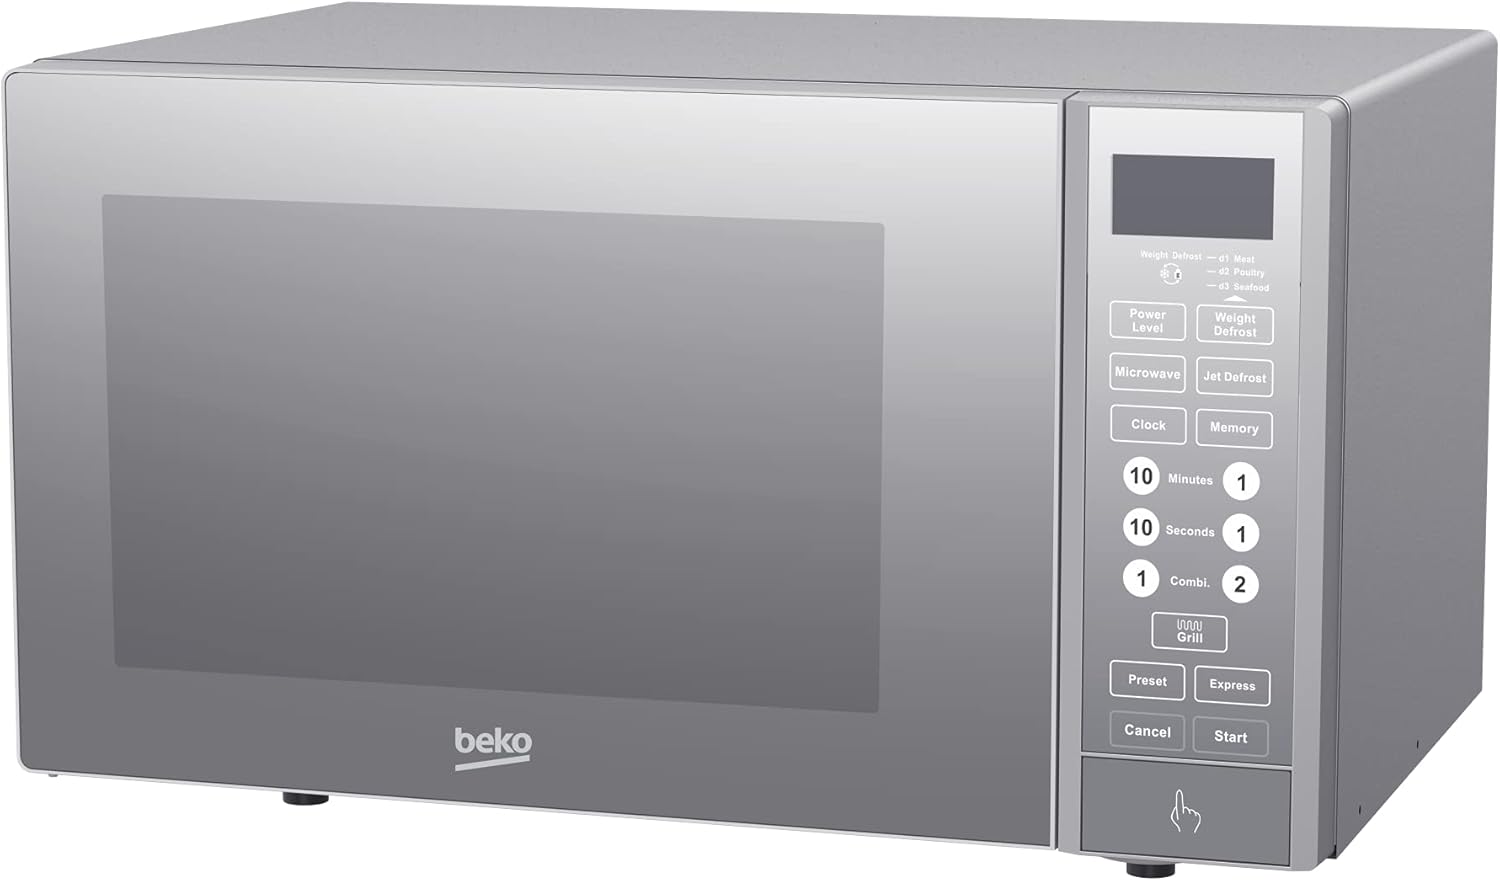
Figure 2: Angled view of the Beko MGF23330S, highlighting its compact design and side profile.

Figure 3: Interior view of the microwave with the door open, showing the glass turntable and stainless steel cavity.
4. Setup
- Unpacking: Carefully remove the microwave oven and all packing materials. Check for any damage such as dents or a misaligned door. Do not operate the oven if it is damaged.
- Placement: Place the microwave on a flat, stable surface that can support its weight and the heaviest food likely to be cooked in it. Ensure there is adequate ventilation space around the appliance (at least 10cm at the back, 20cm at the top, and 5cm on each side). Do not block air vents.
- Power Connection: Plug the power cord into a grounded electrical outlet (230V, 50Hz). Ensure the outlet is easily accessible.
- Initial Cleaning: Before first use, wipe the interior and exterior surfaces with a soft, damp cloth.
5. Operating Instructions
5.1 Basic Microwave Cooking
- Place food in a microwave-safe container on the turntable.
- Close the door securely.
- Press the 'Power Level' button repeatedly to select the desired power level (5 levels available).
- Use the time adjustment buttons (e.g., '10 Minutes', '1 Minute', '10 Seconds') or the dial to set the cooking time (up to 95 minutes).
- Press 'Start' to begin cooking.
5.2 Grill Function
The 1050W grill function is ideal for browning and crisping food.
- Place food on the grill rack (if provided) or a heat-resistant dish.
- Press the 'Grill' button.
- Set the desired grilling time using the time adjustment buttons.
- Press 'Start'.
5.3 Defrost Function
This microwave offers both Weight Defrost and Jet Defrost options.
- Weight Defrost: Press 'Weight Defrost', then use the dial or number buttons to input the food's weight. The oven will automatically calculate the defrosting time.
- Jet Defrost: Press 'Jet Defrost' for a quick defrost cycle.
5.4 Auto Programs
The microwave features 8 pre-set auto cooking programs for common foods like popcorn, baked potatoes, and more. Refer to the specific program list on the control panel or in the full manual for details.
- Press the 'Preset' or 'Auto Menu' button.
- Select the desired program number.
- Press 'Start'.
5.5 Multi-stage Cooking
This feature allows you to combine two cooking stages, such as defrosting followed by microwave cooking, or microwave cooking followed by grilling.
- Set the first cooking stage (e.g., defrost time/weight).
- Set the second cooking stage (e.g., microwave power and time, or grill time).
- Press 'Start'. The oven will automatically transition between stages.
5.6 Child Safety Lock
To prevent accidental operation by children, activate the child safety lock. Consult the full manual for specific instructions on how to activate and deactivate this feature, as it typically involves holding down a specific button for a few seconds.
6. Maintenance and Cleaning
Regular cleaning helps maintain the performance and longevity of your microwave oven. Always unplug the appliance before cleaning.
- Interior: Wipe the stainless steel interior cavity with a damp cloth and mild detergent after each use. For stubborn stains, place a bowl of water with lemon slices inside and microwave for a few minutes to loosen residue, then wipe clean.
- Exterior: Clean the exterior surfaces with a soft, damp cloth. Avoid abrasive cleaners or solvents.
- Door Seals: Keep the door seals and adjacent parts clean to ensure proper door closure.
- Turntable: The glass turntable can be removed and washed in warm soapy water or in a dishwasher.
7. Troubleshooting
If you encounter issues with your microwave, refer to the table below for common problems and solutions.
| Problem | Possible Cause | Solution |
|---|---|---|
| Oven does not start | Power cord not plugged in; Door not closed properly; Fuse blown or circuit breaker tripped. | Plug in power cord; Close door securely; Check fuse or reset circuit breaker. |
| Food not cooking evenly | Food not stirred or rotated; Incorrect power level or cooking time. | Stir or rotate food during cooking; Adjust power level and time as needed. |
| Turntable not rotating | Turntable not placed correctly; Debris under turntable. | Ensure turntable is seated properly on its support; Clean under the turntable. |
| Oven light not working | Bulb needs replacement. | Contact qualified service personnel for bulb replacement. |
8. Specifications
| Feature | Specification |
|---|---|
| Brand | Beko |
| Model | MGF23330S |
| Capacity | 23 Liters |
| Microwave Power Output | 900 W |
| Grill Power Output | 1050 W |
| Max Power Consumption | 1250 W |
| Voltage | 230V |
| Frequency | 50 Hz |
| Control Type | Electronic |
| Power Levels | 5 |
| Max Timer Setting | 95 Minutes (Digital Timer) |
| Auto Cooking Programs | 8 |
| Multi-stage Cooking | Yes (2 stages) |
| Child Safety Lock | Yes |
| Interior Material | Stainless Steel |
| Turntable Diameter | 270 mm |
| Color | Grey / Silver |
| Dimensions (H x W x D) | 29.2 cm x 48.5 cm x 41 cm (Approximate, based on product description) |
9. Warranty and Support
For warranty information, technical support, or service inquiries, please refer to the warranty card included with your product or contact Beko customer service directly. Keep your purchase receipt as proof of purchase for warranty claims.
Ask a question about this manual
Ask about setup, troubleshooting, compatibility, parts, safety, or missing instructions. Manuals+ will review the question and use this page’s manual context to help answer it.