1. Introduction
Thank you for choosing the Bennett Read Alphabot Ultra Robotic Vacuum. This cutting-edge cleaning solution combines powerful performance with smart functionality, designed to handle sweeping, vacuuming, and wet-mopping. Equipped with advanced laser navigation and anti-fall sensors, it ensures precise tracking and smooth obstacle avoidance. This manual provides essential information for the safe and efficient operation, maintenance, and troubleshooting of your device.
Please read this manual thoroughly before using the product and retain it for future reference.
2. Safety Instructions
To reduce the risk of injury or damage, observe the following safety precautions:
- This appliance can be used by children aged 8 years and above and persons with reduced physical, sensory or mental capabilities or lack of experience and knowledge if they have been given supervision or instruction concerning use of the appliance in a safe way and understand the hazards involved.
- Children shall not play with the appliance. Cleaning and user maintenance shall not be made by children without supervision.
- Use only the original power adapter provided by the manufacturer.
- Do not use the product in environments with open flames or fragile objects.
- Do not use the product to clean liquids, burning objects, or sharp objects.
- Ensure the charging dock is placed on a level surface against a wall, with clear space around it.
- Keep hair, loose clothing, fingers, and all parts of the body away from openings and moving parts.
- Unplug the appliance before cleaning or performing maintenance.
3. Package Contents
Verify that all components are present in the package:
- 1 x Bennett Read Alphabot Ultra Robotic Vacuum with Sweep and Wet-Mop
- Charging Dock
- Power Adapter
- Side Brushes
- Cleaning Tool
- User Manual
4. Product Overview
Familiarize yourself with the main components of your Alphabot Ultra Robotic Vacuum.

Image 4.1: Top view of the Bennett Read Alphabot Ultra Robotic Vacuum, showing its sleek black design and control indicators.
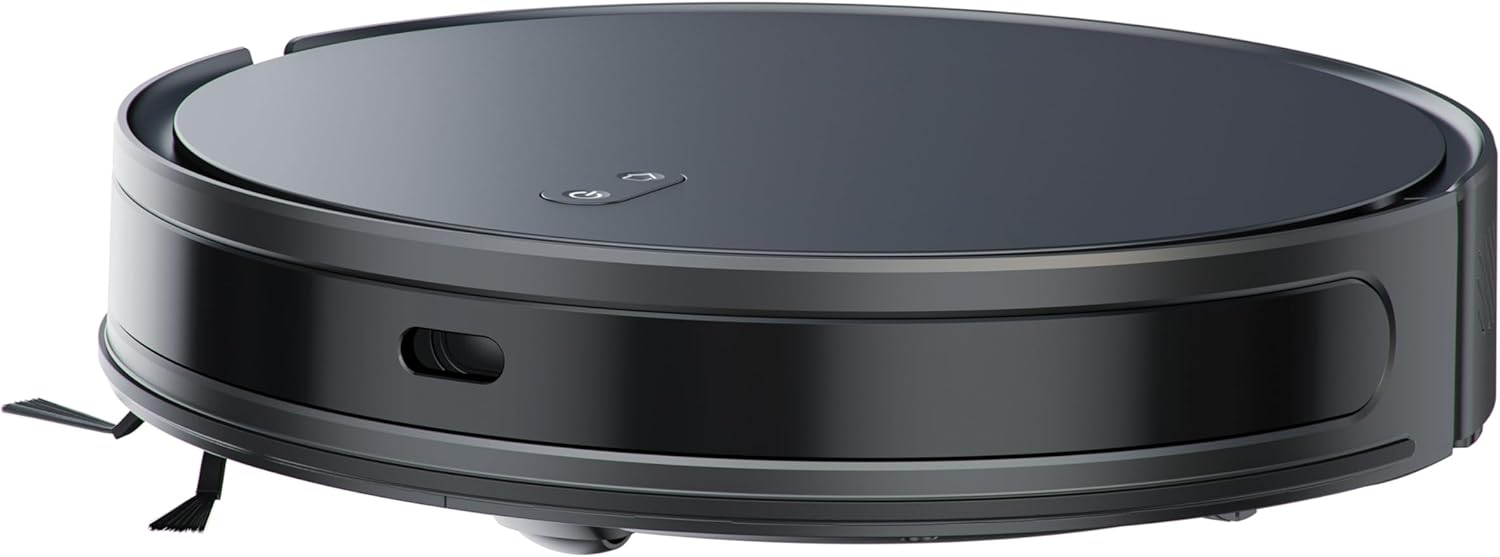
Image 4.2: Side view of the Alphabot Ultra, highlighting its low profile and side brushes.

Image 4.3: Diagram illustrating the powerful suction path and internal components of the Alphabot Ultra.

Image 4.4: Underside view of the Alphabot Ultra, showing the main brush, side brushes, and mopping pad attachment.
5. Setup
5.1 Unpacking
- Remove the robotic vacuum and all accessories from the packaging.
- Remove any protective films or stickers from the device and charging dock.
5.2 Charging Dock Placement
- Place the charging dock on a hard, level surface against a wall.
- Ensure there is at least 1 meter (3 feet) of clear space on both sides of the dock and 2 meters (6 feet) in front of it for optimal navigation.
- Connect the power adapter to the charging dock and plug it into a wall outlet.

Image 5.1: The Alphabot Ultra robotic vacuum docked at its self-charging station, illustrating the automatic charging feature.
5.3 Initial Charge
- Place the robotic vacuum onto the charging dock, ensuring the charging contacts align.
- Allow the vacuum to charge completely before its first use. The indicator lights will show charging status. A full charge can take several hours.
5.4 App Connection (Smart Life App)
- Download the 'Smart Life' app from your mobile device's app store.
- Register or log in to your Smart Life account.
- Follow the in-app instructions to add your Bennett Read Alphabot Ultra. Ensure your Wi-Fi network is 2.4GHz, as 5GHz networks are not supported.
- The app allows for scheduling, mapping, and customization of cleaning preferences.

Image 5.2: Screenshot of the Smart Life app interface, demonstrating cleaning preference settings for water volume and suction.
6. Operating Instructions
6.1 Power On/Off
- To power on, press and hold the power button on the vacuum or use the app.
- To power off, press and hold the power button until the indicators turn off, or use the app.
6.2 Cleaning Modes
The Alphabot Ultra supports multiple cleaning modes:
- Sweep & Vacuum: Utilizes the side brushes, main brush, and 5000Pa suction power for dry debris removal.
- Wet-Mop: For light wet cleaning of hard floors. Ensure the water tank is filled and the mopping pad is attached.
- Combined Mode: Sweeps, vacuums, and mops simultaneously for comprehensive cleaning.
6.3 Scheduling
Use the Smart Life app to set up cleaning schedules. You can customize cleaning times, days, and specific areas for the vacuum to clean automatically.
6.4 Navigation and Sensors
The Alphabot Ultra uses advanced laser navigation for precise mapping and efficient cleaning paths. Anti-fall sensors prevent the vacuum from falling down stairs or ledges, while anti-collision sensors help it avoid obstacles.

Image 6.1: The Alphabot Ultra demonstrating its anti-fall sensors, preventing it from falling down stairs or ledges.
7. Maintenance
Regular maintenance ensures optimal performance and extends the lifespan of your robotic vacuum.
7.1 Dustbin and Filter Cleaning
- Press the dustbin release button and remove the dustbin.
- Open the dustbin cover and empty its contents into a waste bin.
- Remove the filter assembly and tap it gently to dislodge dust. Do not wash the HEPA filter with water.
- Rinse the dustbin with water if necessary, ensuring it is completely dry before reinstallation.
- Reassemble the filter and dustbin, then reinsert into the vacuum.
7.2 Brush Cleaning
- Main Brush: Remove the main brush cover and lift out the brush. Use the provided cleaning tool to cut and remove any tangled hair or debris.
- Side Brushes: Gently pull the side brushes to remove them. Clean off any hair or debris. If brushes are damaged, replace them.
7.3 Mopping Pad Care
- After each mopping session, remove the mopping pad from the water tank.
- Wash the mopping pad with water and mild detergent.
- Allow the mopping pad to air dry completely before reattaching or storing.

Image 7.1: The Alphabot Ultra with its 2-in-1 tank, designed for both sweeping/vacuuming and wet-mopping functionalities.
7.4 Sensor Cleaning
- Periodically wipe the cliff sensors, wall sensors, and charging contacts with a clean, dry cloth to ensure proper function.
8. Troubleshooting
If you encounter issues with your Alphabot Ultra, refer to the following common problems and solutions:
| Problem | Possible Cause | Solution |
|---|---|---|
| Vacuum does not power on | Low battery; Power button not pressed correctly | Charge the vacuum; Press and hold the power button for a few seconds. |
| Vacuum does not charge | Charging contacts dirty; Charging dock not powered | Clean charging contacts on both vacuum and dock; Ensure dock is plugged in and powered. |
| Poor suction performance | Dustbin full; Filter clogged; Main brush tangled | Empty dustbin; Clean or replace filter; Clean main brush. |
| Vacuum gets stuck frequently | Obstacles on floor; Cliff sensors dirty | Clear cables, rugs, and small objects; Clean cliff sensors. |
| App connection issues | Incorrect Wi-Fi band; Router too far | Ensure 2.4GHz Wi-Fi; Move vacuum closer to router; Restart router and vacuum. |
If the problem persists, please contact customer support.
9. Specifications
| Feature | Specification |
|---|---|
| Brand | Bennett Read |
| Model Name | Alphabot Ultra |
| Model Number | HVC403 |
| Colour | Black |
| Product Dimensions | 30L x 8W x 35H centimetres |
| Item Weight | 1.8 kg |
| Suction Power | 5000Pa |
| Battery Type | 3200mAh Lithium-Ion |
| Runtime | Up to 180 minutes |
| Navigation | Advanced Laser Navigation |
| Connectivity | Wi-Fi (2.4GHz only) |
| Motor Type | Durable Brushless Motor |
| Cleaning Functions | Sweep, Vacuum, Wet-Mop |
| Power Source | Corded Electric (for charging dock) |
10. Warranty and Support
Your Bennett Read Alphabot Ultra Robotic Vacuum is covered by a manufacturer's warranty. Please refer to the warranty card included in your package for specific terms and conditions.
For technical support, troubleshooting assistance beyond this manual, or to inquire about spare parts, please contact Bennett Read customer service. Contact details can typically be found on the official Bennett Read website or on your product packaging.