WINWEND Portable Air Compressor
Model: ST-5529C User Manual
1. Introduction
Thank you for choosing the WINWEND Portable Air Compressor, Model ST-5529C. This device is designed for convenient and efficient inflation of various items, including car tires, motorcycle tires, bicycle tires, and sports balls. It also integrates essential emergency tools for enhanced safety.
Product Features:
- Portable Tire Inflator with Digital Pressure Gauge
- Automatic Shut-off at Preset Pressure
- Integrated Seatbelt Cutter
- Integrated Window Breaker
- Built-in LED Flashlight and SOS Red Flashlight
- Multiple Preset Inflation Modes (Car, Motorcycle, Bicycle, Ball, Manual)
Package Contents:
- WINWEND Portable Air Compressor (Model ST-5529C)
- Air Hose
- Various Nozzles/Adapters (e.g., ball needle, bicycle valve adapter)
- Charging Cable (not explicitly listed but implied for portable device)

2. Safety Information
Please read all safety instructions carefully before using the device. Failure to follow these instructions may result in product damage, property damage, or personal injury.
- Do not leave the inflator unattended while in operation.
- Keep out of reach of children.
- Ensure the correct pressure setting for the item being inflated to prevent over-inflation and potential bursting.
- Avoid prolonged continuous operation to prevent overheating. Allow the device to cool down if it becomes hot.
- Do not operate the device in wet conditions or near flammable liquids or gases.
- The seatbelt cutter and window breaker are emergency tools. Use them only when necessary and with extreme caution. Keep sharp edges away from skin.
- Store the device in a cool, dry place when not in use.
3. Setup
3.1 Initial Charging
Before first use, fully charge the portable air compressor. Connect the charging cable to the device and a suitable power source. The display will indicate charging status.
3.2 Attaching the Air Hose
Screw the air hose securely onto the air outlet port of the compressor. Ensure a tight connection to prevent air leakage.
3.3 Understanding the Display and Controls
The device features a digital display and several control buttons:
- Power Button (①): Long press to turn on/off. Short press to start/stop inflation.
- Mode Button (R): Press to cycle through preset inflation modes (Car, Motorcycle, Bicycle, Ball) and Manual mode.
- Pressure Adjustment Buttons (+ / -): Use to increase or decrease the target pressure value.
- Unit Button (②): Press to switch between pressure units (e.g., PSI, BAR, KPA, KG/CM²).

4. Operating Instructions
4.1 Tire Inflation
- Connect the Air Hose: Screw the air hose onto the tire valve stem. Ensure a secure connection. The digital display will show the current tire pressure.
- Power On: Long press the Power Button (①) to turn on the compressor.
- Select Mode: Press the Mode Button (R) to cycle through the preset modes: Car, Motorcycle, Bicycle, Ball, or Manual. Each mode has a default pressure range.
- Set Target Pressure: Use the + and - buttons to adjust the desired pressure. Refer to your vehicle's or item's recommended pressure. The maximum inflation pressure is 150 PSI.
- Start Inflation: Short press the Power Button (①) to begin inflation. The compressor will automatically stop once the preset pressure is reached.
- Disconnect: Once inflation is complete, quickly unscrew the air hose from the valve stem.


4.2 Emergency Tools
The device includes a seatbelt cutter and a window breaker for emergency situations.
- Seatbelt Cutter: Located on the side of the device, the sharp blade is recessed for safety. To use, hook the seatbelt into the cutter and pull firmly to cut.
- Window Breaker: The pointed tip at the end of the device is designed to break tempered glass in emergencies. Press the tip firmly against a corner of the side window to break it.

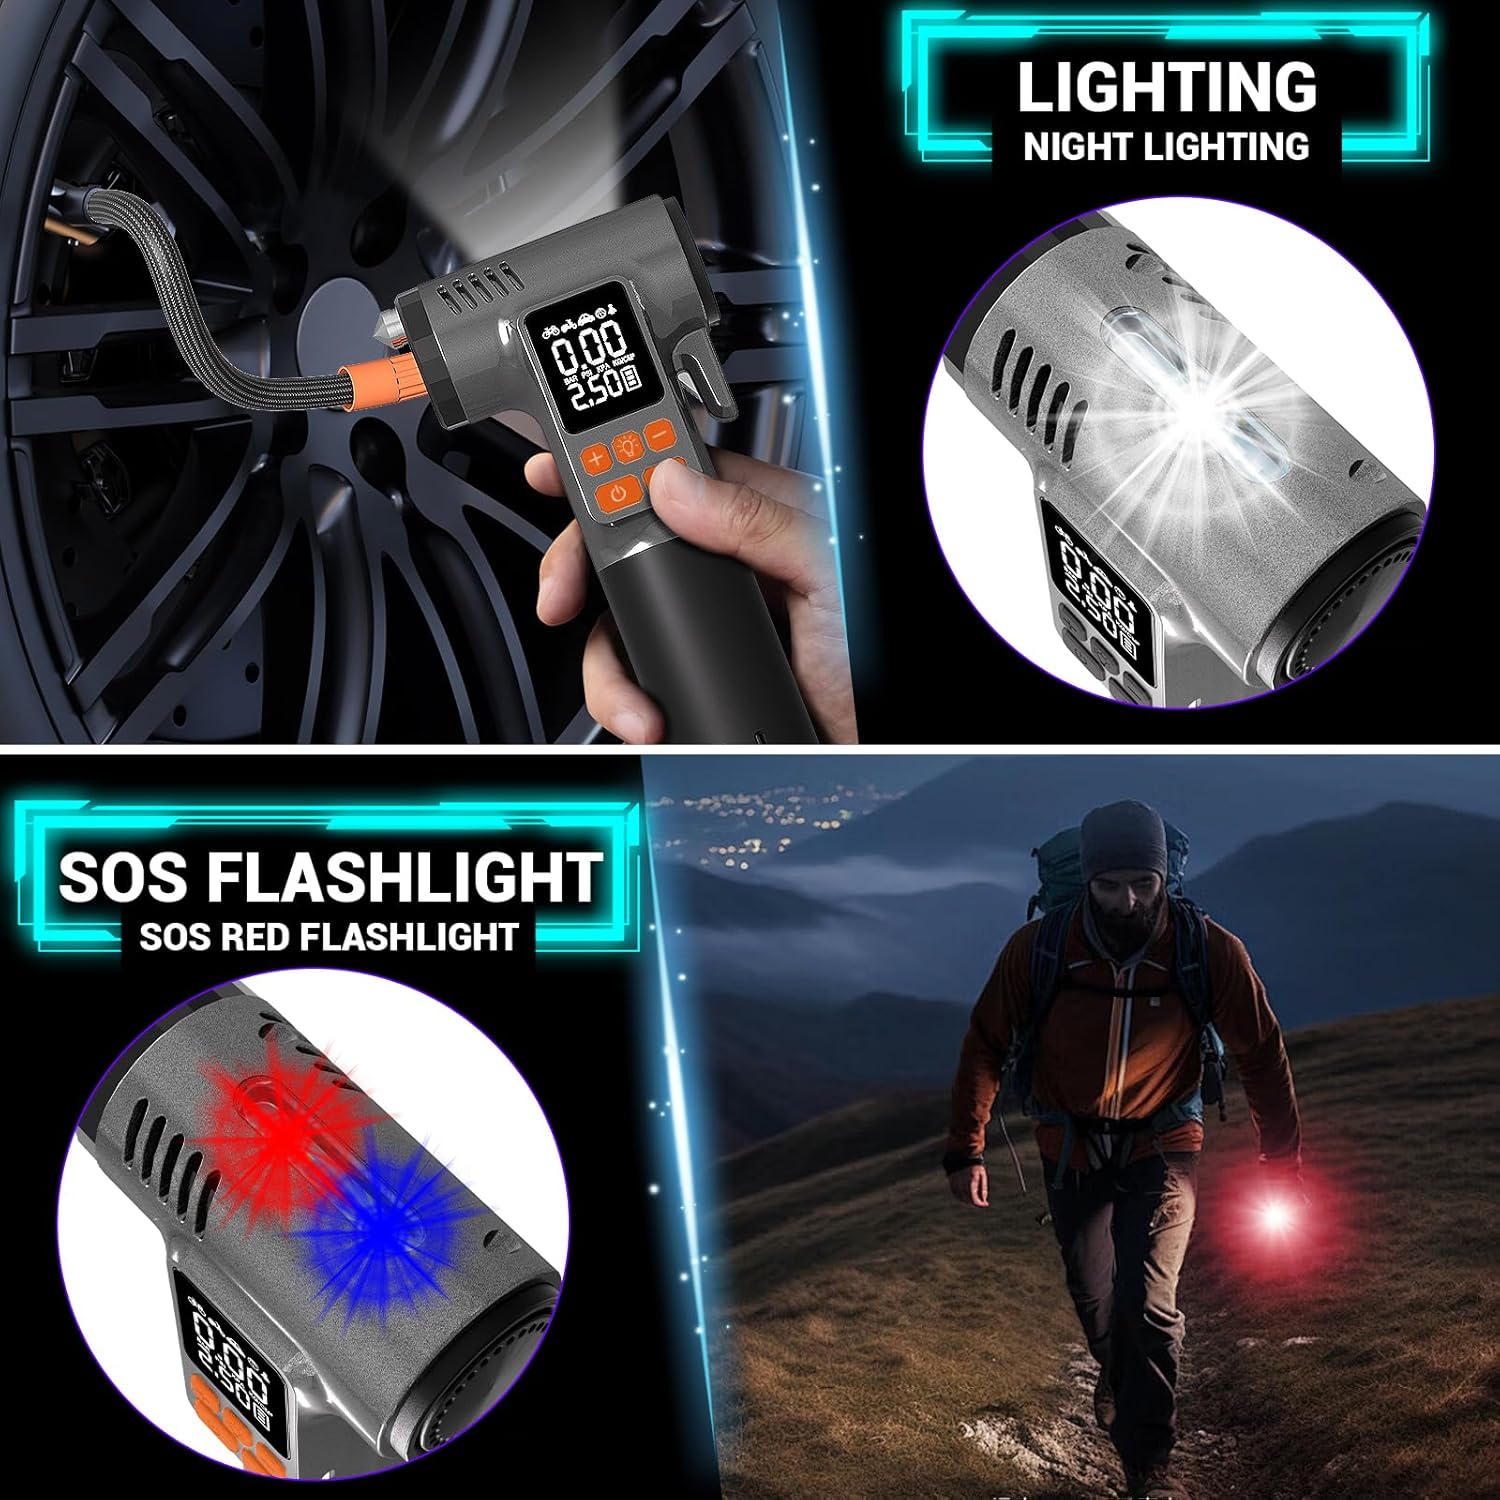
4.3 Lighting Functions
The device features a built-in LED flashlight and an SOS red flashlight.
- LED Flashlight: Short press the flashlight button (usually indicated by a light bulb icon) to turn on the bright LED light for illumination.
- SOS Red Flashlight: Long press the flashlight button to activate the flashing red SOS light for emergency signaling.
5. Maintenance
5.1 Cleaning
Wipe the exterior of the compressor with a soft, damp cloth. Do not use harsh chemicals or abrasive cleaners. Ensure the device is dry before storage.
5.2 Storage
Store the device and its accessories in a cool, dry place, away from direct sunlight and extreme temperatures. Keep the air hose neatly coiled to prevent damage.
5.3 Battery Care
To prolong battery life, charge the device fully at least once every three months, even if not in regular use.
6. Troubleshooting
- Device does not turn on: Ensure the battery is charged. Connect to a power source and try again.
- Compressor does not inflate: Check if the air hose is securely connected to both the compressor and the tire valve. Ensure the target pressure is set above the current pressure.
- Inaccurate pressure reading: Ensure the air hose is properly connected and there are no leaks. Recalibrate if necessary (refer to manufacturer support for specific instructions).
- Hose burst/leakage: Inspect the air hose for any damage or cracks. A damaged hose may need replacement. Contact customer support for replacement parts.
- Overheating: If the device becomes excessively hot during operation, turn it off and allow it to cool down for at least 15-20 minutes before resuming use.
7. Specifications
| Manufacturer | WINWEND |
| Model Number | ST-5529C |
| Item Weight | 649 g (0.65 Kilograms) |
| Dimensions (LxWxH) | 19.6 x 9.9 x 4.6 Centimeters |
| Voltage | 7.4 Volts (DC) |
| Maximum Pressure | 150 PSI |
| Airflow Rate | 20 Liters/Minute |

8. Warranty and Support
For warranty information, technical support, or to inquire about replacement parts, please contact WINWEND customer service through your purchase platform or the official WINWEND website. Please have your model number (ST-5529C) and purchase date available when contacting support.