1. Product Overview
The OatXtorpor Charging Dock is designed to provide a convenient and efficient charging solution for your compatible Shark WANDVAC handheld vacuum. This wall-mounted dock offers precision charging, organized storage for accessories, and comprehensive safety features to protect your device. Its space-saving design ensures your vacuum is always ready for use without cluttering your home.
This charging dock supports both USB charging and traditional wall-plug charging, offering flexibility for various environments, whether at home or on the go.
2. Package Contents
Please verify that all items listed below are included in your package:
- Hoover wall bracket
- Plastic Snap
- Magnetic charger (USB cable with magnetic connector)
- 5V charging plug (AC Adapter)
- Screws for wall mounting
- No-punch screw sticker (Plastic Pasteboard)
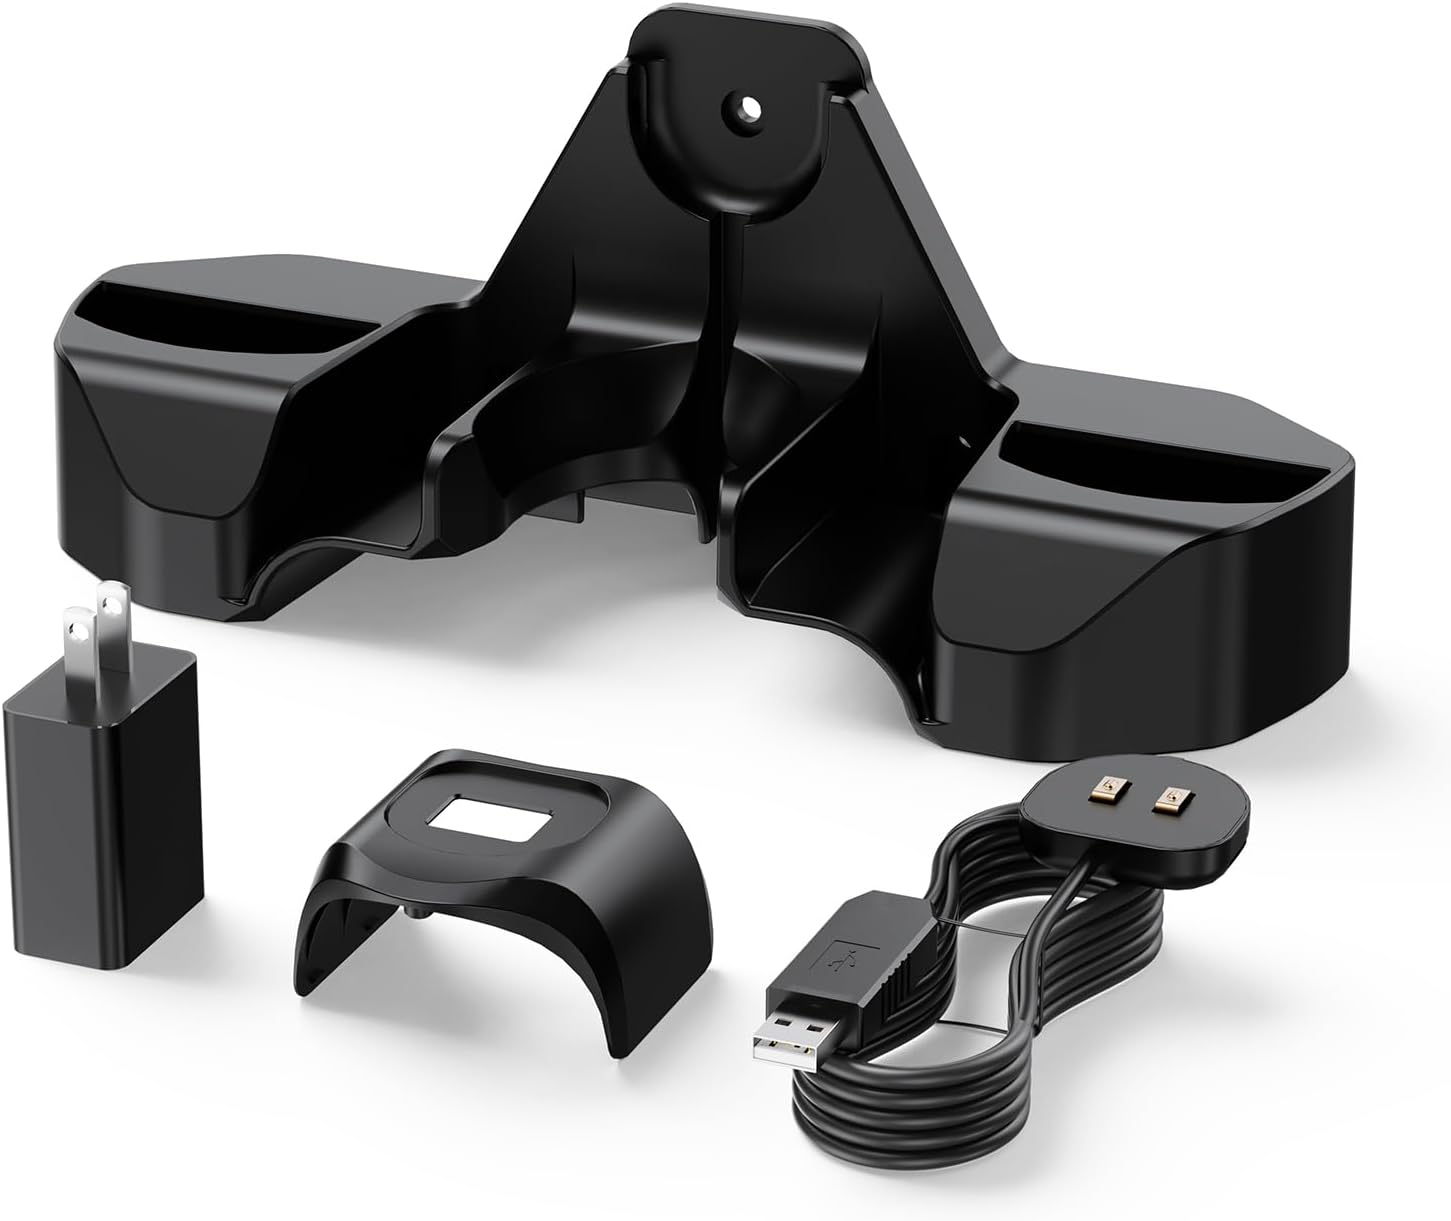
Figure 2.1: Contents of the OatXtorpor Charging Dock package.
3. Compatibility
This charging dock is compatible with the following Shark WANDVAC handheld vacuum models:
- Shark WV201 WANDVAC
- UV200CCO
- WV200
- WV200C
- WV201BLBRN
- WV201GDBRN
- WV201GNBRN
- WV201PBK
- WV201PKBRN
- WV201PMB
- WV201RD
- WV201RGBRN
- WV203C
- WV205
- WV250
Note: This charging dock is NOT compatible with Shark ION W1 models.
It serves as a replacement for original charging dock model: 1076FI200.

Figure 3.1: The OatXtorpor Charging Dock with a compatible Shark WANDVAC.
4. Setup and Installation
The OatXtorpor Charging Dock offers two installation methods: drilling for a secure mount or using nail-free adhesive for a less permanent solution.
4.1. Pre-Installation Preparation
Before beginning installation, ensure you have all components as listed in Section 2. You will need a pencil, a drill (for drilling method), and a screwdriver.

Figure 4.1: Pre-installation components.
4.2. Method 1: Drilling Installation
- Determine Position: Hold the wall bracket against the desired wall location. Use a pencil to mark the positions for drilling the holes.
- Drill Holes: Using an appropriate drill bit, drill holes at the marked positions.
- Secure Bracket: Insert the wall plugs (if necessary) and then secure the wall bracket to the wall using the provided screws and a screwdriver.
- Install Charger and Vacuum: Hang the magnetic charger first. Then, attach the plastic snap to your vacuum and hang the vacuum and any other accessories onto the mounted dock.

Figure 4.2: Drilling installation steps.
4.3. Method 2: Nail-Free Adhesive Installation
- Clean Wall: Ensure the wall surface is clean and dry. Wipe thoroughly and wait 60 seconds until completely dry.
- Apply Adhesive: Remove the double-sided protective film from the no-punch screw sticker (plastic pasteboard). Stick it firmly against the wall, pressing to ensure good adhesion.
- Fix Bracket: Align the holes of the wall bracket with the screws on the adhesive pasteboard. Secure the bracket by turning the screws.
- Install Charger and Vacuum: Hang the magnetic charger first. Then, attach the plastic snap to your vacuum and hang the vacuum and any other accessories onto the mounted dock.

Figure 4.3: Nail-free adhesive installation steps.
5. Operating Instructions
5.1. Charging Your Vacuum
Once the charging dock is installed, charging your Shark WANDVAC is simple:
- Connect the 5V charging plug to a power outlet.
- Ensure the magnetic charger cable is properly inserted into the dock's charging port.
- Place your Shark WANDVAC onto the dock. The magnetic connector will align automatically, and the charging indicator light on your vacuum should illuminate, indicating it is charging.
The dock's design ensures your device is always ready to go without cluttering your home. It supports both USB charging (e.g., in a car) and wall-plug charging.
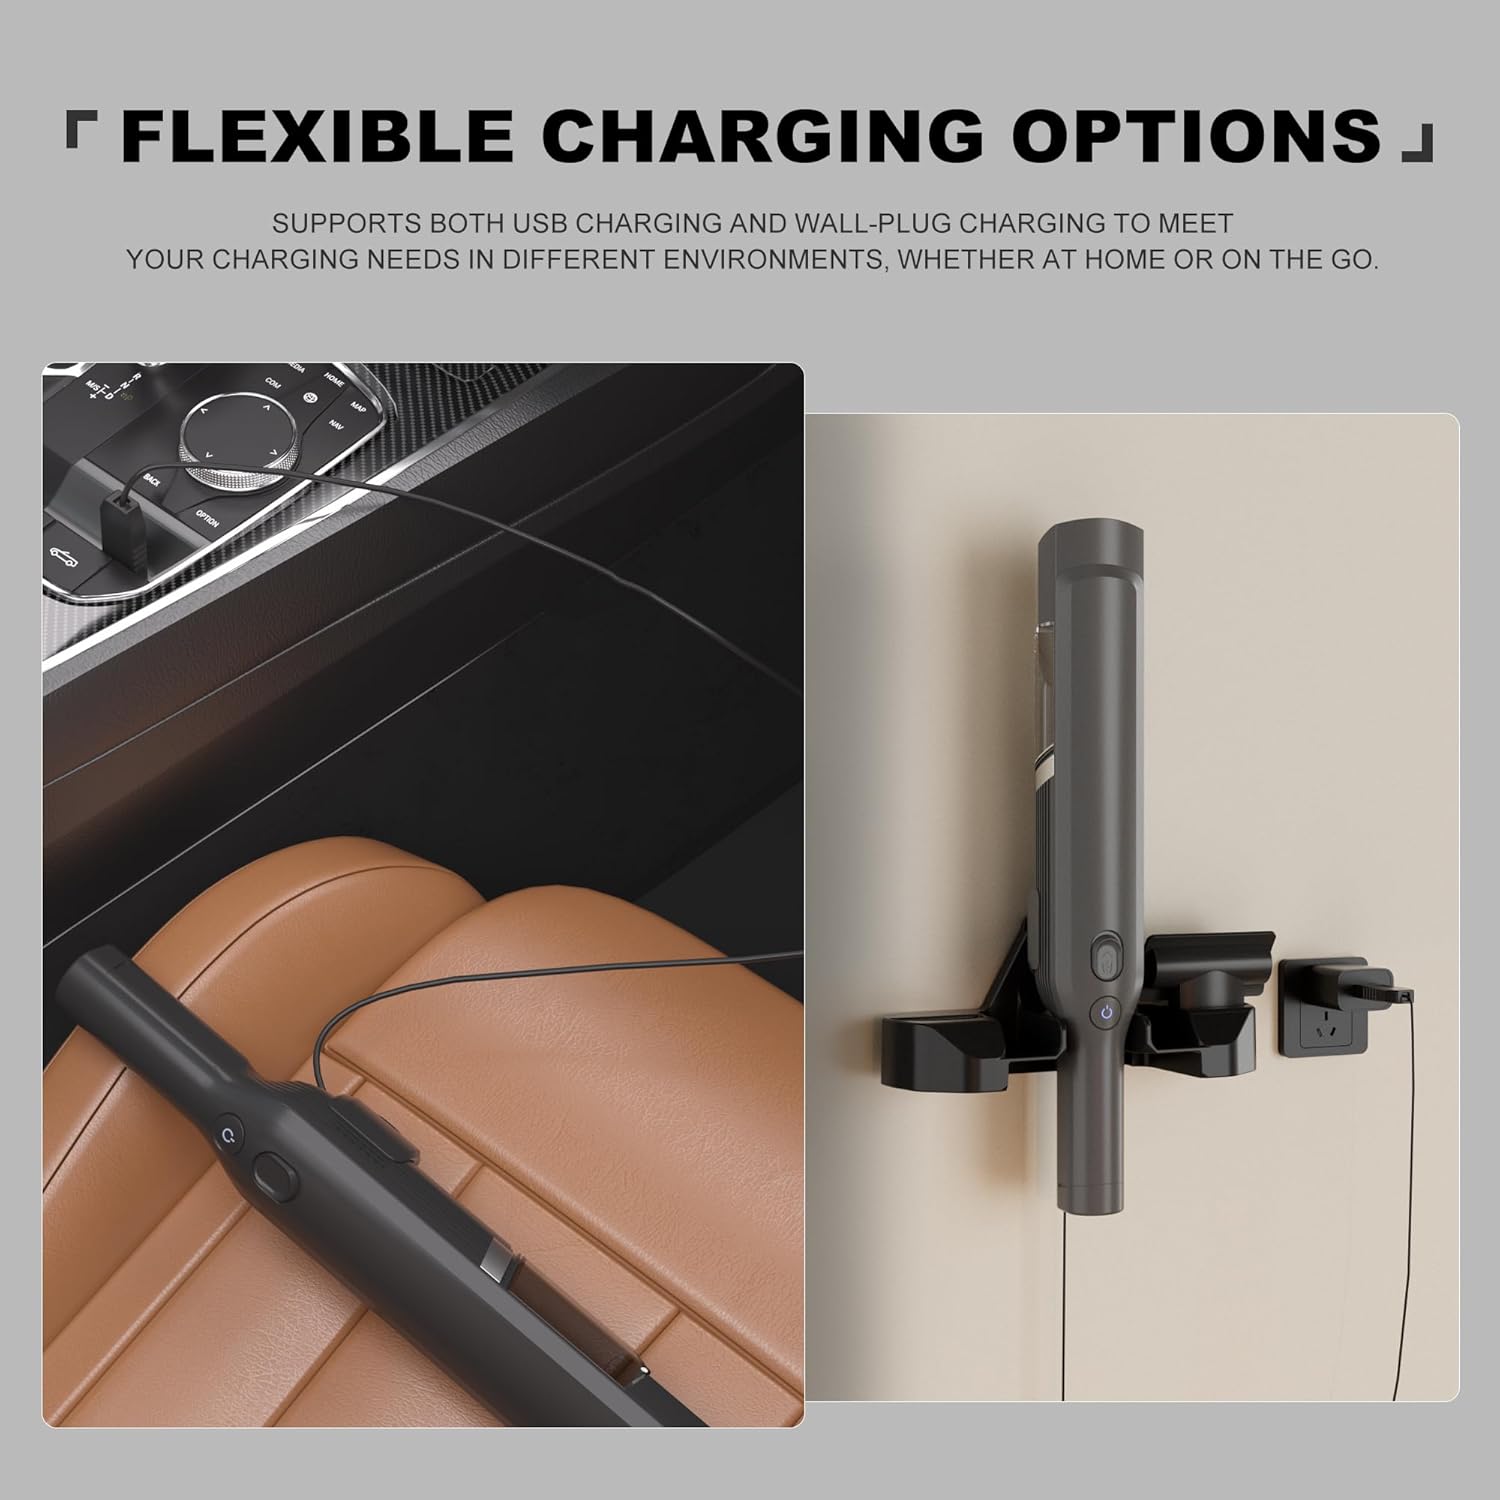
Figure 5.1: Flexible charging options for your vacuum.

Figure 5.2: Magnetic power supply for seamless connection.
5.2. Accessory Storage
The unique storage design of the dock helps you store the charging cable and accessories neatly, keeping your cleaning work area tidy and organized. The dock includes dedicated slots for your vacuum's attachments.

Figure 5.3: Dual function design for organized storage.
6. Maintenance
To ensure the longevity and optimal performance of your OatXtorpor Charging Dock, follow these simple maintenance guidelines:
- Cleaning: Wipe the charging dock regularly with a soft, dry cloth to remove dust and debris. Do not use abrasive cleaners or solvents.
- Connection Points: Periodically check the magnetic charging contacts on both the dock and your vacuum for any obstructions or dirt. Clean gently if necessary.
- Cable Care: Avoid bending or crimping the charging cable excessively, especially near the connectors, to prevent damage.
- Placement: Ensure the dock is installed in a stable location, away from direct sunlight, excessive heat, or moisture.
7. Troubleshooting
If you encounter issues with your OatXtorpor Charging Dock, please refer to the following common problems and solutions:
| Problem | Possible Cause | Solution |
|---|---|---|
| Vacuum is not charging. |
|
|
| Dock is not securely mounted. |
|
|
8. Specifications
| Feature | Detail |
|---|---|
| Model Number | W17 |
| Input | 100-240 V ~ 50-60 Hz |
| Output | 9.6 V 0.5 A |
| Color | Black |
| Product Dimensions | 0.78 x 0.4 x 1.96 inches (Dock only) |
| Item Weight | 0.32 ounces (Dock only) |
| Connectivity Technology | USB |
| Connector Type | Proprietary (Magnetic) |
| Special Feature | Magnetic, Wall-Mounted, Accessory Storage |

Figure 8.1: Product dimensions and components.
9. Safety Features
The OatXtorpor Charging Dock is built with robust safety features to ensure reliable and secure charging:
- Overvoltage Protection: Prevents damage from excessive voltage.
- Overcurrent Protection: Safeguards against excessive current flow.
- Overheat Protection: Monitors temperature to prevent overheating.
- Short-Circuit Protection: Protects against short circuits.

Figure 9.1: Built-in safety protections.
10. Official Product Video Guide
For a visual guide on setting up and using your OatXtorpor Charging Dock, please watch the official product video below:
Video 10.1: Official guide for the OatXtorpor Charging Dock, demonstrating unboxing, assembly, car charging, and wall mounting.
11. Warranty and Support
For warranty information or technical support, please refer to the contact details provided with your purchase or visit the official OatXtorpor website. Keep your purchase receipt as proof of purchase.