1. Introduction
Thank you for choosing the LinZong Dualview Dash Cam 1080P. This device is designed to record your driving journey with high-definition video, providing security and peace of mind. This manual provides detailed instructions for the proper installation, operation, and maintenance of your dash camera. Please read it thoroughly before use.
2. Product Overview
The LinZong Dualview Dash Cam features a dual-channel recording system, capturing both the road ahead and the vehicle's interior. It includes a 3.16-inch IPS screen for immediate footage review and various functions such as night vision, parking monitoring, and loop recording.
2.1 Components and Controls
Familiarize yourself with the main components and controls of your dash cam:

Image: Front view of the LinZong Dualview Dash Cam, highlighting its features. Visible components include the TF card slot, pull back camera interface, charging port, MIC, 3.16-inch screen, front camera lens, and control buttons (Switch, UP, Down, MODE, RESET, Speakers).
- Front Camera: Records the road ahead with a 170° wide-angle view.
- Cabin Camera: Records the vehicle interior with a 140° wide-angle view and can rotate 180°.
- 3.16-inch IPS Screen: For live view, playback, and menu navigation.
- TF Card Slot: For inserting the memory card (up to 64GB supported).
- Charging Port (USB2.0): Connects to the car charger for power.
- Control Buttons: For navigating menus and controlling recording functions.
- Microphone (MIC): Records audio inside the cabin.
- Speakers: For audio playback.
3. Specifications
| Feature | Specification |
|---|---|
| Pixel | 130W |
| Resolution | 1080p/30 Frames |
| Screen | 3.16-Inch IPS Screen |
| Viewing Angle | Front: 170°, Cabin: 140° |
| Functions | Loop Recording, Motion Detection, Parking Guard/Monitoring |
| Memory Card | Supports up to 64GB (64GB card included) |
| Power Interface | USB2.0 |
| Battery | 150mAh |
| Output | HDMI |
| Frequency | 50/60Hz |
| Working Temperature | -20°C to +70°C |
4. Setup and Installation
Follow these steps for quick and easy installation of your dash cam:
- Insert Memory Card: Ensure the dash cam is off. Insert the provided 64GB memory card into the TF card slot until it clicks into place.
- Mount the Dash Cam: Attach the suction cup mount to a clean, dry area on your windshield, ensuring it does not obstruct your view. Secure the dash cam to the mount.
- Adjust Camera Angle: Position the front camera to capture the road ahead clearly. Adjust the cabin camera (it can rotate 180°) to monitor the vehicle's interior as desired.
- Connect Power: Plug the included car charger into your vehicle's cigarette lighter socket. Connect the USB cable from the charger to the dash cam's charging port (USB2.0). Route the cable neatly to avoid interference with driving.
- Power On: Start your vehicle. The dash cam should automatically power on and begin recording. If not, press the power button.

Image: An overhead diagram illustrating the wide viewing angles of the dual-channel dash cam. The front camera covers 170 degrees, and the cabin camera covers 140 degrees, helping to eliminate blind spots.
5. Operating Instructions
5.1 Basic Recording (Loop Recording)
The dash cam automatically starts recording when powered on. It uses loop recording to ensure continuous operation.
- Automatic Recording: Once powered, the dash cam will begin recording video in segments (e.g., 1, 3, or 5 minutes).
- Loop Overwrite: When the memory card is full, the system will automatically overwrite the oldest unlocked video files with new recordings. This ensures continuous recording without manual intervention.
- Manual Lock: During recording, you can press a specific button (refer to device controls) to manually lock the current video file, preventing it from being overwritten.
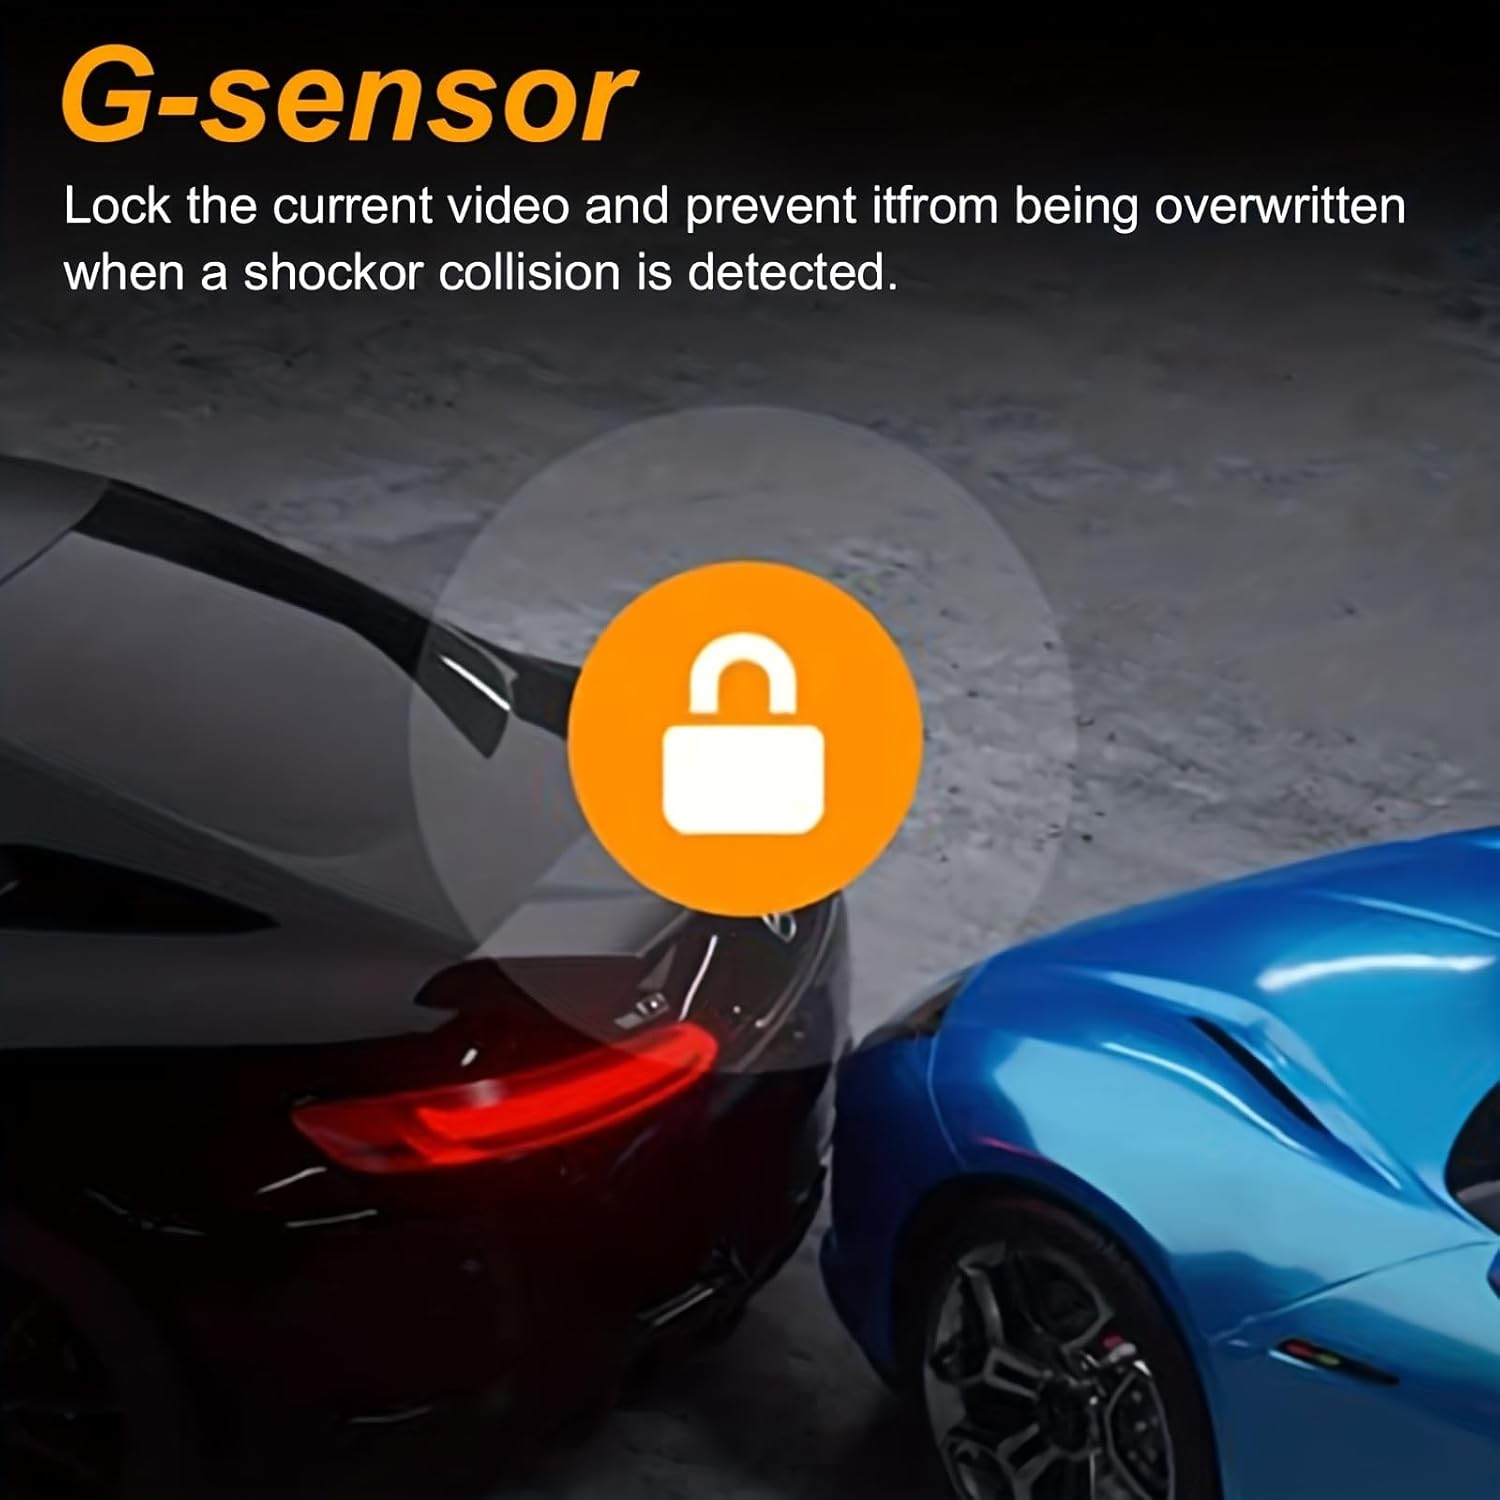
Image: A visual representation of the loop recording function. Various driving scenarios are shown in a circular pattern around a central car, with arrows indicating that newly recorded videos will automatically overwrite unlocked older videos to free up memory space.
5.2 Night Vision
The dash cam is equipped with advanced night vision technology to ensure clear recordings in low-light conditions.
- Front Camera Night Vision: The front camera enhances clarity for full HD capture during both day and night.
- Cabin Camera LED Fill Lights: The built-in cabin camera utilizes 3 unique LED fill lights to accurately capture the driver and passengers even in complete darkness.

Image: A night scene with a car driving on a road, illustrating the 'Super Night Vision' capability. Icons for '6-Glass Lens', 'WDR Tech', and 'f1.6 Aperture' are shown, indicating the technologies used to enhance clarity in low light.
5.3 Parking Monitoring
This feature provides 24-hour protection for your vehicle when parked.
- Automatic Activation: When a collision or bump is detected while the vehicle is parked, the dash cam will automatically turn on and begin recording.
- Continuous Protection: This function provides continuous surveillance, recording incidents even when you are away from your vehicle.
- Hardwire Kit Requirement: Please note that a hardwire kit (sold separately) is required for the 24-hour parking monitoring function to operate continuously without draining the car's battery.

Image: A blue sports car with a glowing outline, emphasizing the 'Parking Monitor' feature. The text '24H' is prominently displayed, indicating 24-hour protection, with a note that a hardwire kit is required for this function.
5.4 G-Sensor
The built-in G-sensor detects sudden movements or impacts.
- Event Locking: In the event of a shock or collision, the G-sensor automatically locks the current video file, preventing it from being overwritten by loop recording. This ensures critical footage is preserved.

Image: Two cars in a parking garage, one blue and one black, with a circular icon featuring a padlock in the center. This visually represents the G-sensor function, which locks the current video to prevent overwriting when a shock or collision is detected.
6. Maintenance
Proper maintenance ensures the longevity and optimal performance of your dash cam.
- Clean Lenses: Regularly clean the front and cabin camera lenses with a soft, lint-free cloth to ensure clear video quality. Avoid abrasive materials.
- Memory Card Care: Periodically format the memory card (e.g., once a month) within the dash cam's settings to prevent data corruption and maintain optimal recording performance. Back up any important files before formatting.
- Temperature: Avoid exposing the dash cam to extreme temperatures for extended periods, as this can affect battery life and component integrity.
- Firmware Updates: Check the manufacturer's website periodically for any available firmware updates to improve performance and add new features.
7. Troubleshooting
If you encounter issues with your dash cam, refer to the following common solutions:
- Dash Cam Not Powering On:
- Ensure the car charger is properly connected to both the dash cam and the vehicle's cigarette lighter.
- Check if the vehicle's cigarette lighter socket is receiving power.
- Try a different USB cable or car charger if available.
- Recording Stops or Freezes:
- Format the memory card within the dash cam's settings.
- Ensure you are using a high-speed (Class 10 or U1/U3) memory card.
- The memory card might be full or corrupted. Replace if necessary.
- Poor Video Quality:
- Clean the camera lenses with a soft cloth.
- Ensure the protective film has been removed from the lenses.
- Check video resolution settings in the dash cam menu.
- Parking Monitor Not Working:
- Verify that the parking monitoring feature is enabled in the settings.
- Confirm that a hardwire kit is correctly installed and connected for 24-hour functionality.
- Buttons Unresponsive:
- Use a thin object (like a paperclip) to press the RESET button on the device.
8. Warranty and Support
Specific warranty information for the LinZong Dualview Dash Cam 1080P is not provided in this manual. For details regarding warranty coverage, technical support, or service inquiries, please refer to the product packaging, contact the retailer where you purchased the device, or visit the official LinZong website.