1. Introduction
Thank you for choosing the USCAMEL Portable Digital Pocket Microscope. This device is designed for exploring the microscopic world with ease, offering 100X to 1000X magnification. Its compact and portable design makes it suitable for various applications, from educational use to detailed inspection of objects like coins, jewelry, plants, and electronic components. This manual provides essential information for the safe and effective use of your microscope.
2. Product Overview
The USCAMEL Portable Digital Pocket Microscope features a 3.5-inch HD screen, adjustable LED illumination, and intuitive controls for capturing photos and videos. Below is an overview of its main components:

Image 2.1: Microscope Components and Magnification Examples. This image displays the microscope with labels pointing to the buttons (Power, Menu, Up, Down, OK), USB interface, Memory card slot, and Focus roller. It also shows examples of 100X, 200X, 500X, and 1000X magnification views of an insect's eye.
- 3.5-inch HD Screen: For real-time viewing and playback of captured media.
- Control Buttons: Power on/off, Menu access, Navigation (Up/Down), and OK for selection/capture.
- USB Interface: For charging and connecting to a computer.
- Memory Card Slot: Supports Micro SD cards for storing photos and videos.
- Focus Roller: Adjusts the focus for clear images.
- LED Lights: Six built-in LEDs provide illumination for various subjects.
- Adjustable Stand/Handle: Allows for stable observation or handheld use.

Image 2.2: Key Features and Portability. This image highlights the microscope's main features including 100-1000X zoom, 3.5" HD screen, 6 LED lights, portable handheld design, dual Type-C connectivity, photograph and videotape functions, and 90-degree screen flip capability. It also shows a child and adult using the microscope outdoors.
3. What's in the Box
Please check the package contents upon receipt:

Image 3.1: Package Contents. This image shows the USCAMEL Portable Digital Pocket Microscope, a 32GB Micro SD card, a USB charging cable, and a set of prepared slides.
- USCAMEL Portable Digital Pocket Microscope (Model YQMY-RA3-360-10)
- USB Charging Cable
- 32GB Micro SD Card
- Prepared Slides (e.g., Onion Skin, Carrot, Bird Feather, Fish Scale, Bamboo Stem, Butterfly Wings)
- User Manual (this document)
4. Setup
- Charge the Device: Connect the microscope to a USB power source using the provided USB charging cable. The charging indicator will show the charging status. Ensure the device is fully charged before first use.
- Insert Micro SD Card: Locate the memory card slot on the side of the microscope. Gently insert the 32GB Micro SD card until it clicks into place. Ensure the card is inserted correctly to avoid damage.
- Attach Handle (Optional): If your model includes a detachable handle, align it with the microscope body and slide it into place until it securely locks. This provides a more ergonomic grip for handheld use.
- Power On: Press and hold the Power button (usually marked with a power symbol) for a few seconds until the screen turns on.

Image 4.1: Handle Assembly and Use with Prepared Slides. This image illustrates how to assemble the handle onto the microscope and shows the microscope being used with prepared slides and for outdoor exploration.
5. Operating Instructions
5.1 Basic Observation
- Place Object: Position the object you wish to observe directly under the microscope's lens. For flat objects, ensure they are stable. For prepared slides, place them on the viewing stage.
- Adjust Focus: Rotate the Focus roller (located on the side of the microscope body) until the image on the screen appears clear and sharp.
- Adjust LED Lights: Use the dedicated LED control button (often marked with a light bulb symbol) to adjust the brightness of the built-in LED lights. Proper illumination is crucial for clear viewing.
5.2 Magnification
The microscope offers a magnification range of 100X to 1000X. The magnification level is primarily controlled by the distance between the lens and the object, and fine-tuned with the focus roller. Digital zoom may also be available via menu options.
5.3 Capturing Photos and Videos
- Select Mode: Press the 'M' (Menu) button to navigate through modes (Photo, Video, Playback). Use the Up/Down buttons to select the desired mode.
- Capture Photo: In Photo mode, press the 'OK' button to take a picture. The image will be saved to the Micro SD card.
- Record Video: In Video mode, press the 'OK' button to start recording. Press 'OK' again to stop recording. The video will be saved to the Micro SD card.

Image 5.1: HD Photo and Video Recording. This image illustrates the microscope's capability to capture high-definition photos and videos, and to play them back on the screen.
5.4 Playback
In Playback mode, use the Up/Down buttons to browse through your saved photos and videos. Press 'OK' to view a selected item or play a video.
5.5 Connecting to an External Display (PC/Laptop)
You can connect your microscope to a computer for a larger viewing experience or to transfer files.
- Connect Cable: Use the USB cable to connect the microscope to your computer's USB port.
- Select Mode: The microscope may prompt you to select a connection mode (e.g., PC Camera, Mass Storage). Select 'PC Camera' for live viewing or 'Mass Storage' to access files on the SD card.
- Software (Optional): For live viewing on a PC, you may need to use a webcam application or specific microscope software (not included, check manufacturer's website for recommendations).
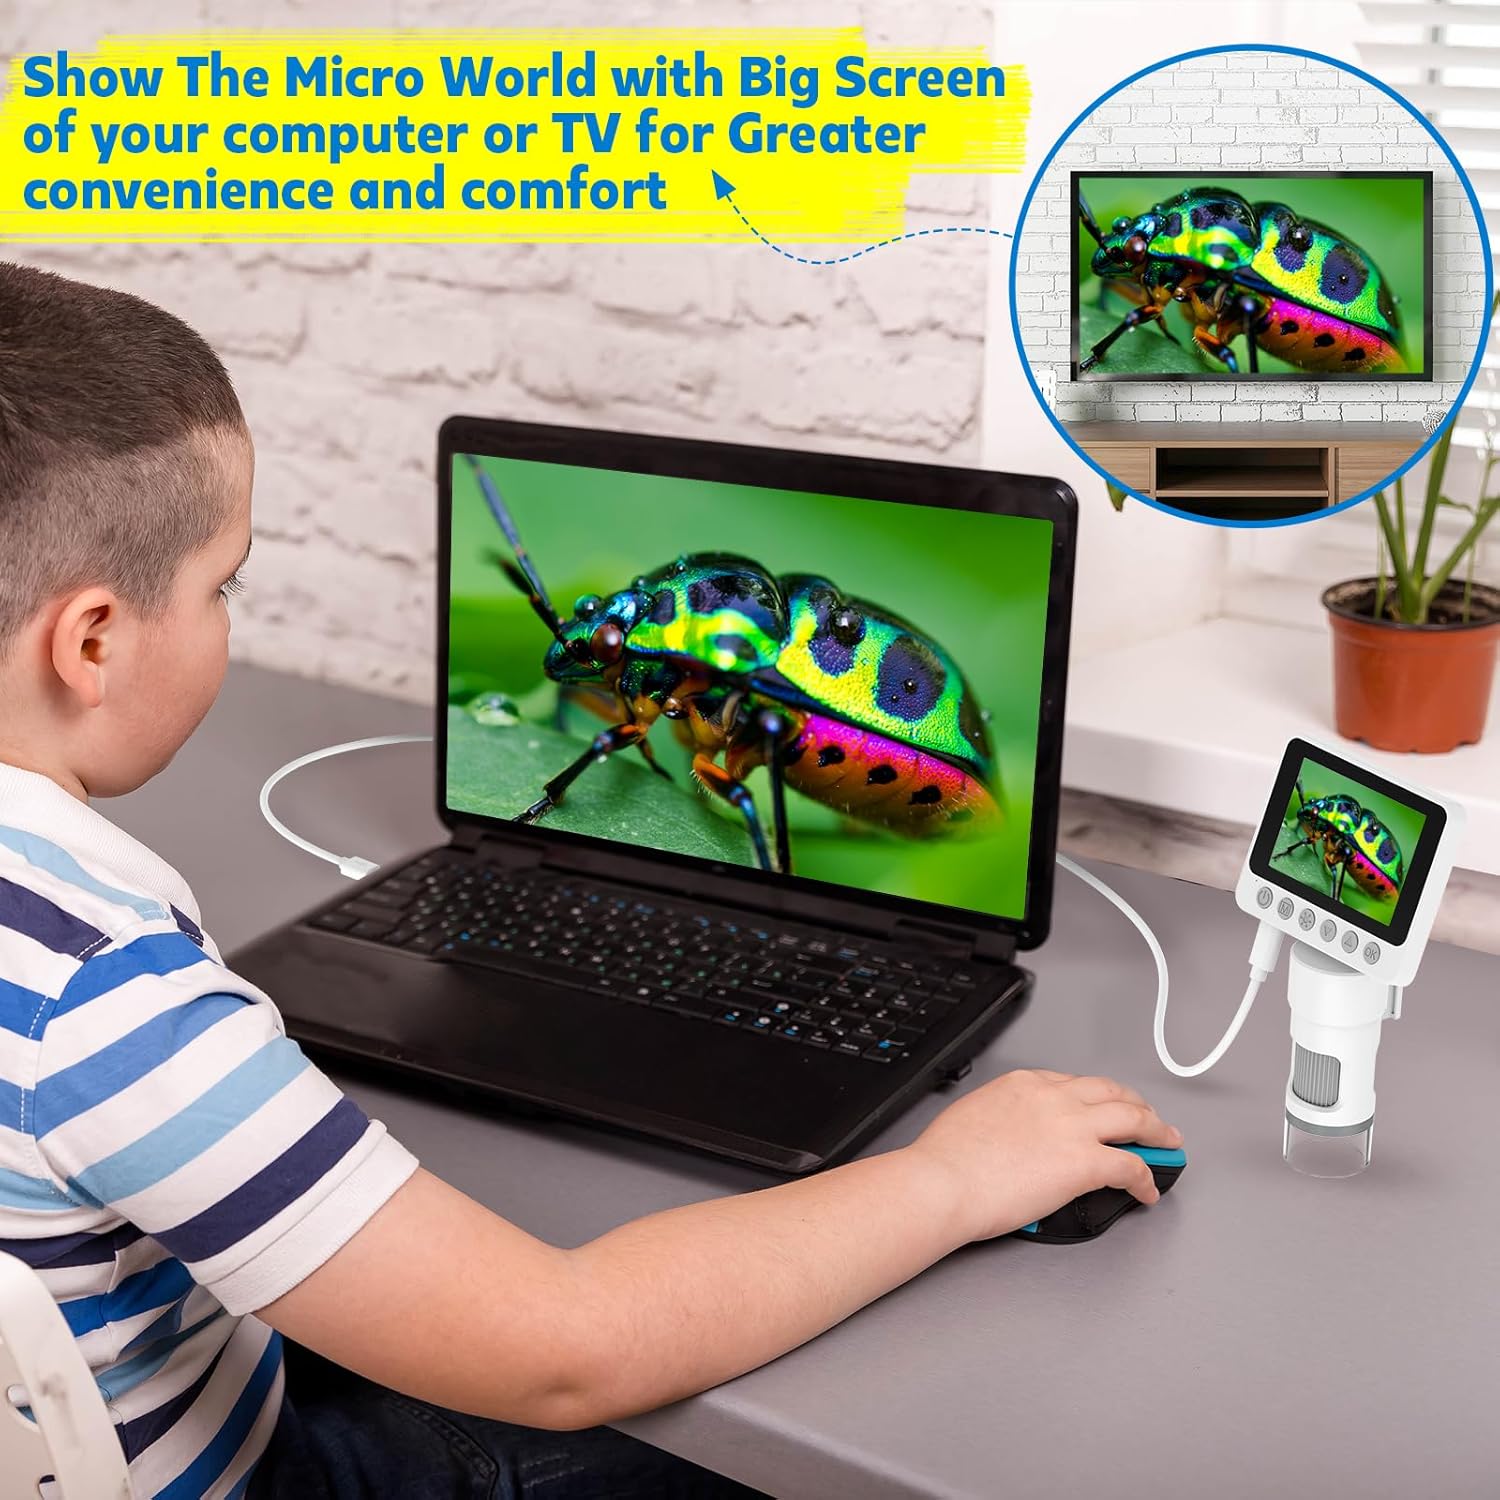
Image 5.2: Connecting to an External Display. This image shows a child using the microscope connected to a laptop, displaying the magnified image on a larger screen for enhanced viewing and sharing.
6. Maintenance
- Cleaning the Lens and Screen: Use a soft, lint-free cloth specifically designed for optical surfaces to clean the lens and screen. Do not use abrasive cleaners or solvents.
- Battery Care: To prolong battery life, avoid fully discharging the device frequently. Recharge the battery regularly, even if the microscope is not in use for extended periods.
- Storage: Store the microscope in a cool, dry place, away from direct sunlight and extreme temperatures. Keep it in its original packaging or a protective case when not in use to prevent dust and damage.
- Avoid Moisture: Do not expose the microscope to water or high humidity. It is not waterproof.
7. Troubleshooting
| Problem | Possible Cause | Solution |
|---|---|---|
| Device does not power on | Low battery; Power button not pressed correctly | Charge the device fully. Press and hold the Power button for 3-5 seconds. |
| Image is blurry | Incorrect focus; Insufficient lighting; Object too far/close | Adjust the Focus roller. Increase LED brightness. Adjust the distance between the lens and the object. |
| Cannot save photos/videos | No Micro SD card inserted; SD card full or corrupted; Incorrect mode selected | Insert a Micro SD card. Delete unnecessary files or replace the card. Ensure Photo/Video mode is selected. |
| Cannot connect to PC | Incorrect USB cable; Incorrect connection mode; Driver issue | Use the provided USB cable. Select 'PC Camera' or 'Mass Storage' mode on the microscope. Try a different USB port or computer. |
8. Specifications
- Model Number: YQMY-RA3-360-10
- Brand: USCAMEL
- Magnification: 100X - 1000X
- Display: 3.5-inch HD Screen
- Light Source: 6 LED Lights
- Power Source: Rechargeable Battery
- Dimensions: 16.31 x 14.81 x 10.9 cm
- Weight: 470 grams
- Color: White/Grey
9. Warranty and Support
For warranty information and customer support, please refer to the documentation provided with your purchase or contact USCAMEL customer service directly. Keep your purchase receipt as proof of purchase.