Product Overview
The Surebonder Motorized Mini Glue Gun is designed for efficient and precise adhesive application in various crafting and DIY projects. This bundle includes the motorized glue gun and 20, 10-inch all-purpose mini glue sticks, providing a continuous and smooth glue flow without manual pumping.

Image: The Surebonder Motorized Mini Glue Gun, black and lime green, shown alongside a clear plastic bag containing 20 long, clear glue sticks.
Key Features
- Motorized Mechanism: Provides a smooth, continuous flow of glue with a simple trigger press.
- Compact & Ergonomic Design: Lightweight and easy to handle for intricate tasks and extended use.
- Easy on the Hands: Automatic function reduces strain, eliminating the need for continuous trigger pumping.
- Extra Long Glue Sticks: 10-inch length minimizes the frequency of refills.
- Versatile Adhesion: Bonds to wood, metal, fabric, plastic, ceramics, glass, and more.

Image: A detailed diagram of the glue gun highlighting its components: Detail Tip, Insulated Nozzle Cover, Motorized Trigger, ON/OFF Button, Power Indicator Light and Ready Light, Wide Base, Cord Protector, Ergonomic Rubber Gripped Handle, Feeder Tube, Inlet Tube, and 35-Watts of Heating Power.
Setup
- Unpack: Carefully remove the glue gun and glue sticks from the packaging.
- Inspect: Check the glue gun and power cord for any visible damage. Do not use if damaged.
- Insert Glue Stick: Insert a 10-inch mini glue stick into the inlet tube at the rear of the glue gun. Push it gently until it stops.
- Connect Power: Plug the power cord into a standard electrical outlet (120V AC).
Operating Instructions
Follow these steps for safe and effective operation of your Surebonder Motorized Mini Glue Gun:
- Power On: Press the red ON/OFF button located on the base of the glue gun.
- Warm-up: The power indicator lights will flash, indicating the glue gun is warming up. Allow approximately 3-5 minutes for the glue gun to reach optimal temperature.
- Ready for Use: The lights will turn solid when the glue gun is ready to dispense glue.
- Apply Glue: Hold the glue gun firmly and press the motorized trigger to dispense glue. The motorized mechanism will feed the glue stick automatically. Release the trigger to stop the flow.
- Refill: When the glue stick is nearly depleted, insert a new glue stick into the inlet tube. The new stick will push the remaining portion of the old stick through.

Image: A four-panel diagram illustrating the usage steps: 1. Push Red ON/OFF Button. 2. Lights will flash, indicating warming up. 3. Lights turn solid, indicating ready to use. 4. Add Glue and hold the trigger down until glue comes out.
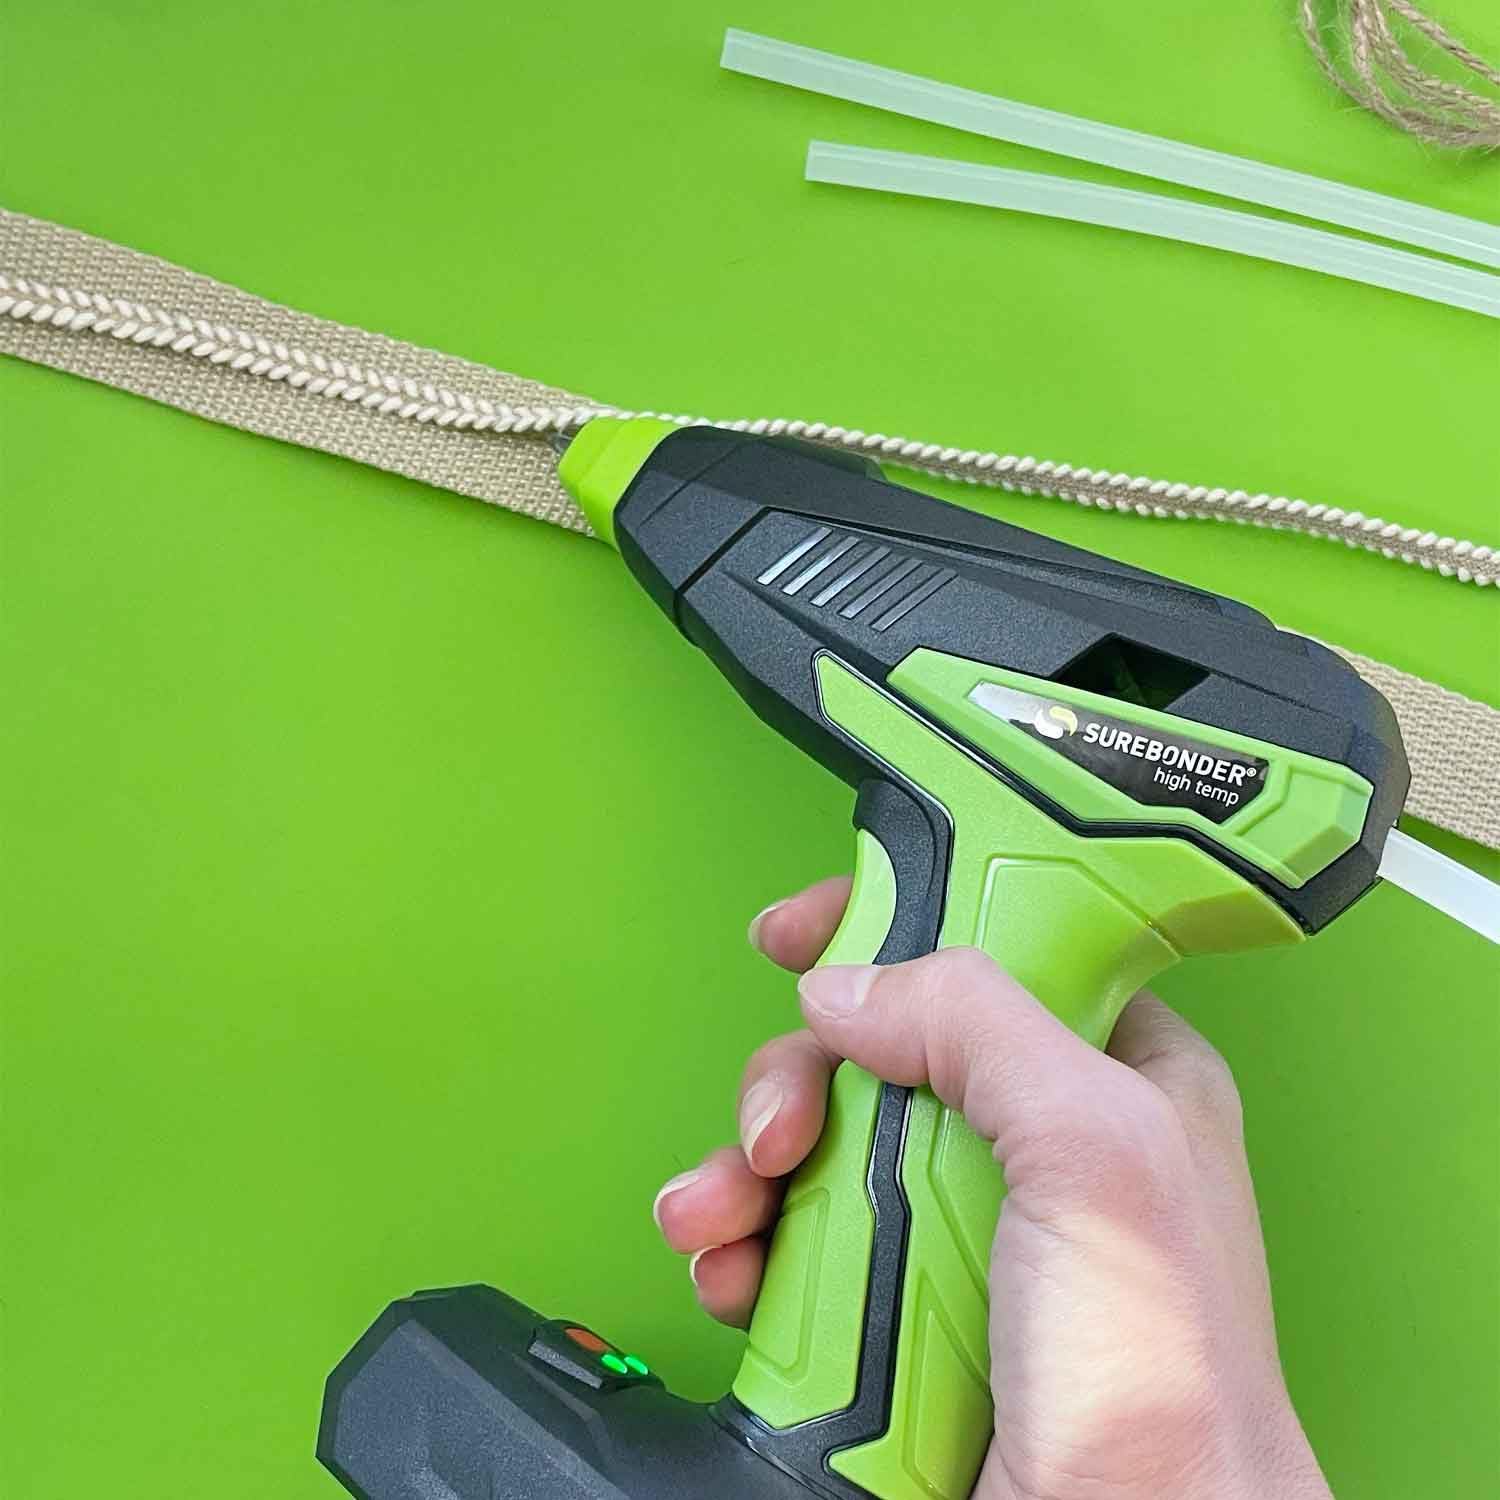
Image: A hand holding the Surebonder Motorized Mini Glue Gun, applying a line of hot glue onto a piece of braided ribbon, with additional glue sticks visible in the background.
Maintenance
- Cleaning: Always unplug the glue gun and allow it to cool completely before cleaning. Use a dry cloth to wipe down the exterior. Do not use abrasive cleaners or immerse the gun in water.
- Nozzle Care: Do not attempt to clean the nozzle while the gun is hot. Never pull out a partially used glue stick from the back of the gun, as this can damage the feeding mechanism.
- Storage: Store the glue gun in a cool, dry place, away from direct sunlight and extreme temperatures. Ensure the gun is unplugged and fully cooled before storing.
Troubleshooting
| Problem | Possible Cause | Solution |
|---|---|---|
| Glue gun not heating up. | Not plugged in; power switch off; faulty outlet. | Ensure plug is fully inserted; press ON/OFF button; try a different outlet. |
| Glue not dispensing. | Not fully heated; no glue stick inserted; glue stick jammed. | Wait for lights to turn solid; insert a new glue stick; ensure glue stick is properly aligned. Do not force. |
| Glue flow is inconsistent. | Insufficient heating; partially used glue stick. | Allow more time to heat; ensure a full glue stick is inserted to push through any remnants. |
Specifications
- Model: B0DSCNHVML
- Brand: Surebonder
- Power: 35 Watts of Heating Power
- Glue Stick Size: Mini Size (compatible with 0.28 inch / 7mm diameter glue sticks)
- Glue Stick Length: 10 inches (included)
- Adhesive Type: All-purpose, high and low temperature compatible.
- First Available: January 6, 2025

Image: The front of the Surebonder Clear Stik glue stick packaging, indicating "MINI SIZE", "ALL TEMP", "QUALITY BOND", "MADE IN U.S.A.", and "20 GLUE STICKS".
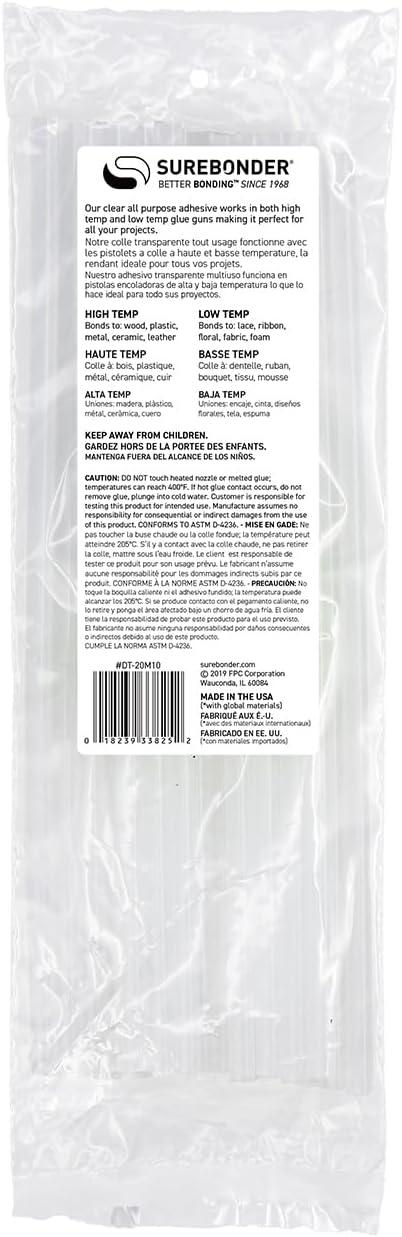
Image: The back of the Surebonder Clear Stik glue stick packaging, displaying usage notes for high and low temperature applications, caution statements, and manufacturer information.
Warranty and Support
For warranty information or technical support, please contact Surebonder directly. Refer to the product packaging or the official Surebonder website for the most current contact details.
Surebonder Adhesives
Website: www.surebonder.com
Note: This product is from a small business brand. Support small businesses.