
Atosa MBF8008GR
Atosa Commercial Upright Reach-In Freezer (34.2 cu. ft.) - Model MBF8008GR User Manual
Model: MBF8008GR
Introduction
This manual provides essential information for the safe and efficient operation of your Atosa Commercial Upright Reach-In Freezer, Model MBF8008GR. Please read these instructions thoroughly before installation, operation, or maintenance to ensure proper use and to prevent potential hazards. Keep this manual for future reference.
Safety Information
WARNING: Risk of Electric Shock
- Always disconnect power before cleaning, servicing, or performing maintenance.
- Ensure the unit is properly grounded. Do not remove the grounding prong from the power cord.
- Do not use extension cords with this appliance.
- Do not store explosive substances such as aerosol cans with a flammable propellant in this appliance.
CAUTION:
- This appliance is intended for commercial use only.
- Do not block air vents inside or outside the unit.
- Ensure adequate ventilation around the unit for proper operation.
- Keep all packaging materials away from children.
Unpacking and Installation
1. Unpacking
Carefully remove all packaging materials, including the wooden crate and pallet. Inspect the freezer for any shipping damage. Report any damage immediately to the carrier and your supplier.
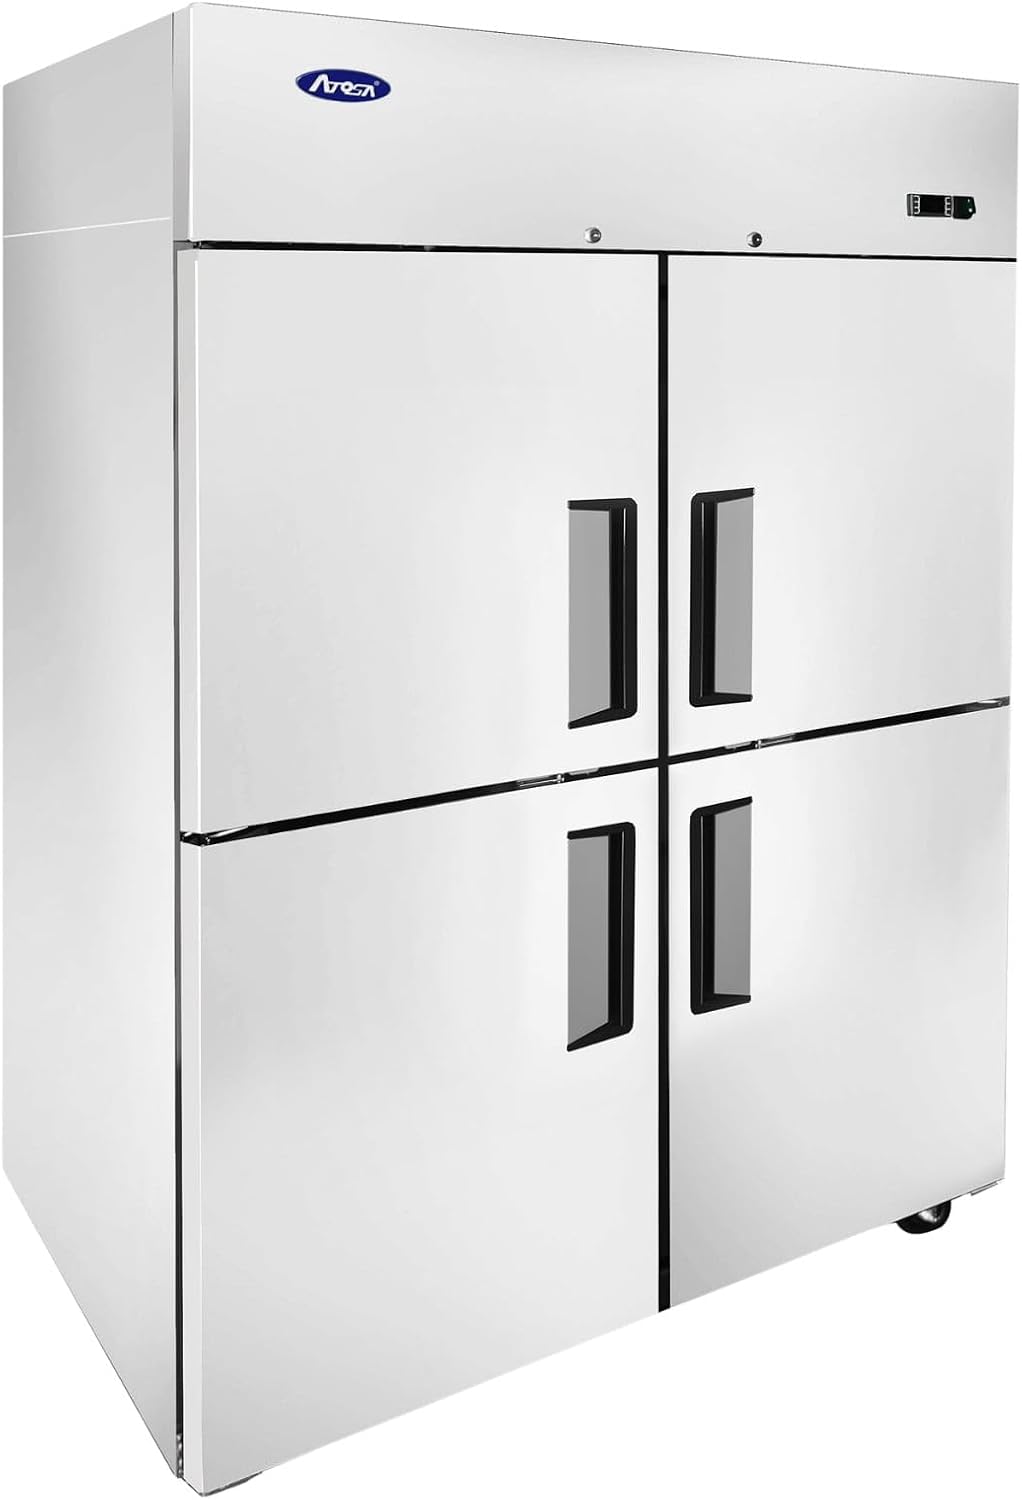
Image: Exterior view of the Atosa Commercial Upright Freezer. This shows the stainless steel finish and the four half-doors.
2. Location
- Place the unit on a strong, level surface capable of supporting the freezer's weight when fully loaded.
- Avoid direct sunlight or proximity to heat-generating equipment (e.g., ovens, fryers).
- Ensure at least 6 inches of clearance around the back and sides for proper air circulation.
3. Leveling
The freezer is equipped with 4-inch casters for mobility. Use a level to ensure the unit is perfectly level. Adjust the casters if necessary to prevent door misalignment and ensure proper sealing.
4. Electrical Connection
- Connect the freezer to a dedicated 115V/60Hz/1-ph electrical outlet with a NEMA 5-15P plug.
- Do not overload the circuit.
- Verify that the power supply matches the requirements listed on the unit's data plate.
5. Initial Startup
After installation, wait at least 2 hours before plugging in the unit to allow refrigerants to settle. Once plugged in, the unit will begin cooling. Allow several hours for the freezer to reach its operating temperature before loading products.
Operating Instructions
1. Digital Temperature Control
The freezer features a digital temperature controller located at the top of the unit. The factory preset temperature range is -8°F to 0°F (-22°C to -18°C).
Setting the Temperature:
- Press the "SET" button. The current set point temperature will flash.
- Use the "Up" or "Down" arrows to adjust the desired temperature.
- Press "SET" again to confirm the new setting.
2. Loading the Freezer
Distribute products evenly on the adjustable shelves. Do not block the internal air vents, as this can impede airflow and affect cooling efficiency. Ensure doors are closed securely after each use.

Image: Interior view of the Atosa Commercial Upright Freezer with all four half-doors open, showing the adjustable shelves and LED lighting.
3. Interior LED Lighting
The freezer is equipped with energy-efficient LED lighting for enhanced visibility. The lights typically activate when the doors are opened.
Maintenance
WARNING: Disconnect power before performing any maintenance.
1. Cleaning the Interior
- Regularly clean the interior with a mild soap and warm water solution.
- Rinse thoroughly with clean water and dry with a soft cloth.
- Do not use abrasive cleaners, steel wool, or harsh chemicals, as these can damage the stainless steel surfaces.
2. Cleaning the Exterior
Wipe down the stainless steel exterior with a soft cloth and a non-abrasive stainless steel cleaner. For galvanized steel back, use a damp cloth.
3. Condenser Coil Cleaning
The condenser coil, located at the top of the unit, should be cleaned every 30 days or as needed. A dirty condenser coil reduces efficiency and can lead to compressor failure.
- Disconnect power to the unit.
- Remove the top grille to access the condenser coil.
- Use a stiff brush or vacuum cleaner with a brush attachment to remove dust and debris from the coil fins.
- Replace the top grille and reconnect power.
4. Defrosting
This unit features an automatic electric defrost system. However, if excessive ice buildup occurs, manual defrosting may be necessary. To manually defrost, remove all products, disconnect power, and leave the doors open until ice melts. Clean and dry the interior before restarting.
Troubleshooting
| Problem | Possible Cause | Solution |
|---|---|---|
| Unit not cooling | No power; thermostat set too high; dirty condenser coil; door left open. | Check power supply; adjust thermostat; clean condenser; ensure doors are closed. |
| Excessive running time | Dirty condenser coil; ambient temperature too high; frequent door openings. | Clean condenser; ensure proper ventilation; minimize door openings. |
| Water on floor | Drain line clogged; drain pan overflowing. | Clear drain line; check drain pan for proper positioning. |
| Noisy operation | Loose parts; unit not level; fan motor issue. | Check for loose components; level the unit; contact service for fan issues. |
If troubleshooting steps do not resolve the issue, contact qualified service personnel.
Specifications
- Model: MBF8008GR
- Capacity: 34.2 cu. ft.
- Dimensions (D x W x H): 31.75" x 51.75" x 81.25"
- Weight: 403 lbs
- Temperature Range: -8°F to 0°F (-22°C to -18°C)
- Refrigerant: R290 Hydrocarbon
- Compressor: 3/4 HP
- Electrical: 115V/60Hz/1-ph, 8.6 Amps
- Plug Type: NEMA 5-15P
- Shelves: Adjustable, 3 per section (total 6)
- Material: Stainless Steel interior and exterior, galvanized steel back
- Features: Top mount self-contained refrigeration, digital temperature control, automatic evaporation, electric defrost, 4" casters, LED interior lighting.
Warranty and Support
For warranty information and technical support, please refer to the warranty card included with your product or visit the official Atosa website. Keep your purchase receipt and model number readily available when contacting support.
Atosa Official Website: www.atosausa.com
Related documentsMBF8008GR


Ask a question about this manual
Ask about setup, troubleshooting, compatibility, parts, safety, or missing instructions. Manuals+ will review the question and use this page’s manual context to help answer it.