FFIQQ B0DSBPSJ6D
FFIQQ 55-75 Gallon Fish Tank Stand User Manual
Model: B0DSBPSJ6D
1. Introduction
1.1 Product Overview
This manual provides comprehensive instructions for the assembly, operation, and maintenance of your FFIQQ 55-75 Gallon Fish Tank Stand. Designed for durability and functionality, this stand features a heavy-duty metal frame, P2 plastic board, integrated power outlets, USB ports, and smart LED lighting. It is suitable for various aquariums, including fish tanks, turtle tanks, and reptile terrariums.
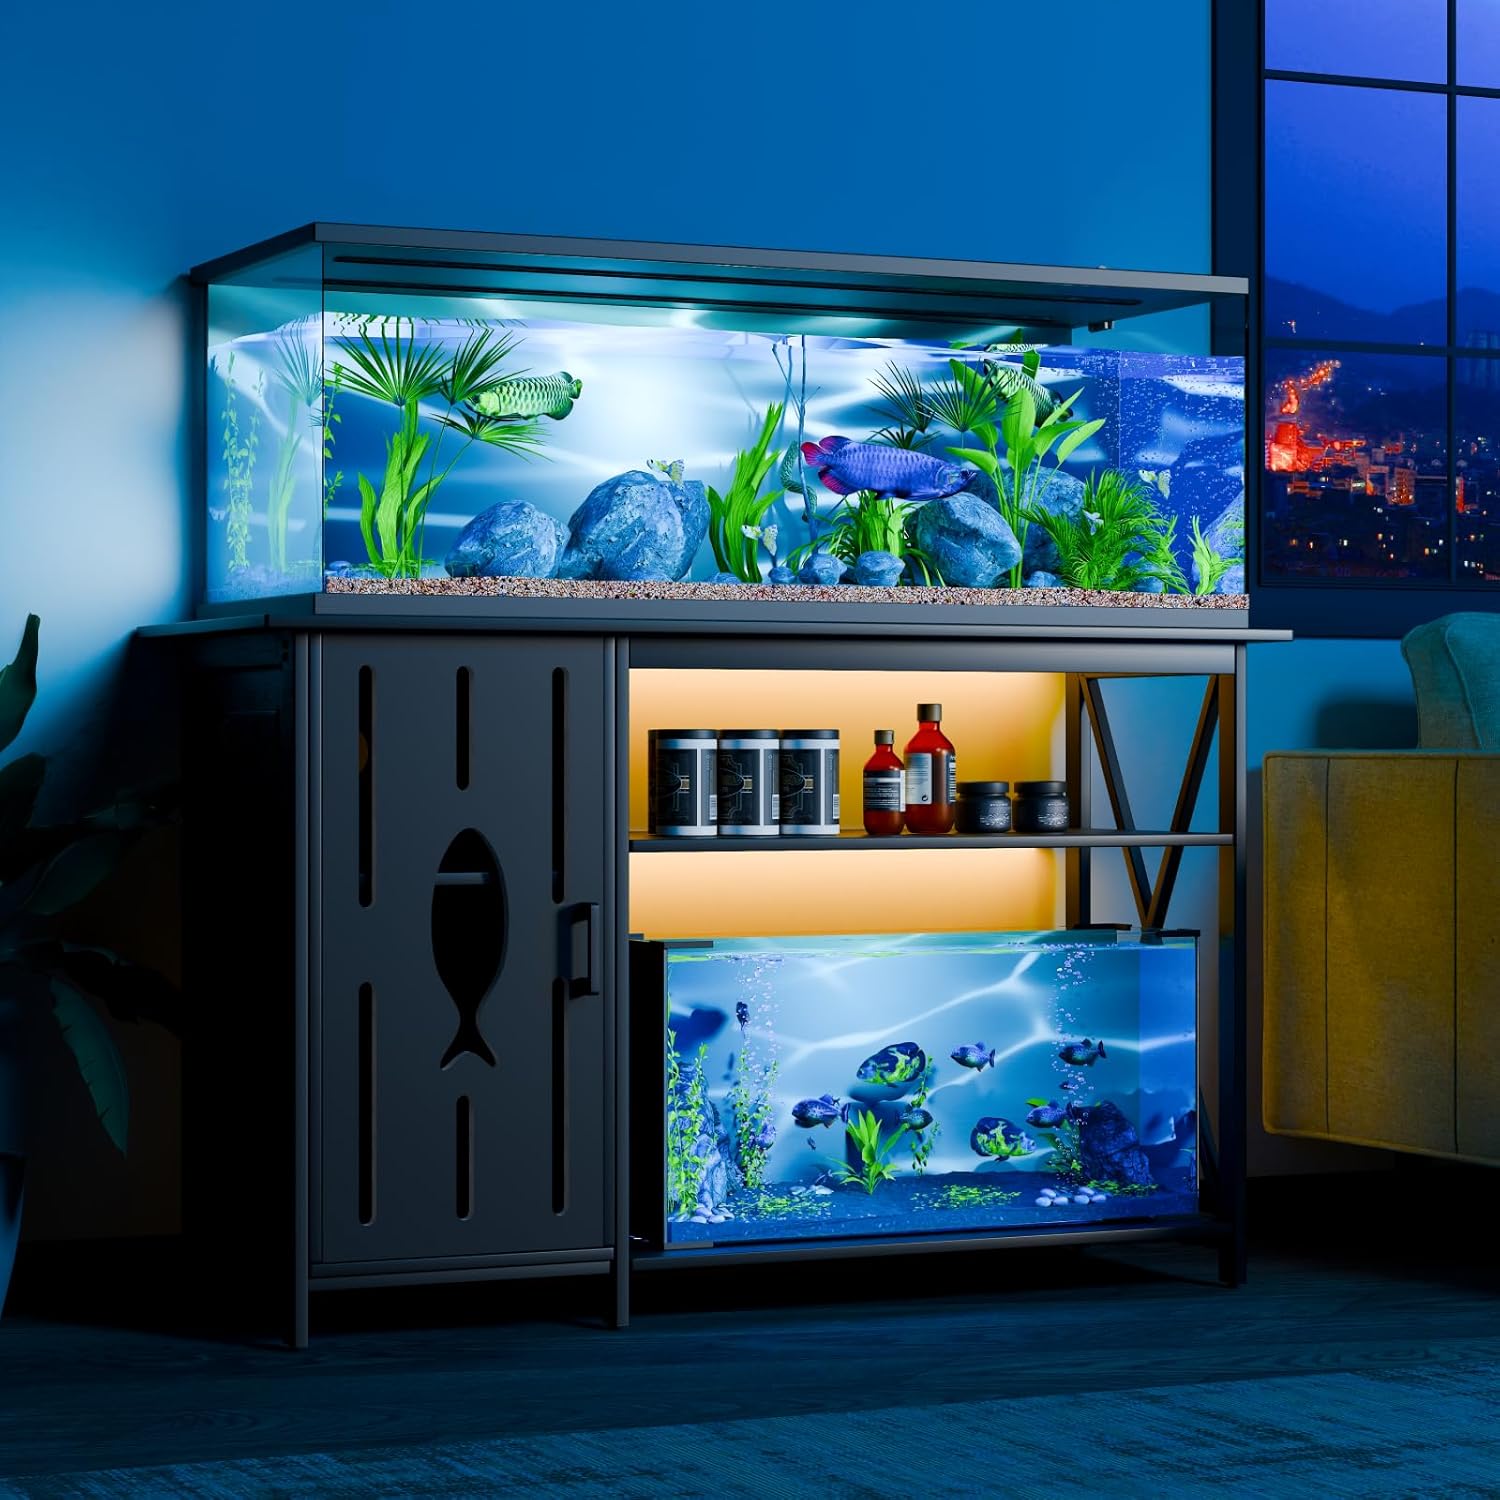
Figure 1.1: FFIQQ Fish Tank Stand supporting two aquariums, showcasing its design and capacity.

Figure 1.2: Key features of the FFIQQ Fish Tank Stand, including its unique design elements and integrated functionalities.
1.2 Package Contents
Please verify that all components are present before beginning assembly. If any parts are missing or damaged, contact customer support.
- Main Frame Components (Metal)
- P2 Plastic Board Panels (Top, Bottom, Shelves, Cabinet)
- Cabinet Door with Fish Pattern
- Adjustable Shelf Partition
- Integrated Power Strip (2 USB ports, 3 AC outlets)
- Smart RGB LED Strip Light with Controller
- Assembly Hardware (Screws, Bolts, Wrenches, etc.)
- Adjustable Foot Pads
- Instruction Manual (This document)
2. Safety Information
Read all safety warnings and instructions carefully before assembly and use to prevent injury or damage to the product or property.
- Weight Capacity: Do not exceed the maximum load capacity of 800 pounds for the top surface and 150 pounds for the bottom shelf. Overloading can cause structural failure and damage.
- Level Surface: Always place the stand on a flat, level, and stable surface to prevent tipping.
- Water and Electricity: Exercise extreme caution when handling electrical components near water. Ensure all connections are secure and dry. Do not immerse the power strip or LED lights in water.
- Assembly: Assembly requires at least two people for safety and ease. Follow all assembly steps precisely.
- Ventilation: Ensure adequate ventilation around electrical components to prevent overheating.
- Children and Pets: Keep small parts and packaging materials away from children and pets during assembly.
3. Setup and Assembly
3.1 Before You Begin
Clear an open area for assembly. Lay out all parts and hardware. It is recommended to have a second person assist with assembly.

Figure 3.1: Product dimensions and load capacities. Top surface: 52"L x 18.89"W, 800 lbs capacity. Bottom shelf: 31.88"L x 18.97"H, 150 lbs capacity.
3.2 Assembly Steps
- Unpack and Identify Parts: Carefully remove all components from the packaging. Refer to the parts list in Section 1.2 and the included diagram to identify each piece.
- Assemble the Main Frame: Connect the metal frame components using the provided screws and tools. Ensure all connections are tightened securely but do not overtighten.
- Attach Board Panels: Secure the top, bottom, and side P2 plastic board panels to the assembled metal frame. Pay attention to the orientation of each panel.
- Install Cabinet and Shelves:
- Attach the cabinet door with the fish pattern to the designated side using the hinges.
- Insert the adjustable shelf partition into the cabinet as desired. This shelf can be removed to accommodate larger items like filters.
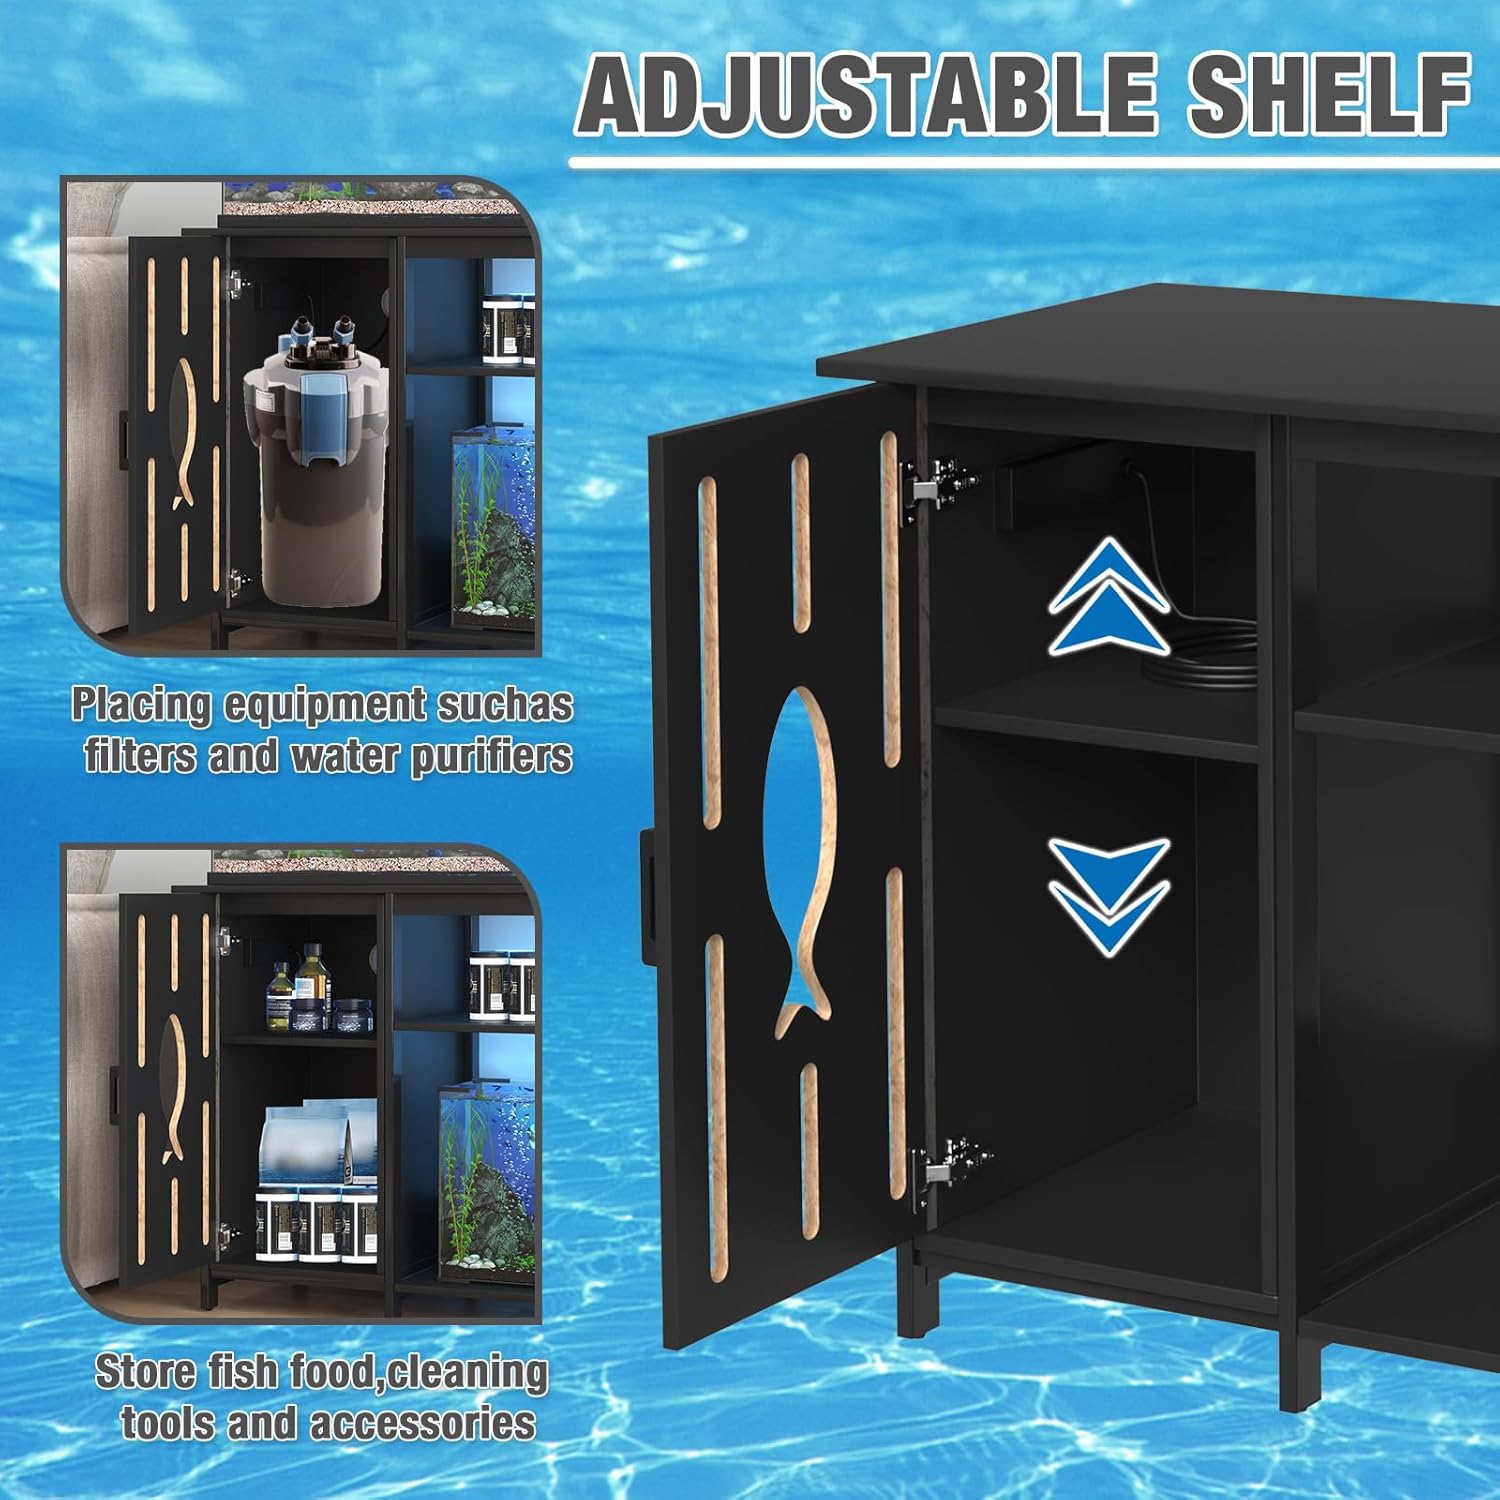
Figure 3.2: The adjustable shelf allows for flexible storage configurations, accommodating various accessories or equipment.
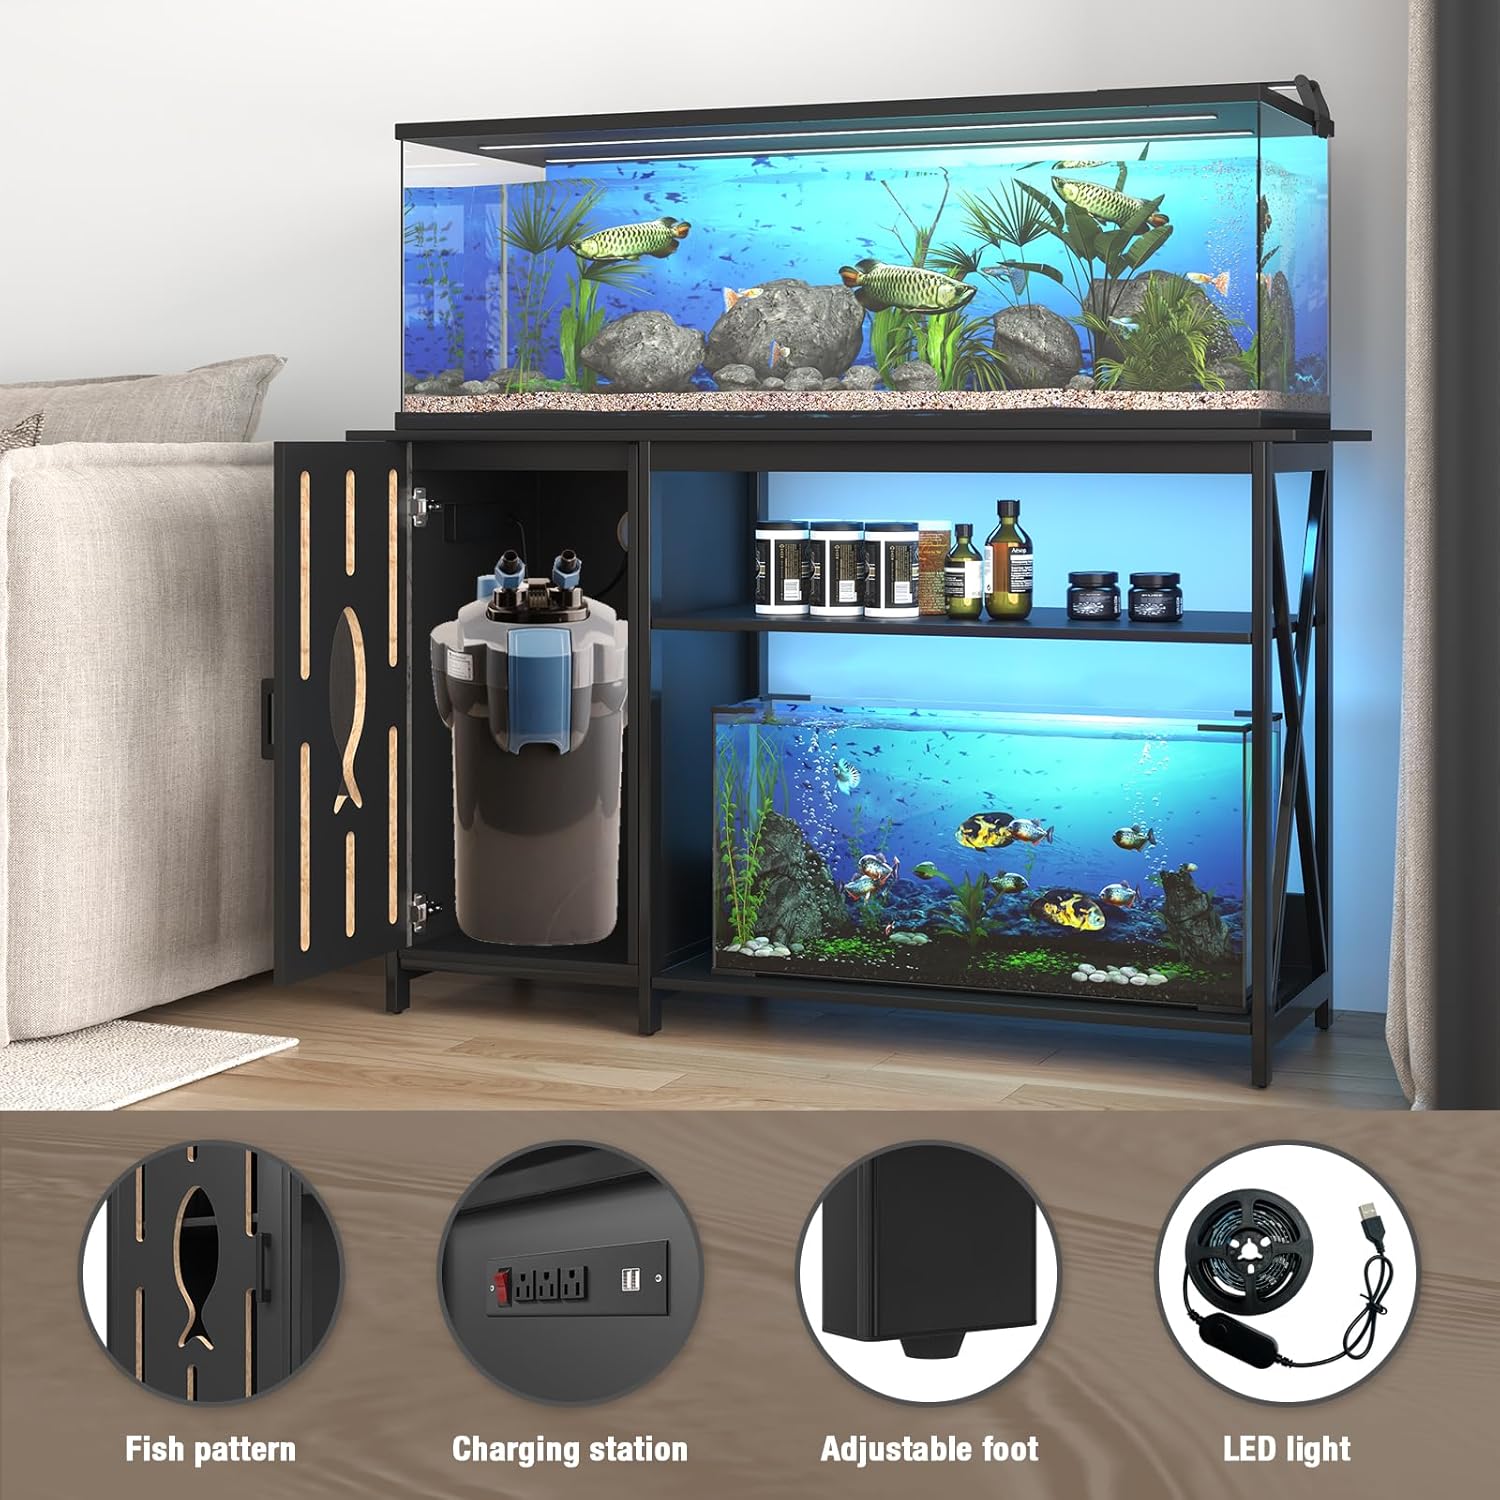
Figure 3.3: The spacious cabinet can store fish food, cleaning tools, or larger equipment like external filters.
- Install Power Strip: Mount the integrated power strip in its designated location, typically on the side or back panel. Ensure the power cord can reach an outlet safely. A 7-centimeter diameter circular hole is provided for wire management.
- Attach LED Strip Light: The stick-on LED strip can be installed underneath the board. Clean the surface before applying the adhesive.
- Attach Adjustable Foot Pads: Screw the adjustable foot pads into the bottom of the stand. Adjust them to ensure the stand is perfectly level and stable on your floor.
- Final Check: Double-check all screws and connections to ensure they are tight and secure.
4. Operating Instructions
4.1 Power Outlets and USB Ports
The stand is equipped with a built-in charging station for convenience.
- AC Outlets: The three 125V/12A AC outlets are suitable for powering aquarium equipment such as filters, heaters, and air pumps.
- USB Ports: The two 5V/2A USB ports can be used to charge mobile devices or power USB-compatible accessories.
- Power Switch: Use the integrated switch to turn power to the outlets and USB ports on or off.
- Cable Management: Utilize the circular hole on the back of the storage cabinet to neatly route power cords and other cables, maintaining a tidy setup.

Figure 4.1: The charging station provides convenient power access for aquarium equipment and personal devices.

Figure 4.2: The 6.5-foot power cord provides ample length for connecting to a wall outlet.
4.2 Smart LED Lighting System
The integrated RGB LED strip light enhances the aesthetic of your aquarium setup.
- Color Control: The LED lights offer over 60,000 colors and various flashing modes. Control can be done via a mobile application or the physical control buttons on the strip.
- Music Sync Function: The built-in microphone allows the LED light color to change rhythmically with sound and music, creating a dynamic display.
- Timing Function: Set schedules for the lights to turn on and off automatically using the mobile application.

Figure 4.3: Features of the smart LED lighting system, controllable via app or buttons.
5. Maintenance
Proper maintenance will ensure the longevity and appearance of your fish tank stand.
- Cleaning: Wipe down the stand regularly with a soft, damp cloth. Avoid abrasive cleaners or harsh chemicals that could damage the finish.
- Spills: Immediately wipe up any water spills from the aquarium to prevent water damage to the stand's surfaces or electrical components.
- Hardware Check: Periodically check all screws and connections to ensure they remain tight. Retighten if necessary.
- Electrical Components: Keep the power outlets, USB ports, and LED strip dry and free from dust. Do not attempt to repair damaged electrical components; contact a qualified technician.
6. Troubleshooting
This section addresses common issues you might encounter.
| Problem | Possible Cause | Solution |
|---|---|---|
| Stand is wobbly or unstable. | Uneven floor; loose assembly hardware. | Adjust the foot pads until the stand is level. Tighten all assembly screws. Ensure the stand is on a flat surface. |
| Power outlets/USB ports not working. | Power switch is off; stand not plugged in; circuit breaker tripped; faulty connection. | Ensure the power switch on the stand is ON. Verify the stand's power cord is securely plugged into a working wall outlet. Check your household circuit breaker. Ensure internal connections of the power strip are secure (if accessible and safe to check). |
| LED lights not turning on or changing color. | LED strip not properly connected; app control issue; faulty LED strip. | Check the connection of the LED strip to its controller and power source. Ensure the mobile app is correctly paired and updated. Try using the physical control buttons. |
| Cabinet door does not close properly. | Hinges are loose or misaligned. | Adjust or tighten the screws on the hinges. Ensure the cabinet frame is square. |
7. Specifications
Technical specifications for the FFIQQ Fish Tank Stand.
| Feature | Detail |
|---|---|
| Brand | FFIQQ |
| Model Number | B0DSBPSJ6D |
| Product Dimensions (L x W x H) | 52 x 19.86 x 31.88 inches |
| Top Load Capacity | 800 Pounds |
| Bottom Load Capacity | 150 Pounds |
| Material | Heavy Duty Galvanized Steel Frame, High-Density Thickened P2 Plasticboard |
| Power Outlets | 3 x 125V/12A AC Outlets |
| USB Ports | 2 x 5V/2A USB Ports |
| Power Cord Length | 6.5 Feet |
| LED Light Features | RGB Colors (60,000+), Music Sync, Timing Function, App Control |
| Assembly Required | Yes |
| Color | Black |
8. Warranty and Support
For warranty information or technical support, please refer to the contact details provided with your purchase or visit the official FFIQQ website. Keep your purchase receipt for warranty claims.
Ask a question about this manual
Ask about setup, troubleshooting, compatibility, parts, safety, or missing instructions. Manuals+ will review the question and use this page’s manual context to help answer it.