1. Introduction
Thank you for purchasing the AOCKK Portable Projector. This manual provides essential information for setting up, operating, and maintaining your device. Please read it thoroughly before use to ensure optimal performance and longevity of your projector.
2. What's in the Box
Carefully unpack all items and ensure you have received the following:
- AOCKK Portable Projector
- Remote Control
- Power Adapter
- HDMI Cable
- User Manual
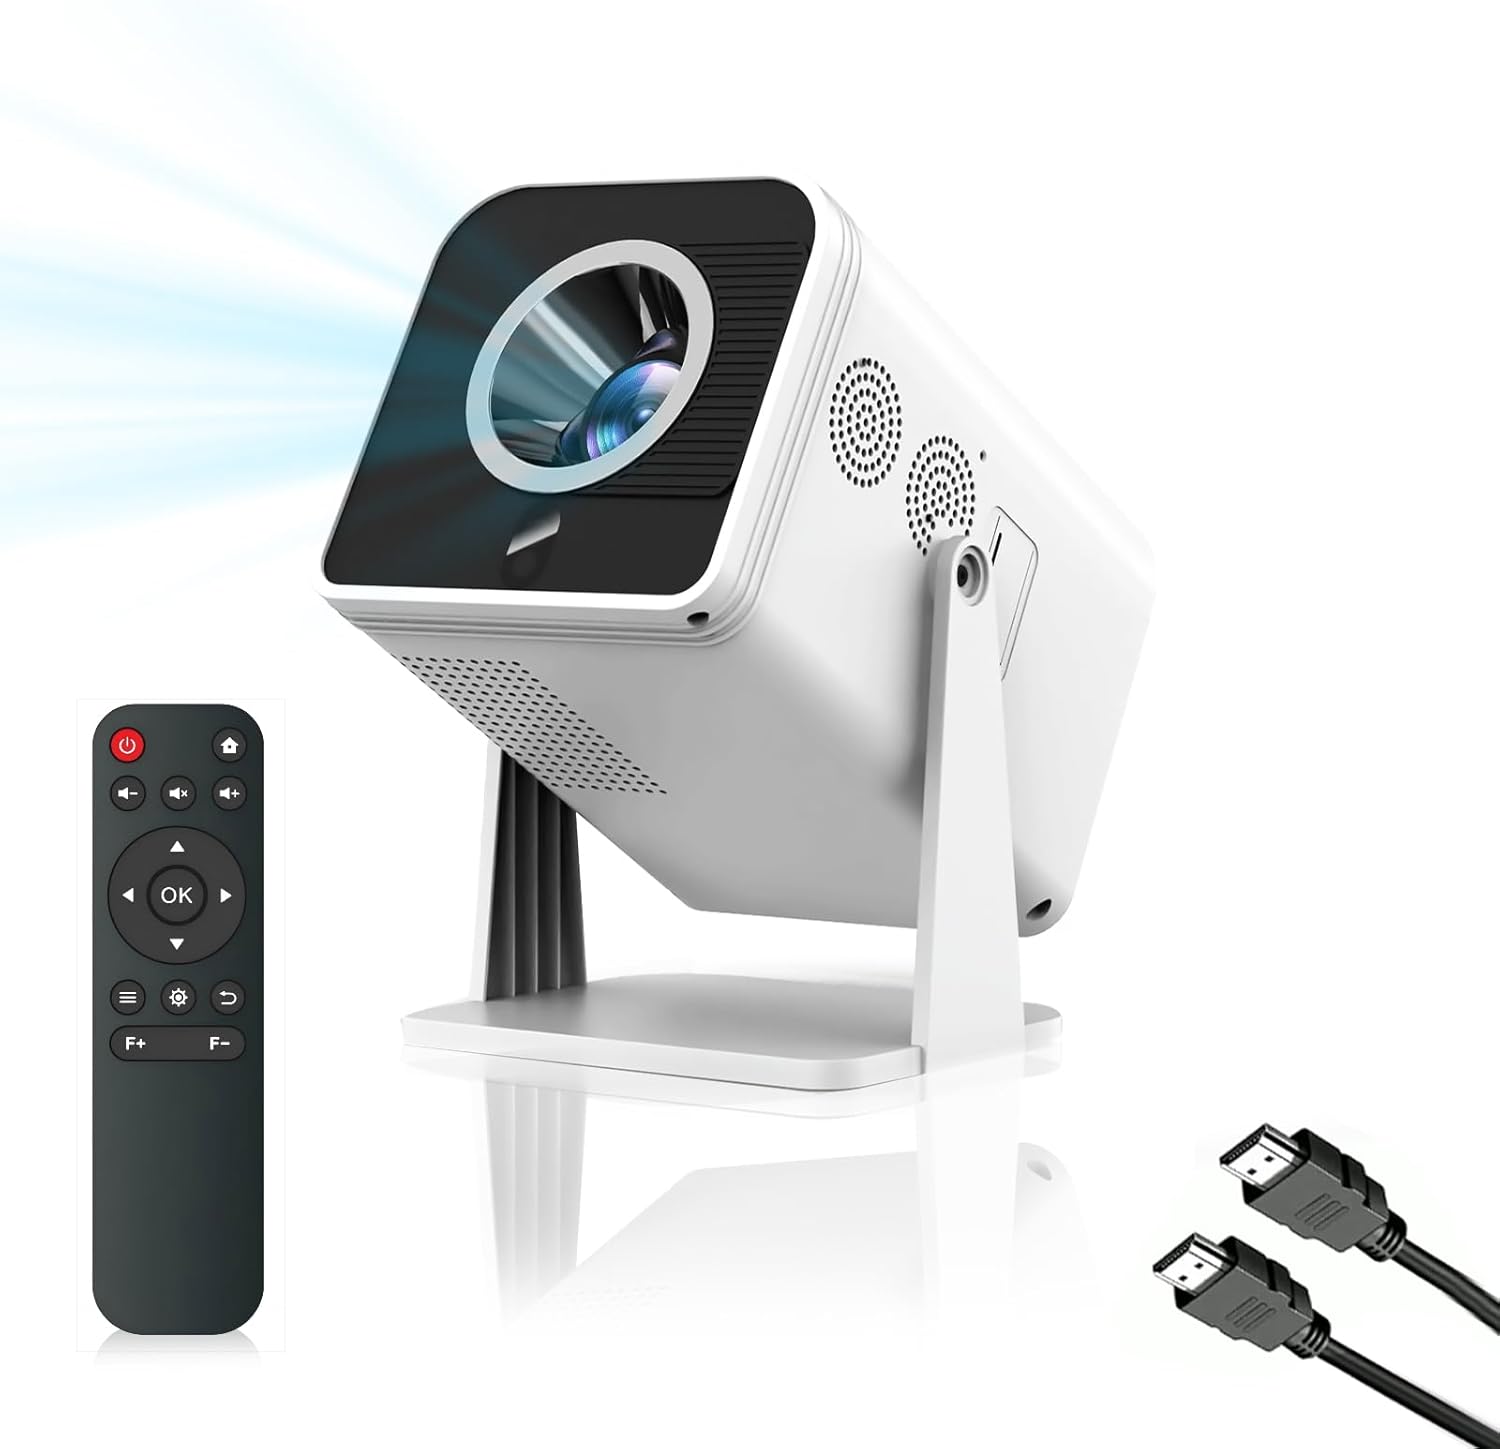
Image: The AOCKK Portable Projector, its remote control, and two HDMI cables, illustrating the main components included in the package.
3. Setup
3.1 Placement
Place the projector on a stable, flat surface. The projector features a 180° adjustable angle, allowing projection onto walls or ceilings. Ensure there is adequate ventilation around the device.

Image: A diagram illustrating the 180-degree adjustable angle feature of the projector, showing its flexibility in projection direction.
3.2 Power Connection
- Connect the power adapter to the projector's power input port.
- Plug the power adapter into a wall outlet.
- Press the power button on the projector or remote control to turn on the device.
3.3 Focusing
The AOCKK Portable Projector features electric focusing for easy picture adjustment. Use the 'F+' and 'F-' buttons on the remote control to achieve a clear image.

Image: The projector displaying an image, with a hand holding the remote control highlighting the 'F+' and 'F-' buttons for electric focusing. The image also shows various input interfaces like HDMI, USB, and 3.5mm audio.
4. Operating Instructions
4.1 Connectivity
The projector supports various input sources:
- HDMI: Connect to smartphones, iPads, laptops, PCs, TV sticks, and game consoles.
- USB: Connect to mobile hard disks or U disks for media playback.
- 3.5mm Audio: Connect to headphones or external loudspeakers.
4.2 Bluetooth Connection
The projector features Bluetooth 5.3 technology for stable and fast transmission. To connect Bluetooth speakers or headphones:
- Ensure your Bluetooth device is in pairing mode.
- Navigate to the Bluetooth settings on the projector's interface.
- Select your device from the list to pair.

Image: A living room scene showing the projector wirelessly connected via Bluetooth to external speakers, emphasizing the built-in stereo speaker and movie-like sound experience.
4.3 Screen Size Adjustment
The projector can display screen sizes ranging from 50 to 200 inches, depending on the projection distance. Adjust the projector's distance from the wall to achieve your desired screen size.

Image: A visual representation demonstrating how different projection distances (e.g., 4.92ft, 8.2ft, 17ft) result in varying screen sizes (50", 84", 200").
5. Specifications
| Feature | Description |
|---|---|
| Model | B0DS9P5YTS |
| Native Resolution | 1080P |
| 4K Compatibility | Yes |
| Brightness | 15000 Lumens |
| Contrast Ratio | 12000:1 |
| Connectivity Technology | USB, HDMI, 3.5mm Audio, Bluetooth 5.3 |
| Special Feature | Portable, Electric Focus, 180° Adjustable Angle, HiFi Speaker |
| Projection Size | 50-200 inches |
| Item Weight | 3.83 pounds |
| Package Dimensions | 11.14 x 7.76 x 7.28 inches |
| Manufacturer | AOCKK |
| UPC | 739017706765 |
6. Maintenance
6.1 Cleaning the Lens
Use a soft, lint-free cloth specifically designed for optical lenses to gently wipe the projector lens. Avoid using abrasive materials or harsh chemicals.
6.2 Ventilation
Ensure the projector's ventilation ports are clear of obstructions to prevent overheating. The projector features efficient heat dissipation and low noise operation.

Image: The AOCKK Portable Projector placed on a small side table next to a sofa, indicating its quiet operation and efficient heat dissipation during use.
6.3 Storage
When not in use, store the projector in a cool, dry place, away from direct sunlight and extreme temperatures. Use the original packaging or a protective case to prevent dust accumulation and damage.
7. Troubleshooting
If you encounter issues with your projector, refer to the following common problems and solutions:
- No Power:
- Ensure the power adapter is securely connected to both the projector and a working power outlet.
- Try a different power outlet. - No Image:
- Check the input source selection on the projector to ensure it matches your connected device (e.g., HDMI1, USB).
- Verify that the HDMI or USB cable is securely connected to both the projector and the source device.
- Ensure the source device is powered on and outputting a signal. - Blurry Image:
- Use the 'F+' and 'F-' buttons on the remote control to adjust the electric focus until the image is clear.
- Ensure the projection surface is flat and smooth. - No Sound:
- Check the volume settings on both the projector and the source device.
- If using external speakers or headphones, ensure they are properly connected or paired via Bluetooth.
- Verify that the audio output setting on your source device is correctly configured. - Connectivity Issues (HDMI/USB):
- Try using a different HDMI or USB cable.
- Test the source device with another display to confirm it is functioning correctly.
8. Warranty and Support
The AOCKK Portable Projector comes with a standard manufacturer's warranty. For specific warranty details, please refer to the documentation included with your purchase or contact AOCKK customer support.
If you require further assistance or have questions not covered in this manual, please contact AOCKK customer support through their official website or the retailer where you purchased the product.