Introduction
Thank you for choosing VARICART RGBCW LED Recessed Ceiling Lights. This manual provides essential information for the safe and efficient installation, operation, and maintenance of your new lighting system. Please read these instructions thoroughly before installation and retain them for future reference.

Image: Overview of the VARICART 6-inch RGBCW LED Recessed Ceiling Lights and included remote control.
What's in the Box
- 6 x 6-inch RGBCW LED Recessed Lights
- 6 x Junction Boxes
- 2 x Remote Controls
- 1 x Instruction Manual
Specifications
| Brand | VARICART |
| Model Number | TD3C002 |
| Size | 6 Inch (5 / 6 Inch compatible) |
| Color Temperature | RGBCW (2700K-6000K Tunable White) |
| Brightness | 1500 Lumens |
| Wattage | 16 Watts |
| Dimming Range | 0.5% - 100% |
| Control Method | Remote Control |
| Voltage | 120 Volts (AC) |
| Special Features | Flicker Free, Memory Function, 3 Dynamic Lighting Modes, Delayed Off, IC Rated, ETL Certified, Waterproof |
| Material | Aluminum, Plastic |
| Indoor/Outdoor Usage | Indoor, Outdoor |
Safety Information
- Always turn off power at the circuit breaker before beginning installation.
- Consult a qualified electrician if you are unsure about the installation process.
- Do not use with traditional wall dimmer switches. Use only the included remote control for dimming.
- Ensure all electrical connections are secure and comply with local electrical codes.
- This product is IC rated, suitable for direct contact with insulation.
Installation
Preparation
- Turn off power at the circuit breaker.
- Using the provided 1:1 hole template, mark and cut a hole in the ceiling (recommended hole cutout sizes: 5.6"-6.7").
- Ensure there is sufficient depth (recommended hole depth: 1.65") and clearance for the junction box and light fixture.
Wiring the Junction Box
- Open the junction box cover.
- Connect the house wiring to the wires inside the junction box: black to black (live), white to white (neutral), and green to green (ground). Secure connections using appropriate wire connectors.
- Close the junction box cover and tuck it into the ceiling opening.
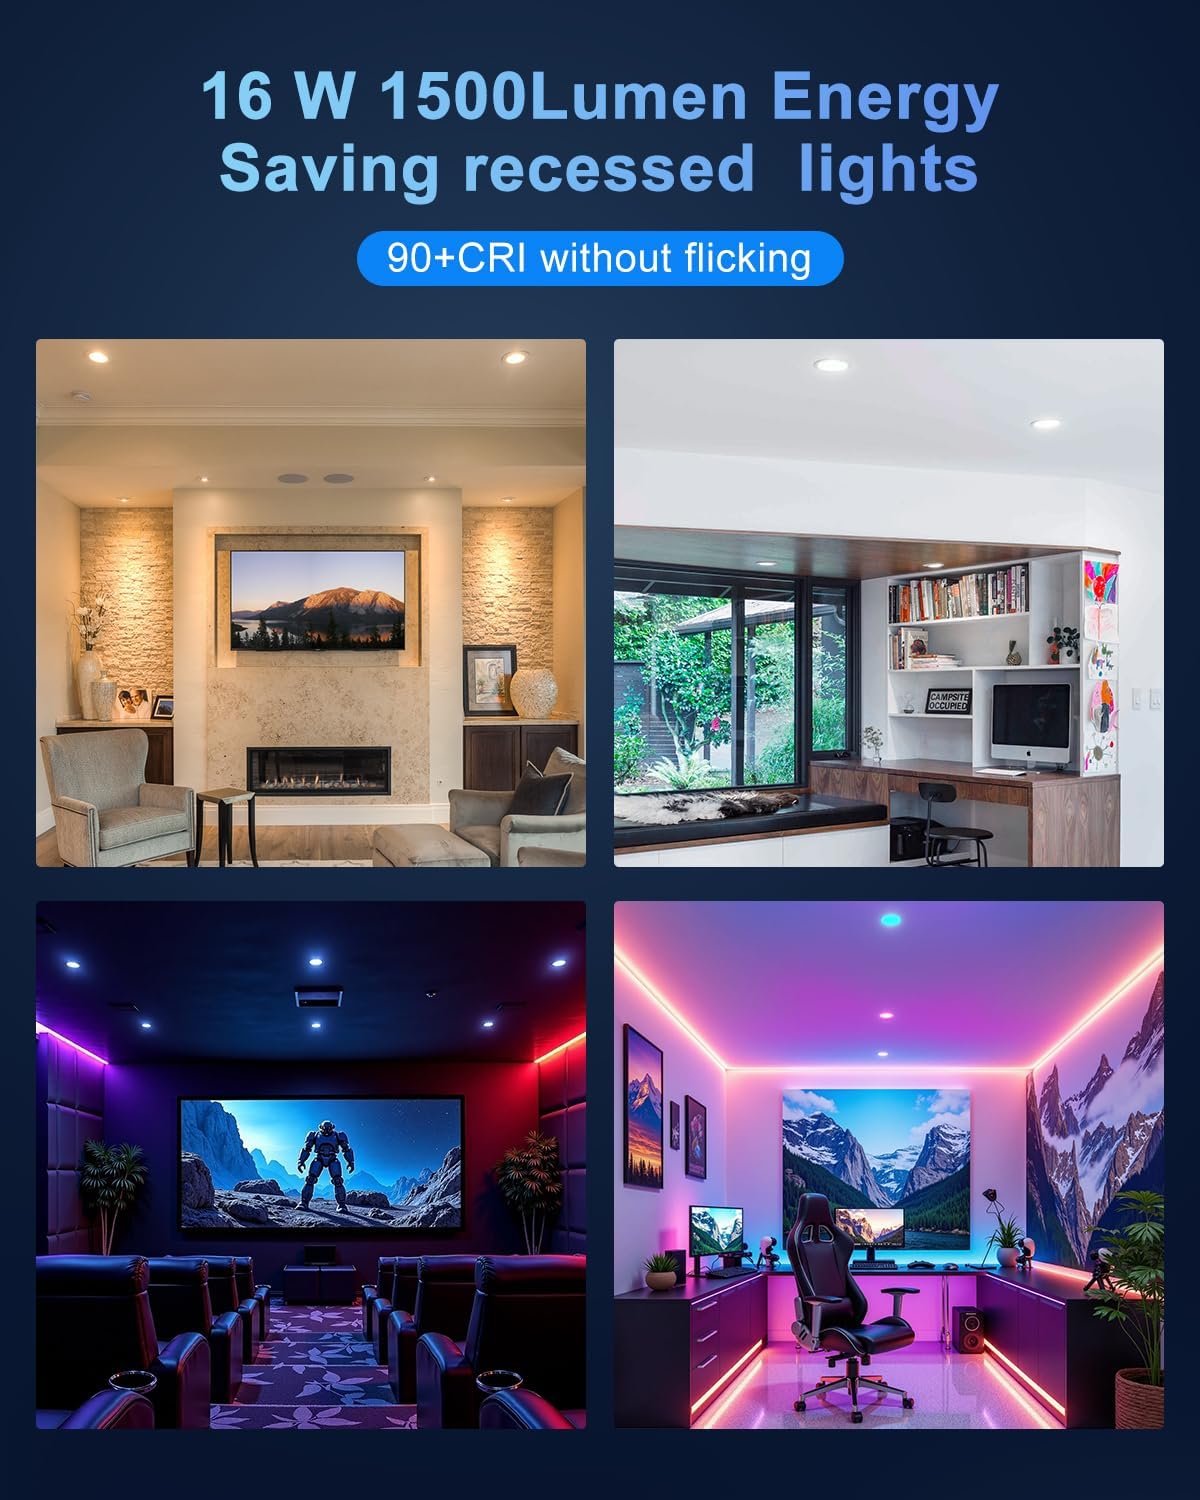
Image: Detailed view of the junction box wiring connections.
Video: This video demonstrates the unboxing, wiring of the junction box, and installation process for the recessed lights.
Mounting the Light
- Connect the male connector from the recessed light to the female connector from the junction box.
- Push the spring clips on the sides of the light fixture upwards.
- Insert the light fixture into the ceiling hole. The spring clips will automatically secure the light against the ceiling.
- Restore power at the circuit breaker.

Image: Step-by-step visual guide for installing the recessed ceiling lights.
Operating Instructions
Remote Control Overview
The included remote control allows for easy adjustment of all light functions. Ensure the remote has a working battery (1 x 9V battery included).

Image: Detailed layout of the remote control buttons and their functions.
Color and Brightness Adjustment
- Power On/Off: Press the green (ON) or red (OFF) button.
- Brightness: Use the 100%, 50%, 30%, 10%, 0.5% buttons for preset brightness levels, or the up/down arrows for stepless dimming (0.5%-100%).
- Color Temperature: Select Warm White (WW), Soft White (SW), Daylight White (DW), or Cool White (CW) buttons for white light options (2700K-6000K).
- RGB Colors: Choose from 12 static RGB colors using the dedicated color buttons.

Image: Visual representation of the RGBCW color and brightness adjustment features.
Dynamic Lighting Modes
The lights feature 3 dynamic modes for various atmospheres:
- Flash Mode: Party-ready strobes.
- Smooth Mode: Gentle color transitions.
- Romantic Mode: Soft, mood-enhancing hues.
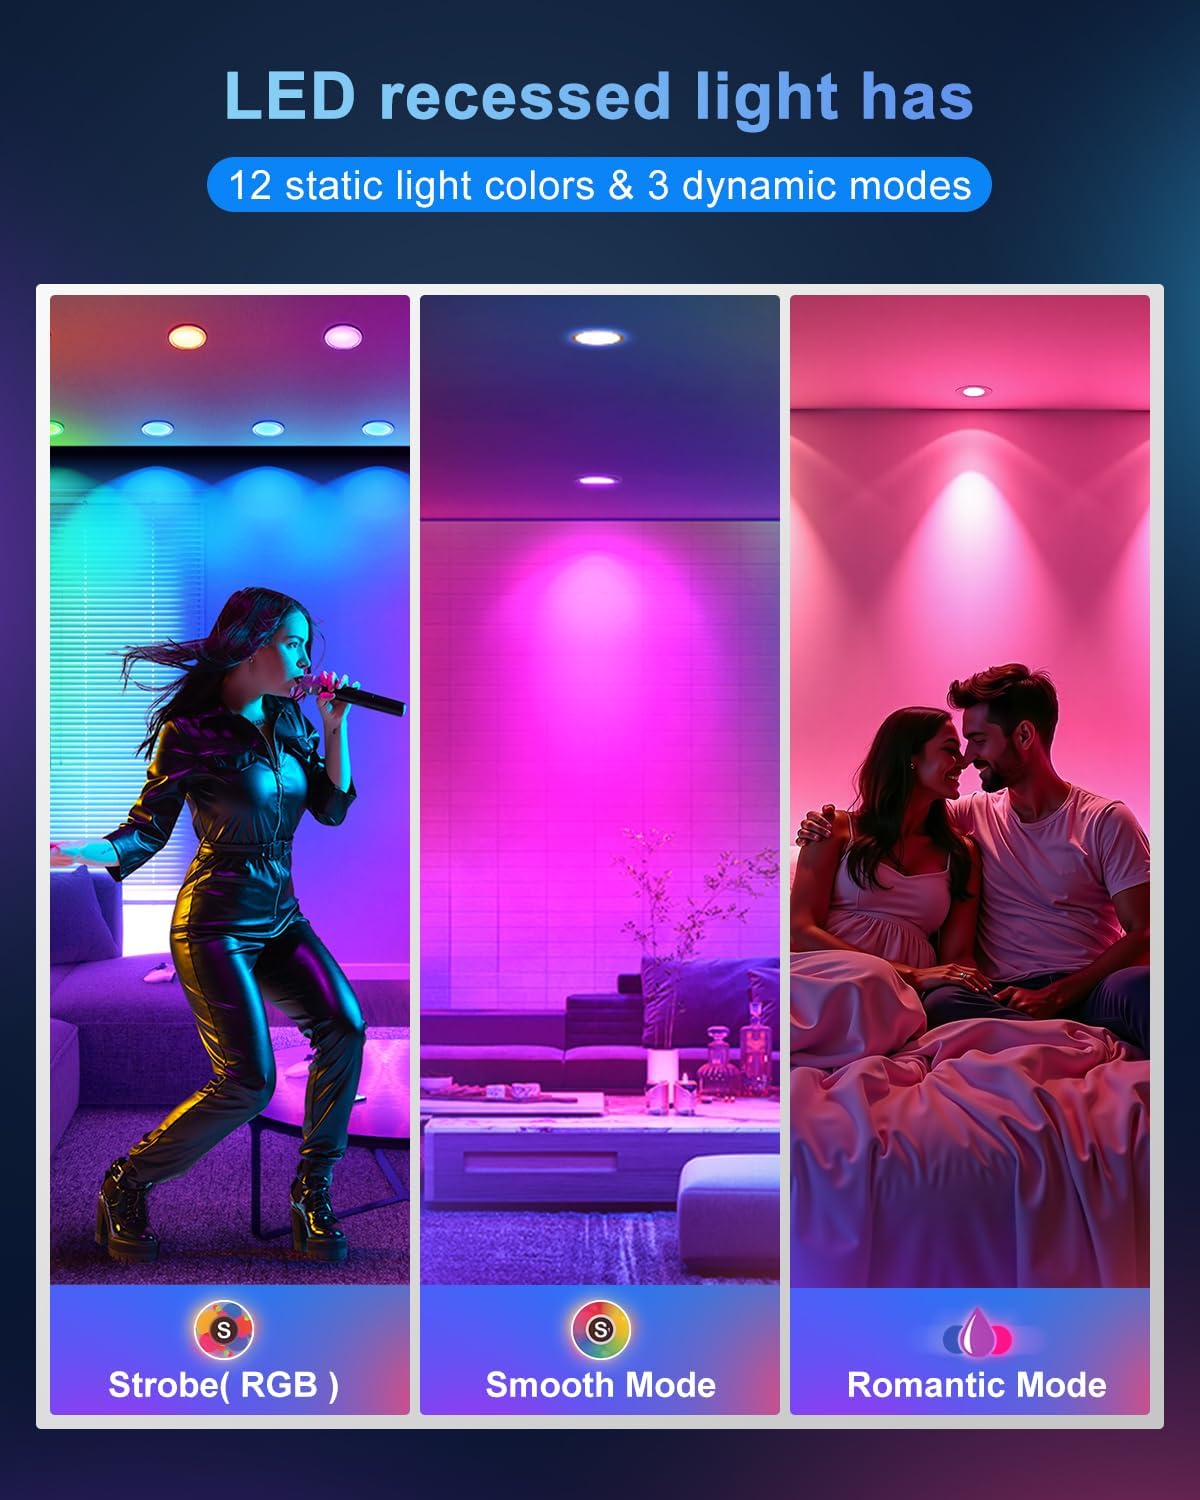
Image: Visual examples of the three dynamic lighting modes.
Memory Function
The lights are equipped with a memory function that recalls the last color or mode used when turned back on.
Delayed Lights Off Function
To activate the delayed lights off function, press the designated button on the remote. Each press adds 1 minute to the delay, allowing you to exit the room before the lights turn off (e.g., press once for 1 minute, twice for 2 minutes).

Image: Visual explanation of the memory and delayed off features.
Maintenance
- Cleaning: Ensure power is off before cleaning. Wipe the light fixture with a soft, dry cloth. Do not use abrasive cleaners or solvents.
- LED Lifespan: The LED chips are integrated and designed for long-term use (18+ years life based on 3 hours/day). No bulb replacement is necessary.
Troubleshooting
- Light not turning on: Check the circuit breaker to ensure power is restored. Verify all wiring connections in the junction box are secure. Ensure the remote control has a working battery and is within range.
- Remote control not responding: Replace the remote control battery. Ensure there are no obstructions between the remote and the light fixture.
- Flickering light: Ensure the light is not connected to a traditional wall dimmer switch. Verify stable power supply.
Warranty and Support
For warranty information or technical support, please refer to the product packaging or contact VARICART customer service through the retailer's platform. Our service team is online to provide you with solutions.