Ninja Ninja DualBrew PRO XL
Ninja DualBrew PRO XL 14-Cup Specialty Coffee Maker
Model: CFP451A
Introduction
Experience ultimate coffee versatility with the Ninja DualBrew PRO XL 14-Cup Specialty Coffee System. Designed for both grounds and pods, it offers 4 customizable brew styles—Classic, Rich, Over Ice, and Specialty. The built-in frother elevates your beverages with creamy froth, while the 70-oz reservoir ensures convenience for multiple cups. The precision warming plate keeps coffee hot for hours, and the 24-hour programmable feature simplifies your routine. Dishwasher-safe components and a sleek design make it a must-have for coffee enthusiasts. Transform your mornings with café-style brewing from the comfort of your home.
Included Components
- Ninja DualBrew PRO XL Coffee Maker
- 70 oz. Removable Water Reservoir
- Glass Carafe with Brew-Through Lid
- Ninja Pod Adapter
- Brew Basket
- Permanent Filter
- Ninja Smart Scoop
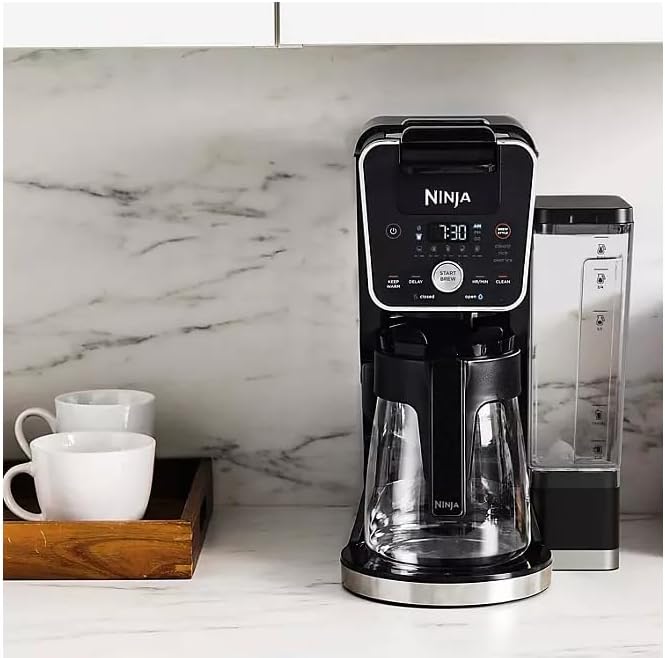
Image: All components of the Ninja DualBrew PRO XL coffee maker, including the main unit, glass carafe, water reservoir, pod adapter, brew basket, and scoop.
Setup
- Unpack and Clean: Carefully remove all components from the packaging. Before first use, wash the glass carafe, brew basket, permanent filter, and water reservoir with warm, soapy water. Rinse thoroughly and dry.
- Position the Reservoir: The 70 oz. removable water reservoir is typically positioned at the back of the unit, but it can also be moved to the side for convenience. Ensure it is securely seated.
- Initial Clean Cycle: Fill the water reservoir to the MAX fill line. Place the empty glass carafe on the warming plate. Select the 'CLEAN' cycle (refer to operating instructions for specific button). Run a full clean cycle to prime the system and remove any manufacturing residues. Discard the water after the cycle is complete.

Image: The Ninja DualBrew PRO XL coffee maker ready for use, showcasing its sleek design and versatility.
Operating Instructions
Power and Control Panel
The power button is located on the right side of the digital control panel. The entire keypad is digital, offering intuitive control over various settings.

Image: The digital control panel of the coffee maker, displaying various brewing options and settings.
Brewing with Grounds
- Open the brew basket lid.
- Insert the permanent filter or a paper filter into the brew basket.
- Use the Ninja Smart Scoop to add your desired amount of coffee grounds to the filter.
- Close the brew basket lid securely.
- Select your desired brew style (Classic, Rich, Over Ice, Specialty) and size using the control dial.
- Press 'START BREW'.
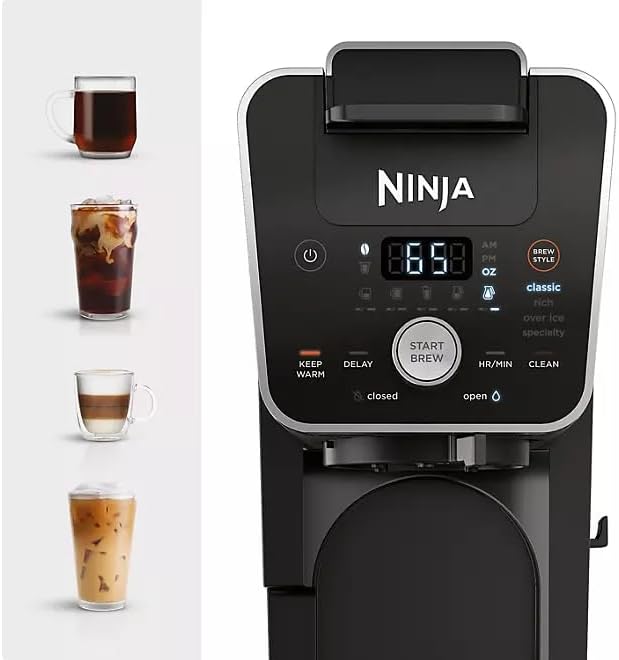
Image: Adding coffee grounds to the brew basket for a fresh pot.
Brewing with Pods
- Ensure the Ninja Pod Adapter is correctly inserted into the brew basket area.
- Lift the handle to open the pod adapter.
- Insert a coffee pod into the adapter.
- Close the handle firmly until it clicks.
- Select your desired brew style and size.
- Press 'START BREW'.
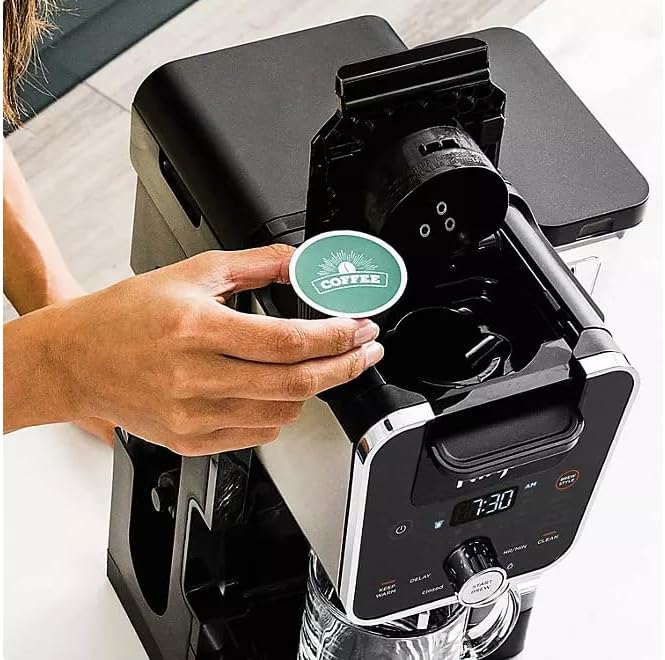
Image: Inserting a coffee pod into the dedicated adapter for single-serve brewing.
Built-in Frother
The integrated fold-away frother allows you to create rich, silky froth from hot or cold milk in seconds. Simply swing out the frother arm, place your cup with milk underneath, and activate the frother. This is ideal for lattes, cappuccinos, and other specialty drinks.
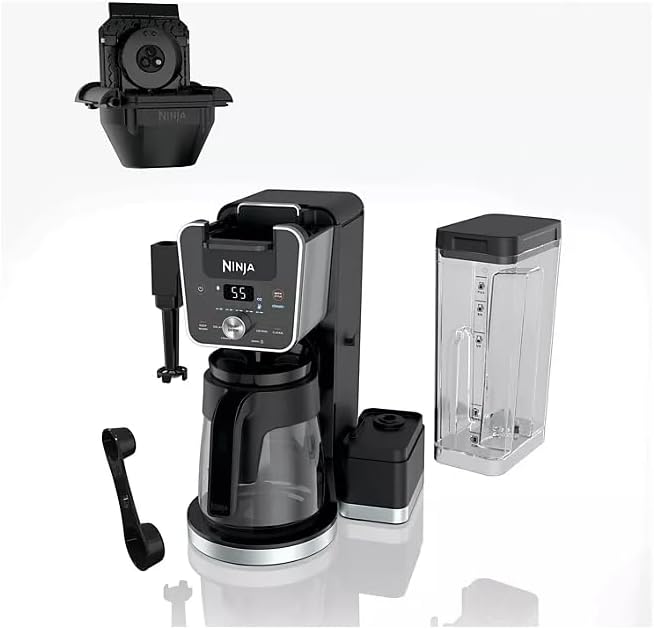
Image: Using the convenient built-in frother to prepare creamy milk for specialty beverages.
Hot Water Options
The machine can also dispense hot water, perfect for making tea, hot cocoa, or instant soups. Use the dedicated hot water dial to select the desired temperature and dispense hot water directly into your mug.
Programmable Features
Utilize the 24-hour programmable delay brew feature to set your coffee to brew at a specific time. The precision warming plate will keep your coffee hot for up to 4 hours after brewing.
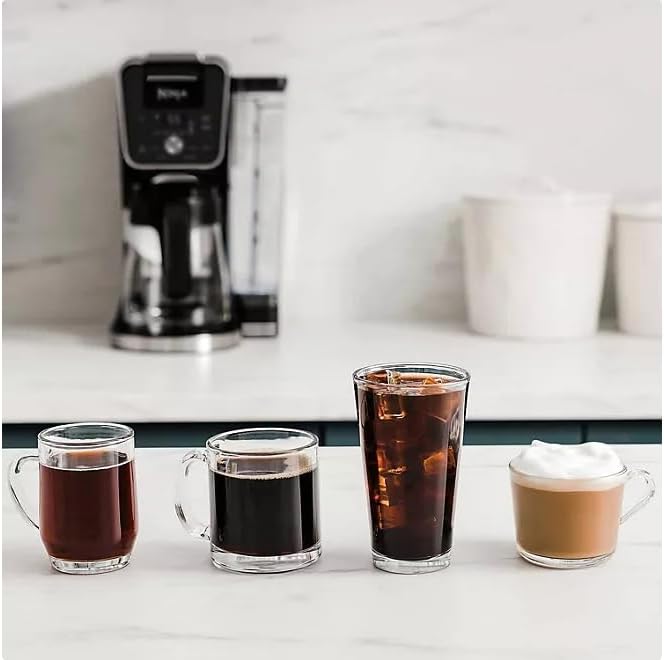
Image: A selection of coffee beverages, including hot and iced options, showcasing the machine's diverse brewing capabilities.
Maintenance and Cleaning
Regular cleaning ensures optimal performance and longevity of your coffee maker. Many parts of the Ninja DualBrew PRO XL are dishwasher-safe for easy cleaning.
- Daily Cleaning: After each use, empty and rinse the brew basket, permanent filter, glass carafe, and water reservoir.
- Frother Cleaning: The frother whisk can be removed for thorough cleaning. Wash with warm, soapy water and rinse.
- Exterior: Wipe down the exterior of the unit with a damp cloth.
- Descaling: Periodically descale the unit to remove mineral buildup. Refer to the full user manual for detailed descaling instructions and recommended descaling solutions.
Troubleshooting
If you encounter any issues with your Ninja DualBrew PRO XL, please refer to the following general tips. For more detailed troubleshooting, consult the full user manual or contact customer support.
- Coffee Not Brewing: Ensure the water reservoir is filled, the carafe is correctly placed, and the brew basket/pod adapter is properly inserted. Check if the power cord is securely plugged in.
- Weak Coffee: Adjust the coffee-to-water ratio. Ensure you are using fresh coffee grounds or pods. Consider selecting the 'Rich' brew style for a stronger flavor.
- Frother Not Working: Ensure the frother whisk is clean and properly attached. Use cold milk for best frothing results.
- 'CLEAN' Light On: This indicates that the unit needs to be descaled. Follow the descaling instructions in the manual.
Specifications
| Feature | Detail |
|---|---|
| Brand | Ninja |
| Model Name | Ninja DualBrew PRO XL (CFP451A) |
| Color | Black |
| Product Dimensions | 11.39"D x 9.94"W x 15.54"H |
| Item Weight | 13.24 pounds |
| Coffee Maker Type | Drip Coffee Machine |
| Coffee Input Type | Capsule, Ground, Pod |
| Water Reservoir Capacity | 70 oz. |
| Brew Styles | Classic, Rich, Over Ice, Specialty |
| Special Features | Compatible with grounds & pods; Built-in frother; Programmable brewing; Dishwasher-safe components; Hot water options |
| Voltage | 120 Volts |
Warranty and Support
Your Ninja DualBrew PRO XL Coffee Maker comes with a manufacturer's warranty. Please refer to the warranty card included in your product packaging for specific terms and conditions. For technical support, replacement parts, or further assistance, please visit the official Ninja website or contact their customer service department. Keep your purchase receipt as proof of purchase for warranty claims.
Ask a question about this manual
Ask about setup, troubleshooting, compatibility, parts, safety, or missing instructions. Manuals+ will review the question and use this page’s manual context to help answer it.