1. Important Safety Information
Please read and understand all instructions before beginning installation. Failure to follow these instructions could result in electric shock, fire, or personal injury.
- Ensure the power is turned off at the circuit breaker before installation or maintenance.
- All wiring must be in accordance with national and local electrical codes.
- The ceiling fan must be mounted to a structure capable of supporting a minimum of 35 lbs (15.9 kg).
- Do not operate the fan with damaged blades or housing.
- Keep hands, clothing, and other objects clear of the fan blades when the fan is in operation.
- This fan is designed for indoor use only.
2. Package Contents
Verify that all components listed below are included in your package. If any parts are missing or damaged, contact LEDLUX customer support before proceeding with installation.
- Motor Housing Assembly
- Fan Blades (8 pieces)
- Downrods (4.5", 12", 24" options)
- Mounting Bracket
- Remote Control and Receiver
- Hardware Pack (screws, washers, wire nuts)
- Instruction Manual
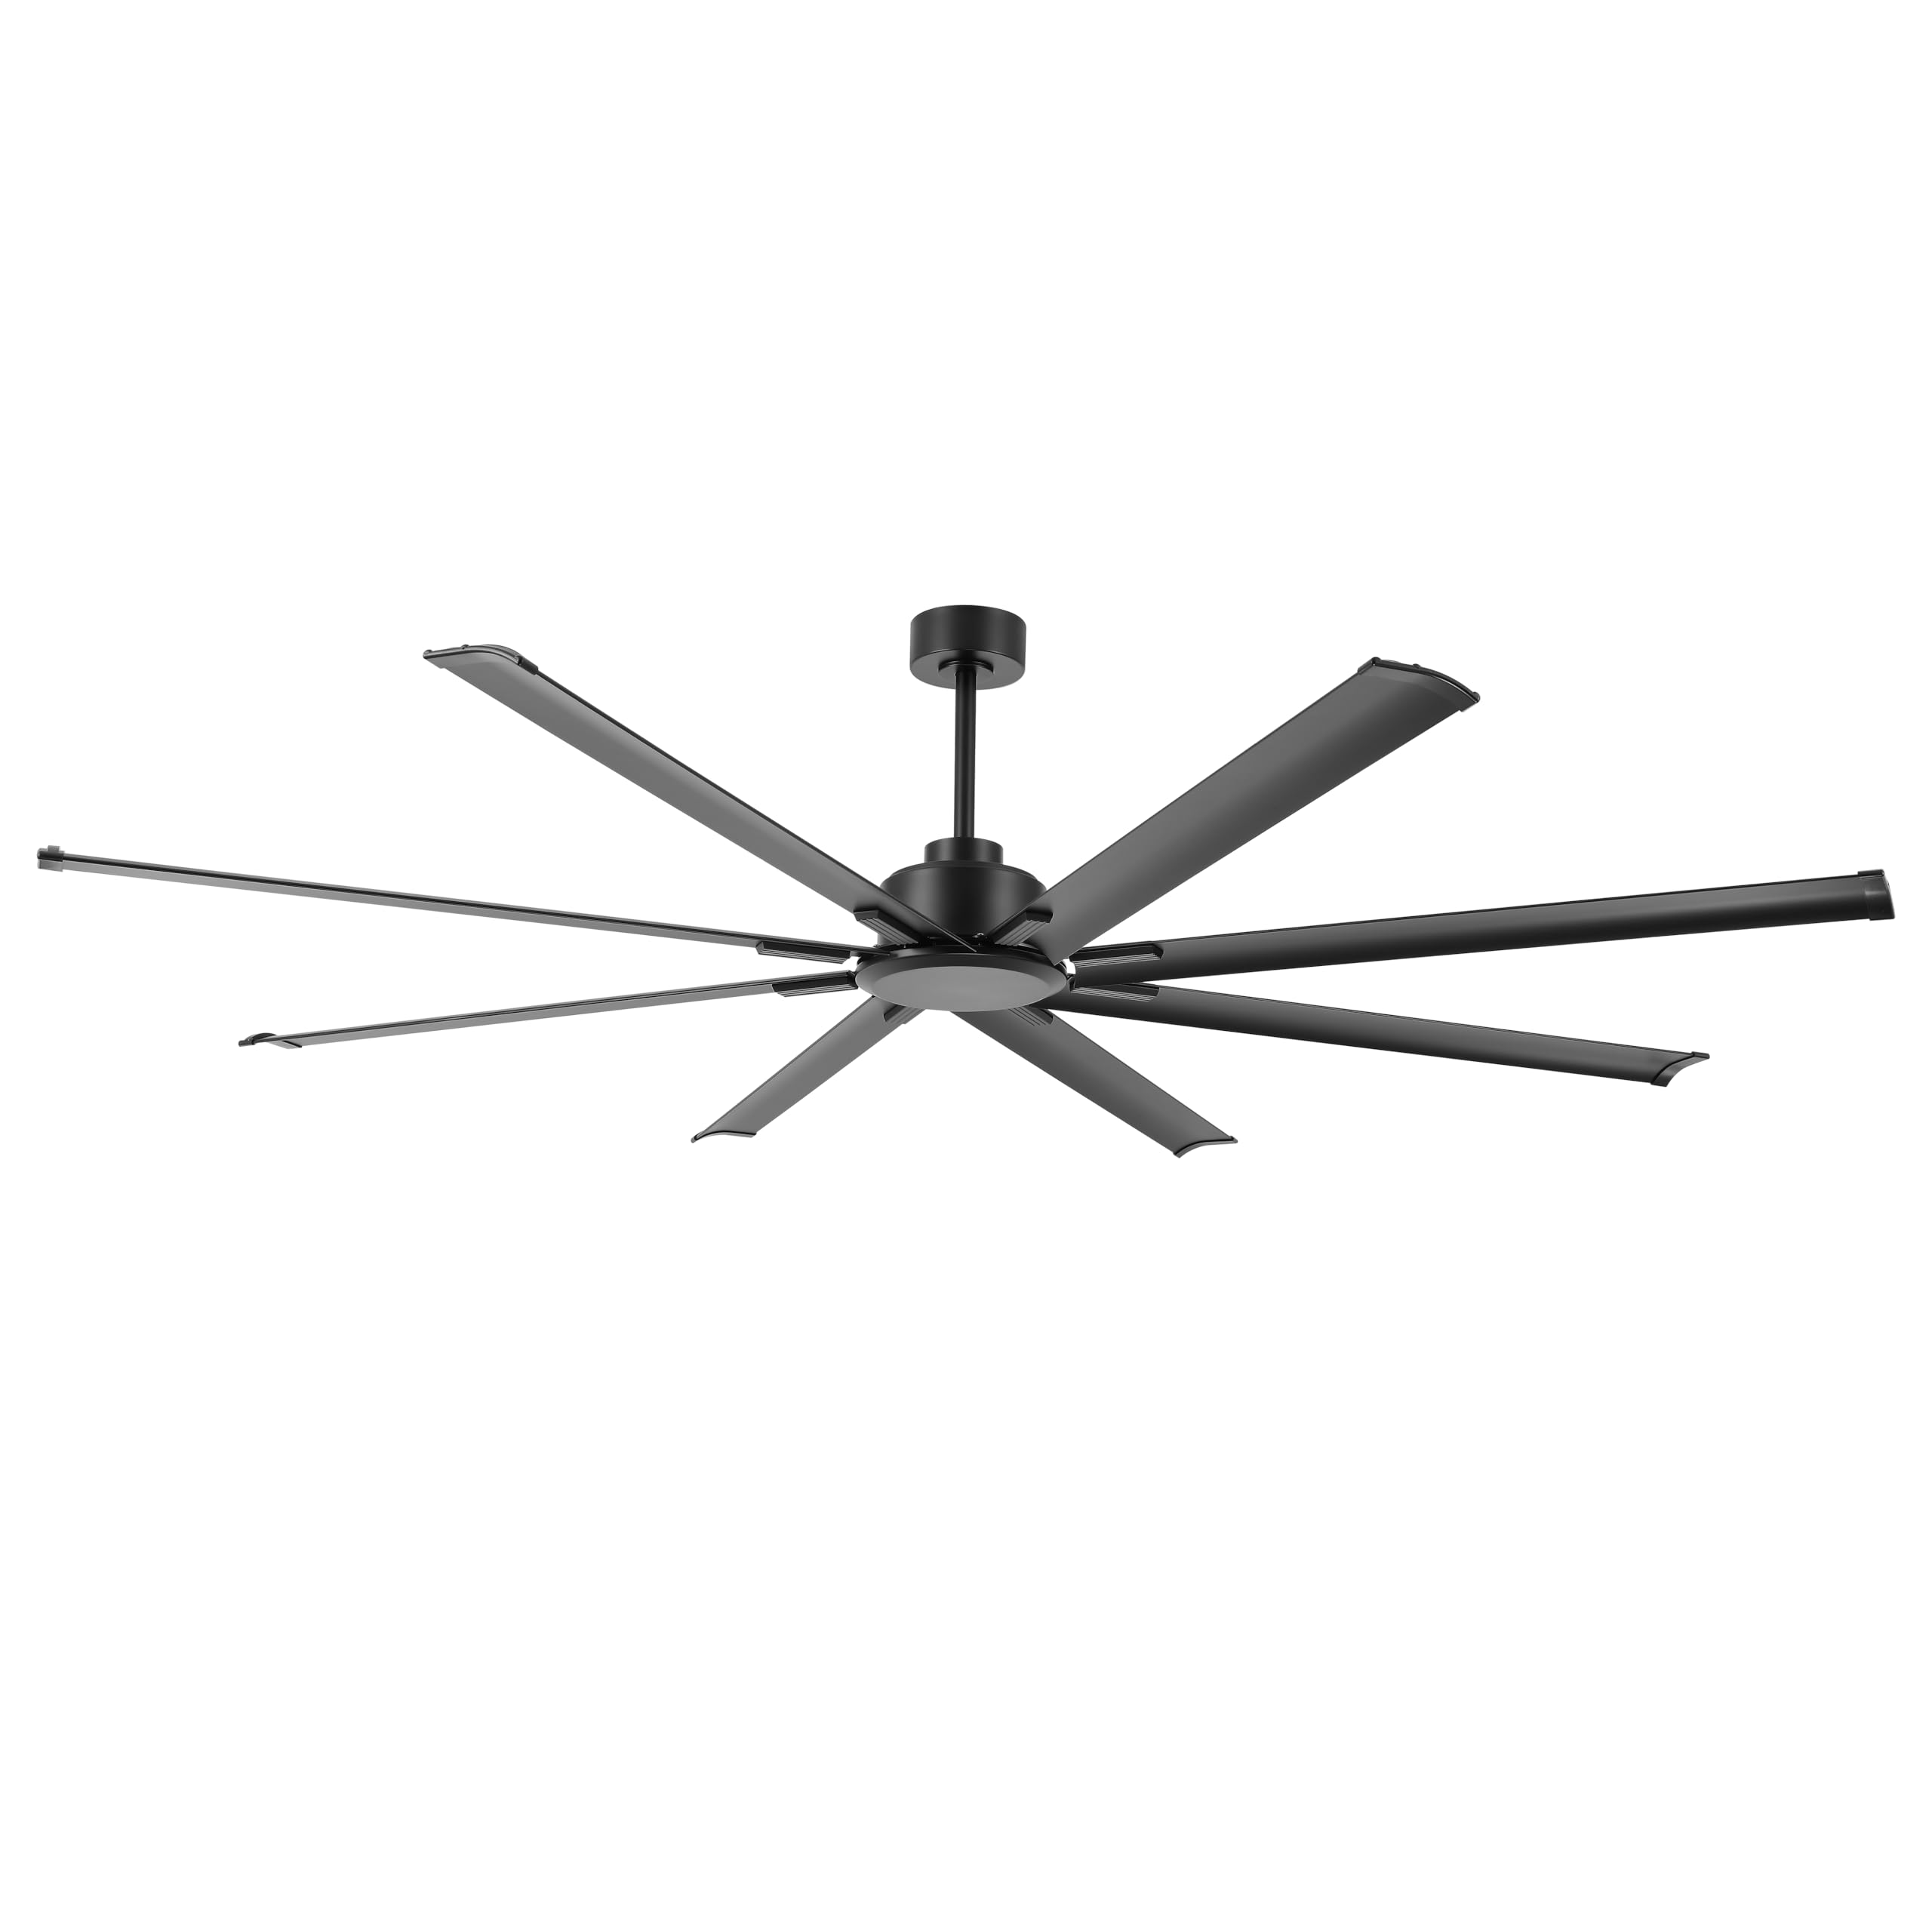
Image: The LEDLUX 96-inch ceiling fan, showcasing its eight black aluminum blades, central motor housing, and the included remote control. This image provides an overview of the main product components.
3. Setup and Installation
Follow these steps carefully for proper installation of your LEDLUX ceiling fan.
3.1 Pre-Installation Checklist
- Turn off power at the main circuit breaker.
- Ensure the mounting location can support the fan's weight.
- Gather necessary tools (screwdriver, wire strippers, ladder, etc.).
3.2 Mounting the Fan
- Attach the mounting bracket to the ceiling junction box. Ensure it is securely fastened to a structural beam.
- Select the appropriate downrod (4.5", 12", or 24") for your ceiling height.
- Feed the fan wires through the chosen downrod.
- Secure the downrod to the motor housing.
- Carefully lift the fan assembly and hang it on the mounting bracket.

Image: A diagram illustrating the overall dimensions of the 96-inch ceiling fan, including its width and height with different downrod lengths (12.7", 20.3", 32.5"). It also shows how the fan can be mounted on both flat and sloped ceilings, along with the three included downrod sizes (4.5", 12", 24").

Image: This image displays the LEDLUX ceiling fan installed in three different room settings: a high ceiling, a low ceiling, and a slanted ceiling, demonstrating its versatility for various architectural styles.
3.3 Wiring Connections
- Connect the fan's wires to the household wiring according to the wiring diagram provided in the full manual. Use wire nuts to secure connections.
- Install the remote receiver into the mounting bracket canopy.
- Connect the receiver wires to the fan and household wires as instructed.
3.4 Attaching Blades
- Attach each of the 8 fan blades to the motor housing using the provided screws and washers. Ensure all screws are tightened securely.
4. Operating Instructions
Your LEDLUX ceiling fan is controlled by the included remote control. Ensure batteries are installed correctly in the remote.
4.1 Remote Control Functions

Image: A detailed view of the remote control for the LEDLUX ceiling fan, highlighting buttons for speed adjustment (1-6), fan on/off, forward/reverse function, natural wind mode, and timer settings (1H/2H/4H/8H).
- On/Off Button: Powers the fan on or off.
- Speed Buttons (1-6): Adjusts fan speed from low (1) to high (6).
- Forward/Reverse Button: Changes the direction of blade rotation.
- Timer Buttons (1H/2H/4H/8H): Sets the fan to turn off automatically after the selected duration.
- Natural Wind Button: Simulates a natural breeze by cycling through various speeds.
4.2 Reversible Function (Summer/Winter Mode)
The fan features a reversible DC motor, allowing for year-round use to optimize air circulation.
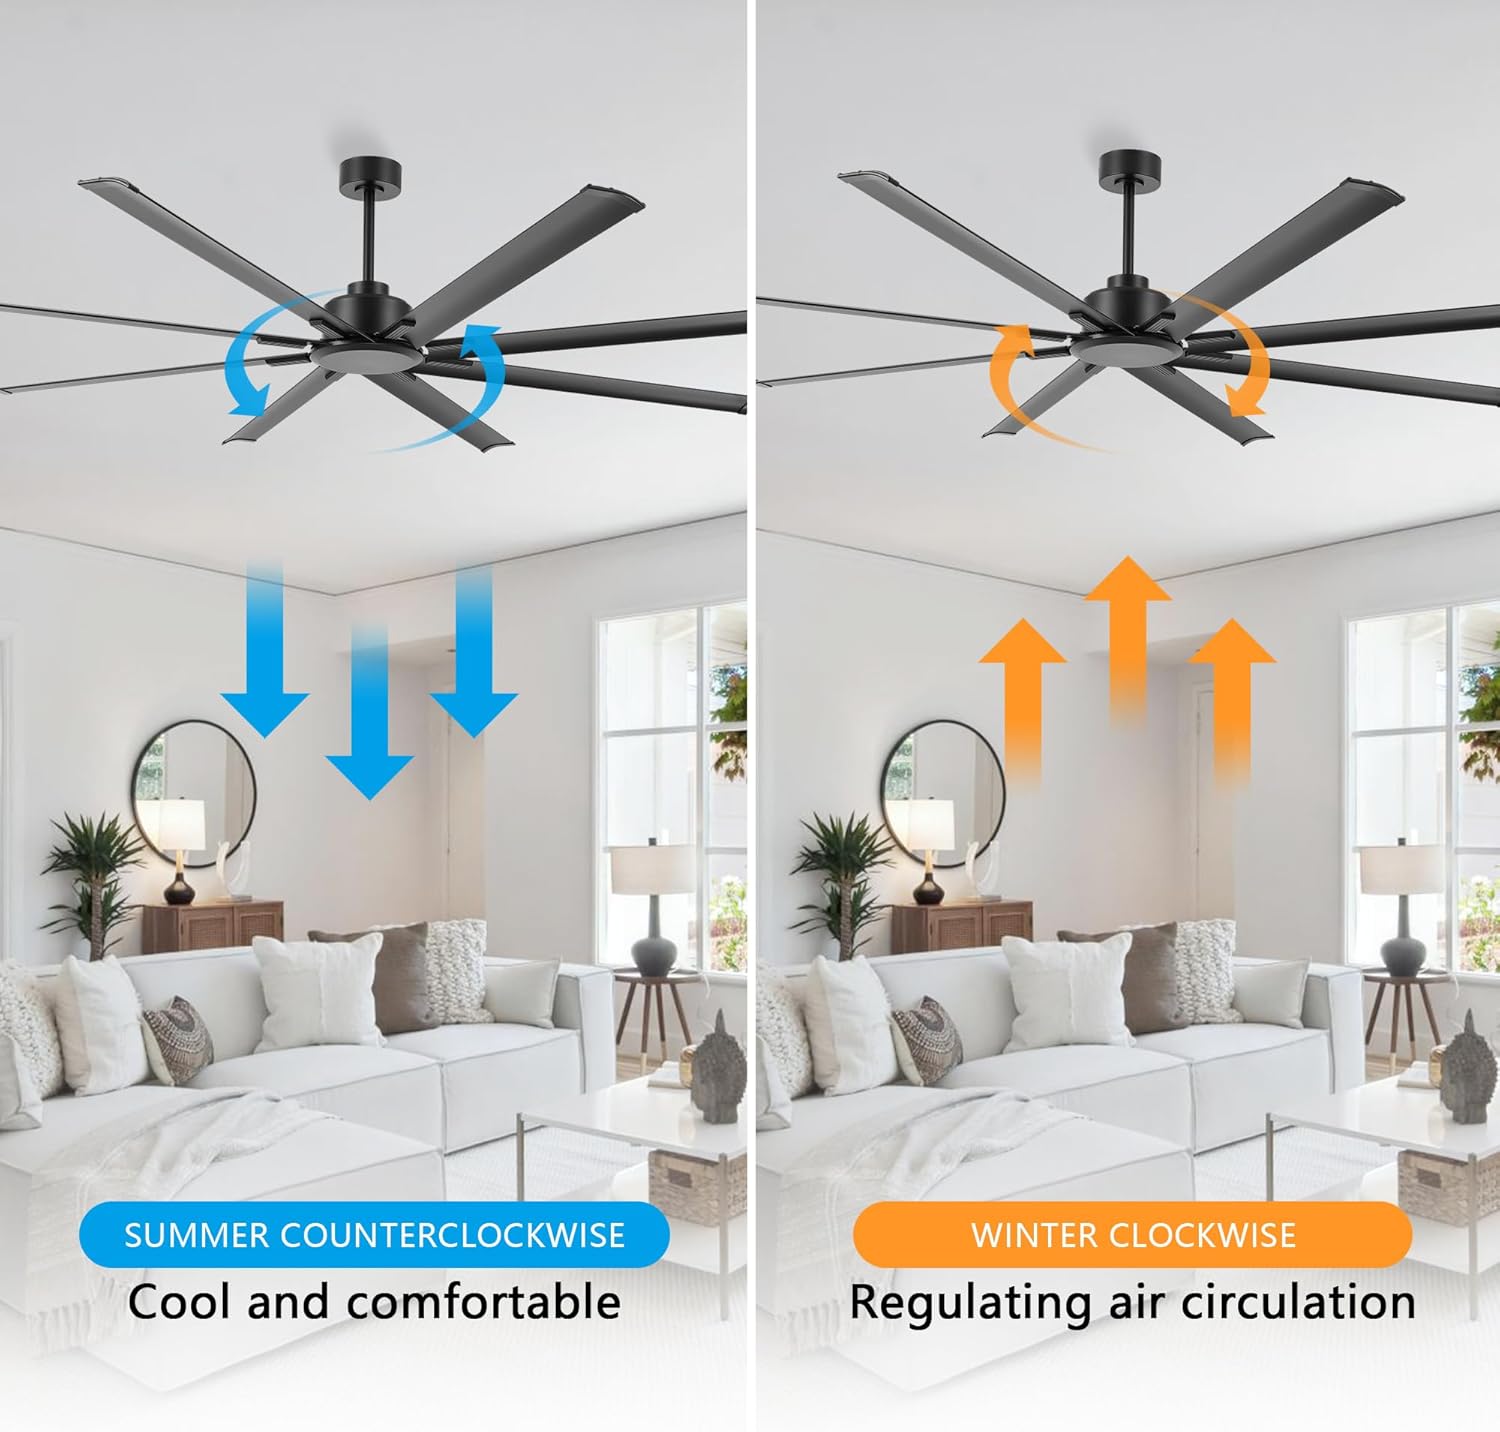
Image: This image illustrates the reversible function of the ceiling fan. On the left, blue arrows indicate counter-clockwise rotation for a cooling downdraft in summer. On the right, orange arrows show clockwise rotation for an updraft to circulate warm air in winter.
- Summer Mode (Counter-clockwise): Press the reverse button to make the blades rotate counter-clockwise, creating a downward airflow that produces a cooling effect.
- Winter Mode (Clockwise): Press the reverse button again to make the blades rotate clockwise, creating an upward airflow that helps circulate warm air trapped near the ceiling.
4.3 Timer Function
Use the timer buttons on the remote control to set the fan to operate for a specific duration before automatically turning off.

Image: This graphic highlights the silent operation of the fan, stating sound is less than 35dB, and illustrates the available timer settings: 1 hour, 2 hours, 4 hours, and 8 hours.
- Press the 1H, 2H, 4H, or 8H button to activate the timer. The fan will run for the selected time and then shut off.
- To cancel the timer, press the fan On/Off button or select a different timer setting.
5. Maintenance
Regular maintenance ensures optimal performance and longevity of your ceiling fan.
- Cleaning: Periodically wipe the fan blades and motor housing with a soft, damp cloth. Do not use abrasive cleaners or solvents.
- Tightening Screws: Check all screws on the fan blades and mounting hardware annually to ensure they are secure.
- Blade Balance: If the fan wobbles, ensure all blades are securely attached and consider using a blade balancing kit (not included) if necessary.
6. Troubleshooting
If you encounter issues with your fan, refer to the following common problems and solutions:
| Problem | Possible Cause | Solution |
|---|---|---|
| Fan does not start | No power to the fan | Check circuit breaker and wall switch. Ensure all wiring connections are secure. |
| Remote control not working | Dead batteries or incorrect pairing | Replace remote batteries. Refer to the full manual for remote pairing instructions. |
| Fan wobbles excessively | Loose blades or unbalanced blades | Ensure all blade screws are tight. Check for bent blades. Use a blade balancing kit if needed. |
| Noisy operation | Loose screws or motor issues | Tighten all screws. If noise persists, contact customer support. |
7. Specifications
| Feature | Detail |
|---|---|
| Brand | LEDLUX |
| Model Number | SYCF9605 |
| Color | Black |
| Mounting Type | Ceiling Mount |
| Number of Speeds | 6 |
| Voltage | 12 Volts (DC) |
| Indoor/Outdoor Usage | Indoor |
| Control Method | Remote |
| Efficiency | High Efficiency |
| Number of Blades | 8 |
| Blade Material | Aluminum |
8. Warranty and Support
LEDLUX stands behind the quality of its products.

Image: A graphic detailing the LEDLUX "Worry-Free Promise," which includes a 3-Year Full Warranty on all parts and a 10-Year Motor Warranty.
- Motor Warranty: The DC motor is covered by a 10-year free replacement warranty.
- Parts Warranty: All other parts of the fan are covered by a full 3-year warranty.
For warranty claims, technical assistance, or missing parts, please contact LEDLUX customer support through the retailer where the product was purchased or visit the official LEDLUX website.


