1. Product Overview
The Foxpark RV Backup Camera system is designed to enhance safety and convenience for RVs, campers, and trailers, especially those equipped with Furrion pre-wired systems. It features a 7-inch HD 1080P monitor, a 170° wide-angle camera with IR night vision, and supports video recording with up to four simultaneous camera feeds.
Key Features:
- Furrion Pre-Wired System Compatibility: Designed for easy installation on Furrion pre-wired RVs.
- Dual Antenna & Stable Wireless Signal: Ensures reliable video transmission up to 325 feet on a vehicle, 830 feet in open areas.
- 7-inch HD 1080P Monitor: Provides clear, high-definition video display.
- 170° Wide Angle Camera: Minimizes blind spots for safer maneuvering and parking.
- IR Night Vision: Equipped with a CMOS image sensor and infrared lights for clear visibility in low-light conditions.
- 4-Channel Support & Split Screen: Monitor up to four cameras simultaneously with split-screen display options.
- Video Recording (DVR): Supports loop recording for emergency proofing with an included 16GB SD card (up to 128GB).
- IP69K Waterproof Camera: Durable and resistant to harsh weather conditions.
2. What's in the Box
Verify that all components are present before beginning installation:
- Backup Camera
- Monitor (7-inch HD 1080P)
- Wireless Stick
- Power Cable
- USB Car Charger
- (Note: Additional mounting hardware for Furrion systems, such as a flat metal bracket and adapter cable, are typically included for specific installations.)
3. Setup and Installation
This system is designed for both Furrion pre-wired RVs and standard RVs. For Furrion pre-wired systems, the installation is simplified. For standard RVs, the camera can be connected to reverse lights or a constant power source.
3.1 Furrion Pre-Wired System Installation
For RVs with existing Furrion pre-wired systems, follow these steps:
- Remove Original Mount: Carefully remove the existing plastic cover from the Furrion bracket on your RV.
- Install Camera Bracket: Attach the provided flat metal bracket to the Furrion bracket. Then, mount the camera to this flat bracket using the supplied nuts and bolts. Ensure the camera is securely fastened.
- Connect Power: Locate the 12V connector (female plug) inside the Furrion bracket. Connect the short adapter cable (male plug) from the camera to this connector. Secure the connection, possibly with electrical tape.
- Mount Camera Assembly: Mount the camera and bracket assembly onto the Furrion mount with the four tiny Phillips-head screws. Adjust the camera's position (up and down) before fully tightening the bolts.
Note: Some newer GMC/Chevy RV models might use PWM for the rear camera, which can cause video issues. Check compatibility before installation.
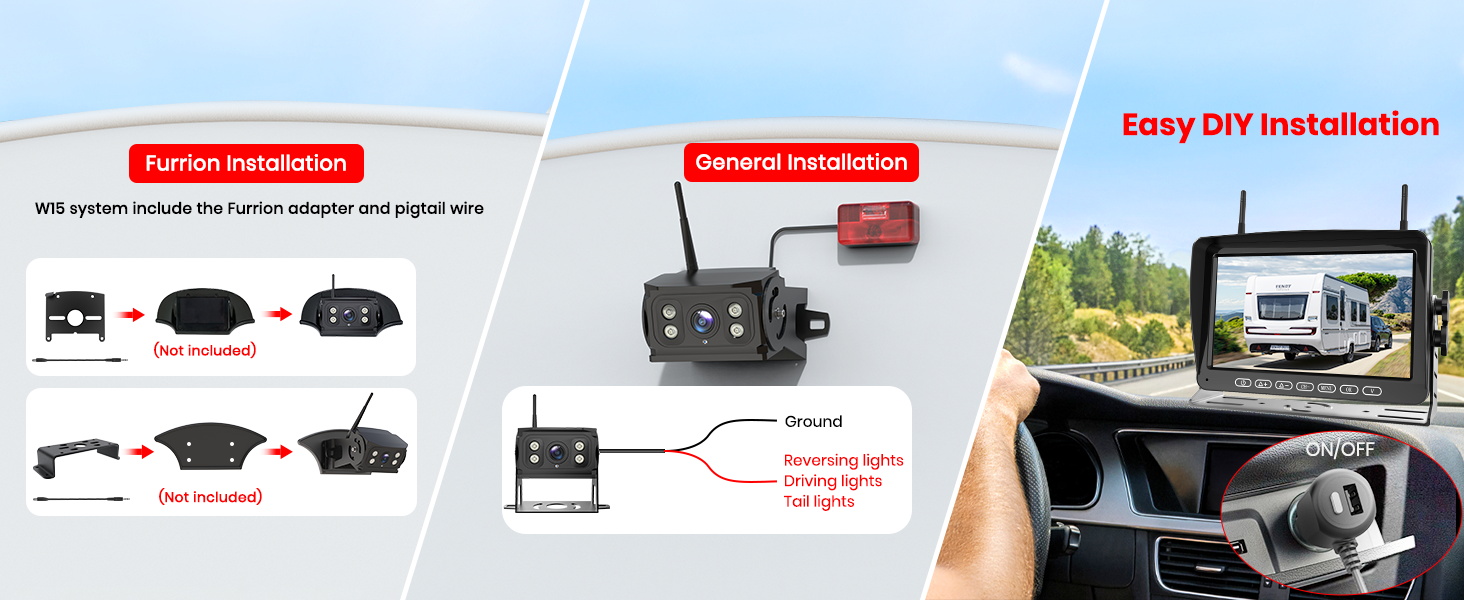
Image: Furrion System and General Installation Diagram. This image illustrates the two primary installation methods: direct plug-and-play for Furrion pre-wired systems and general wiring for other RVs.
3.2 General Installation (Non-Furrion Pre-Wired)
For RVs without a Furrion pre-wired system, the camera needs to be wired manually:
- Choose Mounting Location: Select a suitable location at the rear of your RV for the camera.
- Wire Power: Connect the camera's power cable to your RV's reverse lights for activation when backing up, or to a constant 12V power source if you desire continuous monitoring. Ensure proper grounding.
- Mount Camera: Securely mount the camera using appropriate brackets and hardware.
3.3 Monitor Setup
- Mount Monitor: Use the provided bracket to mount the 7-inch monitor in your vehicle's cabin, typically on the dashboard.
- Power Monitor: Connect the monitor to power using the USB car charger or the hard-wired connection provided.
- Pairing: The monitor and camera should automatically pair upon power-up. If not, refer to the troubleshooting section.
Video: "Fits Pre-Wired Furrion Easy Installation- RV Backup Camera". This video demonstrates the installation process for the RV backup camera, specifically highlighting compatibility with Furrion pre-wired systems and general installation steps.
Video: "About Wireless Pre-Wired For Furrion Systems". This video provides an overview of the wireless pre-wired system for Furrion, explaining its features and benefits.
4. Operating Instructions
The monitor provides various display modes and recording functions for enhanced driving safety.
4.1 Basic Operation
- Power On/Off: The monitor typically powers on automatically when the camera receives power (e.g., when reverse gear is engaged or vehicle lights are on). Use the power button on the monitor for manual control.
- Menu Navigation: Use the MENU button to access settings. Use the +/- buttons to navigate and OK to confirm.
4.2 Display Modes
The 7-inch monitor supports up to 4 cameras simultaneously and offers versatile display options:
- Full Screen: Displays a single camera view.
- Split Screen: Displays two camera views simultaneously.
- Quad Screen: Displays four camera views simultaneously (requires additional cameras, sold separately).
Use the "CH-" button to cycle through different camera channels and display modes.
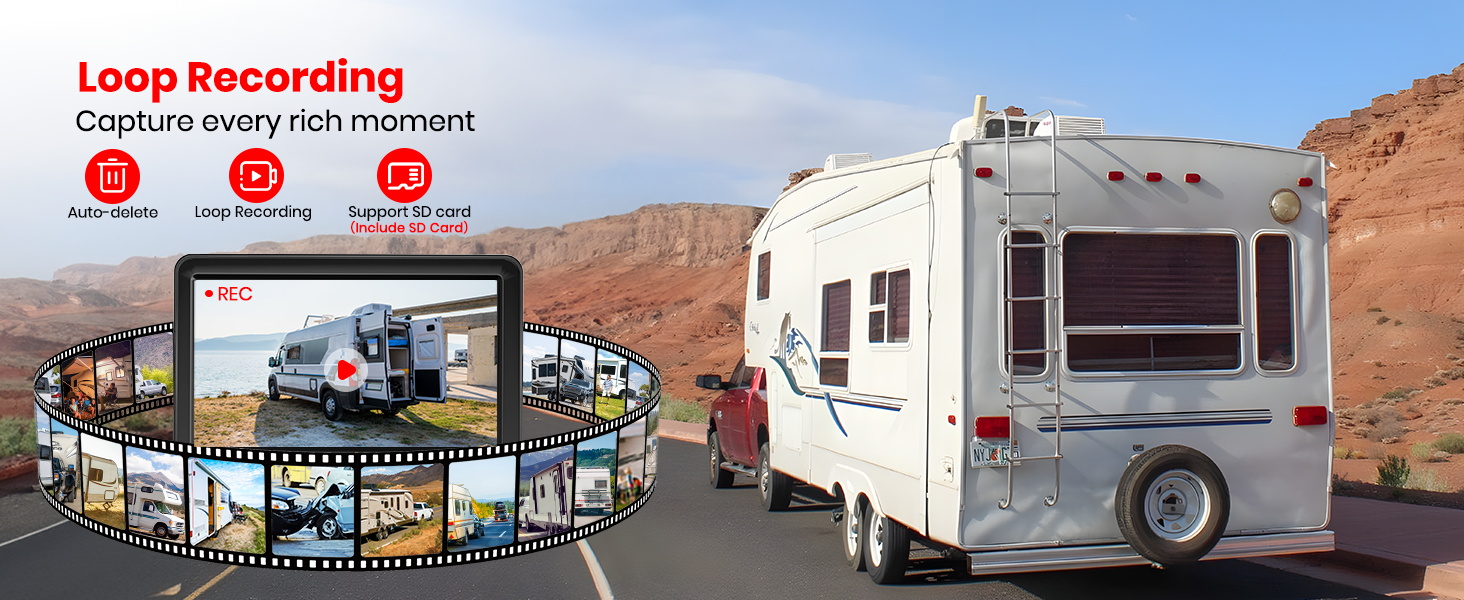
Image: Versatile Display Mode Options. This image illustrates the monitor's capability to display full screen, split screen, or quad screen views from multiple cameras.
4.3 Video Recording (DVR)
The system supports loop recording to an SD card (16GB included, supports up to 128GB) for continuous recording and emergency proofing.
- Insert SD Card: Insert the provided 16GB SD card into the monitor's SD card slot.
- Loop Recording: The system will automatically begin loop recording when powered on. Older files are overwritten as the card fills up.
- Playback: Access recorded footage through the monitor's menu.
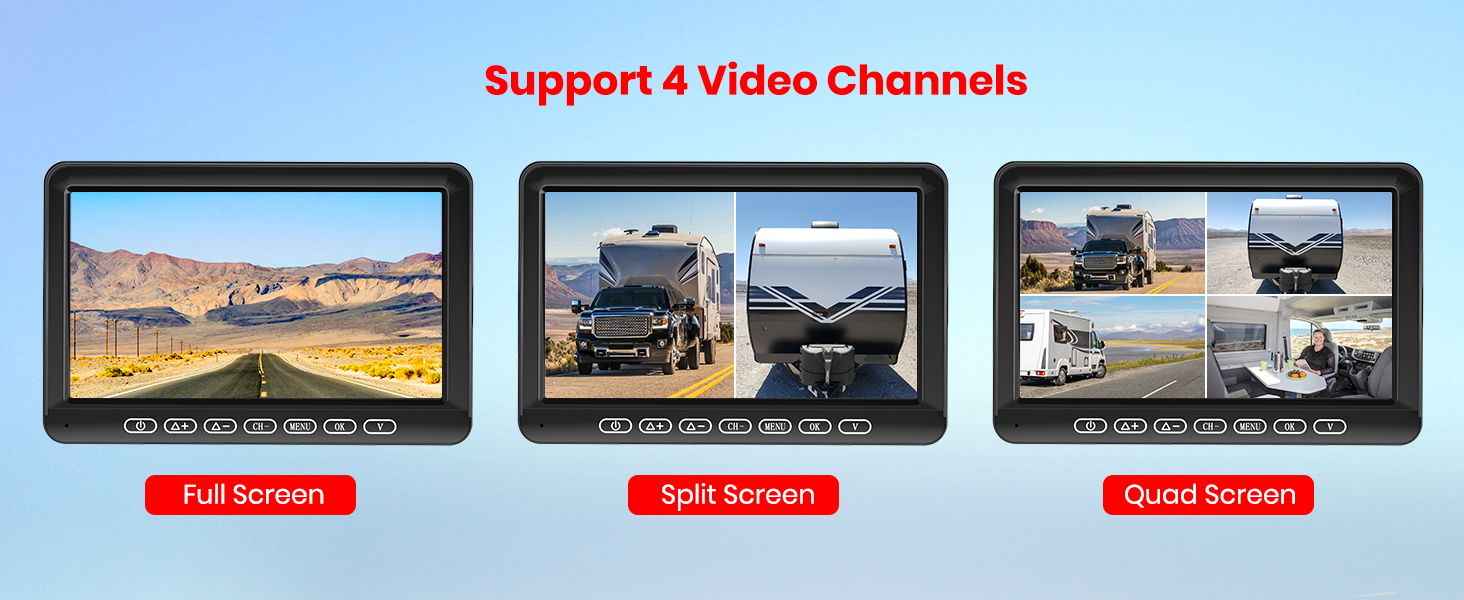
Image: Smart DVR Loop Recording. This image highlights the loop recording feature, showing a filmstrip of recorded events and the SD card slot on the monitor.
Video: "RV Back Up Camera for Travel Trailers Loop Recording". This video demonstrates the loop recording functionality of the RV backup camera system, showing how it continuously records footage.
Video: "Smart Loop Recording RV Backup Camera help you drive safer". This video illustrates how the smart loop recording feature of the RV backup camera contributes to safer driving by continuously capturing events.
5. Maintenance
To ensure the longevity and optimal performance of your Foxpark RV Backup Camera system, follow these maintenance guidelines:
- Clean Camera Lens: Regularly clean the camera lens with a soft, damp cloth to remove dirt, dust, or water spots that may obstruct the view. Avoid abrasive cleaners.
- Check Connections: Periodically inspect all wiring connections for tightness and corrosion, especially after long trips or exposure to harsh weather.
- Monitor Care: Keep the monitor screen clean and free from smudges. Use a screen-safe cleaner if necessary. Avoid exposing the monitor to extreme temperatures for extended periods.
- Weather Resistance: The camera is IP69K waterproof, designed to withstand heavy rain and car washes. However, avoid directing high-pressure water jets directly at the camera for prolonged periods.
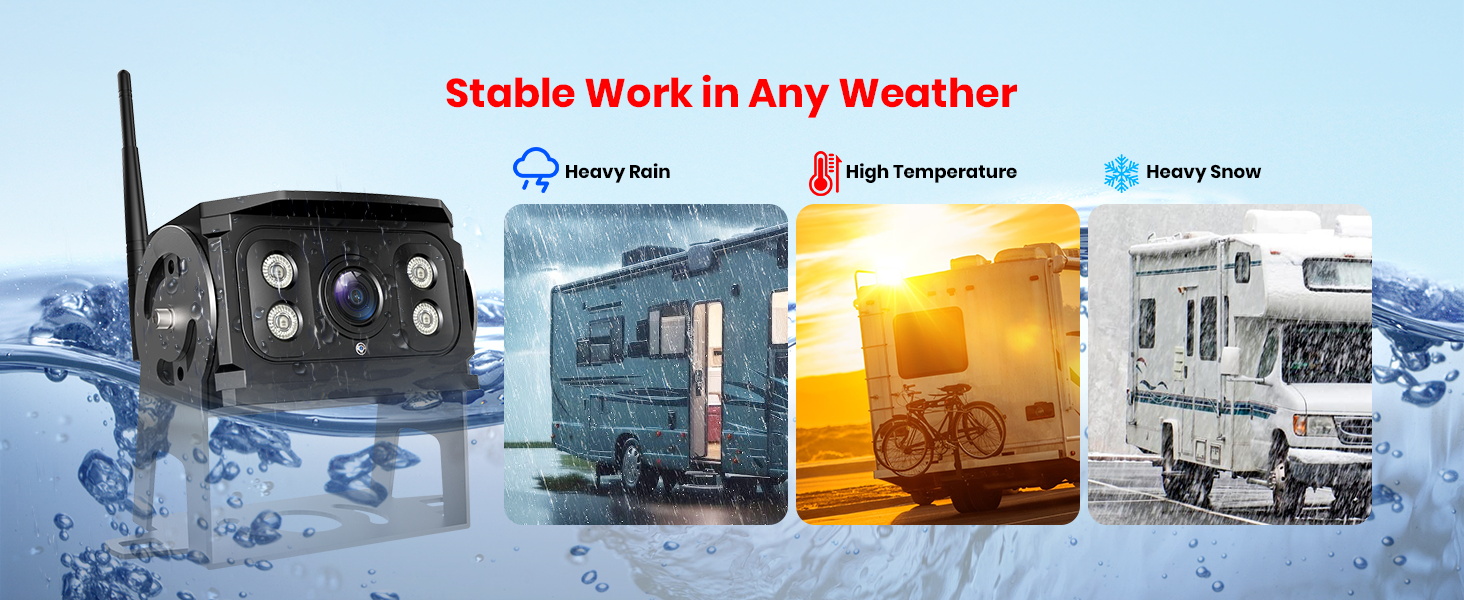
Image: IP69K Waterproof and Stable Work in Any Weather. This image demonstrates the camera's IP69K waterproof rating and its ability to function reliably in diverse weather conditions, including heavy rain, high temperatures, and snow.
6. Troubleshooting
If you encounter issues with your Foxpark RV Backup Camera system, refer to the following common problems and solutions:
| Problem | Possible Cause / Solution |
|---|---|
| No Image on Monitor |
|
| Weak or Intermittent Signal |
|
| Video Issues (GMC/Chevy RVs) | Newer GMC/Chevy models might use PWM (Pulse Width Modulation) for the rear camera, which can cause video issues. Consult your vehicle's manual or a professional for compatibility and potential solutions. |
| Monitor Not Recording |
|
If you encounter any problems not listed here, please contact Foxpark customer support for assistance.
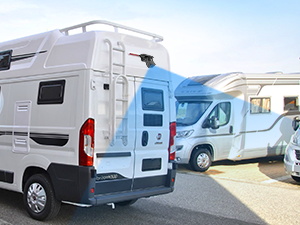
Image: Troubleshooting Guide. This image provides quick solutions for common issues like incorrect wiring, zero signal, and weak signal, guiding users through basic checks and pairing procedures.
7. Specifications
| Feature | Detail |
|---|---|
| Brand | Foxpark |
| Model | B0DS45F57R |
| Screen Size | 7 Inches |
| Display Technology | LCD |
| Other Display Features | Wireless |
| Color | Black |
| Product Dimensions | 8.61"L x 6.6"W x 4.8"H |
| Item Weight | 3.26 pounds |
| Installation Type | Surface Mount |
| Voltage | 12 Volts |
| Optical Sensor Technology | CMOS |
| Lens Type | Fixed Wide Angle |
| Real Angle of View | 170 Degrees |
| Connector Type | Wireless |
8. Warranty and Support
Foxpark is committed to providing high-quality products and customer satisfaction.
- Return Policy: This product is eligible for a refund or replacement within 30 days of purchase.
- Warranty: Foxpark offers a 12-month warranty on its products.
- Customer Support: If you encounter any problems or have questions, please contact Foxpark customer support. They aim to answer questions within 24 hours.
For more information or to contact support, please visit the Foxpark Store on Amazon.