
KEYLYNX D200
KEYLYNX D200 4-in-1 Smart Deadbolt User Manual
Model: D200
1. Introduction
This manual provides detailed instructions for the installation, setup, operation, and maintenance of your KEYLYNX D200 Smart Deadbolt. Please read this manual thoroughly before installation and use to ensure proper function and safety.
2. Safety Information
- Do not attempt to disassemble or repair the lock yourself. This may void the warranty and cause damage.
- Use only specified batteries (4 AA batteries, not included). Do not mix old and new batteries or different types of batteries.
- Keep backup keys in a secure location outside your home.
- Regularly check the battery level and replace batteries when low battery alerts are received.
- Ensure the door frame and door are properly aligned for smooth operation of the deadbolt.
3. Package Contents
Verify that all components are present before beginning installation.
- Fingerprint Smart Lock (Exterior Assembly)
- Interior Assembly
- Latch
- Strike Plate
- Mounting Plate
- Screws
- 2 Backup Keys
- User Manual

Image 3.1: Overview of the Keylynx D200 Smart Deadbolt components, including the exterior keypad, interior unit, latch, and other hardware.
4. Product Overview
4.1 Key Features
- 4-in-1 Keyless Entry: Fingerprint, Custom Passcode, Tuya App, and Physical Backup Key.
- App Control: Manage users, set passcodes, enable/disable features, and check access logs via the Tuya Smart App (Bluetooth connection).
- Auto-Lock: Automatically secures your door after 5–99 seconds.
- Silent Mode: Disables sound for quiet operation.
- Long Battery Life: Up to 16 months with 4 AA batteries (not included).
- Emergency Backup: Low battery alerts and mechanical key access.
- Easy Installation: DIY installation in approximately 10 minutes with a screwdriver, no wiring or drilling required.
- Anti-Peeping Password: Supports virtual passcodes up to 16 digits to prevent unauthorized viewing.
- Weather Resistance: IP54 waterproof and ergonomic physical keypad, designed to operate in temperatures from -31°F to 158°F.
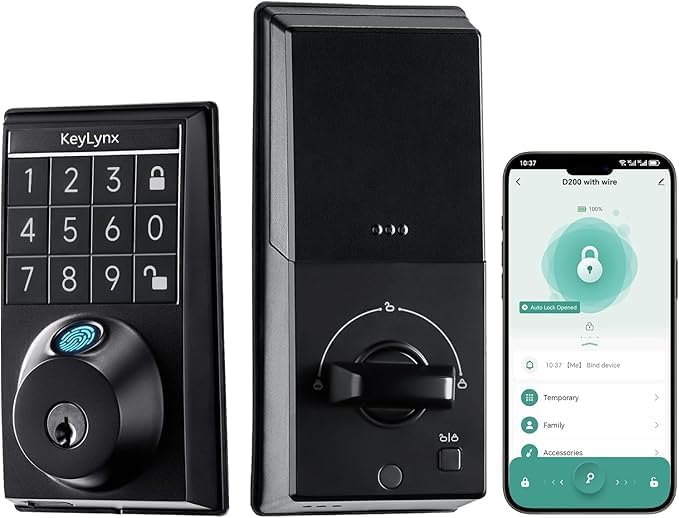
Image 4.1: The Keylynx D200 Smart Deadbolt, showing the exterior keypad, interior unit, and the Tuya Smart App interface.
5. Compatibility
Ensure your door dimensions are compatible with the KEYLYNX D200 Smart Deadbolt before installation.
- Door Thickness: 35mm ~ 50mm (1 3/8" ~ 2")
- Door Hole Size: 38mm ~ 54mm (1 1/2" ~ 2 1/8")
- Lock Bolt Hole Diameter: 25.4mm (1")
- Backset Support: 60mm ~ 70mm (2 3/8" ~ 2 3/4")
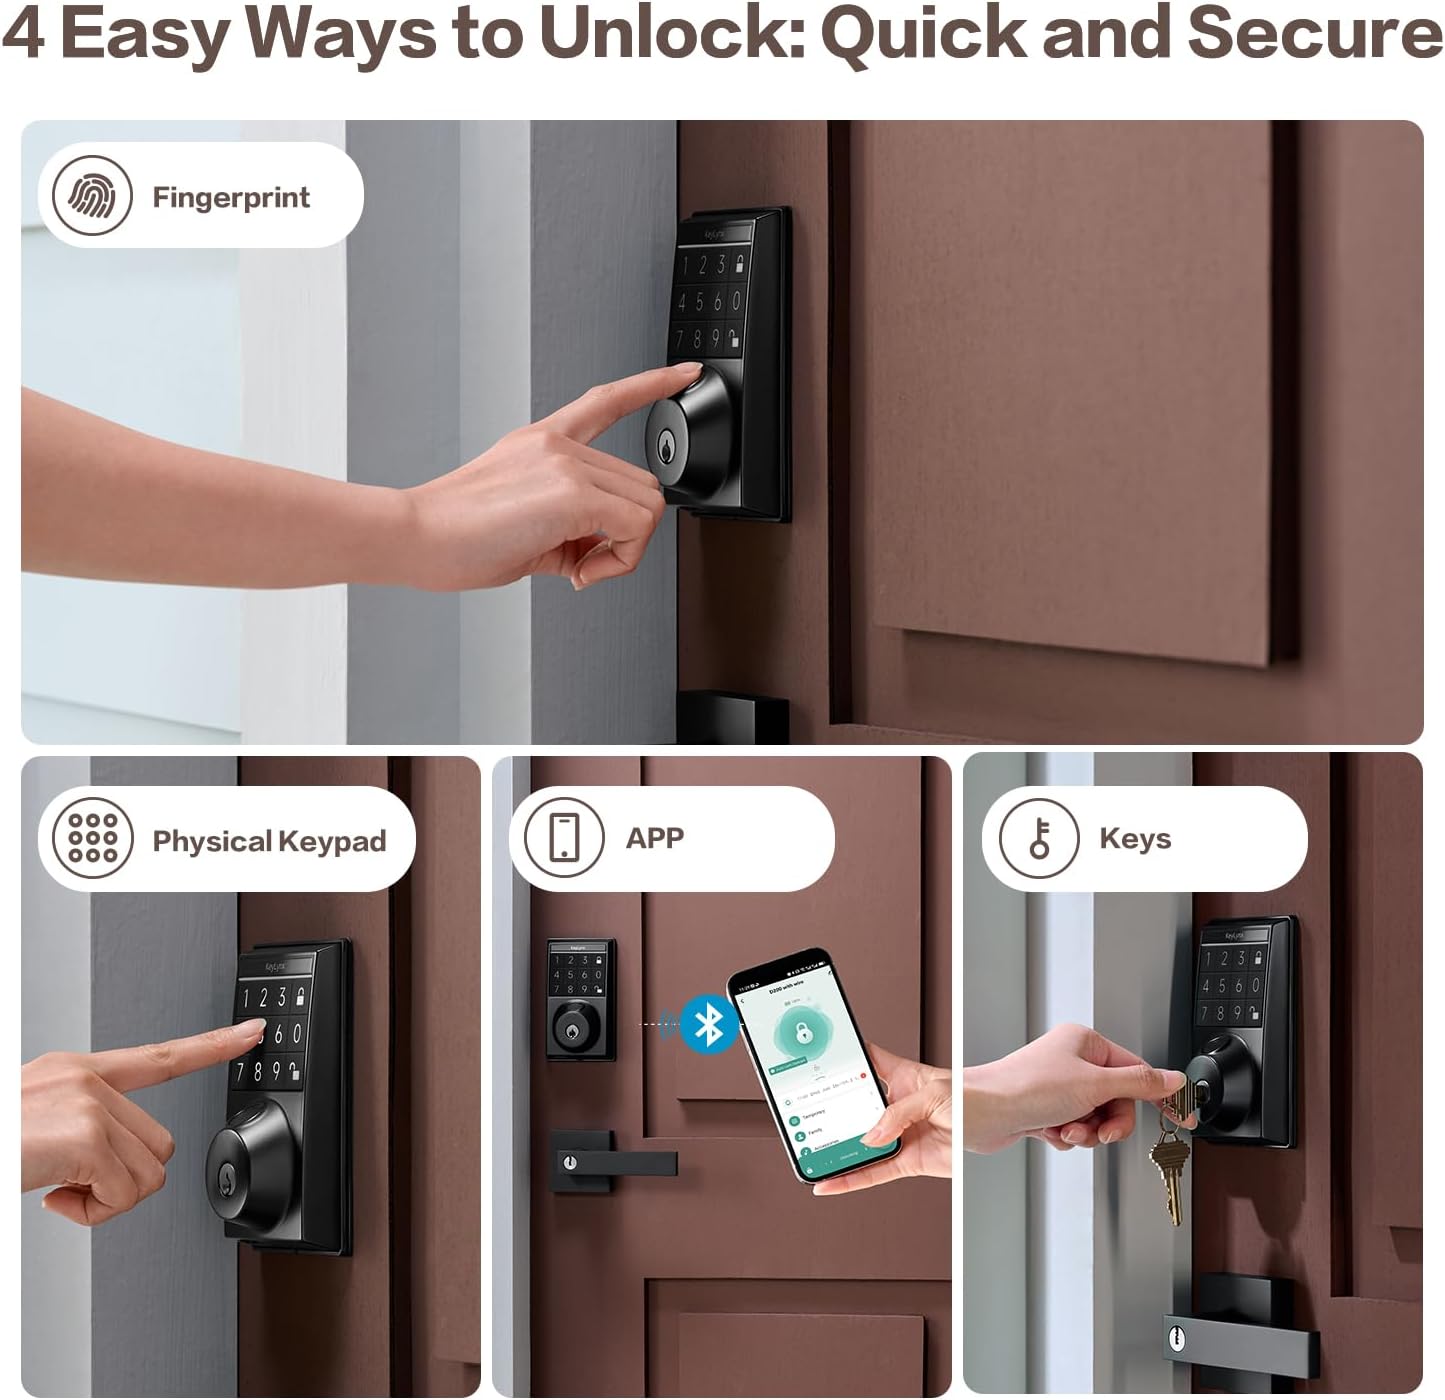
Image 5.1: Diagram illustrating the required door dimensions for installing the Keylynx D200 Smart Deadbolt, including door thickness, hole size, bolt hole diameter, and backset.
6. Installation
The KEYLYNX D200 Smart Deadbolt is designed for easy DIY installation. A standard screwdriver is the only tool required. No additional wiring or drilling is needed for most standard US doors.
6.1 Preparation
- Ensure your door meets the compatibility requirements listed in Section 5.
- Gather all package contents and a Phillips head screwdriver.
- Remove any existing deadbolt hardware from your door.
6.2 Installation Steps
- Install the Latch: Insert the latch into the door edge. Ensure the "UP" arrow on the latch is facing upwards. Secure with screws.
- Install the Exterior Assembly: Feed the cable from the exterior assembly through the door hole and under the latch. Align the exterior assembly with the door and ensure the deadbolt tailpiece passes through the center hole of the latch.
- Install the Mounting Plate: Place the mounting plate on the interior side of the door, aligning it with the exterior assembly. Secure it with screws, ensuring the cable passes through the plate.
- Install the Interior Assembly: Connect the cable from the exterior assembly to the interior assembly. Ensure the thumb turn on the interior assembly is vertical. Attach the interior assembly to the mounting plate and secure it with screws.
- Install Batteries: Open the battery cover on the interior assembly and insert 4 AA batteries (not included), observing polarity.
- Install the Strike Plate: Install the strike plate on the door frame, aligning it with the latch bolt. Secure with screws.

Image 6.1: Visual guide for the easy installation process of the Keylynx D200 Smart Deadbolt, highlighting the minimal tools and time required.
7. Setup and Programming
7.1 Initial Setup and Handing Detection
After battery installation, the lock will perform an automatic handing detection. Close the door and allow the lock to extend and retract the deadbolt to determine the door's orientation (left or right-handed).
7.2 App Pairing (Tuya Smart App)
The lock connects to the Tuya Smart App via Bluetooth only. Download the "Tuya Smart" app from your device's app store.
- Enable Bluetooth on your smartphone.
- Open the Tuya Smart App and create an account or log in.
- Tap the "+" icon to add a device.
- Select "Auto Scan" or manually find "Lock (Bluetooth)".
- Follow the on-screen prompts to pair the lock. You may need to press a button on the interior assembly to activate pairing mode.

Image 7.1: A user interacting with the Tuya Smart App on a smartphone, demonstrating how to control the smart lock remotely (requires gateway, sold separately for remote access).
7.3 User Management (Fingerprints & Passcodes)
The lock can store up to 50 fingerprints and 50 passcodes. Manage these through the Tuya Smart App.
7.3.1 Adding Fingerprints
- In the Tuya Smart App, navigate to the lock's settings and select "Users" or "Fingerprint Management".
- Follow the app's instructions to add a new fingerprint. You will typically be prompted to place your finger on the sensor multiple times from different angles.
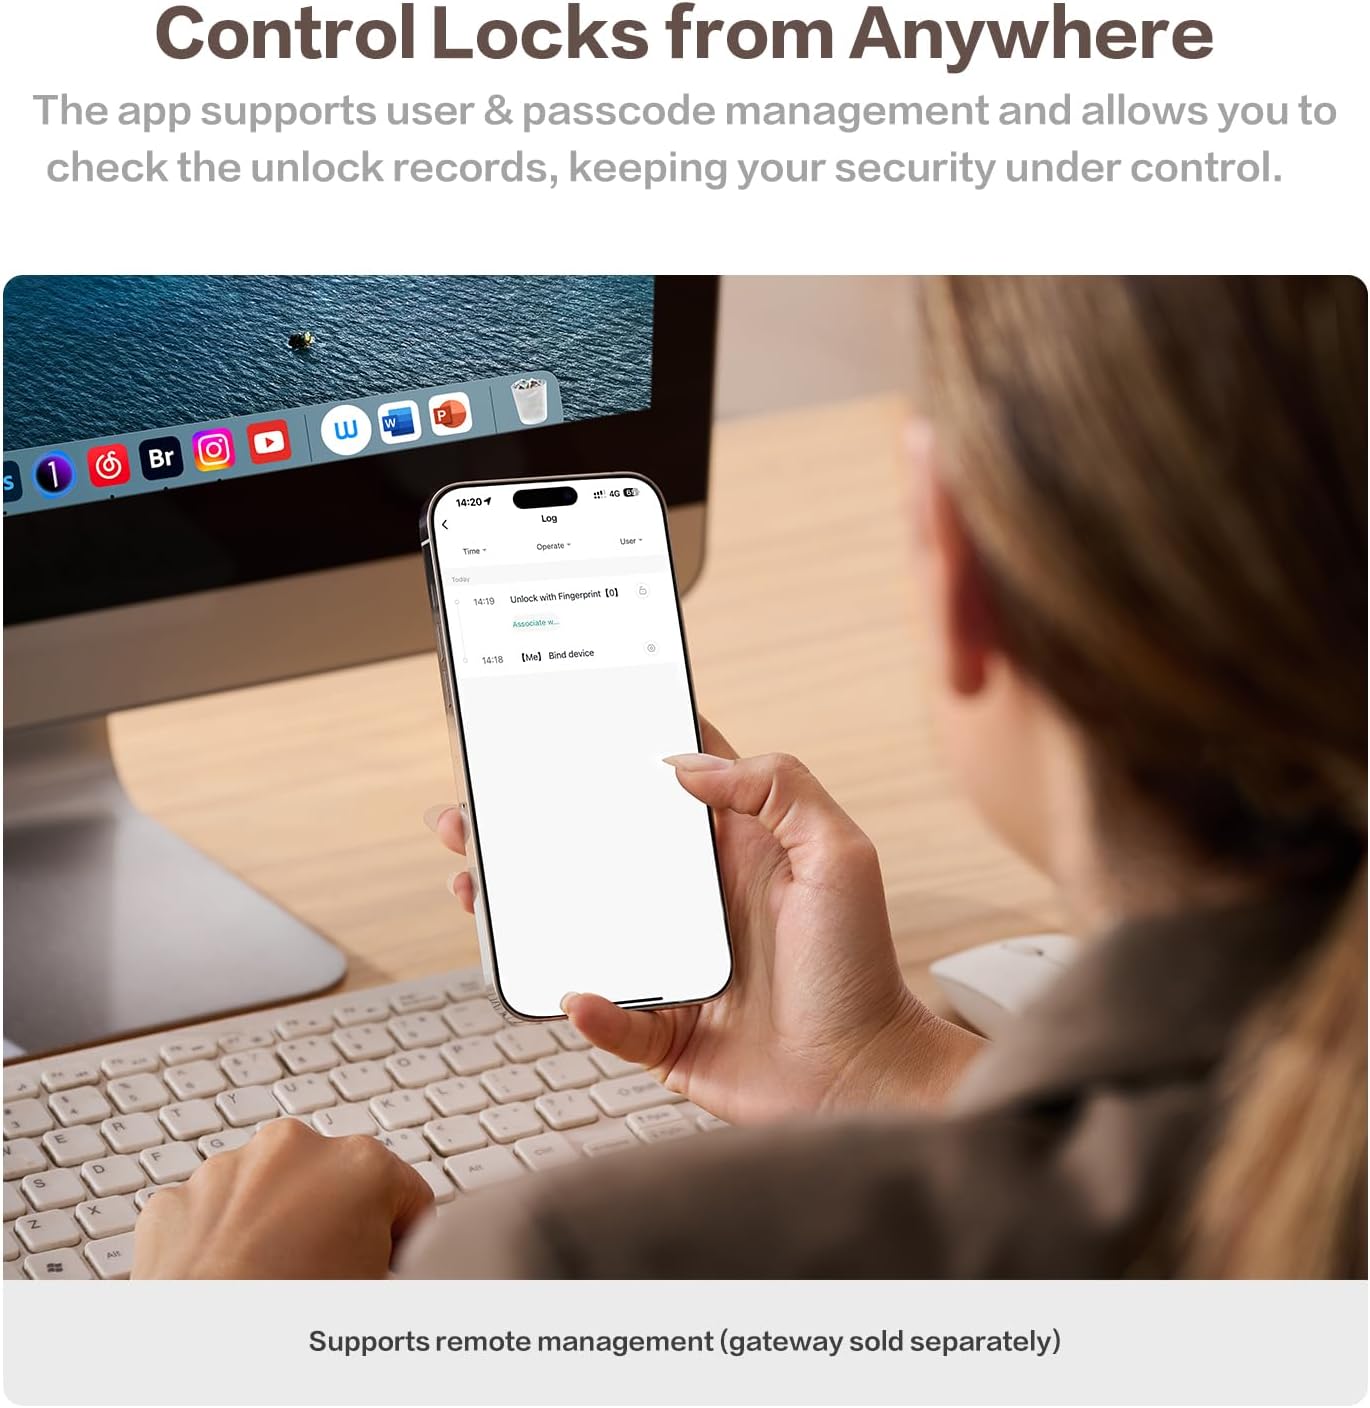
Image 7.2: A hand demonstrating the use of the fingerprint sensor on the Keylynx D200 Smart Deadbolt for quick and accurate recognition.
7.3.2 Adding Passcodes
- In the Tuya Smart App, navigate to the lock's settings and select "Users" or "Passcode Management".
- Choose to create a permanent, timed, or one-time passcode.
- Enter the desired passcode (4-9 digits) or allow the app to generate one.
- Confirm the passcode.
7.3.3 Anti-Peeping Passcode
To enhance security, you can enter random digits before and after your actual passcode. For example, if your passcode is 123456, you can enter 987123456321. The lock will recognize the correct sequence within the longer string.

Image 7.3: Illustration of the anti-peeping passcode feature on the Keylynx D200 Smart Deadbolt, showing how to embed the correct PIN within a longer sequence of numbers to deter observation.
8. Operation
8.1 Unlocking the Door
- Fingerprint: Place your registered finger on the fingerprint sensor. The lock will unlock if the fingerprint is recognized.
- Passcode: Enter your 4-9 digit passcode (or anti-peeping passcode) on the keypad, then press the unlock icon.
- Tuya App: Open the Tuya Smart App, select your lock, and tap the unlock button. (Requires Bluetooth proximity or optional Wi-Fi gateway for remote access).
- Physical Key: Insert the backup key into the keyhole and turn to unlock.
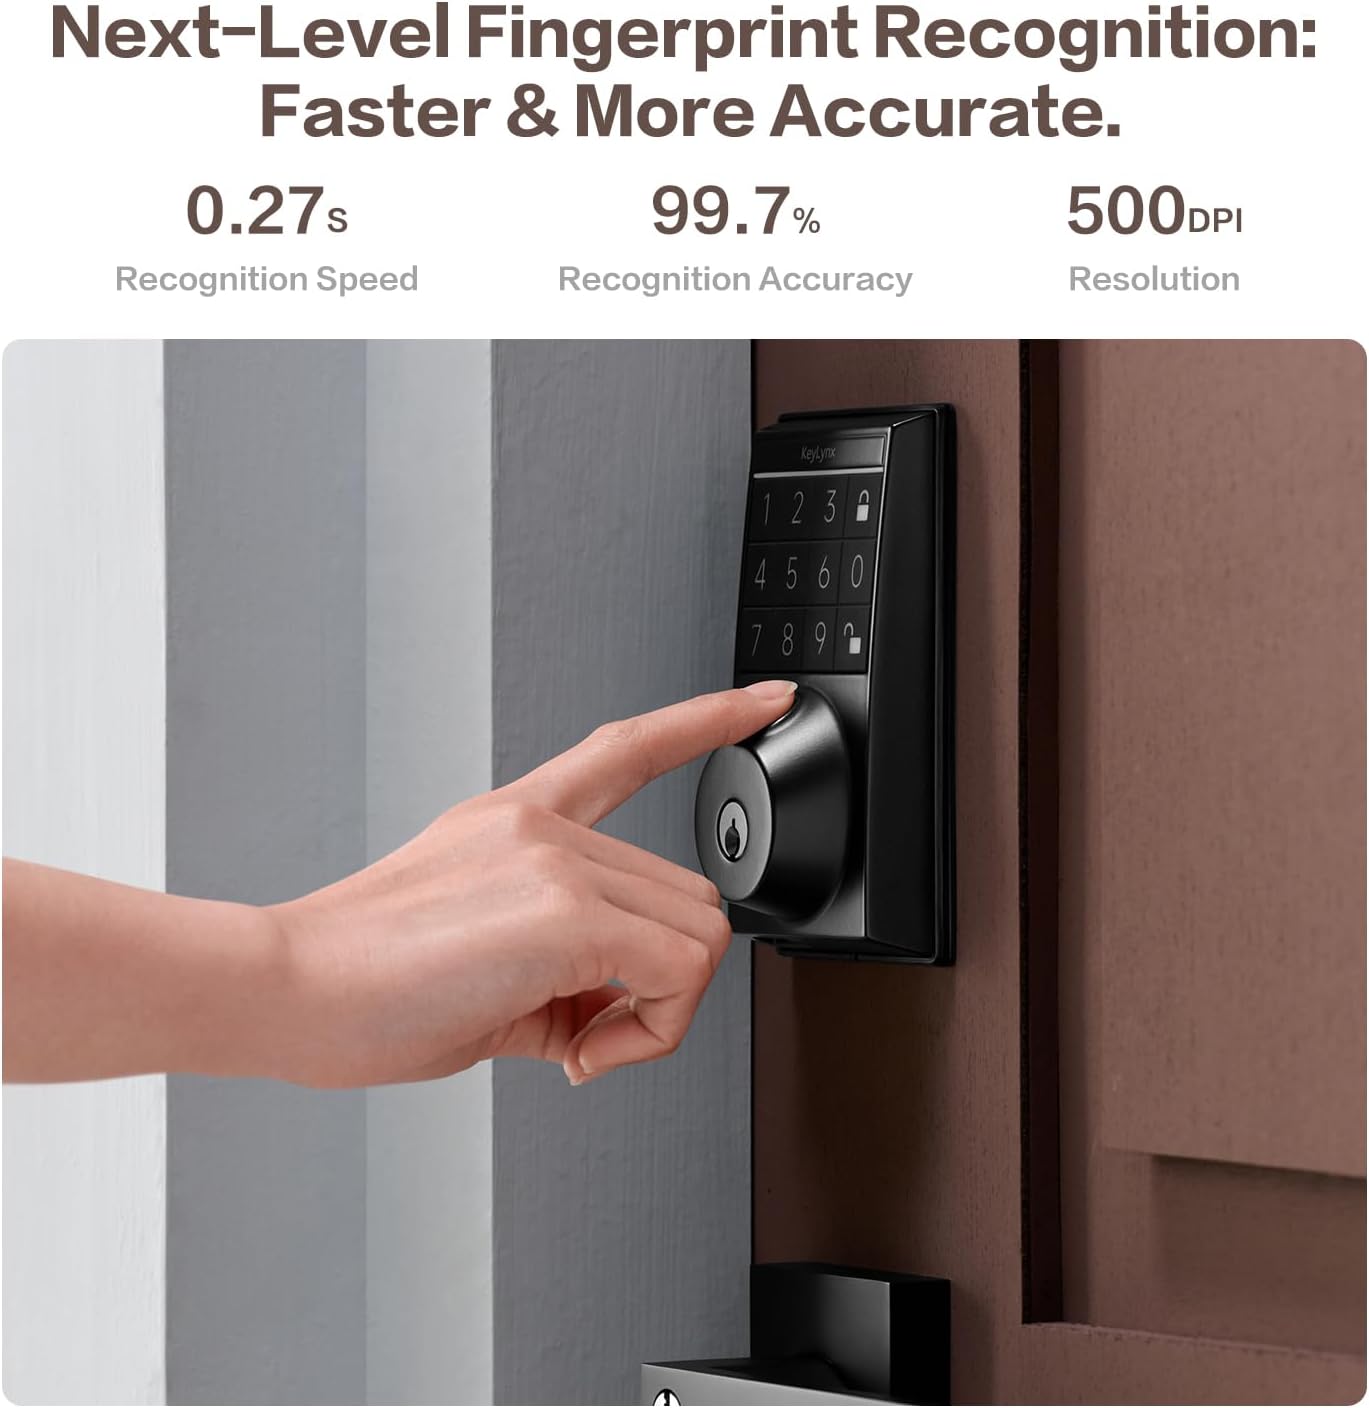
Image 8.1: Visual representation of the four keyless entry options for the Keylynx D200 Smart Deadbolt: fingerprint, physical keypad, smartphone app, and traditional keys.
8.2 Locking the Door
- Manual Lock: Press the lock icon on the keypad.
- Auto-Lock: The lock will automatically engage the deadbolt after a set time (5-99 seconds) if enabled in the app settings.
- Tuya App: Open the Tuya Smart App, select your lock, and tap the lock button.
- Physical Key: Insert the backup key into the keyhole and turn to lock.
8.3 Silent Mode
To enable or disable silent mode, adjust the setting within the Tuya Smart App. When silent mode is active, the lock will operate without audible feedback.

Image 8.2: The Keylynx D200 Smart Deadbolt featuring silent mode, ideal for maintaining quiet in environments like a child's bedroom.
8.4 Back-Lit Keypad
The keypad features bright LED lights for visibility in low-light conditions. Simply tap the keypad to activate the illumination.

Image 8.3: The Keylynx D200 Smart Deadbolt's keypad illuminated for easy code entry in low-light conditions.
9. Maintenance
9.1 Battery Replacement
The lock is powered by 4 AA batteries (not included) and provides up to 16 months of battery life. The Tuya Smart App will provide low battery alerts.
- Remove the battery cover on the interior assembly.
- Remove the old batteries.
- Insert 4 new AA batteries, ensuring correct polarity (+/-).
- Replace the battery cover.

Image 9.1: The battery compartment of the Keylynx D200 Smart Deadbolt, showing the placement of four AA batteries for extended power.
9.2 Cleaning
Wipe the lock's exterior surfaces with a soft, damp cloth. Avoid using abrasive cleaners or solvents, as these can damage the finish or electronic components.
9.3 Drainage Outlet
The smart lock features a drainage port at the bottom to prevent water accumulation from rain or snow, protecting against rust and damage.
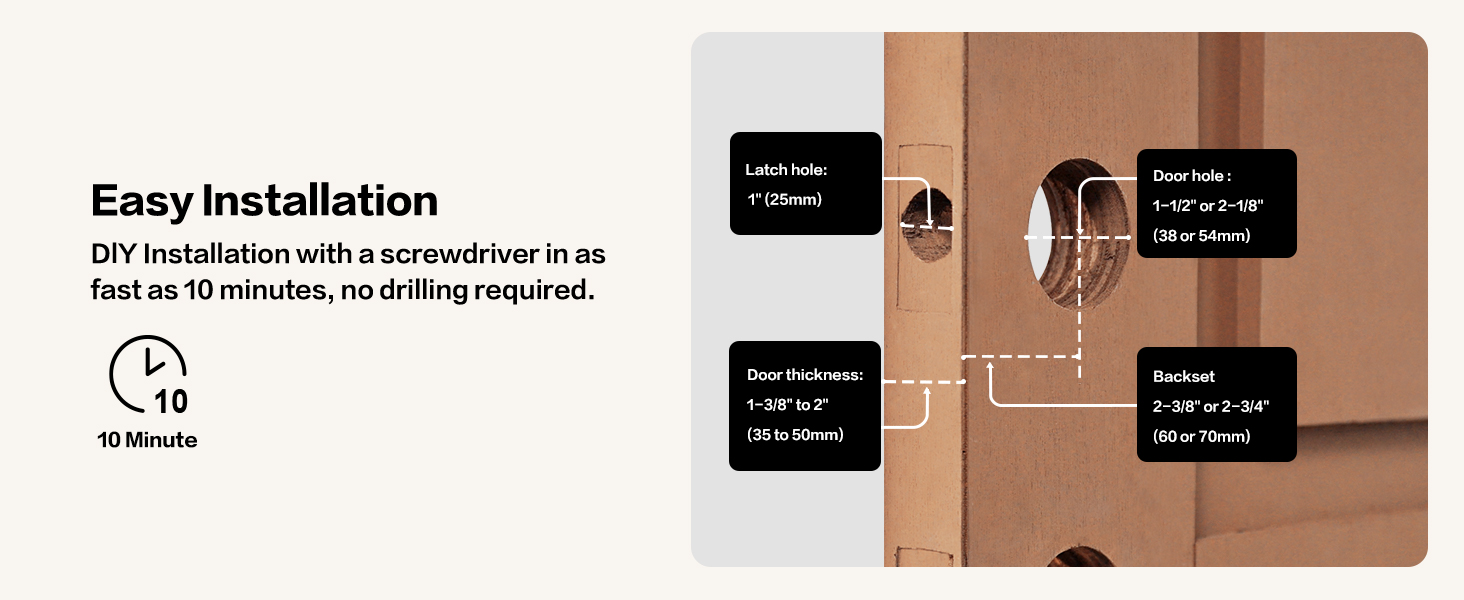
Image 9.2: A detailed view of the drainage outlet design on the Keylynx D200 Smart Deadbolt, engineered to prevent water damage.
10. Troubleshooting
| Problem | Possible Cause | Solution |
|---|---|---|
| Lock does not respond. | Dead batteries. | Replace with new AA batteries. Use backup key if necessary. |
| Fingerprint not recognized. | Finger is dirty, wet, or improperly placed. Fingerprint not registered. | Ensure finger is clean and dry. Place finger firmly and completely on the sensor. Re-register fingerprint if issues persist. |
| Passcode not working. | Incorrect passcode entered. Passcode expired (for timed/one-time). | Verify the passcode. Check passcode validity in the Tuya App. Try anti-peeping method. |
| Lock does not auto-lock. | Auto-lock feature is disabled or timer is set too long. | Check auto-lock settings in the Tuya App. |
| App cannot connect to the lock. | Bluetooth is off. Lock is out of range. App issue. | Ensure Bluetooth is enabled on your phone. Move closer to the lock. Restart the app or your phone. |
| Deadbolt does not extend/retract smoothly. | Door/frame misalignment. Incorrect installation. | Check door alignment. Re-verify installation steps, especially latch and strike plate alignment. |
11. Specifications
| Brand | KEYLYNX |
| Model Name | D200 |
| Lock Type | Combination Lock (Deadbolt) |
| Material | Zinc Alloy |
| Color | Black |
| Dimensions (L x W x H) | 8.29 x 5.5 x 3.5 inches |
| Item Weight | 2.31 pounds |
| Power Source | 4 AA Batteries (not included) |
| Battery Life | Up to 16 months |
| Connectivity | Bluetooth (for app control) |
| Operating Temperature | -31°F to 158°F |
| Waterproof Rating | IP54 |
| User Capacity | Up to 50 Fingerprints, 50 Passcodes |
| UPC | 615870323670 |
12. Warranty and Support
For warranty information and technical support, please refer to the contact details provided with your purchase or visit the official KEYLYNX website. Keep your purchase receipt for warranty claims.
Ask a question about this manual
Ask about setup, troubleshooting, compatibility, parts, safety, or missing instructions. Manuals+ will review the question and use this page’s manual context to help answer it.